Pretzel Bun Recipe
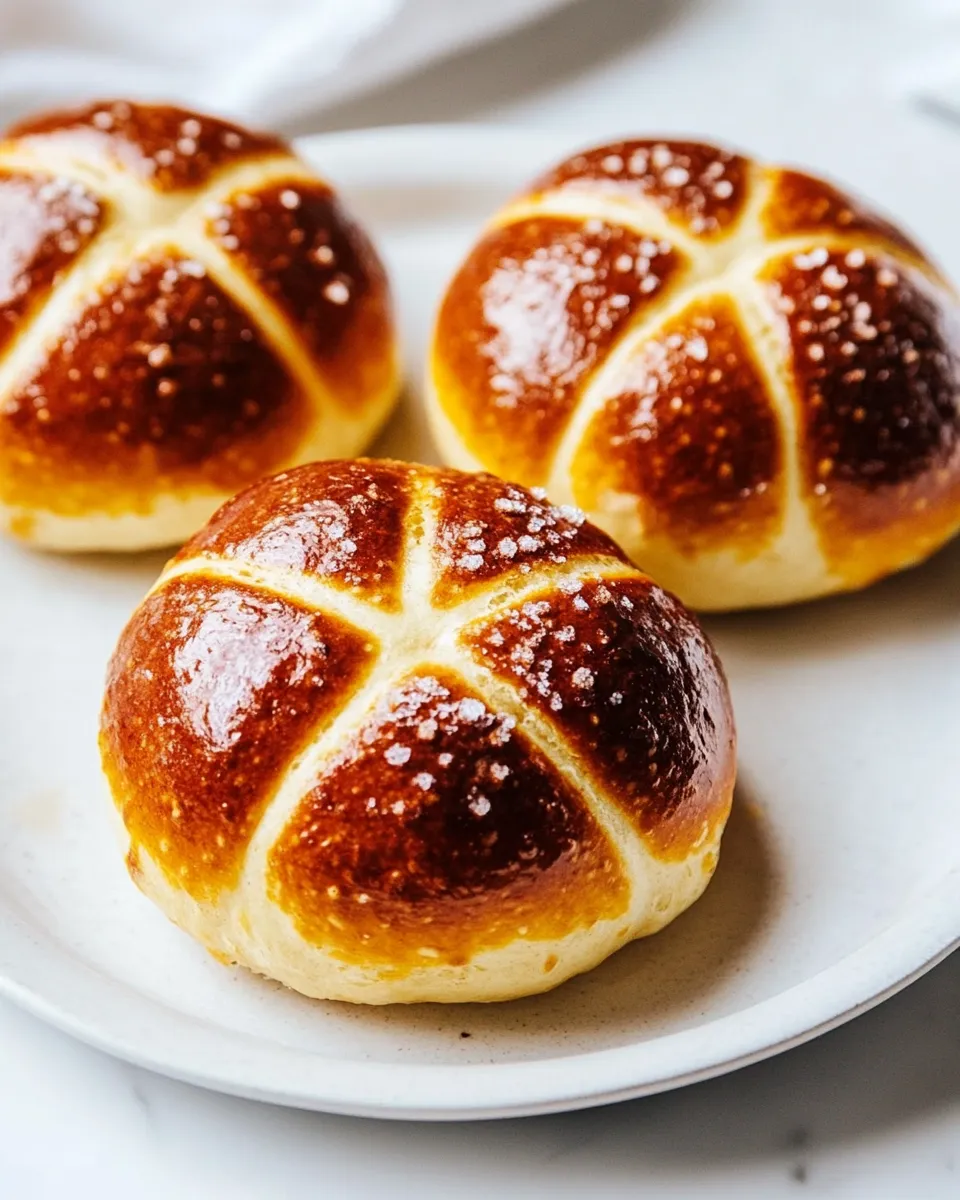
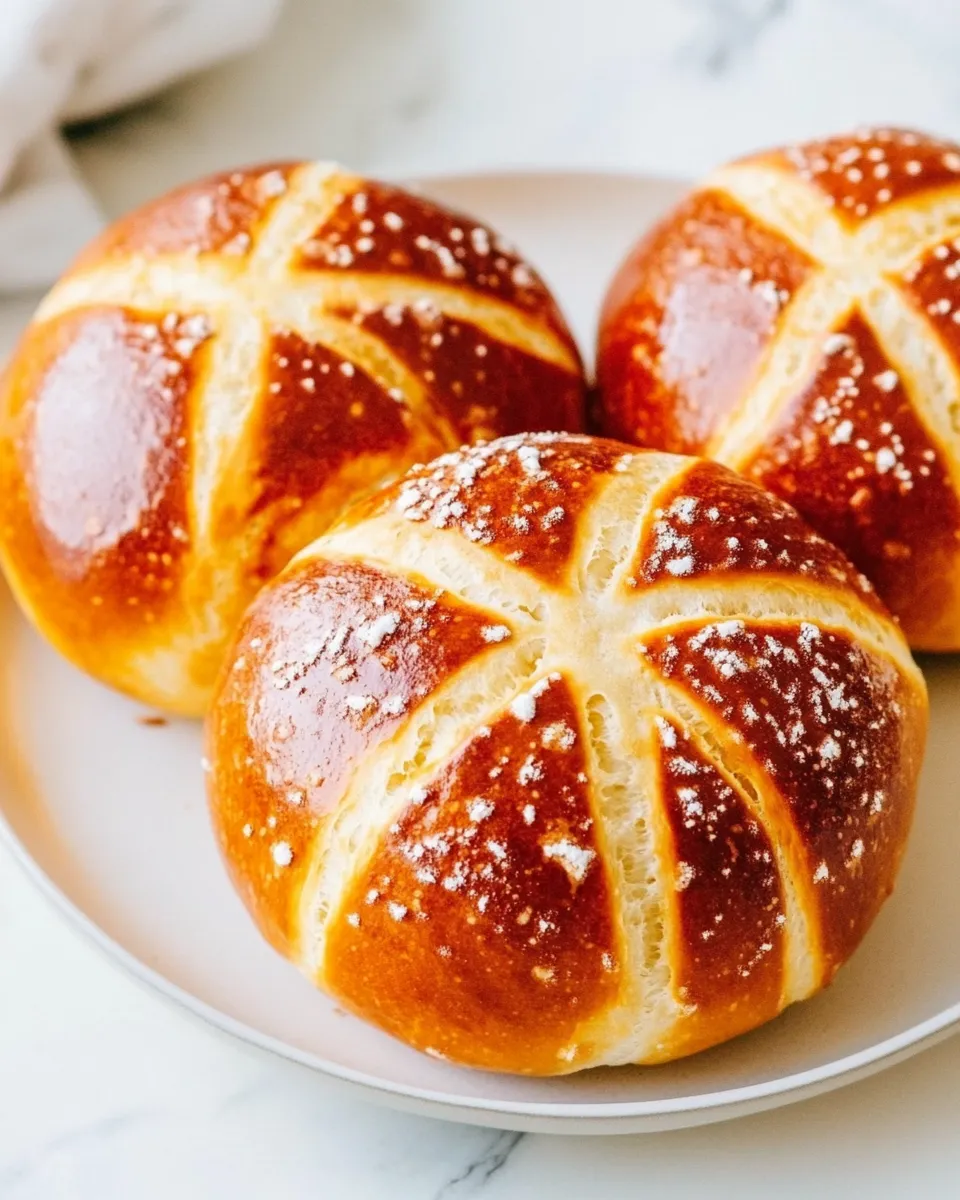
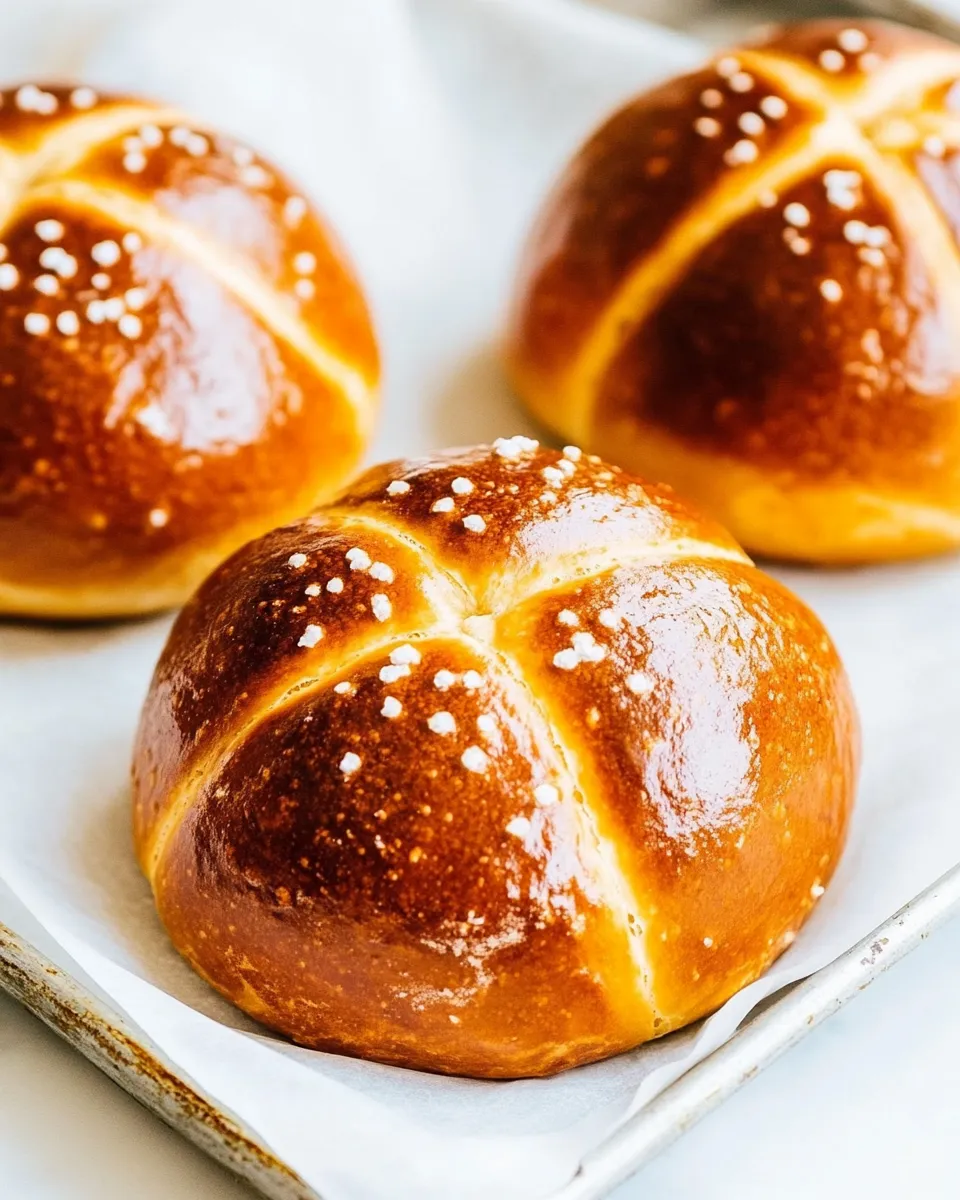
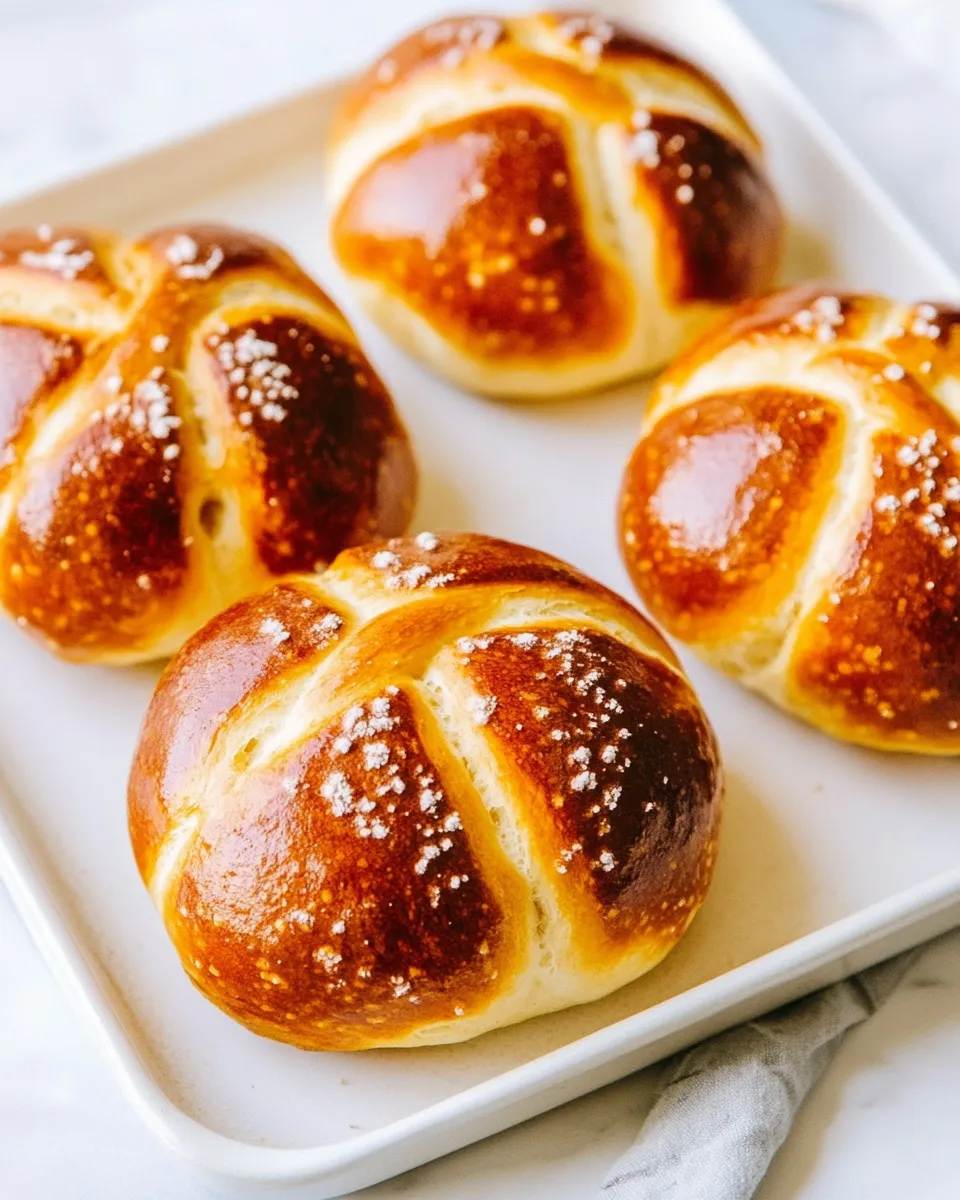
I make these pretzel buns whenever I want a sturdy, glossy roll that holds up to a big sandwich or a hearty burger. They have that deep brown crust, a soft interior, and the unmistakable caramelized flavor from the baking-soda bath. The process looks fussy but breaks down into clear stages: mix, rise, shape, boil briefly, and bake. Follow the steps and you’ll get consistent results.
This recipe is practical for weeknight prep or a weekend bake. I’ll walk you through what to buy, how to handle the dough, and the small moves that separate good pretzel buns from great ones. No fluff—just the reliable technique I use on repeat.
If you like a soft, tender crumb with a chewy, golden exterior, these buns will deliver. Read the shopping notes, follow the process, and use the storage tips to keep leftovers fresh. Let’s get into it.
Your Shopping Guide
Before you start, gather quality staples. Bread flour gives structure and chew; instant yeast is convenient and predictable. Use whole milk warmed to the specified temperature range for a consistent rise. The baking-soda bath is the flavor and color secret, so don’t skip it.
Shop for coarse sea salt if you want the classic pretzel finish. A fresh, cold stick of butter gives the best flavor and sheen when brushed on after baking. If you’ll be making burgers, have toppings and any cheeses ready; the buns themselves are neutral enough to pair with bold flavors.
Ingredients
- 1 1/2 cups whole milk (warm 107–111°F) — activates the yeast and hydrates the dough; temperature is important for bloom.
- 2 tablespoons brown sugar — feeds the yeast and adds subtle caramel notes.
- 2 1/4 teaspoons instant yeast (1/4 oz packet) — leavening agent; instant yeast mixes straight into warm liquids.
- 1/4 cup butter (melted and cooled) — enriches the dough and softens the crumb.
- 1 1/2 teaspoons salt — balances flavor and controls yeast activity.
- 3 1/2 cups bread flour — provides gluten strength for that characteristic chew. Plus up to 1/2 cup more if needed; I only needed 3 1/2 cups.
- 4 cups water — for the baking-soda bath that creates the pretzel crust.
- 1/4 cup baking soda — essential for the alkaline bath that produces color and flavor.
- 1 large egg — whisked into an egg wash to give the buns a shiny, deep brown finish.
- splash water — thins the egg wash so it brushes on smoothly.
- coarse sea salt — for topping, optional; adds crunch and that classic pretzel bite.
- butter — melted, optional, for brushing on baked pretzels to add sheen and flavor.
Cooking Pretzel Bun: The Process
- Melt 1/4 cup butter and let it cool to warm/room temperature. Warm 1 1/2 cups whole milk to 107–111°F.
- In the bowl of a stand mixer, combine the warm milk, 2 tablespoons brown sugar, and 2 1/4 teaspoons instant yeast. Let sit 5 minutes, until the yeast is bubbly.
- Add 2 cups of the 3 1/2 cups bread flour to the bowl. Fit the mixer with the dough hook and mix on low until the flour is mostly incorporated.
- Add the cooled melted butter and 1 1/2 teaspoons salt to the dough and mix to combine.
- With the mixer running, add the remaining bread flour a little at a time (using the rest of the 3 1/2 cups total; you may add up to 1/2 cup more if needed) until the dough is tacky but does not stick to your hands and the bowl is mostly clean. Knead in the mixer about 5–7 minutes total (until the dough springs back when gently pressed).
- Transfer the dough to a well-oiled clean bowl, turn to coat, cover with a tea towel or plastic wrap, and place in a warm spot. Let rise until doubled, about 1 hour.
- Meanwhile, prepare a large baking sheet with parchment paper and a light spray or drizzle of oil; set aside.
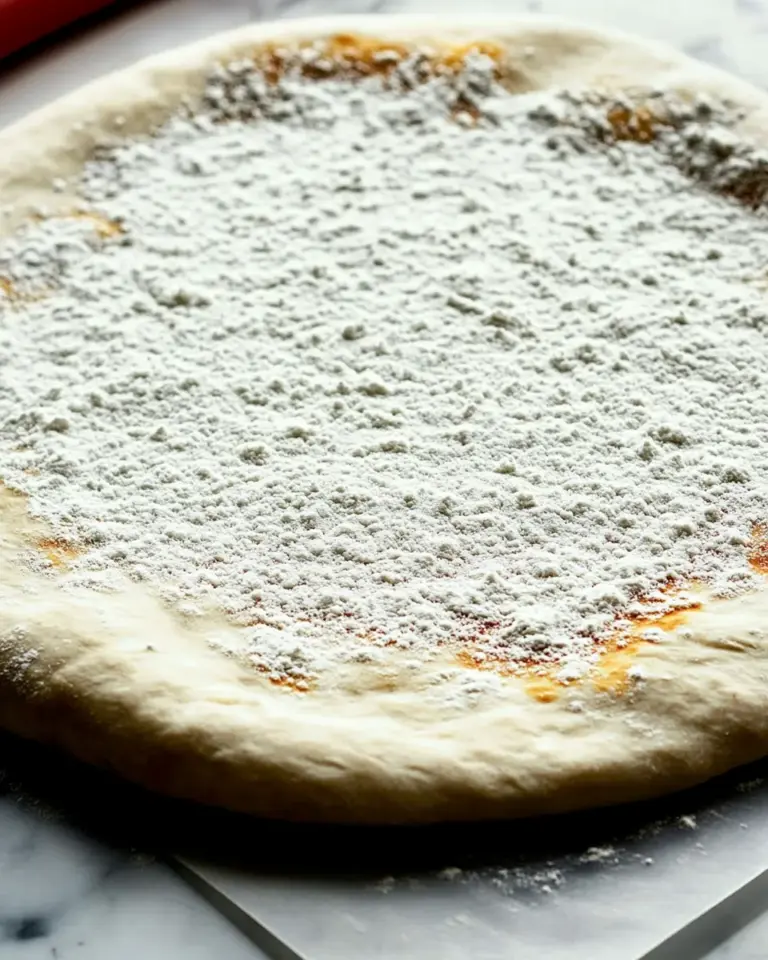
- After the dough has doubled, punch it down, turn it out onto a lightly floured surface, and knead 1–2 minutes. Divide the dough into 8 equal pieces with a bench scraper or knife.
- Shape each piece into a round bun and place them on the prepared baking sheet, leaving space between buns. Cover with a tea towel or plastic wrap and let rise in a warm spot until doubled, about 30–60 minutes.
- While the buns are undergoing the second rise, heat 4 cups water and 1/4 cup baking soda in a medium pot over high heat. Bring to a gentle boil and then reduce to maintain a gentle simmer.
- Preheat the oven to 400°F.
- Once the buns have doubled, gently lower each bun into the simmering baking soda bath for up to 5 seconds per side (use a large slotted spoon or spider). Remove and let excess water drip off before returning the buns to the parchment-lined baking sheet.
- Using a sharp knife or razor blade, score an X on the top of each bun.
- In a small bowl, whisk 1 large egg with a splash of water to make an egg wash. Brush the tops of the buns with the egg wash and, if desired, sprinkle with coarse sea salt.
- Bake the buns at 400°F for 10–13 minutes, until deep golden brown.
- Remove the buns from the oven. If desired, brush with melted butter. Cool slightly on a wire rack before serving. Store in an airtight container once fully cooled.
Top Reasons to Make Pretzel Bun
They hold up. Pretzel buns don’t get soggy under saucy burgers or piled-high sandwiches. The dough is enriched, so the crumb stays tender while the crust stays resilient.
Flavor and texture. The baking-soda bath equals deep color and that classic pretzel bite. You get a complex, slightly caramelized crust and a soft interior.
Impressive but reliable. The method looks impressive and tastes bakery-made, yet it uses straightforward ingredients and a stand mixer to simplify kneading.
If You’re Out Of…
- Bread flour — if you absolutely must, plain all-purpose flour will work in a pinch, but expect a slightly softer, less chewy bun.
- Instant yeast — active dry yeast can be used; proof it in the warmed milk with the sugar until foamy before mixing, but keep total yeast quantity similar (use the packet equivalent).
- Whole milk — a mix of milk and a little water will work, but whole milk gives the best tenderness and flavor.
- Baking soda — this is crucial for the pretzel reaction; don’t skip it. If you don’t have it, you’ll have rolls rather than pretzel buns.
Equipment & Tools
Stand mixer with dough hook. It saves time and gives consistent kneading. If you don’t have one, you can knead by hand for longer—expect to spend 10–12 minutes.
Large pot for the baking-soda bath and a slotted spoon or spider to lower and lift buns. Baking sheet lined with parchment and a wire rack for cooling are helpful.
A thermometer is useful to check milk temperature (107–111°F) and to monitor oven accuracy. Sharp knife or razor for scoring gives clean slashes.
Learn from These Mistakes
Milk too hot kills the yeast. Keep it between 107–111°F. If the milk is hotter, let it cool before adding yeast.
Not kneading enough leads to dense buns. The dough should spring back when gently pressed—if it doesn’t, knead a bit longer.
Overboiling in the baking-soda bath can make the crust gummy. Five seconds per side is plenty; you want a quick dunk and lift, not a long simmer.
Underbaking leaves a pale crust. Bake until the buns are a deep, even golden brown—this is when the flavor develops.
Smart Substitutions
If you want whole-grain flavor, swap up to half the bread flour for whole-wheat flour, but expect a denser bun and possibly a bit more hydration. If you prefer a softer crust, brush with melted butter right after baking; the recipe already gives that option.
For egg-free egg wash, use a mixture of milk and a tiny pinch of sugar for sheen. Note: you’ll change the finish slightly—less deep brown compared with an egg wash.
If you want sesame or poppy seed toppings, add them immediately after applying the egg wash (or milk wash) before baking.
Chef’s Notes
Shaping
Shape tightly so surface tension creates a smooth dome. This helps buns rise evenly and prevents large air pockets.
Timing
Rise times depend on room temperature. If your kitchen is cool, allow extra time for both rises; if very warm, watch closely to avoid overproofing.
Finishing
Brushing with melted butter when they come out of the oven gives a soft, luxurious finish. If you prefer a matte crust, skip the butter.
Storage Pro Tips
Cool completely before storing. Warmth traps steam and will make the crust soggy. Once cooled, store in an airtight container at room temperature for up to 2 days.
For longer storage, freeze fully cooled buns in a sealed bag for up to 3 months. Reheat from frozen at 350°F until warmed through; brush with a bit of butter after reheating for best flavor.
To refresh a day-old bun, wrap in foil and heat at 300–325°F for 10–12 minutes, or split and toast lightly.
FAQ
Q: Can I make the dough the night before? A: Yes. After the first short rise, refrigerate the dough in an oiled bowl, covered, for up to 12–18 hours. Bring it back to room temperature and continue the shaping and second rise. Cold fermentation can improve flavor.
Q: My buns lost their shine. What happened? A: Either the egg wash wasn’t applied evenly or the oven temperature was off. Make sure to whisk the egg with a splash of water and brush right before baking.
Q: How do I get that deep brown color? A: The baking-soda bath plus proper baking time at 400°F is responsible. Don’t skimp on the dunk or the bake.
Bring It to the Table
Serve these pretzel buns warm, split and buttered, or as the base for burgers and deli-style sandwiches. They pair brilliantly with rich fillings: a juicy beef patty, melted cheddar, or even a shredded pork sandwich. The coarse sea salt adds that nail-in-the-coffin salty counterpoint to rich toppings.
Make a batch, and keep extras in the freezer—these are great to pull out for quick weeknight meals. Simple prep, clear steps, and reliable results: that’s the goal. Enjoy the baking, and enjoy the sandwiches.
Pretzel Bun Recipe
Ingredients
Equipment
Method
- Melt 1/4 cup butter and let it cool to warm/room temperature. Warm 1 1/2 cups whole milk to 107–111°F.
- In the bowl of a stand mixer, combine the warm milk, 2 tablespoons brown sugar, and 2 1/4 teaspoons instant yeast. Let sit 5 minutes, until the yeast is bubbly.
- Add 2 cups of the 3 1/2 cups bread flour to the bowl. Fit the mixer with the dough hook and mix on low until the flour is mostly incorporated.
- Add the cooled melted butter and 1 1/2 teaspoons salt to the dough and mix to combine.
- With the mixer running, add the remaining bread flour a little at a time (using the rest of the 3 1/2 cups total; you may add up to 1/2 cup more if needed) until the dough is tacky but does not stick to your hands and the bowl is mostly clean. Knead in the mixer about 5–7 minutes total (until the dough springs back when gently pressed).
- Transfer the dough to a well-oiled clean bowl, turn to coat, cover with a tea towel or plastic wrap, and place in a warm spot. Let rise until doubled, about 1 hour.
- Meanwhile, prepare a large baking sheet with parchment paper and a light spray or drizzle of oil; set aside.
- After the dough has doubled, punch it down, turn it out onto a lightly floured surface, and knead 1–2 minutes. Divide the dough into 8 equal pieces with a bench scraper or knife.
- Shape each piece into a round bun and place them on the prepared baking sheet, leaving space between buns. Cover with a tea towel or plastic wrap and let rise in a warm spot until doubled, about 30–60 minutes.
- While the buns are undergoing the second rise, heat 4 cups water and 1/4 cup baking soda in a medium pot over high heat. Bring to a gentle boil and then reduce to maintain a gentle simmer.
- Preheat the oven to 400°F.
- Once the buns have doubled, gently lower each bun into the simmering baking soda bath for up to 5 seconds per side (use a large slotted spoon or spider). Remove and let excess water drip off before returning the buns to the parchment-lined baking sheet.
- Using a sharp knife or razor blade, score an X on the top of each bun.
- In a small bowl, whisk 1 large egg with a splash of water to make an egg wash. Brush the tops of the buns with the egg wash and, if desired, sprinkle with coarse sea salt.
- Bake the buns at 400°F for 10–13 minutes, until deep golden brown.
- Remove the buns from the oven. If desired, brush with melted butter. Cool slightly on a wire rack before serving. Store in an airtight container once fully cooled.
Notes
Fun fact:
The baking soda bath works best when it’s hot. Boiling helps activate the alkaline reaction that gives pretzel buns their deep color and chewy crust.
Storage + Make Ahead Directions
Store in an airtight container at room temp
for 2–3 days or refrigerate for up to a week
. Toast before serving for best texture.
To Make ahead:
Prep dough through the second rise, then refrigerate overnight. Let it come to room temperature before the baking soda bath.
To Freeze:
Once baked and cooled, freeze in an airtight container or bag for
up to 3 months.
To Reheat:
Thaw at room temp, then warm in a low oven.