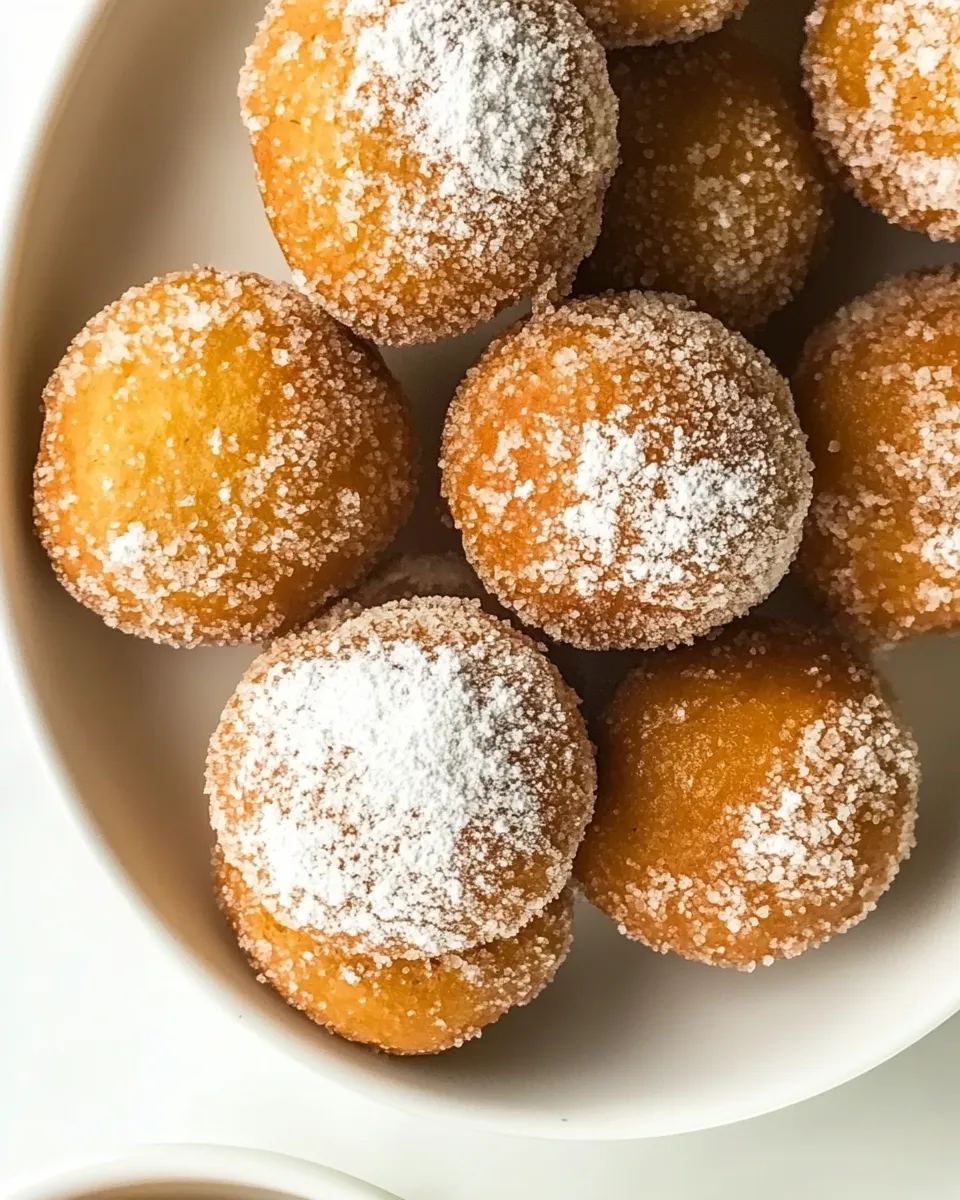
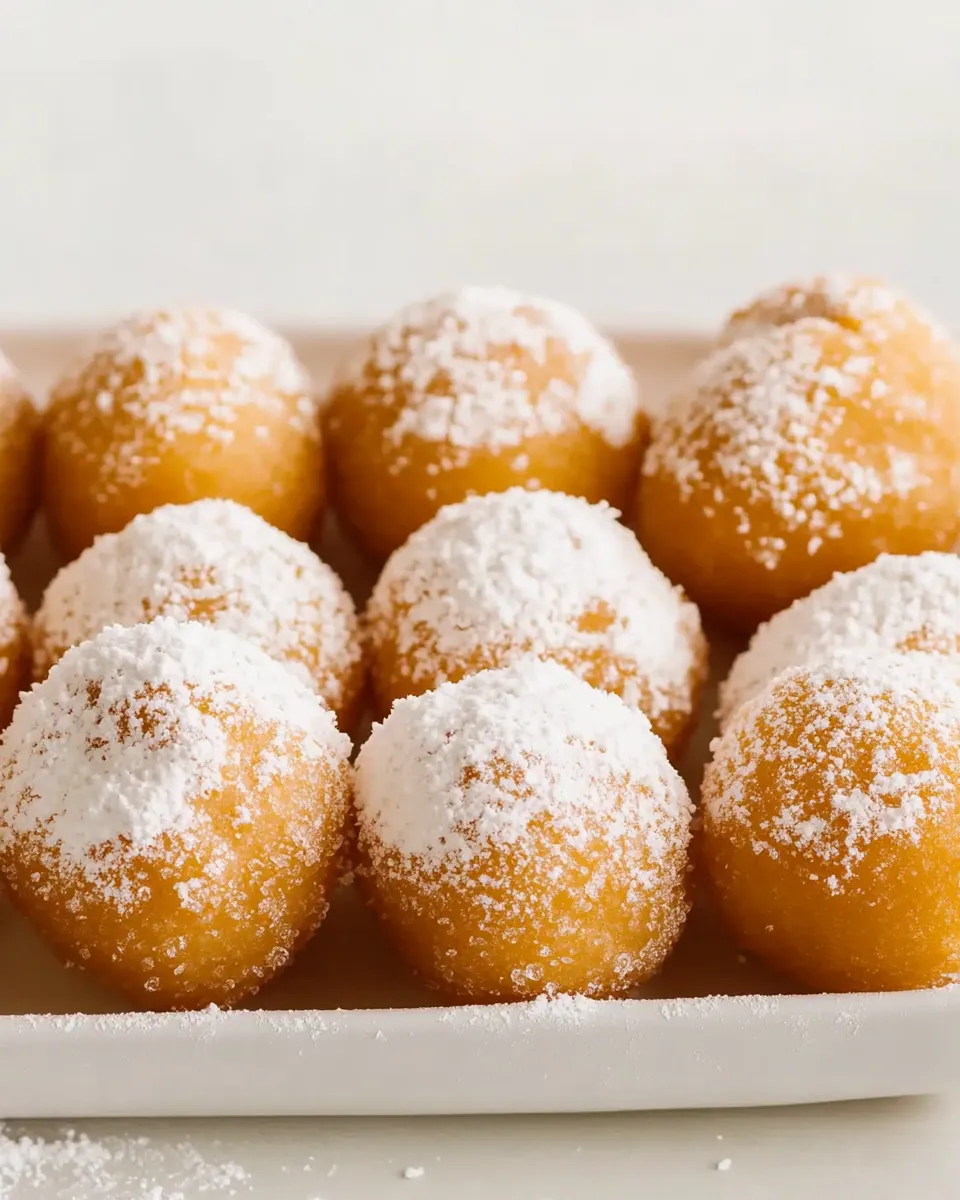
Protein Donut Holes
Light, portable, and surprisingly simple — these Protein Donut Holes are the kind of little bites I keep in the fridge for busy mornings or post-workout fuel. They come together from just two core components and a handful of optional toppings, which means you can make a batch in ten minutes and customize every bite. I like them because they’re forgiving and hold up well when stored.
There’s no frying, no baking, and no complicated equipment. You measure, stir, shape, and chill if needed. The texture is dense and satisfying, not cakey; they’re more like energy bites shaped into donut-sized rounds so they feel indulgent without derailing a day’s protein goals.
If you’re short on time, traveling, or feeding a crowd, these small treats travel well. I’ll walk you through every step, explain the role of each ingredient, suggest swaps, and flag the mistakes I see most often. Ready? Let’s get practical.
The Ingredient Lineup
Ingredients
- 1/2 cup nut butter or allergy friendly sub — Provides fat, moisture, and helps bind the dough; choose a smooth variety for easier mixing.
- 1/4 cup protein powder — Adds structure and protein; a whey or plant protein will work but expect slight texture differences between types.
- optional powdered sugar, glaze icing, sprinkles, cinnamon sugar, mini chocolate chips, chia seeds, or other donut hole toppings — For finishing: adds sweetness, texture, and visual appeal; use sparingly if you want to keep them higher-protein.
Protein Donut Holes: Step-by-Step Guide
- Measure 1/2 cup nut butter (or allergy-friendly sub) and 1/4 cup protein powder. Place the nut butter in a medium bowl.
- If the nut butter is very stiff, warm it gently until stirrable (for example, microwave in 5–10 second intervals, stirring between, or set the jar in warm water) so it loosens but is not hot.
- Add the 1/4 cup protein powder to the bowl and stir with a spatula or spoon until the mixture is uniform and begins to hold together. Use firm pressure to press and mix the ingredients into a dough.
- If the mixture is crumbly or seems too dry, let it rest 2–5 minutes so the protein powder can absorb some moisture, then knead or press it with clean hands until it holds together. Do not add other ingredients.
- If the dough is too sticky to handle, chill the bowl in the refrigerator for 15–30 minutes to firm it up; if already shaped, chill the formed pieces for 10–15 minutes.
- Portion the dough with a spoon or small scoop and roll between your palms to form bite-sized donut holes. Wipe your hands with a damp cloth as needed to prevent sticking.
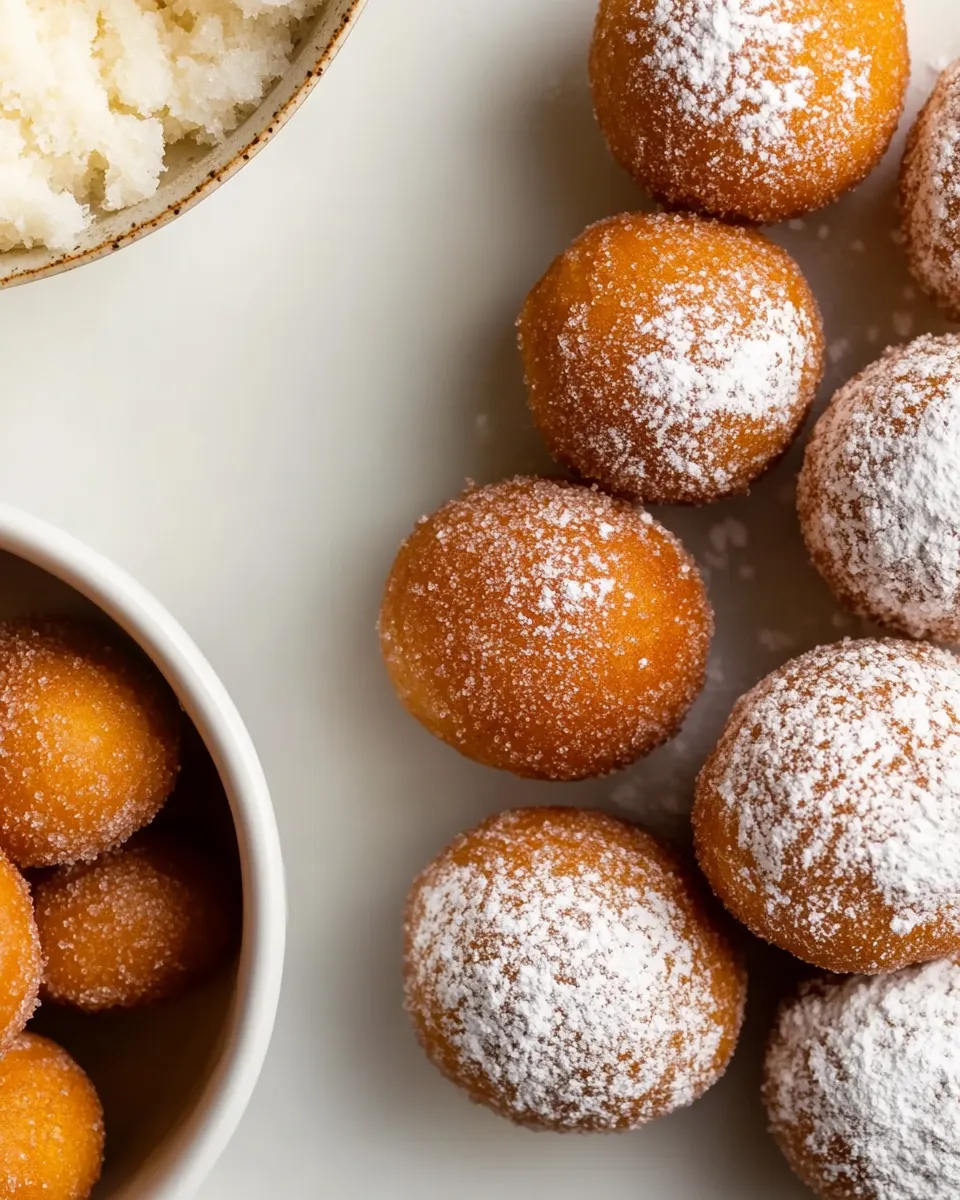
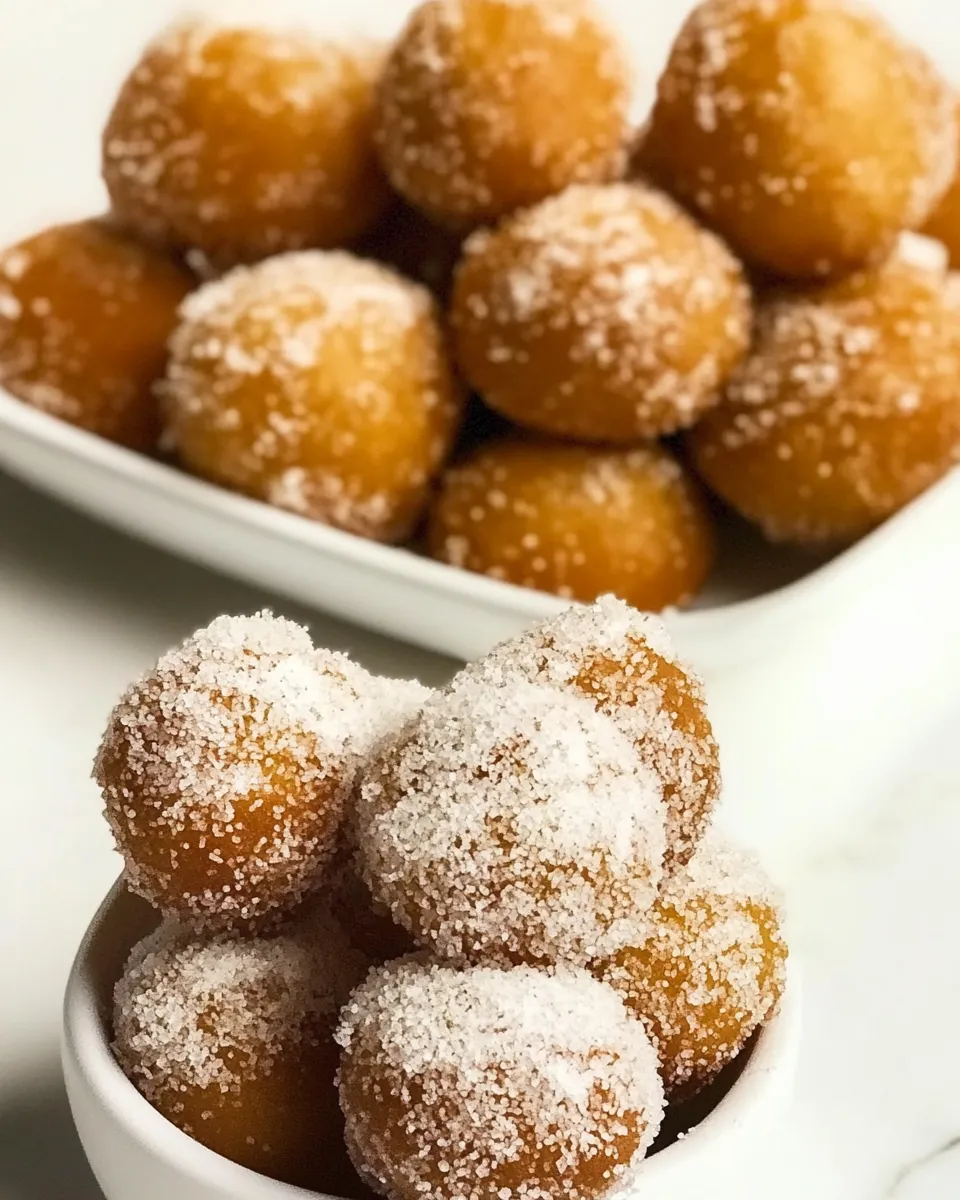
- If desired, roll or dip the donut holes in optional toppings (powdered sugar, glaze icing, sprinkles, cinnamon sugar, mini chocolate chips, chia seeds, etc.) or press toppings onto the outside. Allow any glaze to set before storing.
- Store the donut holes in an airtight container at room temperature, in the refrigerator, or in the freezer, depending on how firm you prefer them.
Reasons to Love Protein Donut Holes
They’re fast: two measured ingredients and a few minutes of hands-on time. No oven required. For busy mornings or snack prep, that’s a big win.
They’re customizable: swap nut butter types or protein powders, add a dusting of cinnamon, or press on chocolate chips. The base is neutral and accommodates flavors easily.
They travel well and don’t need reheating. Toss a few in a small container for the gym bag, a school lunch, or a desk snack. They’re also portion-friendly: one bite satisfies without overdoing it.
Ingredient Swaps & Substitutions
Here are practical swaps when you don’t have the exact ingredient on hand or need to accommodate allergies or taste preferences.
- Nut butter: Use sunflower seed butter, tahini, or soy nut butter as allergy-friendly alternatives. Texture will vary slightly; sunflower tends to be smoother and slightly thinner.
- Protein powder: Any unflavored or flavored protein powder works — whey, casein, pea, soy, or brown rice. Plant proteins (pea, brown rice) can be drier; allow the mixture to rest longer so they hydrate fully.
- Toppings: Choose whole-food toppings like chia seeds or finely chopped nuts instead of sugary coatings if you want more texture and nutrients.
What You’ll Need (Gear)
- Medium mixing bowl — sturdy and big enough to press the dough.
- Spatula or spoon — for stirring and folding the protein into the nut butter.
- Scoop or tablespoon — for portioning evenly; a small cookie scoop saves time.
- Plate or baking sheet — for placing shaped donut holes before chilling or topping.
- Plastic wrap or airtight container — for storage.
- Optional: microwave or small pot of warm water — to loosen stubborn nut butter.
Mistakes That Ruin Protein Donut Holes
- Using nut butter that’s too hot. Overheating makes the dough oily and hard to shape. Warm only until stirrable, not hot.
- Adding extra ingredients when the dough seems dry. The recipe is designed to hydrate with time; wait 2–5 minutes for the protein powder to absorb moisture before tinkering.
- Skipping the chill step when dough is tacky. Trying to roll sticky dough will frustrate you and waste toppings. Chill for the recommended time to firm up.
- Overfilling with toppings that overwhelm the bite. These are small treats; a light dusting or a few pressed chips gives balance without turning them into candy.
- Not adjusting for different protein powders. Plant proteins often absorb more liquid — give the mixture extra rest time so it binds properly.
Make It Diet-Friendly
Want lower sugar? Stick to unsweetened protein powder and skip sweet toppings. Use crushed nuts, cinnamon, or unsweetened coconut for texture instead of powdered sugar or glaze.
Higher protein? Choose a protein powder with a higher protein-per-serving ratio. You can also press a small dab of powdered peanut butter (rehydrated lightly) into the center after shaping for an added protein hit without changing volume much.
Lower calories? Use a lighter nut butter (some have reduced-fat versions) or a seed butter that’s lower in calories per tablespoon. Be aware these can change texture and may require a longer chill to firm up.
Recipe Notes & Chef’s Commentary
Texture is the key variable here. The ratio in this recipe keeps the bites firm enough to roll but soft enough to bite into. If you want them cake-like rather than dense, this base isn’t designed for that; instead, think of these as dense protein-packed bites.
Make them prettier: Press a few mini chocolate chips onto the outside or roll them in toasted coconut for a more snackable finish. If you dip in a glaze, let them set on parchment before stacking to avoid sticking.
Time-savers: If you’re making a large batch, line a baking sheet with parchment and shape all the donut holes, then chill the sheet. Once firm, you can transfer them to containers without them losing their shape.
Save It for Later
Short-term: store in an airtight container at room temperature for up to 2 days if your nut butter is shelf-stable and you prefer a softer bite.
Refrigeration: keeps them firmer and extends shelf life to about 7–10 days. I prefer this for texture and food safety when using certain spreads.
Freezing: arrange donut holes in a single layer on a baking sheet and freeze solid, then transfer to a freezer bag. They’ll keep well for up to 3 months. Thaw in the fridge or at room temperature for 10–20 minutes before eating.
Reader Q&A
Can I use crunchy nut butter?
Yes. Crunchy nut butter adds texture and interest, but it may make the dough slightly looser. If the mixture feels too crumbly, let it rest longer so the protein powder hydrates.
My mixture was crumbly — should I add honey or oil?
No. The directions explicitly advise against adding other ingredients. Let the mixture rest 2–5 minutes; that gives the protein powder time to absorb moisture. Then press it with your hands to bring it together.
How large should each donut hole be?
About a tablespoon or the size of a small scoop — bite-sized. You can make them larger, but they’ll need longer chilling and may store differently.
Can I make different flavors?
Yes. Use flavored protein powder (vanilla, chocolate, strawberry) or press a pinch of cinnamon, cocoa powder, or instant espresso into the mixture before shaping. Avoid adding liquid flavorings, which can change the dough’s consistency.
In Closing
These Protein Donut Holes are intentionally simple. Two measured ingredients yield flexible little snacks that you can dress up or keep plain. Follow the resting and chilling guidance, respect the proportions, and you’ll have consistent results every time.
Make a small batch to test your preferred protein powder and nut butter combination. Once you’ve found the mix you like, scale up and keep a stash in the fridge or freezer for fast, satisfying bites whenever you need a protein boost.
Protein Donut Holes
Ingredients
Equipment
Method
- Measure 1/2 cup nut butter (or allergy-friendly sub) and 1/4 cup protein powder. Place the nut butter in a medium bowl.
- If the nut butter is very stiff, warm it gently until stirrable (for example, microwave in 5–10 second intervals, stirring between, or set the jar in warm water) so it loosens but is not hot.
- Add the 1/4 cup protein powder to the bowl and stir with a spatula or spoon until the mixture is uniform and begins to hold together. Use firm pressure to press and mix the ingredients into a dough.
- If the mixture is crumbly or seems too dry, let it rest 2–5 minutes so the protein powder can absorb some moisture, then knead or press it with clean hands until it holds together. Do not add other ingredients.
- If the dough is too sticky to handle, chill the bowl in the refrigerator for 15–30 minutes to firm it up; if already shaped, chill the formed pieces for 10–15 minutes.
- Portion the dough with a spoon or small scoop and roll between your palms to form bite-sized donut holes. Wipe your hands with a damp cloth as needed to prevent sticking.
- If desired, roll or dip the donut holes in optional toppings (powdered sugar, glaze icing, sprinkles, cinnamon sugar, mini chocolate chips, chia seeds, etc.) or press toppings onto the outside. Allow any glaze to set before storing.
- Store the donut holes in an airtight container at room temperature, in the refrigerator, or in the freezer, depending on how firm you prefer them.
Notes
Looking for even more protein? Make this
Protein Banana Bread
.