Recipe for Cocoa Fudge Cookies
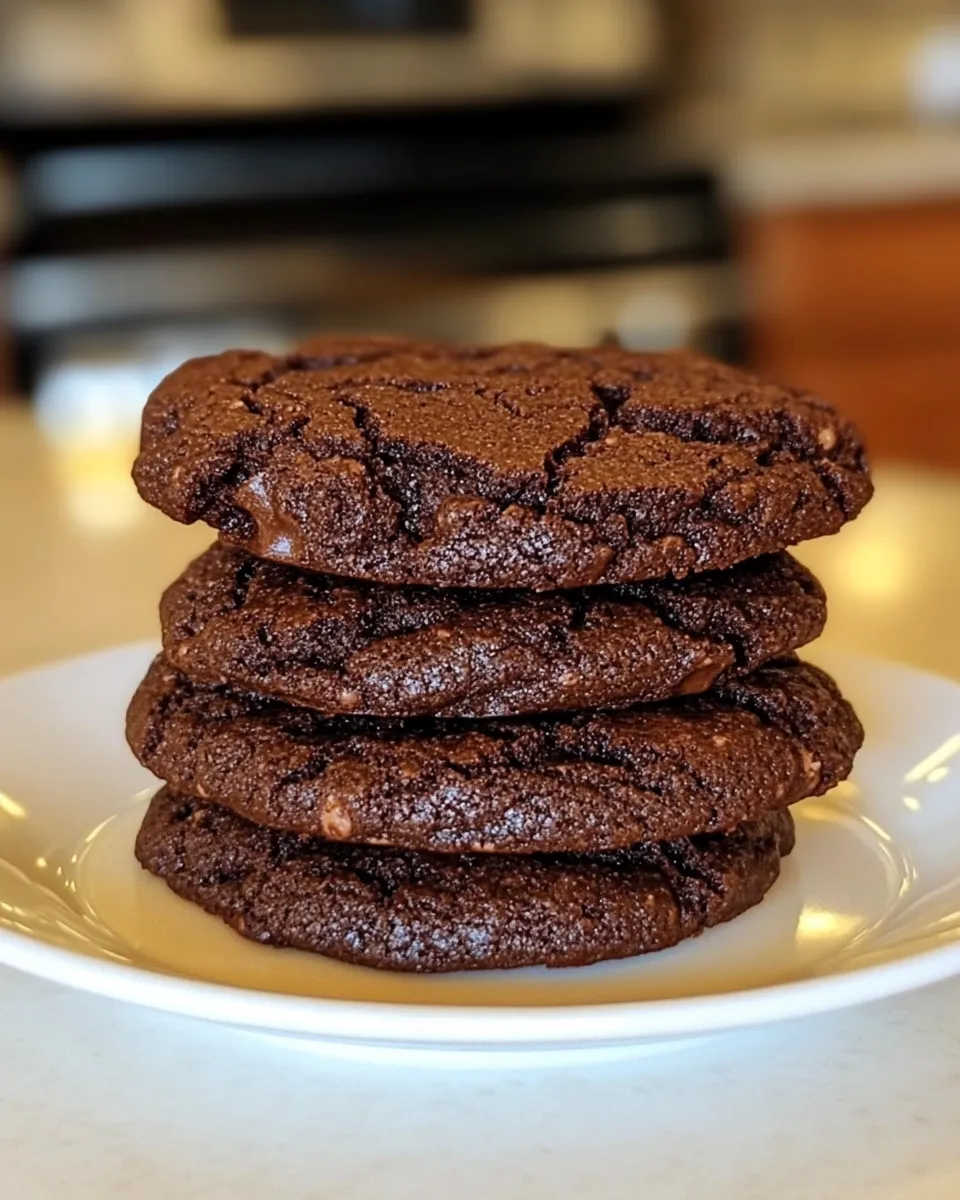
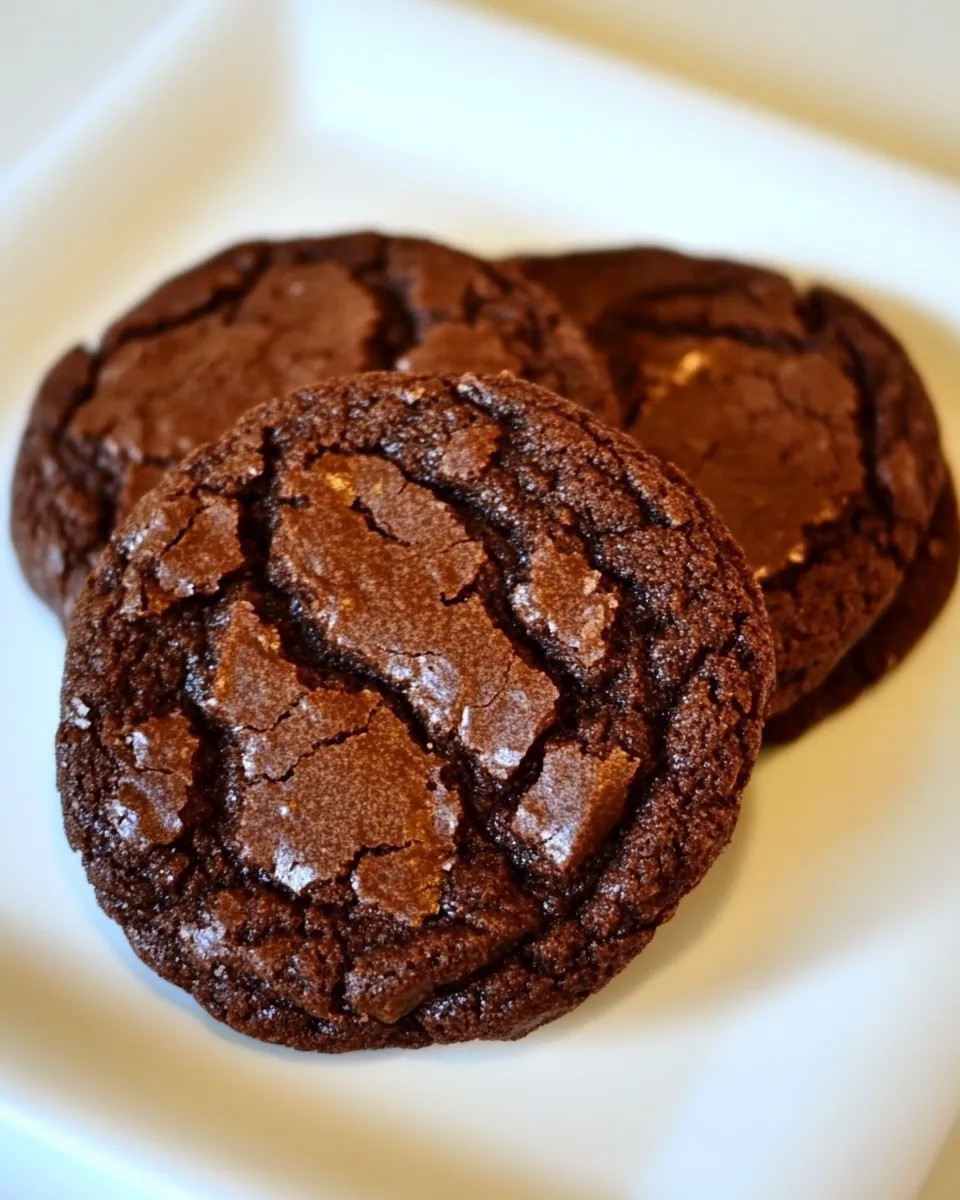
I love a cookie that arrives at the table with a little surprise — deep cocoa flavor, fudgy interior, and a texture that makes you stop scrolling and take a bite. These Cocoa Fudge Cookies are one of those timeless, low-fuss recipes I reach for when I want something chocolatey but uncomplicated. They come together fast and bake in under ten minutes, leaving you with a batch that stays tender and intensely chocolate-sweet.
This recipe is straightforward and forgiving. You don’t need sophisticated ingredients or a long list of tools. A quick melt of butter with cocoa and sugars gives you a rich base, and a modest amount of flour keeps the cookies tender rather than cakey. The plain low-fat yogurt contributes moisture and a little tang, balancing the cocoa without making the dough heavy.
Below you’ll find what to buy, the exact ingredients and amounts, a step-by-step guide using the recipe as written, and practical tips for storing, tweaking, and serving these Cocoa Fudge Cookies. I’ll keep it warm, practical, and useful — no fluff, only things that will improve your baking and the results.
What to Buy
Shop for quality basics and a few pantry staples. Look for unsweetened cocoa (not Dutch-processed unless you know what you’re doing with leavening), plain low-fat yogurt (single-serve cups are fine), and fresh butter. If possible, weigh or measure accurately — this recipe depends on precise small quantities for baking soda and salt to keep the cookies balanced.
Ingredients
- 1 cup all-purpose flour — provides structure; spoon and level for accuracy.
- ¼ teaspoon baking soda — the leavening agent; measure carefully to avoid off flavors.
- 1/8 teaspoon salt — enhances chocolate flavor; a small pinch makes a big difference.
- 5 tablespoons butter — melted to develop the fudgy base and carry the cocoa flavor.
- 7 tablespoons unsweetened cocoa — the recipe’s chocolate backbone; sift or whisk to remove lumps.
- 2/3 cup granulated sugar — adds sweetness and helps with spread and texture.
- 1/3 cup packed brown sugar — contributes chewiness and depth from the molasses.
- 1/3 cup plain low-fat yogurt — adds moisture and a subtle tang; helps keep cookies tender.
- 1 teaspoon vanilla extract — rounds and lifts the chocolate flavor.
Cocoa Fudge Cookies: Step-by-Step Guide
- Preheat oven to 350°F. Line 2 baking sheets with parchment paper or silicone baking mats and set aside.
- Lightly spoon 1 cup all-purpose flour into a dry measuring cup; level with a knife.
- In a bowl, sift together the measured flour, 1/4 teaspoon baking soda, and 1/8 teaspoon salt; set this dry mixture aside.
- In a large saucepan over medium heat, melt 5 tablespoons butter, stirring until fully melted.
- Remove the saucepan from the heat and immediately stir in 7 tablespoons unsweetened cocoa, 2/3 cup granulated sugar, and 1/3 cup packed brown sugar until the mixture is evenly combined and resembles coarse sand.
- Stir in 1/3 cup plain low-fat yogurt and 1 teaspoon vanilla extract until smooth and combined.
- Add the sifted flour mixture to the cocoa mixture and stir just until the dough is moist and evenly blended.
- Drop the dough by level tablespoons onto the prepared baking sheets, spacing cookies about 2 inches apart.
- Bake in the preheated oven for 8 to 10 minutes, or until the cookies are almost set.
- Remove the baking sheets from the oven and let the cookies cool on the pans for 2 to 3 minutes or until they are firm enough to transfer.
- Transfer cookies to wire racks and cool completely.
Why It Deserves a Spot
These cookies earn their place in any rotation because they’re fast, reliable, and intensely chocolaty without requiring chocolate chips or a double boiler. The method turns melted butter, cocoa, and sugars into a fudgy base that needs very little flour to keep the texture soft and slightly chewy. They’re an excellent make-and-share cookie: comforting, simple to portion, and quick enough to bake from start to finish in under 30 minutes.
They also scale well for last-minute needs. You can double the batch without extra technique and still get consistent results — as long as you maintain sheet spacing and watch the oven time closely. Because they’re not overloaded with add-ins, these cookies appeal to a wide range of palates and pair well with coffee, milk, or an evening tea.
Healthier Substitutions

This recipe is already modest in ingredients, but if you want small changes without reinventing the cookie, focus on smoothing or redistributing the existing components rather than introducing unfamiliar items.
- Swap full-fat butter for a slightly lower-fat block if you prefer, but expect a tiny change in richness; the recipe relies on melted butter for texture and flavor.
- Keep the plain low-fat yogurt — it helps with moisture while controlling fat for a lighter bite.
- Reduce the granulated sugar slightly for less sweetness; because sugar affects texture and spread, reduce by only small increments and test one batch first.
Small adjustments maintain the spirit of the recipe while letting you tune sweetness and richness. I recommend trying minor changes on a single tray before altering the full batch.
Gear Up: What to Grab
- Large saucepan — for melting butter and mixing the chocolate-sugar base.
- Mixing bowls — one for dry ingredients, one for combining wet and dry.
- Measuring cups and spoons — accurate measuring is important, especially for the small amounts of baking soda and salt.
- Spatula or wooden spoon — sturdy enough to mix slightly dense dough.
- Tablespoon or cookie scoop — to portion even cookies (the recipe calls for level tablespoons).
- Baking sheets and parchment paper or silicone mats — prevent sticking and promote even baking.
- Wire racks — for cooling the cookies completely after baking.
Steer Clear of These
- Over-measuring flour. Packing flour into the cup will yield dry cookies. Lightly spoon and level the 1 cup called for.
- Over-baking. Remove the cookies when they are almost set; they’ll firm up as they cool. Baking beyond 10 minutes can dry them out.
- Using sweetened cocoa or chocolate powder labeled “sweetened.” The recipe specifically calls for unsweetened cocoa for balanced flavor.
- Skipping the cooling step. Moving cookies too soon or leaving them on hot pans too long can cause them to stick or crumble.
Make It Fit Your Plan
Need to align these cookies with a meal plan or schedule? Here are practical, diet-friendly ideas without changing the core recipe dramatically:
- Portion control: Use a smaller scoop to yield bite-sized cookies. That stretches the batch and helps manage calories per serving.
- Pairing: Serve one cookie with a cup of coffee or tea for an afternoon treat; two with a tall glass of milk makes a satisfying dessert.
- Batch timing: Bake half the batch and freeze the rest of the dough (ball-shaped on a tray, then transferred to a container) for later — you’ll bake fresh cookies in minutes when desired.
Chef’s Notes
Here are the practical details I use every time I make these cookies so they turn out consistently well.
- Read the oven: Every oven is different. Start checking at the 8-minute mark. The cookies should look set but still soft in the center; they firm up while cooling.
- Spacing: Keep cookies about 2 inches apart to allow modest spread without merging.
- Texture: If you want a slightly flatter cookie, press the dough lightly before baking. For puffier cookies, chill the dropped dough for 10–15 minutes before baking.
- Smoothing the dough: If the cocoa mixture seems grainy from the sugars after stirring, a short rest for the butter to redistribute will help, or warm briefly off the heat and stir until smooth before adding yogurt.
Make-Ahead & Storage
These cookies store well and are very forgiving.
- Short term: Store completely cooled cookies in an airtight container at room temperature for up to 4 days. Separate layers with parchment to prevent sticking.
- Freeze: Freeze cooled cookies in a single layer on a tray until firm, then transfer to a freezer-safe bag or container. They keep for up to 3 months. Thaw at room temperature for 20–30 minutes before serving.
- Make-ahead dough: Scoop the dough onto a parchment-lined tray, freeze until firm, then store balls in a zip-top bag. Bake from frozen, adding a minute or two to the baking time and watching carefully.
Cocoa Fudge Cookies Q&A
Q: Can I add chocolate chips or nuts to this dough?
A: Yes. If you add mix-ins, fold them into the dough after step 7 and use a slightly smaller portion size if you want to maintain the number of cookies the recipe yields. Expect a change in texture — chips add pockets of melted chocolate and nuts add crunch.
Q: Why does the recipe call for both granulated and brown sugar?
A: Granulated sugar assists with spread and crisping at the edges, while brown sugar adds moisture and chew because of its molasses content. Together they balance sweetness and texture.
Q: Can I use Greek yogurt instead of plain low-fat yogurt?
A: Greek yogurt is thicker and more strained, which can add density. If using Greek, you may want to stir it slightly to loosen before adding so it incorporates readily; the cookies will still work but may be a touch firmer.
Q: My cookies came out dry. What went wrong?
A: The most common causes are over-measuring flour, over-baking, or reducing the wet ingredients. Double-check your measuring technique and oven temperature; remove cookies when they are almost set rather than fully firm.
Serve & Enjoy
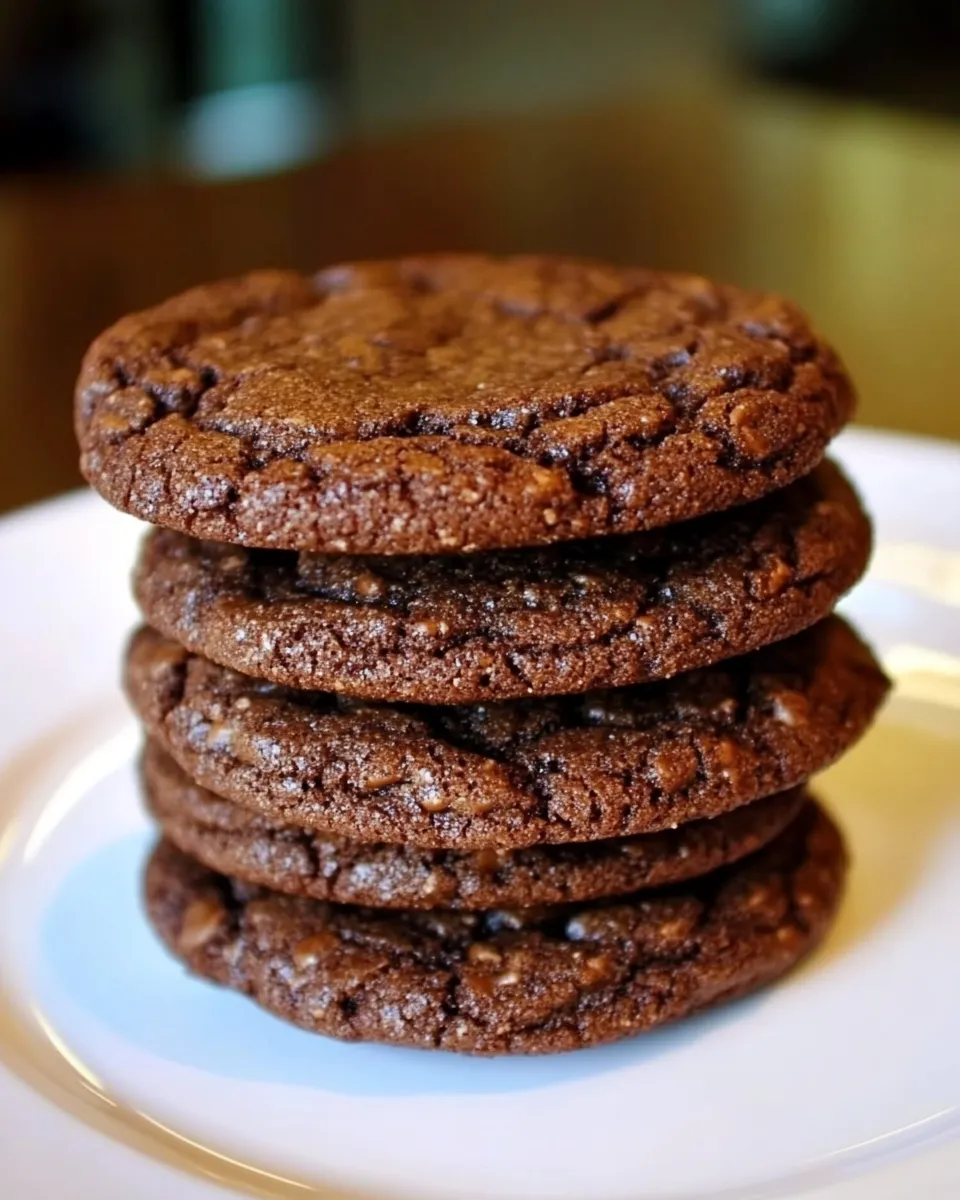
These Cocoa Fudge Cookies are happiest warm. Serve them straight from the cooling rack with a glass of milk or a hot cup of coffee. If you like a contrast in texture, press one cookie into a rack of cooled cookies to gift a sandwich cookie with vanilla ice cream or a spread of jam.
They’re perfect for a quick dessert, a bake sale tray, or a small thoughtful plate when you need a simple homemade touch. Make a batch, take one bite, and you’ll see why these have become a quiet favorite in my kitchen — chocolate-forward, tender, and reliably delicious.
Recipe for Cocoa Fudge Cookies
Ingredients
Equipment
Method
- Preheat oven to 350°F. Line 2 baking sheets with parchment paper or silicone baking mats and set aside.
- Lightly spoon 1 cup all-purpose flour into a dry measuring cup; level with a knife.
- In a bowl, sift together the measured flour, 1/4 teaspoon baking soda, and 1/8 teaspoon salt; set this dry mixture aside.
- In a large saucepan over medium heat, melt 5 tablespoons butter, stirring until fully melted.
- Remove the saucepan from the heat and immediately stir in 7 tablespoons unsweetened cocoa, 2/3 cup granulated sugar, and 1/3 cup packed brown sugar until the mixture is evenly combined and resembles coarse sand.
- Stir in 1/3 cup plain low-fat yogurt and 1 teaspoon vanilla extract until smooth and combined.
- Add the sifted flour mixture to the cocoa mixture and stir just until the dough is moist and evenly blended.
- Drop the dough by level tablespoons onto the prepared baking sheets, spacing cookies about 2 inches apart.
- Bake in the preheated oven for 8 to 10 minutes, or until the cookies are almost set.
- Remove the baking sheets from the oven and let the cookies cool on the pans for 2 to 3 minutes or until they are firm enough to transfer.
- Transfer cookies to wire racks and cool completely.