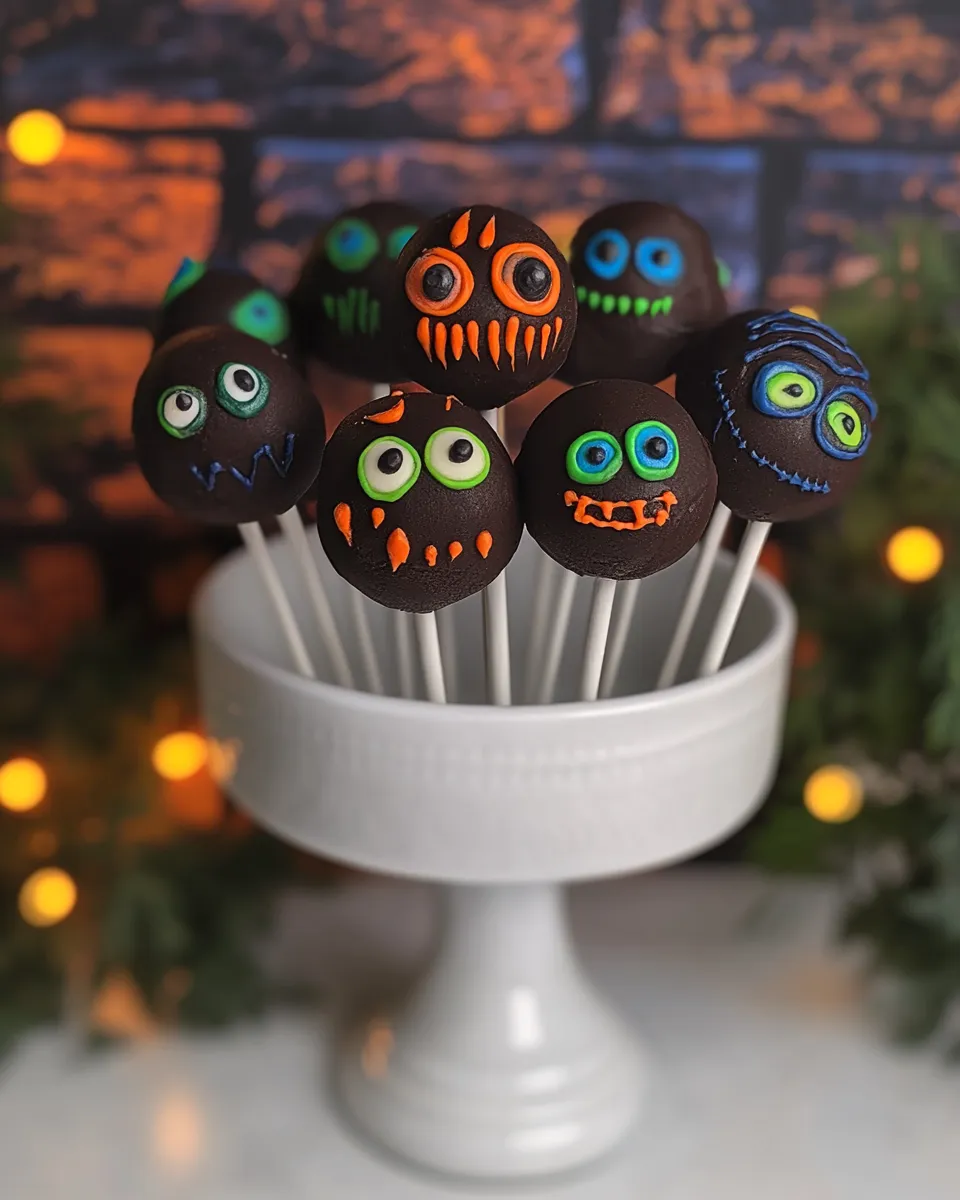
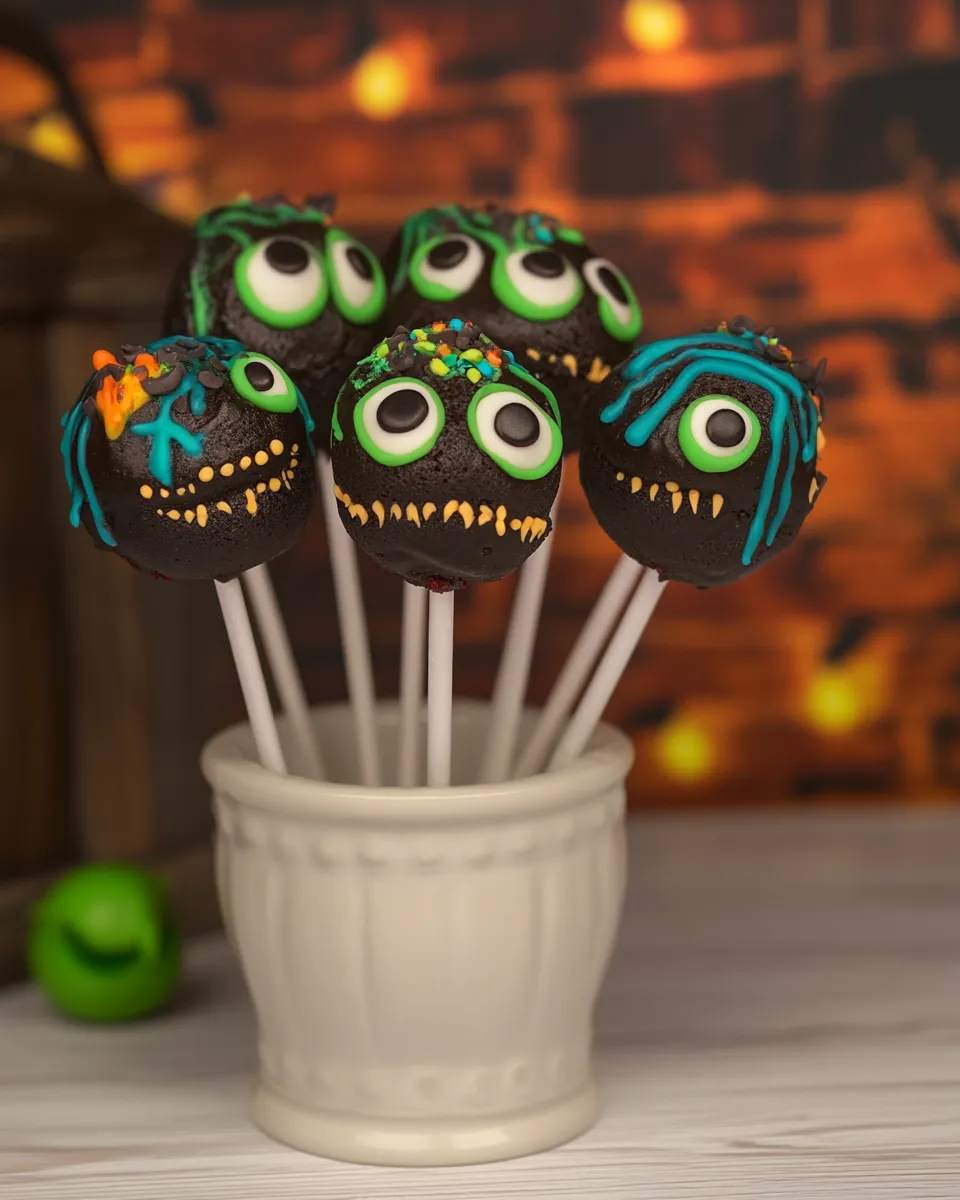
Red Velvet Monster Cake Pops
These Red Velvet Monster Cake Pops are a playful way to turn the classic red velvet cake into handheld treats with big personality. They’re sturdy enough to make ahead, forgiving in the assembly, and they bring a lot of visual impact for relatively little work. I keep my instructions tight so you can get through the bake, the mix, and the decorating without second-guessing every step.
If you’re short on time, focus on baking the cake and making the frosting the same day, then form and chill the pops for decorating later. The method below follows a straightforward cake-then-frosting-then-roll routine so each stage finishes cleanly. Read through the steps once before you start. Then work in stages: bake, cool, crumble, mix, chill, dip, decorate.
What Goes Into Red Velvet Monster Cake Pops
These cake pops use a classic red velvet batter and a simple butter-based frosting that acts as the binder. The chocolate coating stabilizes the small rounds and gives you a surface for eyes, sprinkles, and other monster details. Everything you need is listed below. No specialized bakery ingredients are required.
Ingredients
- ¼ cup unsalted butter, softened — adds richness and helps the cake structure.
- ½ cup caster sugar — fine sugar dissolves quickly for even sweetness.
- 2 large eggs — bind and leaven the batter.
- 2½ tbsp cooking oil — keeps the cake moist.
- 1 tsp unsweetened cocoa powder — a small amount adds classic red velvet flavor without making the cake chocolatey.
- 2 tbsp red food coloring (liquid) — gives the cake its vivid red color.
- 1 tsp pure vanilla extract — flavor enhancer.
- 2 tsp white vinegar — reacts with baking soda for lift and helps red velvet tang.
- 1¼ cups all-purpose flour — the primary structure for the cake.
- ½ tsp baking soda — leavening agent that reacts with vinegar.
- ½ tsp salt — balances sweetness and enhances flavor.
- ½ cup buttermilk — acidity and moisture for tender crumb.
- ⅓ cup unsalted butter, softened — for the frosting base.
- 2 cups powdered sugar — sweetens and stiffens the frosting.
- ½ tsp pure vanilla extract — flavor for the frosting.
- 5 tbsp heavy whipping cream — thins and lightens the frosting; makes it spreadable.
- 1 pinch salt — rounds out the frosting’s sweetness.
- 2½ cups melted chocolate (milk, dark, or white) — your choice — coating and decoration base.
- Food coloring — optional, especially for white chocolate which takes color best.
- White and black fondant — to create monster eyes and details.
- Sprinkles, crumbs, or extra chocolate drizzle — for finishing touches and texture.
Cooking Red Velvet Monster Cake Pops: The Process
- Preheat the oven to 350°F (175°C). Lightly grease and line an 8-inch (20 cm) baking pan with non-stick spray or parchment paper.
- In a large bowl, beat ¼ cup softened unsalted butter and ½ cup caster sugar together until pale and fluffy, about 2–3 minutes.
- Add the 2 large eggs one at a time, beating well after each addition until fully incorporated.
- In a smaller bowl, whisk together 2½ tbsp cooking oil, 1 tsp unsweetened cocoa powder, 2 tbsp red food coloring (liquid), and 1 tsp pure vanilla extract until smooth.
- Stir the oil–cocoa–coloring mixture into the creamed butter and sugar mixture until combined. Add 2 tsp white vinegar and mix briefly to combine.
- In a separate bowl, sift together 1¼ cups all-purpose flour, ½ tsp baking soda, and ½ tsp salt.
- Add half of the dry ingredients to the wet mixture and mix until just combined. Add half of the ½ cup buttermilk and mix until just combined. Repeat with the remaining dry ingredients and the remaining buttermilk, mixing until the batter is smooth and even.
- Pour the batter into the prepared pan and smooth the top. Bake for 25–30 minutes, or until a toothpick inserted into the center comes out clean.
- Remove the pan from the oven and transfer the cake to a wire rack. Cool completely before proceeding (do not make the cake balls while the cake is warm).
- While the cake cools, make the frosting: in a medium bowl, beat ⅓ cup softened unsalted butter and a pinch of salt for about 1 minute until smooth.
- Gradually add 2 cups powdered sugar and beat until the mixture is fluffy.
- Add ½ tsp pure vanilla extract, then add 5 tbsp heavy whipping cream while mixing. Beat until the frosting is smooth, light, and spreadable. Set the frosting aside.
- When the cake is completely cool, crumble it finely with your hands or a fork into a large bowl.
- Add the frosting to the crumbled cake a spoonful at a time, mixing after each addition, until the mixture holds together when pressed but is not overly wet.
- Divide the mixture and roll into 15 even balls. Place the balls on a baking sheet lined with parchment paper.
- Insert a cake pop stick into each ball (if using sticks) or leave as balls for stickless decorating, then chill in the refrigerator until firm, about 30–60 minutes.
- Melt 2½ cups of your chosen chocolate (milk, dark, or white) in a microwave in 20–30 second bursts, stirring between bursts, or melt in a double boiler until smooth. If desired, add food coloring to the melted chocolate (note: white chocolate takes color best).
- Dip each chilled cake pop into the melted chocolate, gently tapping or swirling to remove excess so the coating is even. Return each popped cake to an upright position in a styrofoam block or holder to set.
- Decorate the coated cake pops as desired with sprinkles, crumbs, or extra chocolate drizzle. To make an eye, cut a larger white fondant circle and a smaller black fondant circle and attach them to the coated pop.
- Allow the chocolate coating to set completely before serving.
- Store finished cake pops in an airtight container in the refrigerator for up to 5 days.
Reasons to Love Red Velvet Monster Cake Pops
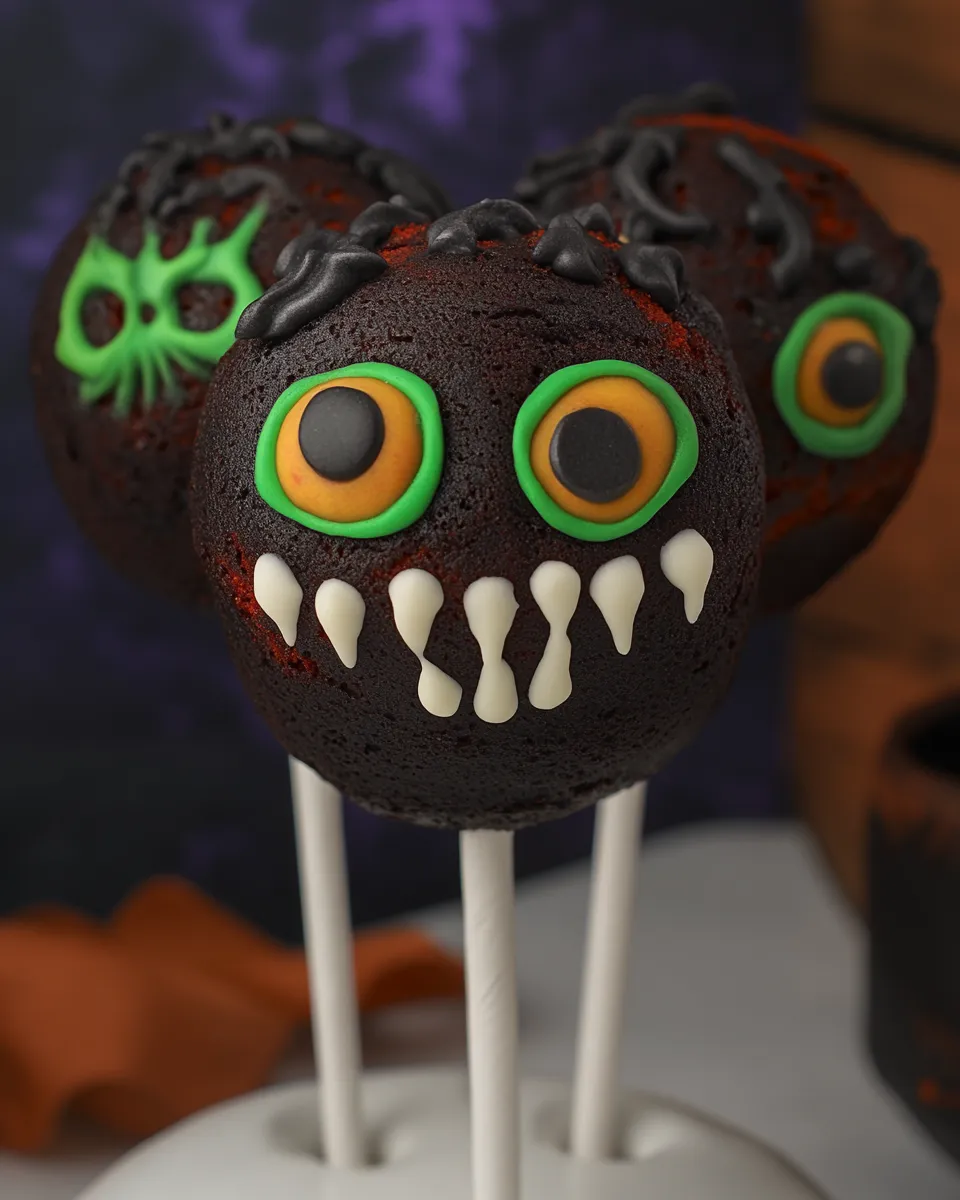
They’re portable, portion-controlled, and kid-approved. One bite gives you cake, frosting, and a crunchy chocolate shell. That contrast—soft interior, crisp exterior—makes them feel special. You can scale decorations for a simple party favor or go all-out with fondant eyes, drizzles, and sprinkles for a themed dessert table.
They’re also forgiving. The cake-frosting binder lets you adjust moisture: if the mix feels dry, add a little more frosting; if it feels too wet, a short chill fixes the texture. And the basic recipe works with any chocolate coating choice, so you can match flavors to your crowd quickly.
No-Store Runs Needed
Before you start, check your pantry for these essentials so you don’t make an extra trip:
- Basic dry goods: all-purpose flour, baking soda, powdered sugar.
- Cake basics: butter, eggs, caster sugar, buttermilk, cooking oil.
- Decorating basics: chocolate for coating, food coloring, fondant or sprinkles.
If you have the ingredients above, you can complete the entire project without an emergency run. The only things people commonly forget are cake pop sticks and a block or holder to set dipped pops—both optional, because the recipe includes a stickless option.
Cook’s Kit
- 8-inch (20 cm) baking pan — for the cake.
- Mixing bowls — at least two, one large, one medium.
- Electric mixer or sturdy whisk — an electric mixer makes the frosting and creaming faster.
- Measuring cups and spoons — accuracy matters for rise and texture.
- Wire rack — cool the cake evenly.
- Baking sheet and parchment paper — roll and chill the pops on a lined sheet.
- Microwave-safe bowl or double boiler — melt chocolate safely.
- Styrofoam block or holder — optional, to stand pops upright while coating sets.
- Cake pop sticks — optional, for serving and display.
Common Errors (and Fixes)
Dense or dry cake
If the cake turns out dense, double-check your leavening: ½ tsp baking soda plus 2 tsp vinegar are the lift system here. Also, avoid overmixing the batter after adding the flour; mix until just combined. If the cake is dry, the crumb will be drier to crumble; compensate by adding frosting a spoonful at a time until the mix binds.
Mixture too wet or too dry for rolling
If the cake-frosting mix is too wet, chill it in the refrigerator for 10–15 minutes to firm up before rolling. If it’s too dry and crumbly, add a small additional amount of frosting, a half teaspoon at a time, until it holds when pressed.
Coating slips off or cracks
Make sure the pops are chilled thoroughly before dipping. Warm cake balls cause condensation under the coating and can lead to slipping. Also, tempering or gently cooling the melted chocolate to a workable temperature prevents cracking as it sets.
Fondant eyes fall off
Attach fondant pieces while the coating is still slightly tacky. If the coating has fully set, use a dab of melted chocolate as “glue” to secure fondant pieces.
Better Choices & Swaps
Stick with the ingredients in the recipe for the most reliable results, but here are a few choices that won’t break the method:
- Chocolate coating: use milk, dark, or white chocolate per your preference—the recipe calls for 2½ cups and notes white chocolate takes color best.
- Food coloring: the recipe uses liquid red coloring; gel works too and is often more concentrated (reduce quantity), but white chocolate accepts color more evenly.
- Sticks or no sticks: the instructions accept both approaches; use sticks for presentation and stickless for easier storage and transport.
If You’re Curious
Why add a small amount of cocoa powder? In red velvet recipes, a hint of cocoa deepens the flavor and balances the tang from buttermilk and vinegar without turning the cake into a chocolate cake. The vinegar and baking soda interaction gives lift and a very tender crumb, which is ideal for making uniform cake balls.
And yes: white chocolate is easier to color because it lacks the brown pigments of milk or dark chocolate. If you want vividly colored monster shells, melt white chocolate and tint with food coloring before dipping.
Keep-It-Fresh Plan
Store finished cake pops in an airtight container in the refrigerator for up to 5 days. Place them in a single layer or with parchment separators to keep decorations intact. Bring them to room temperature for 10–20 minutes before serving so the interior softens slightly and the coating isn’t too firm.
Red Velvet Monster Cake Pops Q&A
Can I freeze these? Yes, you can freeze undecorated cake balls for up to a month. Freeze them solid on a lined sheet, then transfer to a sealed container. Thaw in the refrigerator before dipping and decorating.
What if my cake is still warm? Do not make the cake balls while the cake is warm. Warm cake yields a soggy mixture. Cool completely on a wire rack before crumbling.
How do I get even-sized pops? Use a small cookie scoop or scale portions so all balls are equal. That helps with even chilling and consistent dipping.
Can I use store-bought frosting? The recipe includes a simple butter-based frosting that doubles as the binder. If you want to substitute, choose a thick, scoopable frosting that won’t make the mixture runny. Add it little by little to reach the right consistency.
Serve & Enjoy
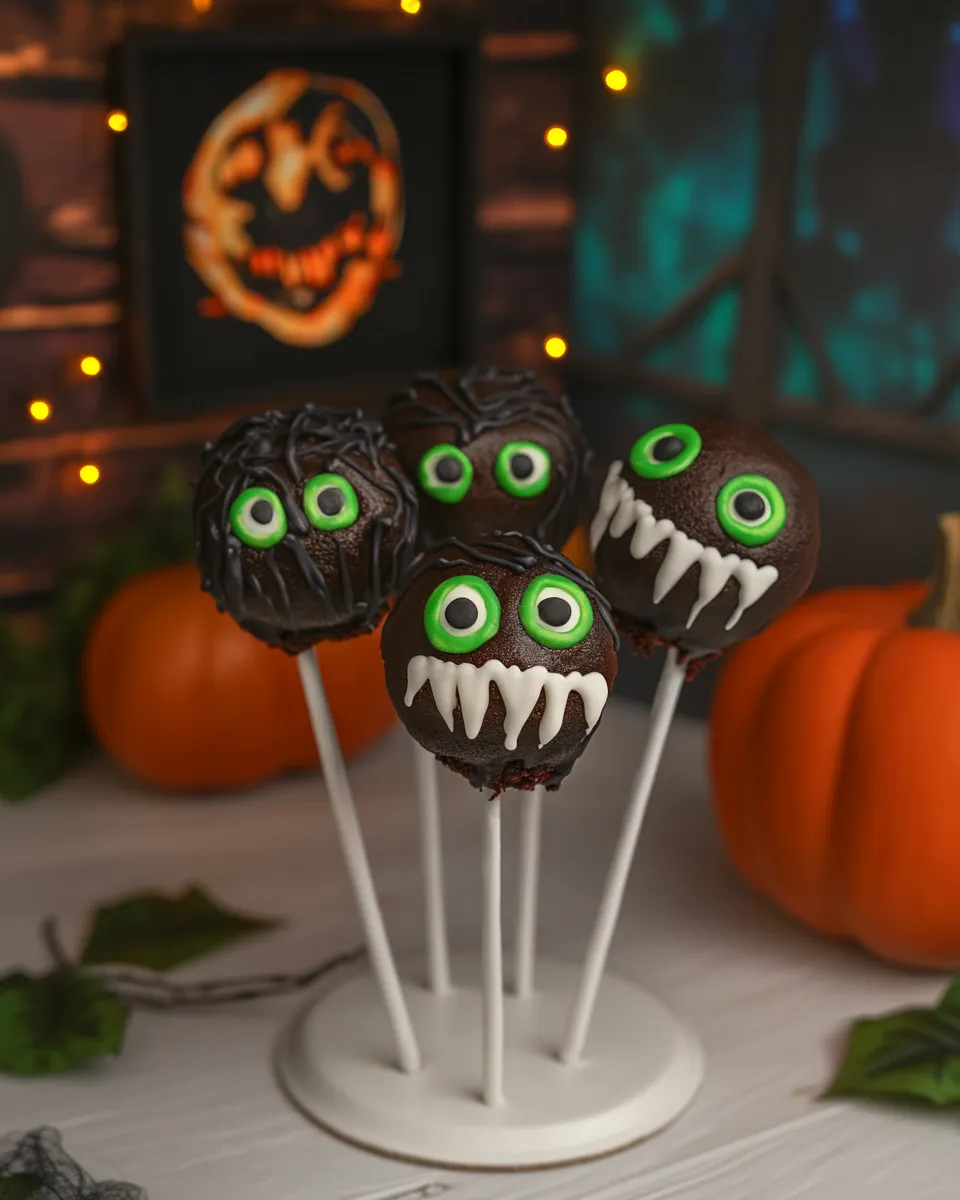
Arrange your Red Velvet Monster Cake Pops upright in a holder, or lay them gently on a platter with a few extra sprinkles scattered around. They’re perfect for birthday parties, holiday gatherings, or any moment that could use a playful dessert. Let guests admire the monsters, then enjoy the crisp chocolate shell giving way to soft, sweet red velvet inside.
If you make these, take a photo and note any tweaks you tried—temperature, chocolate type, or fondant shapes—so your next batch is even easier. Happy baking and decorating.
Red Velvet Monster Cake Pops
Ingredients
Equipment
Method
- Preheat the oven to 350°F (175°C). Lightly grease and line an 8-inch (20 cm) baking pan with non-stick spray or parchment paper.
- In a large bowl, beat ¼ cup softened unsalted butter and ½ cup caster sugar together until pale and fluffy, about 2–3 minutes.
- Add the 2 large eggs one at a time, beating well after each addition until fully incorporated.
- In a smaller bowl, whisk together 2½ tbsp cooking oil, 1 tsp unsweetened cocoa powder, 2 tbsp red food coloring (liquid), and 1 tsp pure vanilla extract until smooth.
- Stir the oil–cocoa–coloring mixture into the creamed butter and sugar mixture until combined. Add 2 tsp white vinegar and mix briefly to combine.
- In a separate bowl, sift together 1¼ cups all-purpose flour, ½ tsp baking soda, and ½ tsp salt.
- Add half of the dry ingredients to the wet mixture and mix until just combined. Add half of the ½ cup buttermilk and mix until just combined. Repeat with the remaining dry ingredients and the remaining buttermilk, mixing until the batter is smooth and even.
- Pour the batter into the prepared pan and smooth the top. Bake for 25–30 minutes, or until a toothpick inserted into the center comes out clean.
- Remove the pan from the oven and transfer the cake to a wire rack. Cool completely before proceeding (do not make the cake balls while the cake is warm).
- While the cake cools, make the frosting: in a medium bowl, beat ⅓ cup softened unsalted butter and a pinch of salt for about 1 minute until smooth.
- Gradually add 2 cups powdered sugar and beat until the mixture is fluffy.
- Add ½ tsp pure vanilla extract, then add 5 tbsp heavy whipping cream while mixing. Beat until the frosting is smooth, light, and spreadable. Set the frosting aside.
- When the cake is completely cool, crumble it finely with your hands or a fork into a large bowl.
- Add the frosting to the crumbled cake a spoonful at a time, mixing after each addition, until the mixture holds together when pressed but is not overly wet.
- Divide the mixture and roll into 15 even balls. Place the balls on a baking sheet lined with parchment paper.
- Insert a cake pop stick into each ball (if using sticks) or leave as balls for stickless decorating, then chill in the refrigerator until firm, about 30–60 minutes.
- Melt 2½ cups of your chosen chocolate (milk, dark, or white) in a microwave in 20–30 second bursts, stirring between bursts, or melt in a double boiler until smooth. If desired, add food coloring to the melted chocolate (note: white chocolate takes color best).
- Dip each chilled cake pop into the melted chocolate, gently tapping or swirling to remove excess so the coating is even. Return each popped cake to an upright position in a styrofoam block or holder to set.
- Decorate the coated cake pops as desired with sprinkles, crumbs, or extra chocolate drizzle. To make an eye, cut a larger white fondant circle and a smaller black fondant circle and attach them to the coated pop.
- Allow the chocolate coating to set completely before serving.
- Store finished cake pops in an airtight container in the refrigerator for up to 5 days.
Notes
Add frosting gradually; you only need enough to hold the crumbs together.
If the mixture feels too soft,chill it for 10–15 minutes before shaping.
White chocolate works bestif you want to tint your monsters with bright colors.
Dip the end of each stick in melted chocolate before inserting it— it keeps the pops secure.
Let the coating set at room temperaturebefore refrigerating to avoid cracks.
Store in an airtight containerin the fridge for up to 5 days or freeze for up to 1 month.