Rice Krispie Treats Recipe
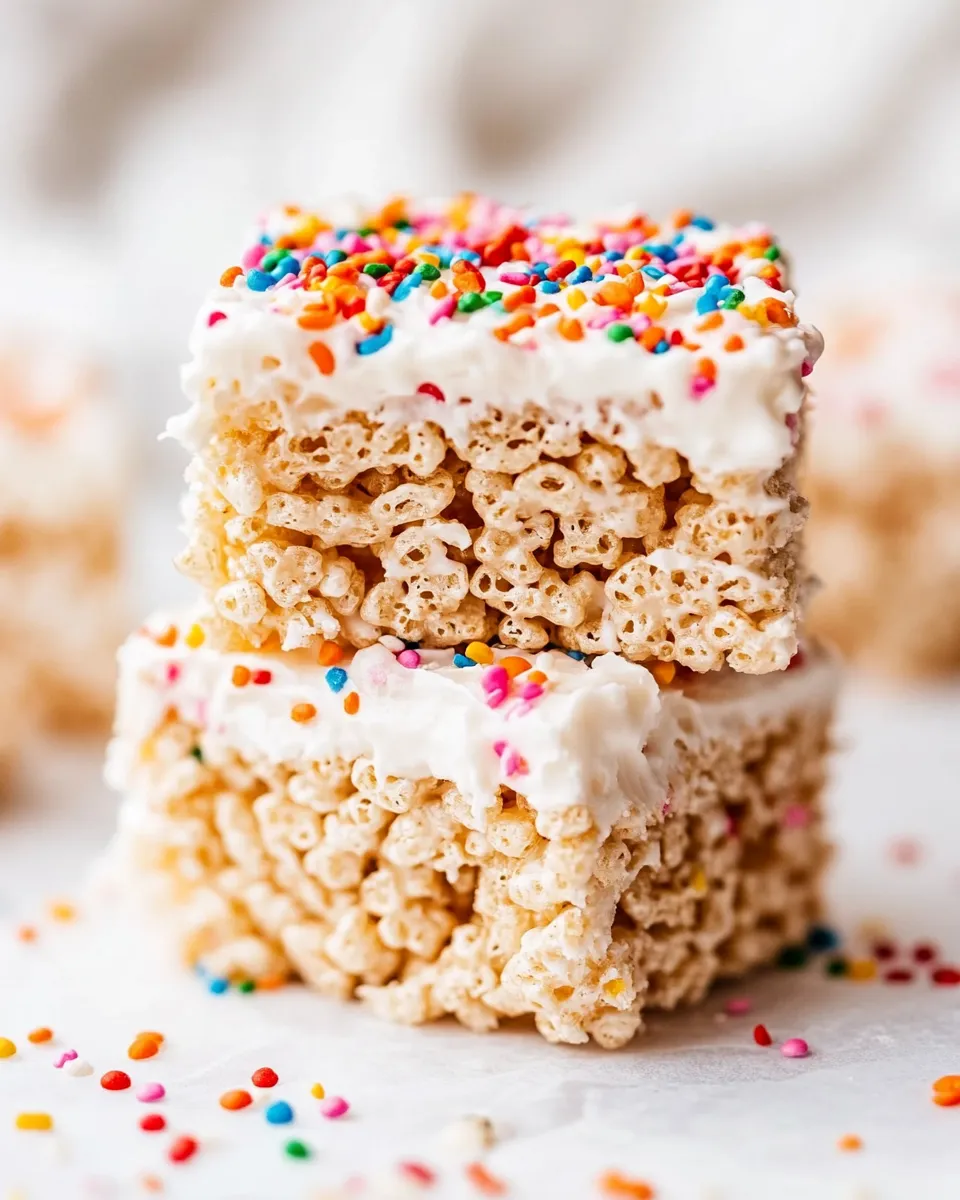
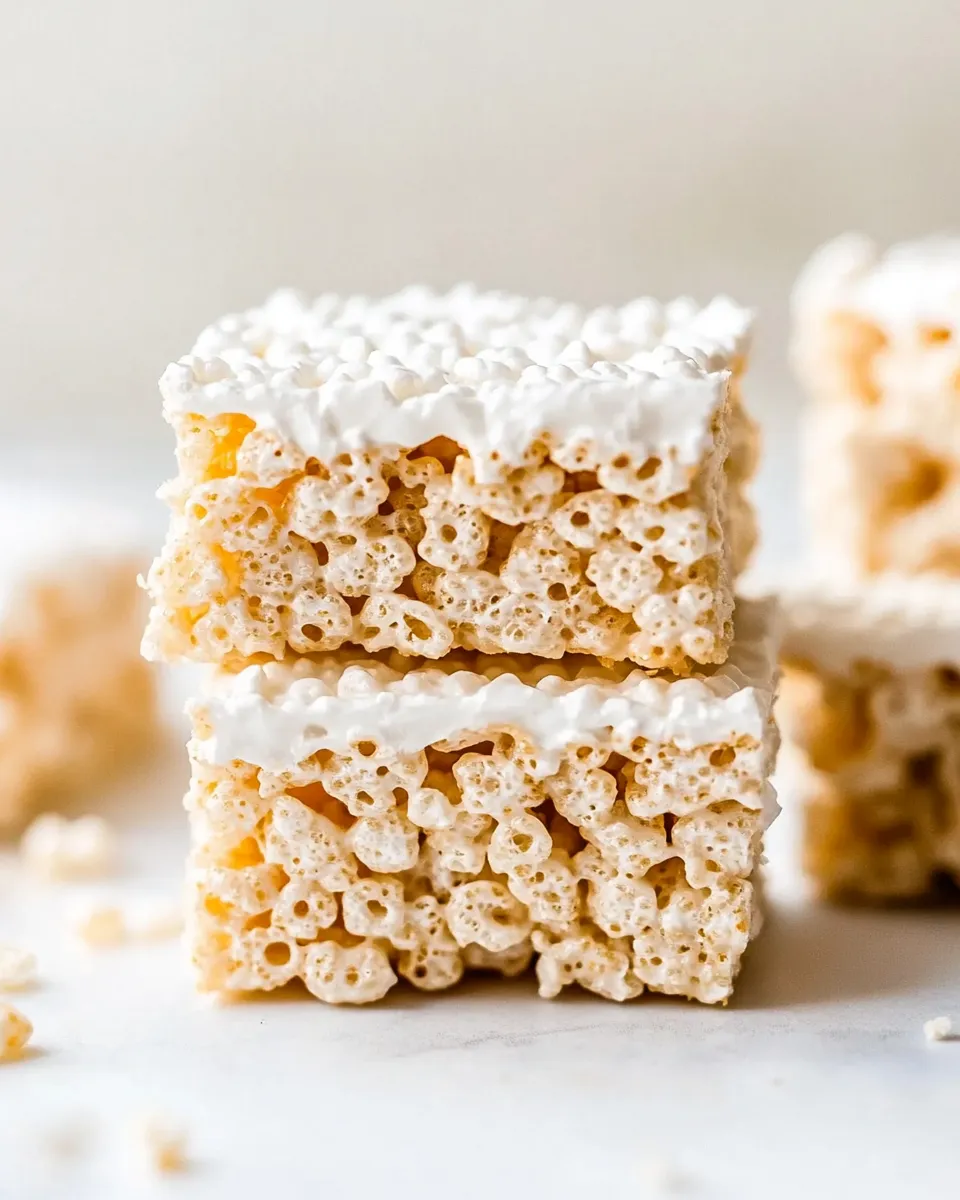
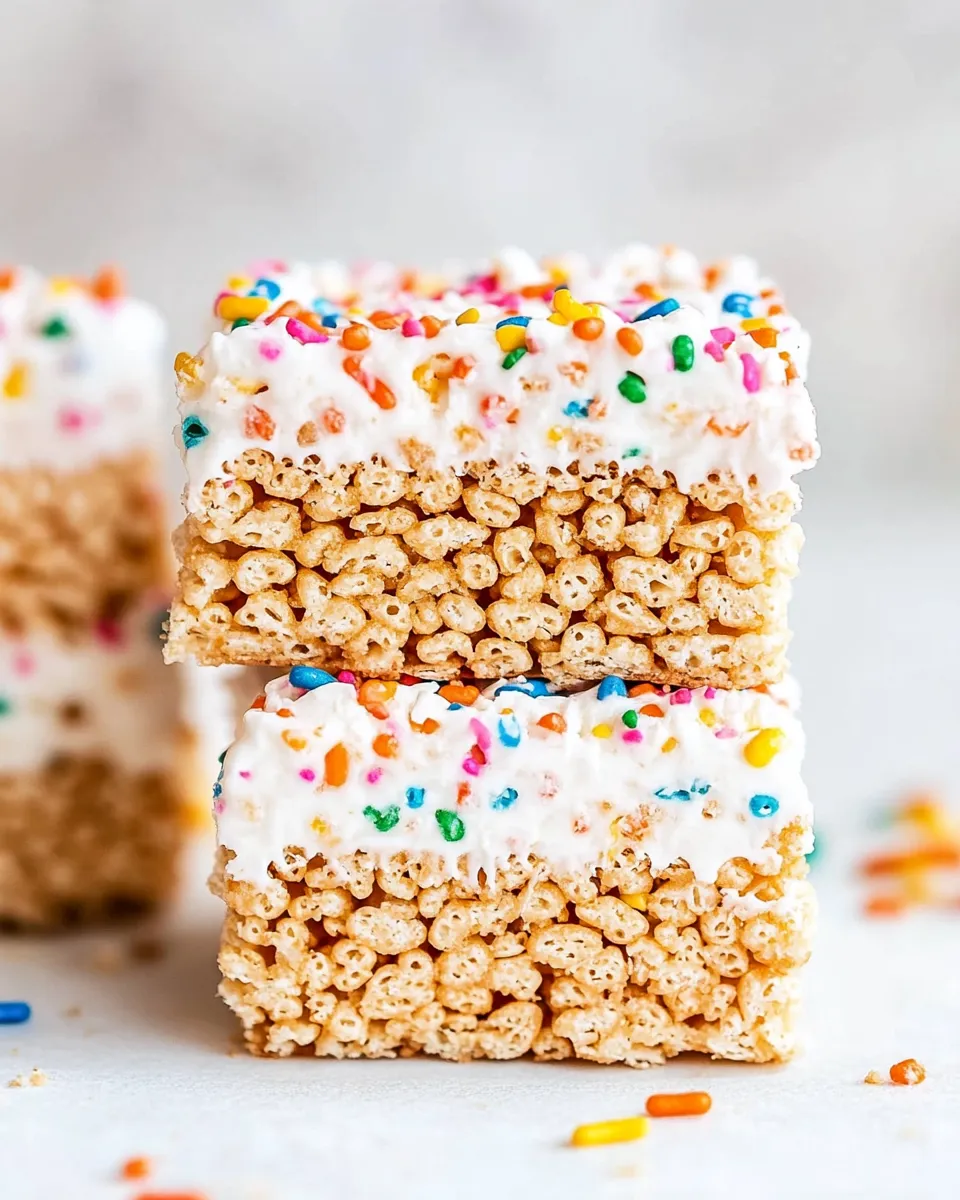
These Rice Krispie treats are the kind of recipe I reach for when I want something impossibly quick but still crowd-pleasing. They come together in a single pot, use pantry-stable ingredients, and set up in about half an hour. The outside is lightly crisp, the inside remains soft and chewy, and the white chocolate drizzle gives the whole tray a little polish without fuss.
I like to make a pan when friends drop by, but these are just as good wrapped individually for a lunchbox or sliced into squares for a bake sale. The steps are straightforward, and there are a few small tricks I use to keep the texture tender and the cleanup easy. You’ll find those sprinkled through the method and the troubleshooting section.
Keep your marshmallows on hand and your hands lightly greased. This isn’t ambitious cooking — it’s reliable, fast, and forgiving. If you want to personalize the bars, there are swaps and seasonal ideas later on that won’t break the method or the timing.
What Goes In
- 5 tablespoons unsalted butter — melts to make the marshmallow mixture silky and controls salt level; unsalted gives you control.
- 1 (16-ounce) bag miniature marshmallows, divided — most melt into the base; reserve a small portion to fold in for extra chew and texture.
- 6 cups Rice Krispies cereal — the structural crisp element; other crispy rice cereals can substitute if needed.
- 1/4 teaspoon salt — balances sweetness and enhances the vanilla.
- 1 teaspoon vanilla extract — adds depth and rounds flavor.
- 1/3 cup white chocolate chips — melts to a drizzle; you can use milk, semi-sweet, or dark chocolate instead if you prefer.
- 1/4 teaspoon vegetable oil — thins the white chocolate so it drizzles smoothly.
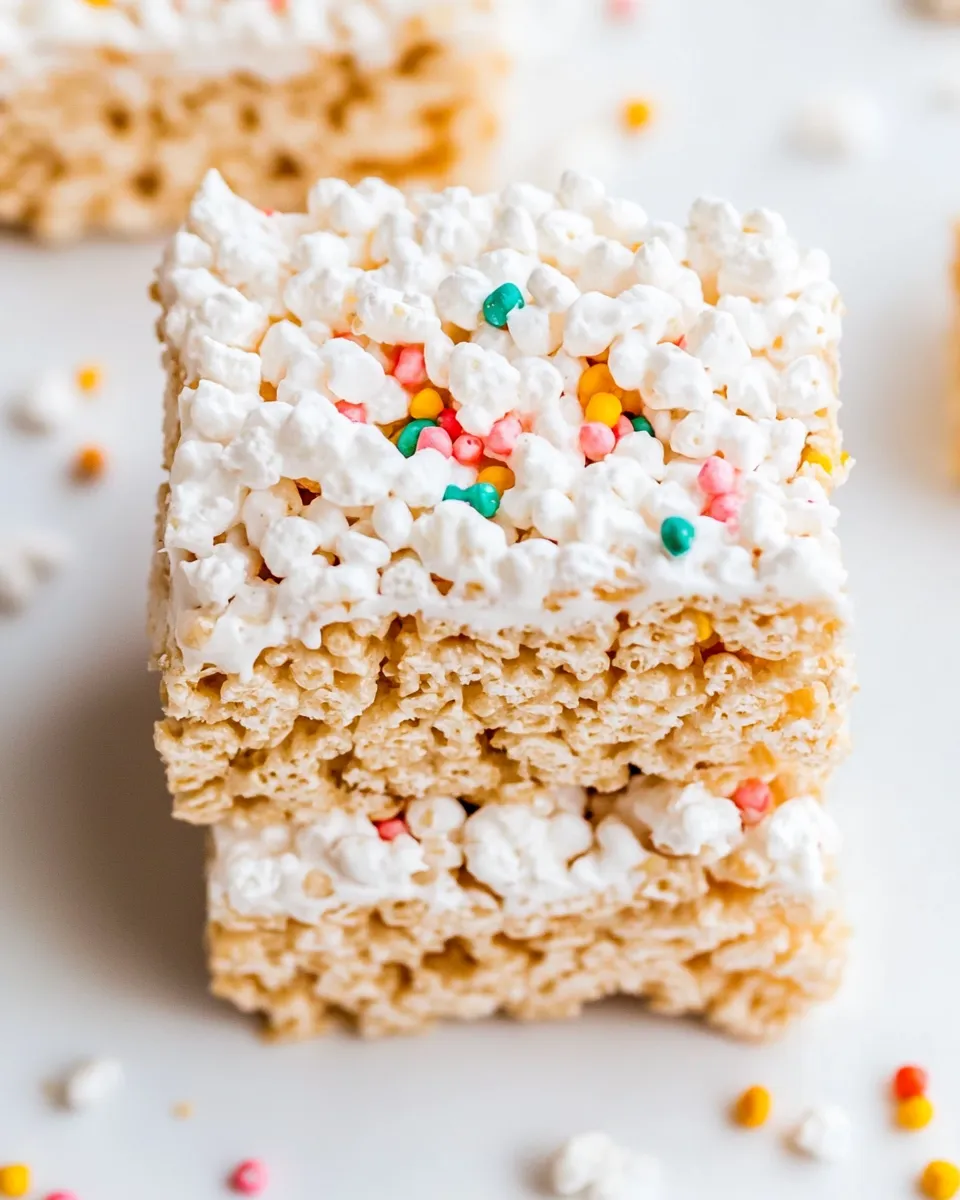
- Sprinkles — optional, for color and a bit of crunch; add while drizzle is still wet.
Method: Rice Krispie Treats
- Line a 9×9-inch pan with parchment paper or foil, leaving an overhang to lift the bars later. Lightly spray the lined pan with cooking spray. Set aside.
- In a very large pot, melt 5 tablespoons unsalted butter over medium-low heat, stirring occasionally. When the butter is fully melted, reduce the heat to low.
- Add most of the 1 (16-ounce) bag miniature marshmallows (the bag is divided; reserve the remainder to add later). Stir constantly over low heat until the marshmallows are just melted and the mixture is smooth.
- Remove the pot from heat and stir in 1/4 teaspoon salt and 1 teaspoon vanilla extract until combined.
- Add 6 cups Rice Krispies cereal to the melted marshmallow mixture. Stir quickly and thoroughly until the cereal is evenly coated.
- Add the reserved miniature marshmallows from the bag to the pot and stir until they are incorporated and the mixture is uniform. Do not overmix.
- Pour the mixture into the prepared pan. Lightly spray your hands with cooking spray (or grease them) and gently press the mixture into an even layer in the pan, pressing only enough to compact slightly—avoid pressing too hard to keep the treats soft and chewy.
- Let the pan sit at room temperature until the treats have set, about 30 minutes.
- While the treats cool, place 1/3 cup white chocolate chips and 1/4 teaspoon vegetable oil in a microwave-safe bowl. Microwave in 15-second bursts, stirring between each burst, until the chocolate is melted and smooth.
- Transfer the melted white chocolate to a resealable plastic bag, snip off a corner, and drizzle the chocolate evenly over the cooled bars. Immediately add sprinkles, if using. Allow the chocolate to harden at room temperature.
- Use the parchment overhang to lift the bars from the pan. For cleaner slices, run a sharp knife under hot water, dry it, and cut the bars. These treats are best enjoyed the same day.
What Makes This Recipe Special
It’s the texture and the timing. The method keeps the marshmallows just melted, which maintains chew without becoming gluey. Adding a portion of the miniature marshmallows after the cereal is folded in creates tiny pockets of marshmallow that soften the bite and add a pleasant, pillowy contrast to the crispy cereal.
The white chocolate drizzle is a small step that makes a big difference visually and texturally. It’s optional, but it gives the bars a finished look for gifting or entertaining. The drizzle also introduces a creamy, slightly fatty note that complements the corny sweetness of the cereal.
Budget & Availability Swaps
- Rice Krispies cereal — any crispy rice cereal works. Generic brands save money and give nearly the same texture.
- White chocolate chips — swap for milk, semi-sweet, or dark chocolate chips if white chocolate is expensive or unavailable.
- Miniature marshmallows — most stores carry them year-round. If you only find large marshmallows, chop them and measure an equivalent volume; results will be similar but the melt time may change slightly.
- Butter — stick with unsalted if possible; if you must use salted butter, omit or reduce the added salt to taste.
Gear Checklist
- Large pot — wide is better for stirring and coating cereal evenly.
- 9×9-inch pan — the recipe is sized for this; using a larger pan will make thinner bars.
- Parchment paper or foil — for easy lift-out and cleaner cuts.
- Cooking spray — prevents sticking; you can also use a light buttering.
- Rubber spatula or wooden spoon — for folding without crushing cereal.
- Microwave-safe bowl and a resealable plastic bag — for melting and drizzling chocolate.
- Sharp knife and a bowl of hot water — for cleaner slices.
Troubleshooting Tips
Marshmallows won’t fully melt
Keep the heat low. Marshmallows scorch quickly at medium-high heat and become grainy. If some bits remain, remove from heat and keep stirring; residual warmth will usually finish the job.
Treats are too hard or dense
That usually comes from over-pressing the mixture into the pan. Press only enough to compact slightly. If you pressed too hard, warm the underside of the pan briefly in a low oven (covered) to soften slightly, then loosen with a knife and slice gently.
Treats are sticky and won’t set
Room temperature and humidity affect setting time. Let the pan sit longer than 30 minutes in a cool, dry spot. Do not refrigerate to speed setting — that can make them tough.
White chocolate seizes or becomes grainy
White chocolate is sensitive to overheating. Microwave in short bursts and stir thoroughly between bursts. Adding a touch of vegetable oil as instructed helps with smoothness. If it seizes, start fresh or add a small drizzle of warm cream if you keep it on hand.
Seasonal Twists
- Autumn: Stir in 1/2 teaspoon ground cinnamon with the salt and vanilla, and use seasonal sprinkles or a drizzle of caramel instead of white chocolate.
- Winter holidays: Fold in a handful of crushed peppermint candies (after step 6) or top with red-and-green sprinkles while the drizzle is wet.
- Spring: Brighten with lemon or orange zest added with the vanilla for a citrus lift; use pastel sprinkles.
- Summer: Fold in a few tablespoons of freeze-dried berries for a fruity pop that won’t make the mixture soggy.
Flavor Logic
Every ingredient has a purpose. Butter carries flavor and helps melt the marshmallows into a cohesive coating. Salt cuts the sweetness and brings out the vanilla. Vanilla extract gives personality to a very sweet base. The reserved miniature marshmallows add chew and pockets of texture without upsetting the overall structure. White chocolate adds creaminess and a contrast to the crunchy cereal.
Think about balance: too much pressing loses chewiness; too little mixing leaves uneven pockets. Keep the process intentional and you’ll get an even texture and flavor in every bite.
Cooling, Storing & Rewarming
- Cooling: Let the pan sit at room temperature until set, about 30 minutes. Do not refrigerate to speed the process; rapid cooling can change texture.
- Storing at room temperature: Place bars in an airtight container layered with parchment and store at room temperature for up to 2 days for best texture.
- Storing longer: For up to a week, wrap bars individually in plastic wrap and store in an airtight container in a cool, dry place. They’ll stay chewy but lose the “fresh-from-the-pan” softness over time.
- Freezing: Wrap tightly in plastic and then foil, and freeze up to 1 month. Thaw at room temperature before unwrapping to avoid condensation making them soggy.
- Rewarming: If you want the “just-made” feel, warm a bar in 5–8 second bursts in the microwave — careful, it softens quickly.
Popular Questions
- Can I make these gluten-free? Use a certified gluten-free crispy rice cereal. Check marshmallow labeling if you require certified gluten-free.
- Can I use margarine or oil instead of butter? Butter gives the best flavor and texture. Margarine will work in a pinch, but the taste will differ; do not replace with a liquid oil.
- Why reserve marshmallows instead of melting them all? Reserving some results in little chewy pockets and makes the texture more interesting. If you melt them all, the bars will be uniformly soft but slightly denser.
- How do I make larger or smaller batches? Scale ingredients proportionally. Be mindful that pot size and pan size affect mixing and pressing.
Ready, Set, Cook
Preheat your patience and clear a good work surface — these come together quickly once the pot is hot. Line that 9×9 pan, measure the marshmallows and cereal, and have the chocolate ready for melting while the bars set. Follow the method in order and you’ll have a tray of classic Rice Krispie treats with a pretty finish in about an hour start to finish.
Make a batch, slice them up, and tuck a few into a paper bag for someone who needs a little lift today. Simple recipes like this one do a lot of good with very little fuss.
Rice Krispie Treats Recipe
Ingredients
Equipment
Method
- Line a 9×9-inch pan with parchment paper or foil, leaving an overhang to lift the bars later. Lightly spray the lined pan with cooking spray. Set aside.
- In a very large pot, melt 5 tablespoons unsalted butter over medium-low heat, stirring occasionally. When the butter is fully melted, reduce the heat to low.
- Add most of the 1 (16-ounce) bag miniature marshmallows (the bag is divided; reserve the remainder to add later). Stir constantly over low heat until the marshmallows are just melted and the mixture is smooth.
- Remove the pot from heat and stir in 1/4 teaspoon salt and 1 teaspoon vanilla extract until combined.
- Add 6 cups Rice Krispies cereal to the melted marshmallow mixture. Stir quickly and thoroughly until the cereal is evenly coated.
- Add the reserved miniature marshmallows from the bag to the pot and stir until they are incorporated and the mixture is uniform. Do not overmix.
- Pour the mixture into the prepared pan. Lightly spray your hands with cooking spray (or grease them) and gently press the mixture into an even layer in the pan, pressing only enough to compact slightly—avoid pressing too hard to keep the treats soft and chewy.
- Let the pan sit at room temperature until the treats have set, about 30 minutes.
- While the treats cool, place 1/3 cup white chocolate chips and 1/4 teaspoon vegetable oil in a microwave-safe bowl. Microwave in 15-second bursts, stirring between each burst, until the chocolate is melted and smooth.
- Transfer the melted white chocolate to a resealable plastic bag, snip off a corner, and drizzle the chocolate evenly over the cooled bars. Immediately add sprinkles, if using. Allow the chocolate to harden at room temperature.
- Use the parchment overhang to lift the bars from the pan. For cleaner slices, run a sharp knife under hot water, dry it, and cut the bars. These treats are best enjoyed the same day.
Notes
Note 1
: The softer and fresher the marshmallows, the better these bars will taste.
Storage
: These treats are best enjoyed the same day, but you can store them in an airtight container at room temperature or put them in the fridge if storing longer or in warm conditions (though this will make the bars become stale quicker). To freeze, wrap each bar and freeze for 6–8 weeks, placing parchment between layers.