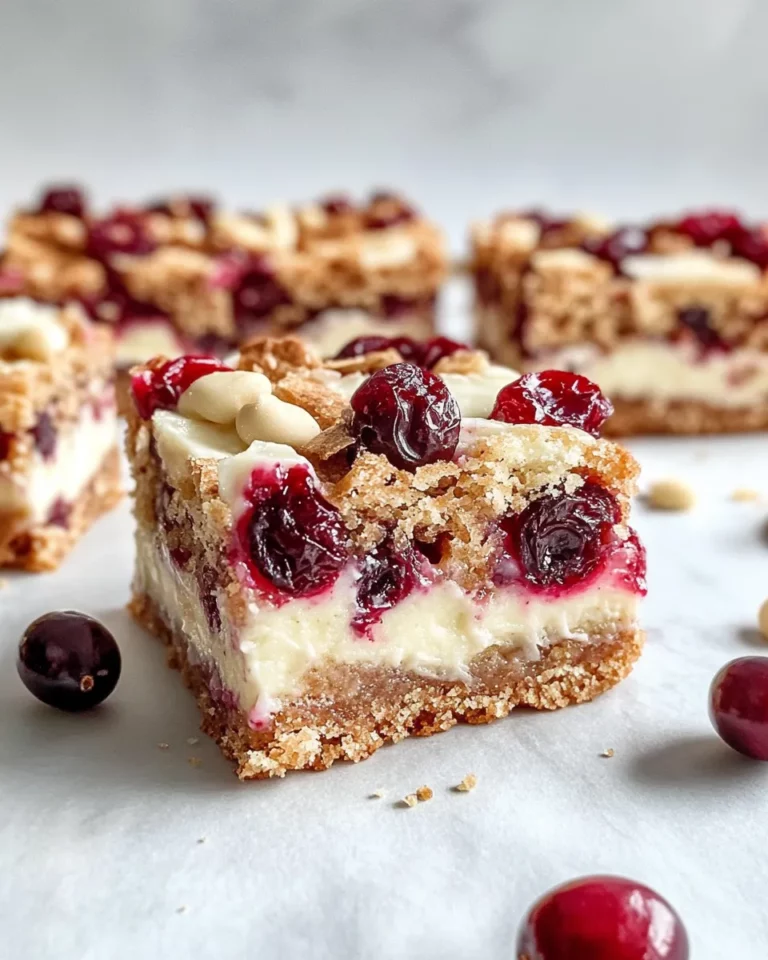
Salted Caramel Rice Krispies Treats with Dark Chocolate
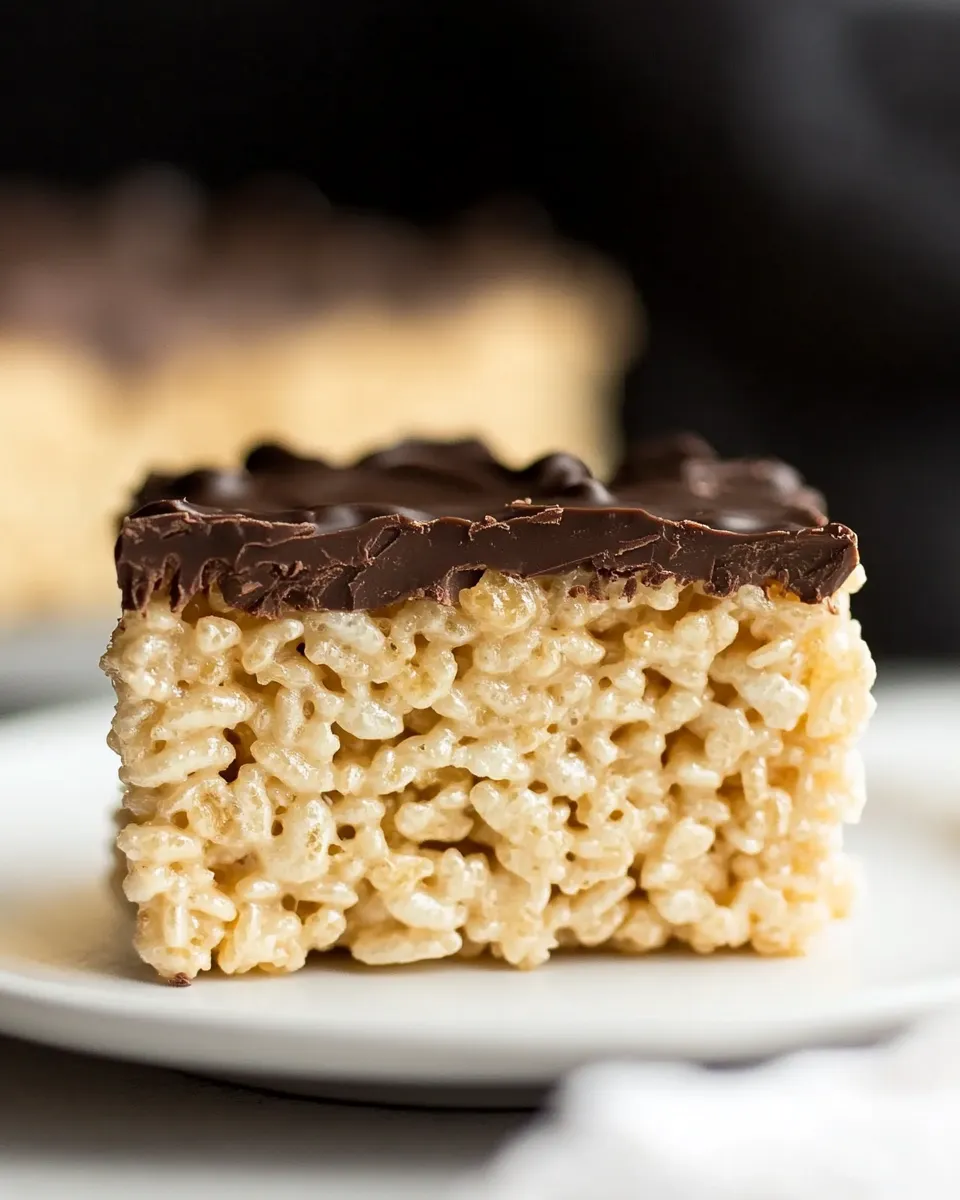
These bars are exactly what they promise: gooey marshmallow and salted caramel bound to crisped rice, topped with a glossy dark chocolate blanket and a scatter of fleur de sel. They come together fast, but they feel special—rich, balanced, and a little grown-up. I make them when I want a nostalgic snack with a tiny edge.
No complicated tempering, no candy thermometer, and no long bake time. The trick is timing: press the cereal layer while it’s still pliable, let it cool just enough so the chocolate won’t sink in, then top and chill until set. The result is a tidy pan of squares that travel, gift, and disappear well.
I’ll walk you through what to buy, the exact steps to follow, and practical troubleshooting so you get clean cuts and a shiny top. There’s also a short kit list, storage notes, and a few fail-safes from experience. Let’s get to it.
Ingredients

- 3 tablespoons unsalted butter — helps melt the marshmallows smoothly and adds richness without extra salt.
- 10-ounce (283.5 g) bag marshmallows — the main binder; use the whole bag for the right chew and structure.
- ½ cup (113 g) salted caramel sauce — gives those caramel notes and depth; the salt here plays off the chocolate and fleur de sel.
- 7 cups (196 g) Rice Krispies cereal — the crunchy backbone; measure lightly so bars stay tender, not dense.
- 12 ounces (340.2 g) dark chocolate, finely chopped (about 2 cups) — for the top layer; finely chopping helps it melt evenly in the microwave.
- Fleur de sel, for sprinkling — finishes the bars with bright salt crystals; add to taste.
Salted Caramel Rice Krispies Treats with Dark Chocolate — Do This Next
- Grease a 9×13-inch baking dish and set it aside.
- In a large pot over low heat, combine 3 tablespoons unsalted butter, the entire 10-ounce bag of marshmallows, and ½ cup (113 g) salted caramel sauce. Stir constantly until everything is melted and smooth.
- Remove the pot from the heat.
- Add 7 cups (196 g) Rice Krispies cereal to the melted mixture and stir gently until the cereal is evenly coated.
- Transfer the mixture into the prepared 9×13 pan. Using the bottom of a measuring cup or a spatula, press the mixture into an even, compact layer.
- Let the pressed Rice Krispies layer sit for 3–5 minutes so it is not piping hot before adding the chocolate.
- Place the 12 ounces (340.2 g) finely chopped dark chocolate in a microwave-safe bowl. Microwave at 50% power in 30-second increments, stirring thoroughly after each increment, until the chocolate is completely melted and smooth.
- Pour the melted dark chocolate evenly over the Rice Krispies layer and spread to an even layer with an offset spatula or the back of a spoon.
- Sprinkle fleur de sel over the chocolate to taste.
- Refrigerate the pan until the chocolate topping is firm, about 30 minutes.
- Cut into squares and serve. Store leftovers in an airtight container at cool room temperature or in the refrigerator (if your kitchen is warm, the chocolate topping may soften).
Why This Recipe is a Keeper
It hits opposing textures and flavors: pillowy marshmallow and crisp cereal; sweet caramel and bitter dark chocolate; plus that final pop of fleur de sel. Those contrasts keep every square interesting, so even a small piece feels satisfying. It also scales easily. The procedure is forgiving—no tempering or baking precision is required—so home cooks get great results without stress.
Beyond flavor, these bars are versatile. They travel well in an airtight tin, make a tidy potluck contribution, and present beautifully if you trim the edges and cut uniform squares. Because the chocolate sets quickly in the fridge, you can assemble and chill in under an hour, which makes them perfect for last-minute sweets.
No-Store Runs Needed

If you already have marshmallows, cereal, butter, and chocolate, you’re set. The only specialty item is fleur de sel—if you don’t have it, the bars are still excellent with a light sprinkle of any flaky finishing salt or even a tiny pinch of coarse kosher salt. The salted caramel sauce can be store-bought or leftover from another recipe; if you’re completely out of caramel, use a thicker spread you already have and accept a slightly different balance.
In short: this recipe plays nicely with what you likely have on hand, and small substitutions won’t break the method. The most critical parts are the ratios and the technique—melt, coat, press, cool, and top—so keep those intact.
Cook’s Kit

Tools that make this easier:
- 9×13-inch baking dish — for the correct thickness and yield.
- Large pot — wide is better for even melting and stirring.
- Offset spatula or sturdy spoon — helps press the cereal and spread chocolate evenly.
- Measuring cup and spoons — keep the proportions accurate.
- Microwave-safe bowl — for melting the chopped chocolate safely at reduced power.
- Sharp knife — for clean cuts once the chocolate is set.
Optional helpers
A silicone spatula for scraping and a sheet of parchment to line the pan can speed cleanup and make lifting the slab easier. If you like very neat squares, chill slightly longer so the chocolate is fully firm before slicing.
Mistakes Even Pros Make
Here are the common slips and how to avoid them:
- Pressing the cereal too hard while it’s hot. You want an even, compact layer, not a brick. Use firm but gentle pressure and stop when the surface is even.
- Adding chocolate while the cereal layer is piping hot. Wait the 3–5 minutes called for—too much heat can melt the chocolate and cause it to sink or bloom.
- Microwaving chocolate at full power. Melt at 50% power in short bursts and stir well; chocolate can seize if overheated.
- Skipping the fleur de sel. It may seem optional, but that final sprinkle brightens the whole bar. Add just enough to taste.
- Cutting too soon. If the chocolate hasn’t chilled long enough, you’ll get messy, soft edges. Give it that half hour in the refrigerator.
Holiday-Friendly Variations
Keep the core method and make small presentation tweaks for seasonal serving:
- Trim and cut into smaller bite-sized squares for cookie trays and party platters.
- Make a double chocolate layer by melting the dark chocolate, letting it set briefly, then adding a second, thinner chocolate coat for extra gloss.
- For a fancier gift, stack two thinner slabs separated by parchment so they don’t stick, then tie with ribbon. The bars travel well and look special without extra work.
Each option keeps the original ingredients and proportions; you’re adjusting only how you finish and serve.
Behind-the-Scenes Notes
This recipe is intentionally straightforward. The salted caramel goes in with the marshmallows so the caramel flavor is embedded throughout the chewy layer—not only on top. That yields a consistent caramel note in every bite rather than a single streak. Also, finely chopping the dark chocolate ensures it melts smoothly in the microwave and gives a glossy finish that snaps cleanly when set.
Timing is the subtle secret: let the cereal cool just enough before topping with chocolate, and let the chocolate set fully before slicing. Those two short waits make the difference between a messy pan and pretty, portable squares.
Best Ways to Store
Room temperature works fine if your kitchen is cool and the chocolate won’t soften. Store in an airtight container layered with parchment to prevent sticking. If your kitchen is warm, keep the container in the refrigerator to maintain the chocolate’s snap. Let refrigerated bars sit at room temperature for 10–15 minutes before serving if you prefer softer bites.
Leftovers will keep for several days at cool room temperature, or up to a week in the refrigerator. Avoid freezing; the texture of the marshmallow can change and the chocolate may bloom when thawed.
Questions People Ask
Q: Can I use milk chocolate or white chocolate instead of dark?
A: Yes, you can, but expect a sweeter top and a different flavor balance. If you use milk or white chocolate, you may want to reduce any extra sweetness elsewhere or rely on the fleur de sel for contrast.
Q: Can I use homemade caramel?
A: If it’s a thick, pourable sauce, it will work. Use roughly the same amount and adjust if your caramel is saltier or much thinner. The recipe relies on the caramel to flavor the marshmallow mix, so taste and adapt if needed.
Q: How do I get clean cuts?
A: Chill until the chocolate is fully set, then use a sharp knife warmed under hot water and wiped dry between cuts. That helps create clean, glossy edges.
See You at the Table
These Salted Caramel Rice Krispies Treats with Dark Chocolate are a quick way to elevate a simple childhood favorite. The method is direct, the ingredient list is short, and the payoff is big—chewy, crunchy, rich, and balanced by a bright salt finish. Make a batch, cut them neatly, and bring them to wherever people gather. They disappear fast, and you’ll be asked for the recipe.
When you make them, start with the exact steps above and then tweak the finish to suit your crowd. Tell me how you served them—small squares for coffee, stacked for gifting, or a generous slab for a sweet centerpiece. I’ll be there with another tip next time.
Salted Caramel Rice Krispies Treats with Dark Chocolate
Ingredients
Equipment
Method
- Grease a 9×13-inch baking dish and set it aside.
- In a large pot over low heat, combine 3 tablespoons unsalted butter, the entire 10-ounce bag of marshmallows, and ½ cup (113 g) salted caramel sauce. Stir constantly until everything is melted and smooth.
- Remove the pot from the heat.
- Add 7 cups (196 g) Rice Krispies cereal to the melted mixture and stir gently until the cereal is evenly coated.
- Transfer the mixture into the prepared 9×13 pan. Using the bottom of a measuring cup or a spatula, press the mixture into an even, compact layer.
- Let the pressed Rice Krispies layer sit for 3–5 minutes so it is not piping hot before adding the chocolate.
- Place the 12 ounces (340.2 g) finely chopped dark chocolate in a microwave-safe bowl. Microwave at 50% power in 30-second increments, stirring thoroughly after each increment, until the chocolate is completely melted and smooth.
- Pour the melted dark chocolate evenly over the Rice Krispies layer and spread to an even layer with an offset spatula or the back of a spoon.
- Sprinkle fleur de sel over the chocolate to taste.
- Refrigerate the pan until the chocolate topping is firm, about 30 minutes.
- Cut into squares and serve. Store leftovers in an airtight container at cool room temperature or in the refrigerator (if your kitchen is warm, the chocolate topping may soften).
Notes
Nutritional values are based on one serving