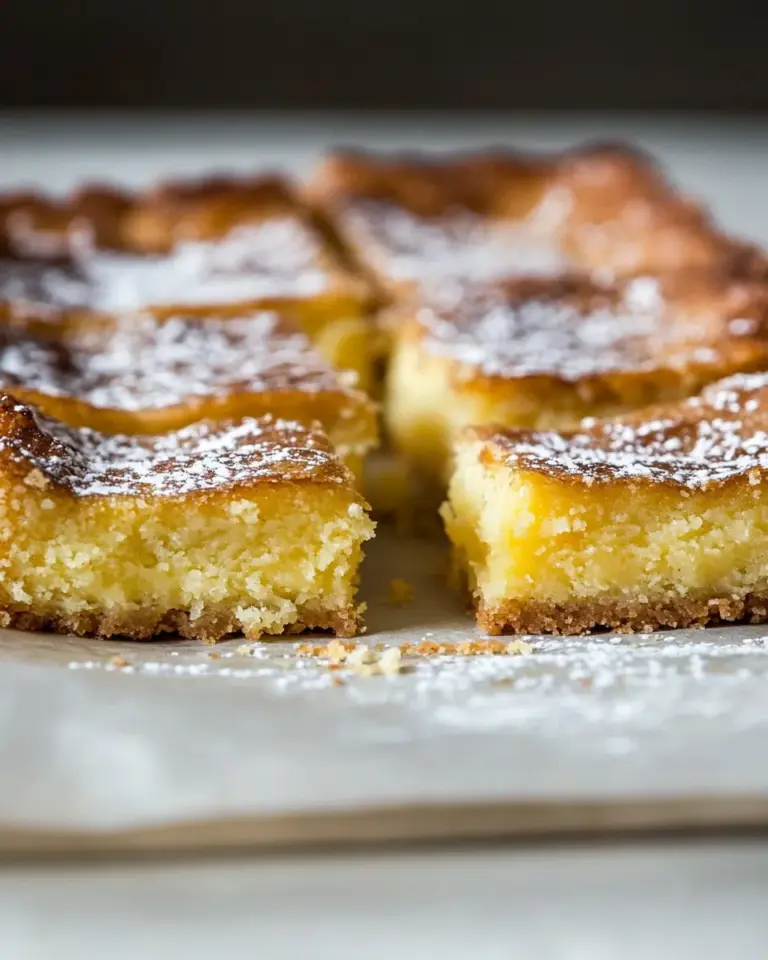
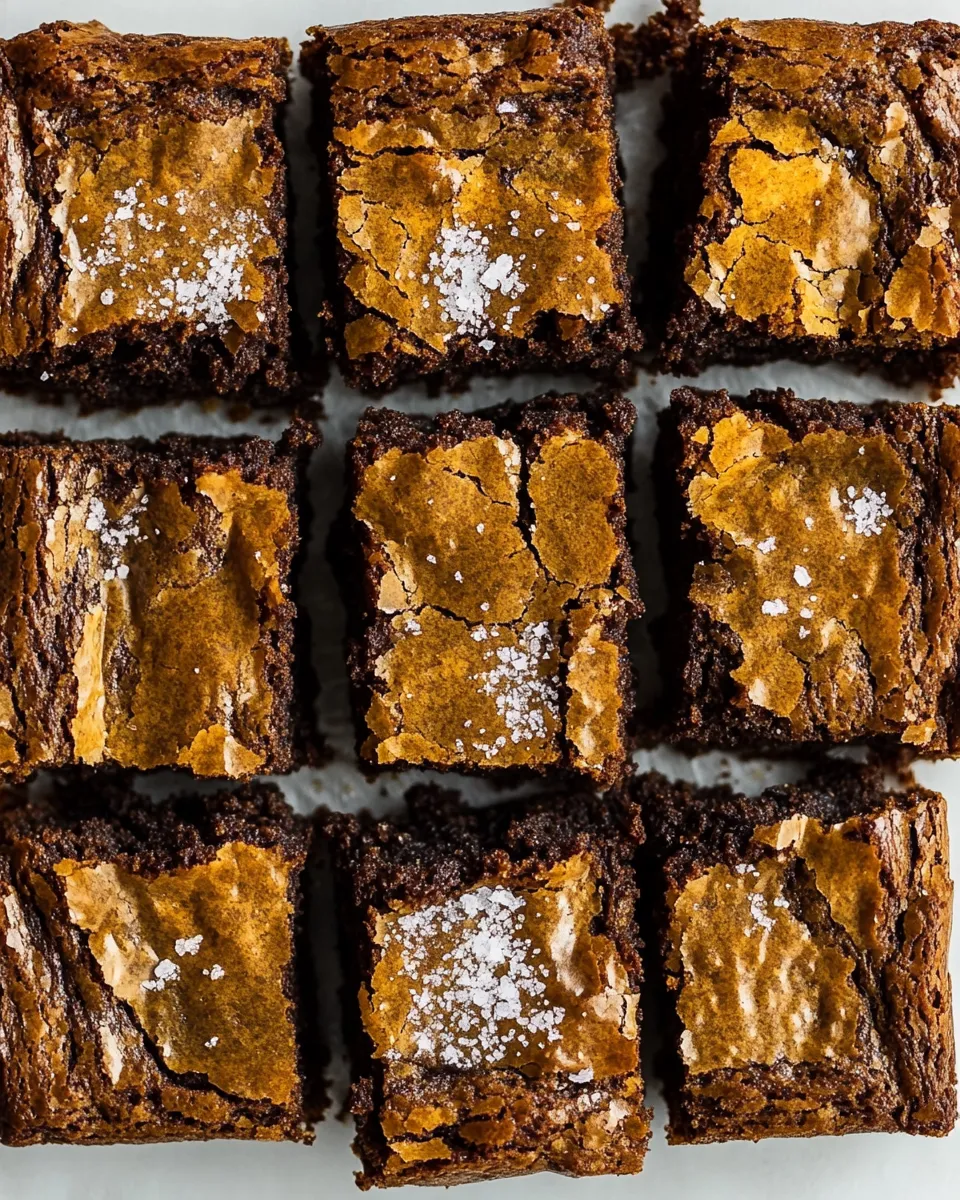
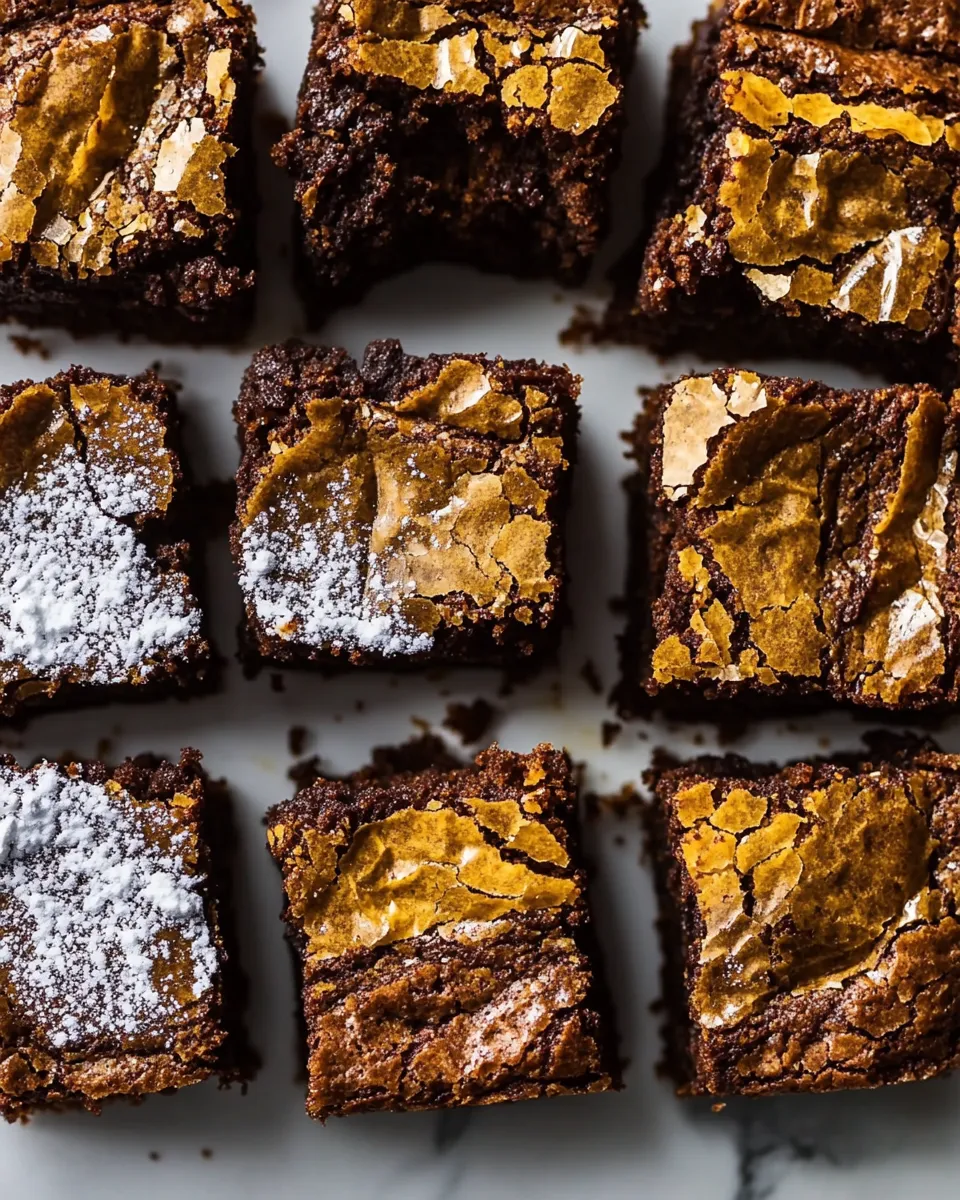
Salted Cookie Crinkle Top Brownies.
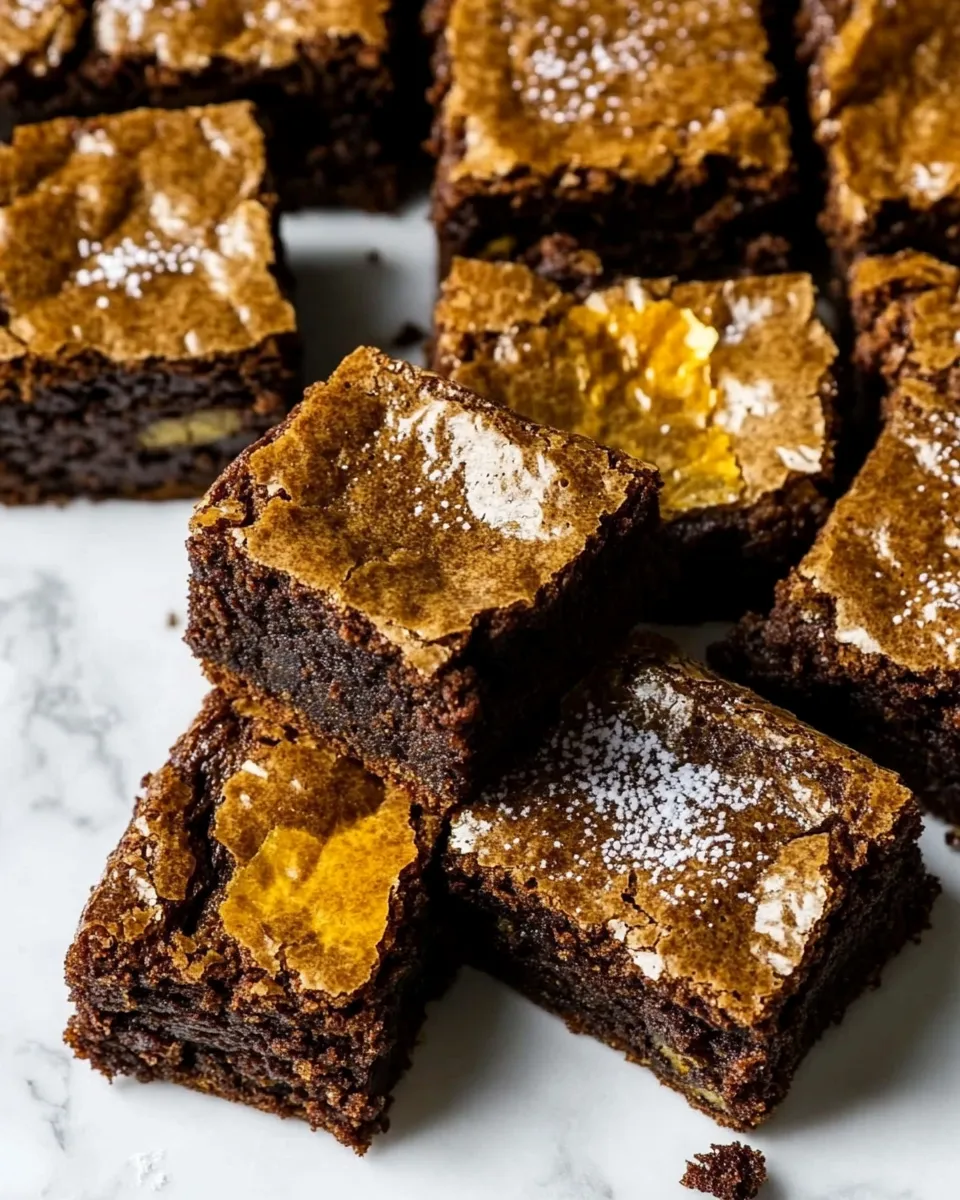
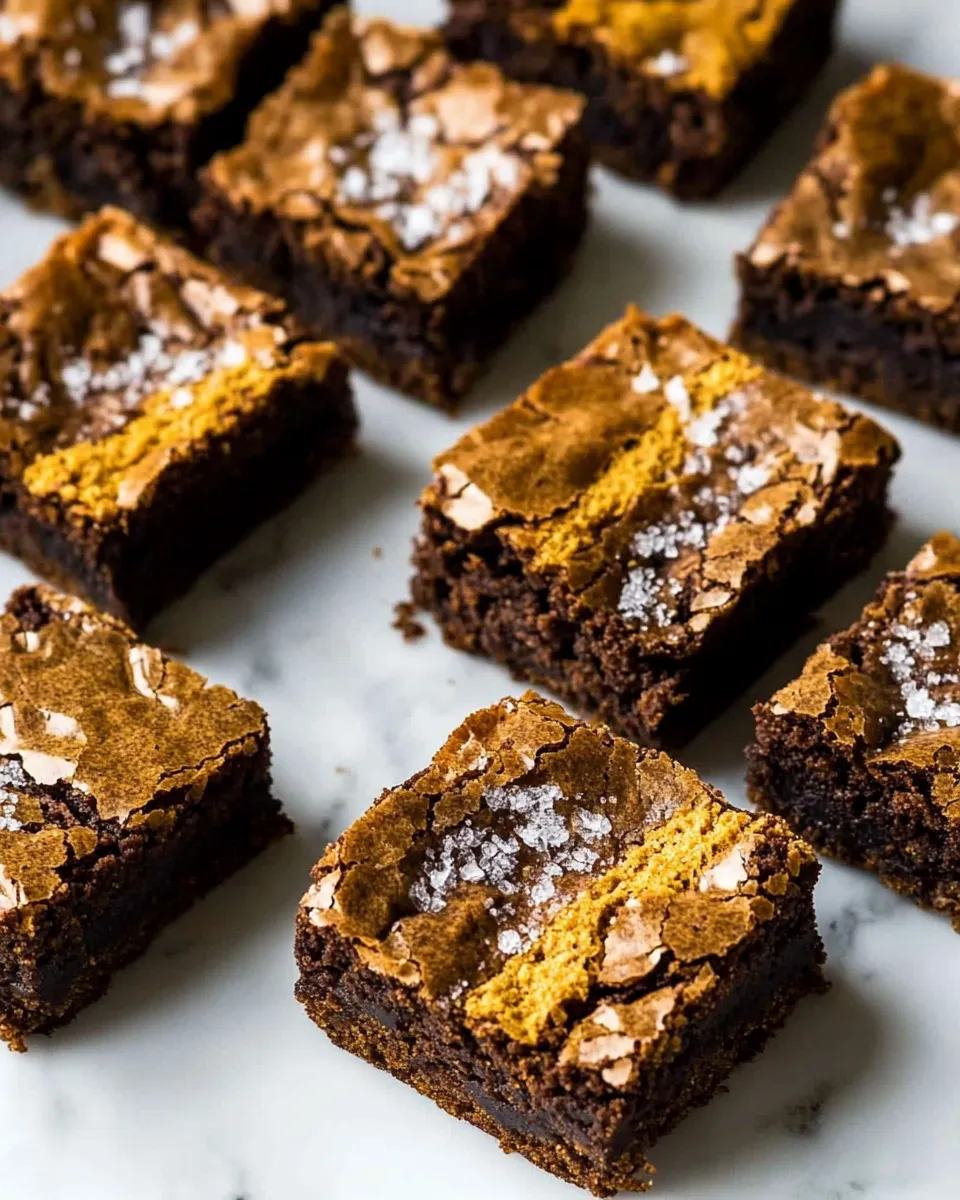
These brownies are one of those desserts that looks like effort but actually leans on smart technique. A thin, cookie-like top presses into a fudgy Nutella brownie, and a sprinkle of flaky sea salt at the end makes the whole thing sing. I make them when I want something chocolatey with a little textural surprise: a crisp crinkled top and a deep, glossy interior.
You’ll notice two distinct layers as you bake — a pressed cookie base and a Nutella-forward brownie layer. That split is intentional. The cookie gives structure and a slightly chewy edge; the Nutella layer stays dense and fudge-like. It’s an easy two-bowl recipe that rewards a tiny bit of patience (and a full hour of cooling).
If you like desserts that pair salt and chocolate, this is a dependable one to keep in rotation. It travels well, looks pretty when cut, and stores for several days without losing character. Read through the steps once, gather ingredients, and you’ll be surprised how quickly the pan comes together.
Ingredients
- 1 stick (1/2 cup) salted butter, at room temperature — for the cookie layer; soft but not melted for proper creaming.
- 1/3 cup dark brown sugar — adds moisture and a deeper caramel note to the cookie.
- 2 tablespoons granulated sugar — helps the cookie top crinkle and adds texture.
- 1 large egg, at room temperature — binds the cookie dough and helps structure.
- 1 teaspoon vanilla extract — flavor lift for the cookie layer.
- 1 cup + 2 tablespoons all-purpose flour — provides body to the cookie; measure accurately.
- 1/2 teaspoon baking soda — light leavening for the cookie layer.
- 1/2 teaspoon kosher salt — balances sweetness in the cookie dough.
- 3/4 cup semi-sweet chocolate chips — folded into the cookie layer for pockets of melty chocolate.
- 1 cup Nutella — the base of the brownie layer; gives chocolate-hazelnut richness.
- 2 large eggs — bind and set the Nutella batter.
- 4 tablespoons salted butter, melted — loosens and enriches the Nutella layer.
- 2 teaspoons pure vanilla extract — rounds the Nutella flavor.
- 1/2 cup all-purpose flour — just enough to give the Nutella layer structure without drying it out.
- 1/2 cup semi-sweet chocolate chunks (optional) — for extra chocolate texture in the Nutella layer.
- flaky sea salt — finishing touch; adds bright contrast when sprinkled right after baking.
The Essentials
Oven temperature: 350°F. Pan: an 8×8-inch square baking dish. Total bake time: 40–45 minutes (30 minutes uncovered, then 10–15 minutes tented). Cool at least an hour before slicing so the layers set and the knife gives clean cuts.
There are two straightforward parts: a cookie dough that gets pressed into the pan, and a Nutella brownie batter poured over it. No tempering, no water bath. The single-tray approach saves dishes and keeps assembly quick.
Yield: an 8×8 pan — about 9–12 bars depending how you cut them. They’re best warm for melty pockets or mostly cooled for neat slices.
Step-by-Step: Salted Cookie Crinkle Top Brownies
- Preheat the oven to 350°F. Grease an 8×8-inch square baking dish and line it with parchment paper, leaving an overhang for easy lifting.
- Make the cookie layer: in a large bowl, beat 1 stick (1/2 cup) softened salted butter, 1/3 cup dark brown sugar, and 2 tablespoons granulated sugar until combined and slightly fluffy. Add 1 large egg and 1 teaspoon vanilla extract and beat until incorporated.
- Add 1 cup + 2 tablespoons all-purpose flour, 1/2 teaspoon baking soda, and 1/2 teaspoon kosher salt to the butter mixture. Beat or stir just until combined. Fold in 3/4 cup semi-sweet chocolate chips.
- Press the cookie dough evenly into the prepared pan to form a uniform layer covering the bottom.
- Make the Nutella brownie layer: in a medium bowl, whisk together 1 cup Nutella, 2 large eggs, 4 tablespoons melted salted butter, and 2 teaspoons pure vanilla extract until smooth.
- Add 1/2 cup all-purpose flour to the Nutella mixture and mix until just combined. Fold in 1/2 cup semi-sweet chocolate chunks, if using.
- Spread the Nutella batter evenly over the cookie layer in the pan.
- Bake uncovered in the preheated 350°F oven for 30 minutes. After 30 minutes, tent the pan with foil and bake an additional 10–15 minutes, until the center is just set (a slight jiggle is okay).
- Remove from the oven and immediately sprinkle flaky sea salt over the top. Cool in the pan on a wire rack until mostly cooled (at least 1 hour). Use the parchment overhang to lift the bars from the pan, then slice.
- Serve warm or cooled. Store leftovers in an airtight container for up to 5 days.
Why Salted Cookie Crinkle Top Brownies is Worth Your Time
There’s a payoff to layering textures. The cookie layer crisps slightly at the edges and gives a satisfying contrast to the dense, fudgy Nutella inside. You don’t need complicated tempering or a long crumbly crust — just straightforward mixing and pressing.
Flavor-wise, the combination of salted butter in both layers plus a final sprinkle of flaky sea salt elevates the chocolate. Nutella brings nutty depth without extra ingredients. The crinkled top isn’t just pretty; it’s a reliable indicator you creamed your sugars right and didn’t overmix the batter underneath.
Finally, the recipe is forgiving. Timings are generous, and the foil tent will protect the top from over-browning while allowing the center to finish. That makes this an excellent bake for a weeknight treat or a reliable dessert for guests.
No-Store Runs Needed
This recipe is built from pantry staples: flour, sugar, eggs, butter, vanilla, Nutella, and chocolate. If you keep those on hand, you won’t need to dash out to a store.
If your chocolate chips are low, the recipe already gives you an option: use the semi-sweet chocolate chunks in the Nutella layer instead. The flaky sea salt is a small, but noticeable, finishing touch — if you don’t have it, a quick sprinkle of kosher salt will do in a pinch, though I prefer the texture of flaky salt.
Prep & Cook Tools
- 8×8-inch square baking dish — fits the recipe exactly and gives the right thickness.
- Parchment paper — for easy removal and cleaner edges.
- Large mixing bowl — to make the cookie layer.
- Medium mixing bowl — for the Nutella batter.
- Electric mixer or wooden spoon — an electric mixer speeds creaming, but you can stir by hand.
- Rubber spatula — for folding and spreading the Nutella layer smoothly.
- Wire rack — for cooling the pan evenly.
- Aluminum foil — to tent the pan during the final bake time.
Watch Outs & How to Fix
Top browning too fast: If the cookie top is darkening before the center is set, tent the pan with foil earlier. The foil slows surface browning while allowing the interior to continue cooking.
Soggy center: If the center jiggles excessively after the full bake, it likely needs more time. Return to the oven for 5–10 minute intervals, tented, checking after each interval. Letting it cool in the pan for at least an hour also helps it finish setting.
Dry or cakey results: Overbaking is the usual culprit. Remove the pan when the center is mostly set but still has a slight jiggle. The Nutella layer is dense by design; it should be fudgy, not cake-like.
Cookie layer won’t press flat: If your cookie dough is crumbly, check butter temperature. It should be softened, not cold or melted. If it’s too stiff, let it sit a few more minutes at room temperature before pressing into the pan.
Season-by-Season Upgrades
Winter: Emphasize cozy flavors by increasing the dark brown sugar in the cookie layer by a tablespoon for a deeper caramel note. The recipe already leans into warm flavors, so this small change is an easy seasonal nudge.
Spring: Keep it bright by serving warm from the oven so the Nutella layer feels lighter against the crisp cookie top. The contrast is especially pleasant in milder weather.
Summer: These bars travel well to picnics. Bake the full recipe, cool completely, then keep chilled in an airtight container until serving to preserve neat slices in hot weather.
Fall: If you want texture without changing ingredients, press a few extra semi-sweet chocolate chips or chunks into the top before baking. They’ll melt and create attractive ripples on the surface.
Little Things that Matter
Parchment overhang: Don’t skip it. The overhang is the easiest way to lift the whole slab from the pan for clean slicing and serving.
Room-temperature eggs and butter: They mix more uniformly, especially in the cookie layer. The cookie top’s crinkle depends on proper creaming, so aim for soft butter, not melted.
Immediate salt: Sprinkle flaky sea salt the moment the pan comes out of the oven. The residual heat helps the crystals stick and slightly melt, integrating the salty pop into every bite.
Keep-It-Fresh Plan
Store at room temperature in an airtight container for up to 2 days. After that, refrigeration will keep them fresh up to 5 days — but bring them to room temperature or warm briefly before serving for the best texture.
If you want to freeze: wrap individual bars tightly in plastic wrap and place in a freezer-safe container. They’ll keep well for up to 2 months. Thaw in the refrigerator overnight, then warm briefly if you prefer them soft and gooey.
Troubleshooting Q&A
Q: My cookie layer and brownie layer separated — what happened?
A: Layers can separate slightly if the cookie dough is too firm or the Nutella batter is too thin. Press the cookie layer firmly and evenly into the pan, and spread the Nutella carefully so it makes full contact. Also, avoid over-thinning the Nutella batter; use the measured butter amount.
Q: The center is unset after the full bake + tent — any tips?
A: Oven temperatures vary. Return the pan to the oven, tented, and check every 5 minutes. Also verify your oven temperature with a thermometer; 350°F in the recipe is specific and matters for the layers to set properly.
Q: Salt crystals sink or disappear?
A: Sprinkle flaky sea salt immediately after removing from the oven. Pressing a few crystals in gently with a clean finger can help them adhere without dissolving into the surface.
Time to Try It
Gather the ingredients, preheat to 350°F, and line that pan. The assembly is quick and the payoff is a dessert that looks polished without fuss. Be patient through the cooling step — it’s the only part that takes time, and it’s the secret to clean slices and a gooey interior.
Make a pan tonight. Slice one piece warm, sprinkle a little extra flaky salt, and tuck in. These brownies answer the question: how do you make something homey feel a little bit special? With texture, contrast, and the right finishing touch.
Salted Cookie Crinkle Top Brownies.
Ingredients
Equipment
Method
- Preheat the oven to 350°F. Grease an 8x8-inch square baking dish and line it with parchment paper, leaving an overhang for easy lifting.
- Make the cookie layer: in a large bowl, beat 1 stick (1/2 cup) softened salted butter, 1/3 cup dark brown sugar, and 2 tablespoons granulated sugar until combined and slightly fluffy. Add 1 large egg and 1 teaspoon vanilla extract and beat until incorporated.
- Add 1 cup + 2 tablespoons all-purpose flour, 1/2 teaspoon baking soda, and 1/2 teaspoon kosher salt to the butter mixture. Beat or stir just until combined. Fold in 3/4 cup semi-sweet chocolate chips.
- Press the cookie dough evenly into the prepared pan to form a uniform layer covering the bottom.
- Make the Nutella brownie layer: in a medium bowl, whisk together 1 cup Nutella, 2 large eggs, 4 tablespoons melted salted butter, and 2 teaspoons pure vanilla extract until smooth.
- Add 1/2 cup all-purpose flour to the Nutella mixture and mix until just combined. Fold in 1/2 cup semi-sweet chocolate chunks, if using.
- Spread the Nutella batter evenly over the cookie layer in the pan.
- Bake uncovered in the preheated 350°F oven for 30 minutes. After 30 minutes, tent the pan with foil and bake an additional 10–15 minutes, until the center is just set (a slight jiggle is okay).
- Remove from the oven and immediately sprinkle flaky sea salt over the top. Cool in the pan on a wire rack until mostly cooled (at least 1 hour). Use the parchment overhang to lift the bars from the pan, then slice.
- Serve warm or cooled. Store leftovers in an airtight container for up to 5 days.
Notes
Alternative Brownie Recipe:
https://www.halfbakedharvest.com/crinkle-top-brownies/