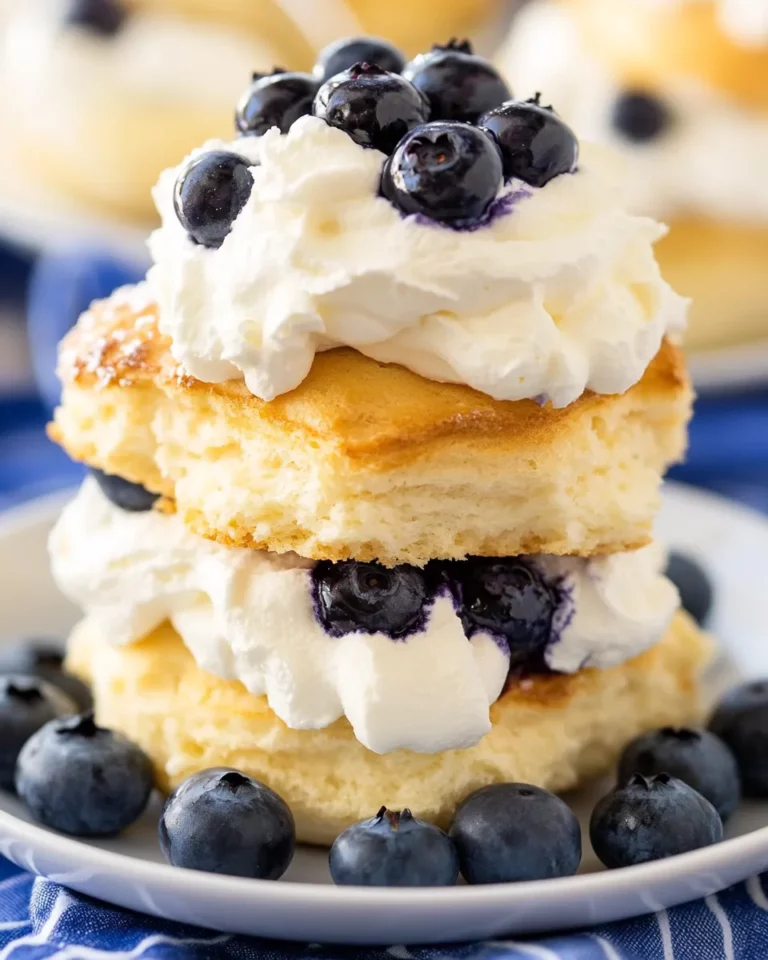
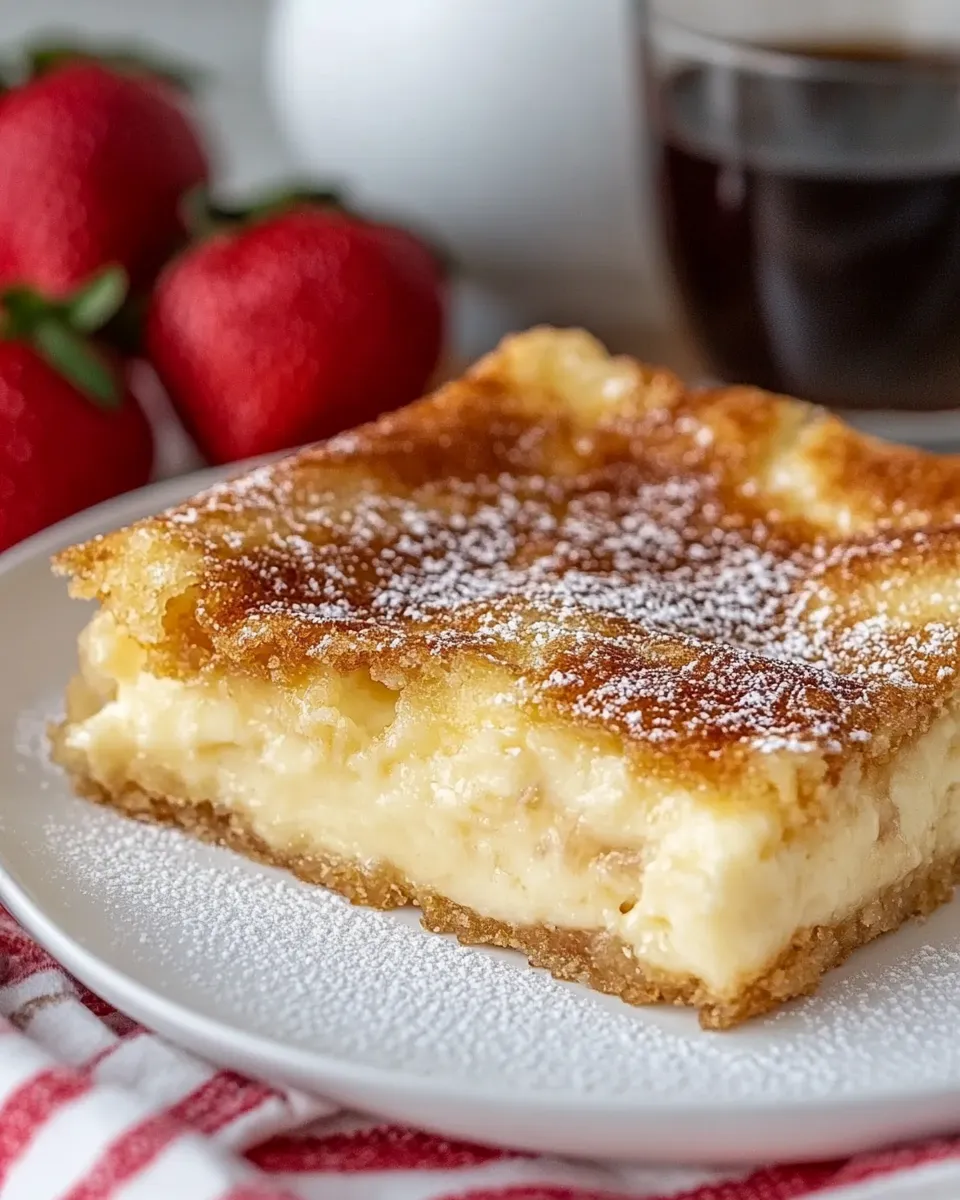
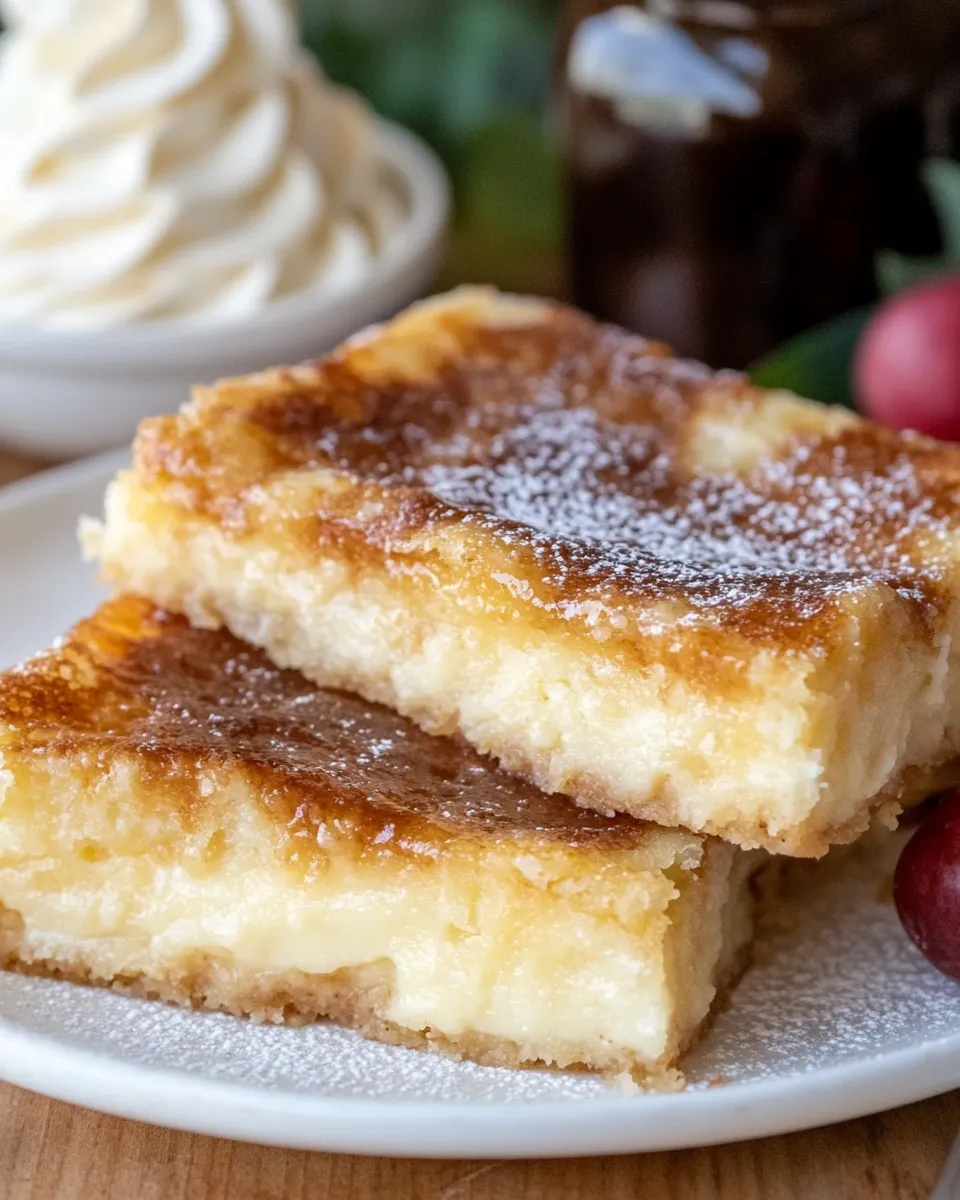
Sopapilla Cheesecake
There’s something truly magical about the combination of flaky pastry and creamy cheesecake. Sopapilla Cheesecake is a delightful dessert that brings together these two worlds in perfect harmony. With its layers of buttery crescent dough, sweetened cream cheese filling, and a sprinkle of cinnamon, this recipe will have your taste buds dancing with joy. It’s a crowd-pleaser that’s easy enough to make for any occasion, whether it’s game night with friends or a special family gathering.
Why This Recipe Is a Must-Try

Sopapilla Cheesecake is not just delicious; it’s also incredibly simple to prepare. Using just a few ingredients that you may already have in your pantry, you can whip up this creamy, sweet treat in no time. The combination of the warm cinnamon topping and the cool, creamy filling creates a delightfully indulgent experience that is sure to impress. Plus, it holds well for gatherings, making it a perfect make-ahead dessert. Whether you’re a seasoned baker or a novice in the kitchen, this recipe is a surefire hit!
Ingredients
To prepare this delightful Sopapilla Cheesecake, you will need the following:
- 1 ¼ cups granulated sugar, divided
- 1 teaspoon ground cinnamon
- 16 ounces cream cheese at room temperature
- 1 large egg
- 1 ½ teaspoons vanilla extract
- 16 ounces refrigerated crescent dough (2 cans – see note)
- ¼ cup butter, melted
- Honey, for serving
How To Make Sopapilla Cheesecake
Step 1: Preheat Your Oven
Preheat your oven to 350°F (175°C). This ensures that your cheesecake is baked evenly.
Step 2: Prepare the Dough
Unroll one can of refrigerated crescent dough and lay it in the bottom of a greased 9×13 inch baking dish. Make sure to pinch the seams together to create a solid layer for the base of your cheesecake.
Step 3: Create the Cheesecake Filling
In a large mixing bowl, beat together the cream cheese, 1 cup of sugar, the egg, and vanilla extract until smooth and creamy. Ensure there are no lumps, as this will be the luscious filling that makes your cheesecake so delicious.
Step 4: Assemble the Cheesecake
Spread the cream cheese mixture evenly over the crescent dough layer in the baking dish. This will provide that creamy, sweet center you’ll love.
Step 5: Top with the Second Layer of Dough
Unroll the second can of crescent dough and place it over the cream cheese filling. Again, pinch the seams to create a seamless layer.
Step 6: Cinnamon Sugar Topping
In a small bowl, mix together the remaining ¼ cup of sugar and 1 teaspoon of cinnamon. Sprinkle this mixture evenly over the top layer of dough. Then, drizzle the melted butter over the entire surface. This will create a rich, golden crust that’s packed with flavor.
Step 7: Bake the Cheesecake
Place the baking dish in the preheated oven and bake for about 30-35 minutes, or until it is golden brown and the dough is fully cooked through. Keep an eye on it to avoid over-baking.
Step 8: Cool and Serve
Once baked, remove the dish from the oven and allow it to cool for about 15-20 minutes. Slice into squares and serve warm or at room temperature, drizzling with honey just before enjoying.
Expert Tips
- For best results, ensure the cream cheese is at room temperature. This makes it easier to blend smoothly into the mixture.
- Don’t skip pinching the seams of the crescent dough together; this helps keep the cheesecake filling contained.
- If you prefer a stronger cinnamon flavor, don’t hesitate to increase the amount of cinnamon in the topping.
- Serve with a generous drizzle of honey to enhance the flavor and add a touch of sweetness.
Variations and Customizations

- For a chocolate twist, add some mini chocolate chips to the cream cheese filling.
- You can incorporate nuts like chopped pecans or walnuts for an added crunch.
- If you like fruit, consider adding a layer of your favorite jam or fresh fruit on top of the cream cheese filling before adding the second layer of dough.
- Try adding a hint of citrus by mixing in some lemon or orange zest into the cream cheese mixture for a refreshing flavor.
How to Store Leftovers
Leftover Sopapilla Cheesecake can be stored in an airtight container in the refrigerator for up to 3 days. It can also be enjoyed cold or slightly warmed in the microwave for about 10-15 seconds. This dessert maintains its delightful flavors and textures even after a couple of days in the fridge.
FAQ
Can I make Sopapilla Cheesecake ahead of time?
Absolutely! This cheesecake can be made a day in advance. Just cover it and store it in the refrigerator after it has cooled down. It tastes delicious even after a night in the fridge.
Can I freeze Sopapilla Cheesecake?
Yes, you can freeze Sopapilla Cheesecake. After it has cooled completely, wrap it well in plastic wrap and then in aluminum foil. It will keep in the freezer for up to three months. Thaw in the refrigerator before serving.
What can I serve with Sopapilla Cheesecake?
Sopapilla Cheesecake pairs wonderfully with a dollop of whipped cream, a scoop of vanilla ice cream, or a drizzle of additional honey. You could also serve it with fresh berries for a burst of color and flavor.
Is there a gluten-free option for this recipe?
Yes! You can use gluten-free crescent dough or a gluten-free pie crust as an alternative to traditional crescent rolls. Just make sure to follow the instructions on the gluten-free packaging for best results.
Conclusion
Sopapilla Cheesecake is an easy, delicious, and versatile dessert that can be customized to suit your taste. With its flaky crescent layers and creamy filling, it’s bound to become a favorite at your gatherings and family dinners. Whether you enjoy it plain or with your favorite toppings, this dessert is perfect for satisfying your sweet tooth. So, gather your ingredients and get ready to create a treat that will have everyone coming back for seconds! Enjoy your baking adventure, and don’t forget to share the love with friends and family.

Sopapilla Cheesecake
Equipment
- 9x13 inch Baking Dish
- Mixing Bowl
Ingredients
Ingredients
- 1.25 cups Granulated Sugar, divided 1 cup for filling, 1/4 cup for topping
- 1 teaspoon Ground Cinnamon
- 16 ounces Cream Cheese, at room temperature
- 1 large Egg
- 1.5 teaspoons Vanilla Extract
- 16 ounces Refrigerated Crescent Dough 2 cans
- 0.25 cup Butter, melted
- Honey, for serving Optional
Instructions
- Step 1: Preheat your oven to 350°F (175°C).
- Step 2: Unroll one can of refrigerated crescent dough and lay it in the bottom of a greased 9×13 inch baking dish, pinching the seams together.
- Step 3: In a large mixing bowl, beat together the cream cheese, 1 cup of sugar, the egg, and vanilla extract until smooth and creamy.
- Step 4: Spread the cream cheese mixture evenly over the crescent dough layer.
- Step 5: Unroll the second can of crescent dough and place it over the cream cheese filling, pinching the seams together.
- Step 6: In a small bowl, mix together the remaining ¼ cup of sugar and 1 teaspoon of cinnamon. Sprinkle this mixture over the top layer of dough and drizzle with melted butter.
- Step 7: Bake for about 30-35 minutes, or until golden brown and fully cooked.
- Step 8: Allow to cool for 15-20 minutes, slice into squares, and serve warm or at room temperature with honey.