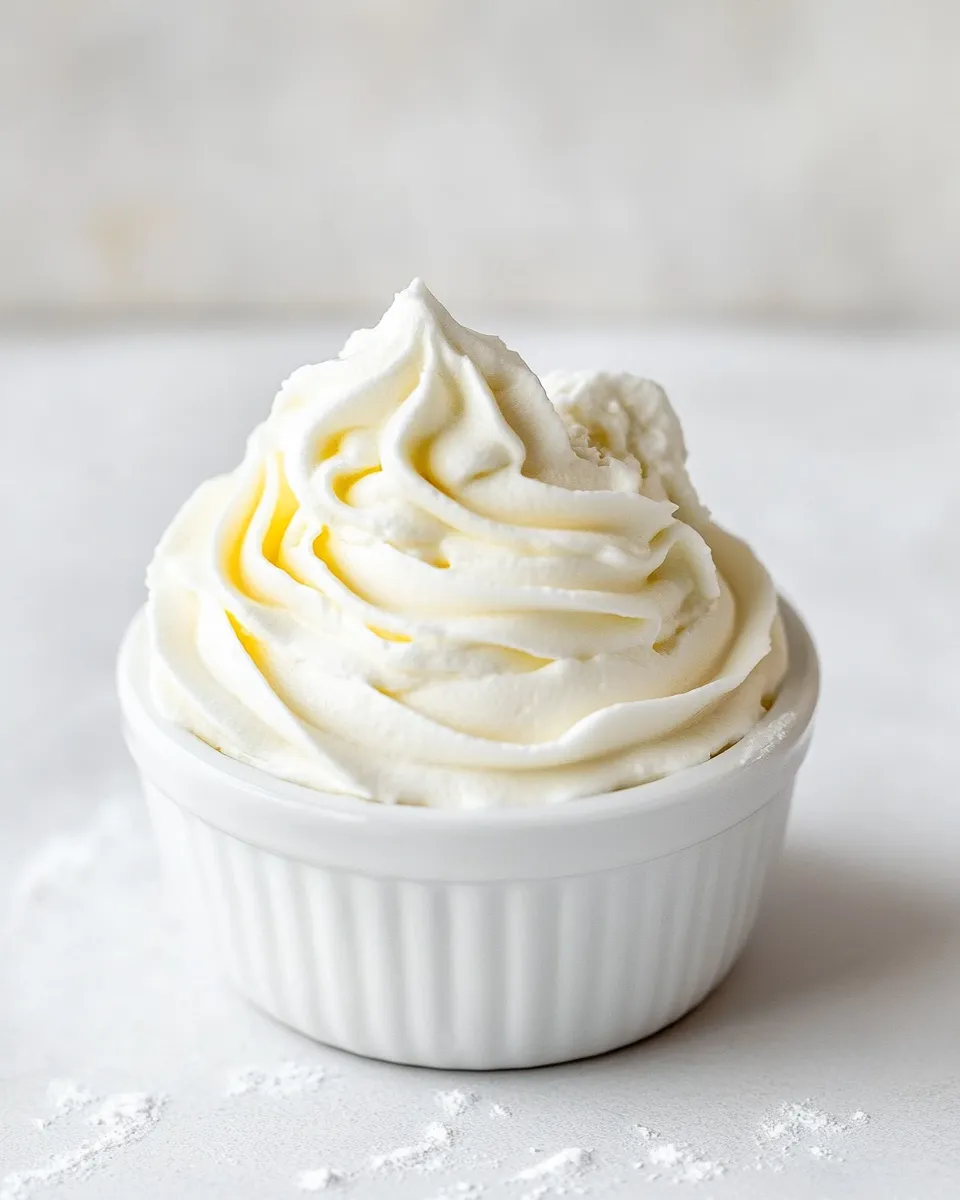
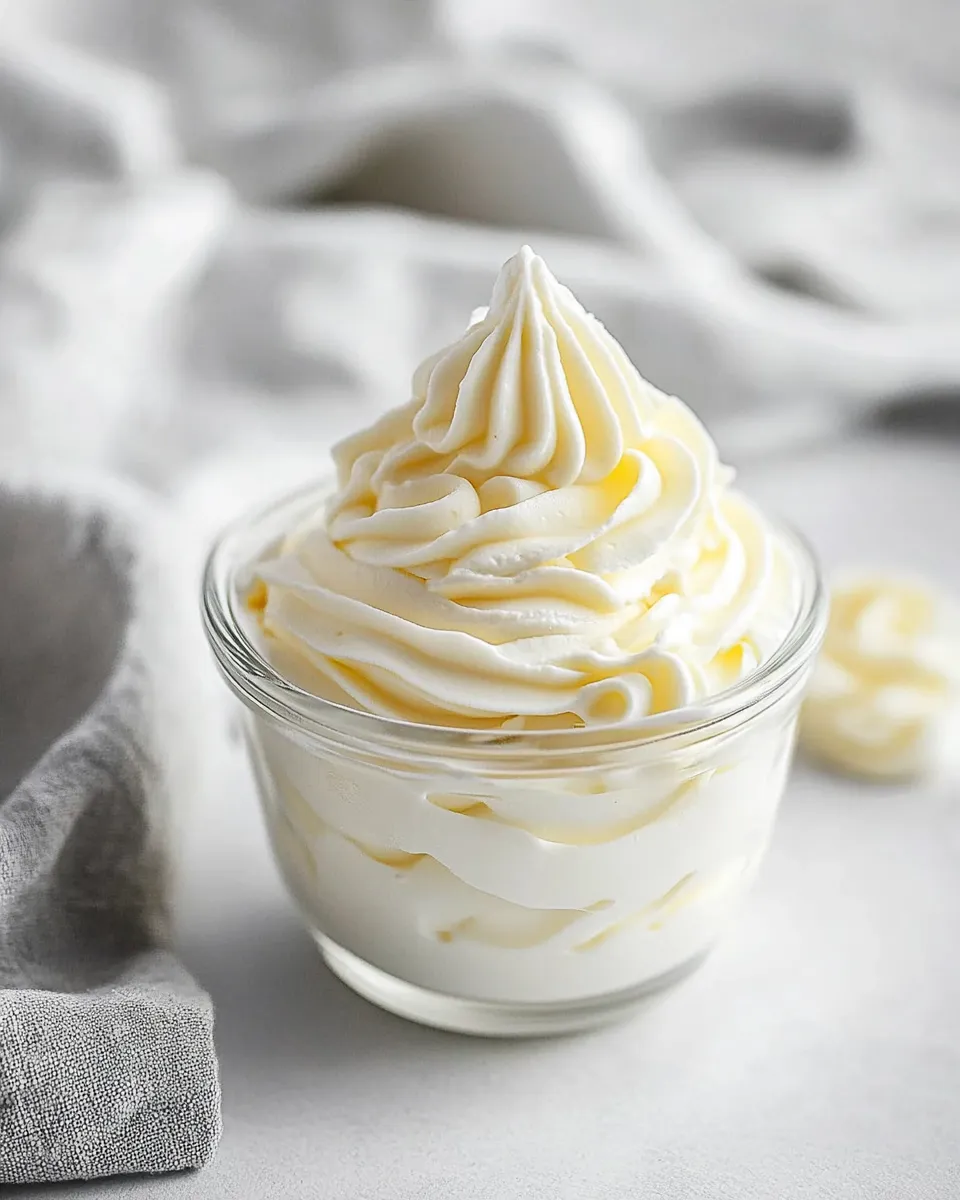
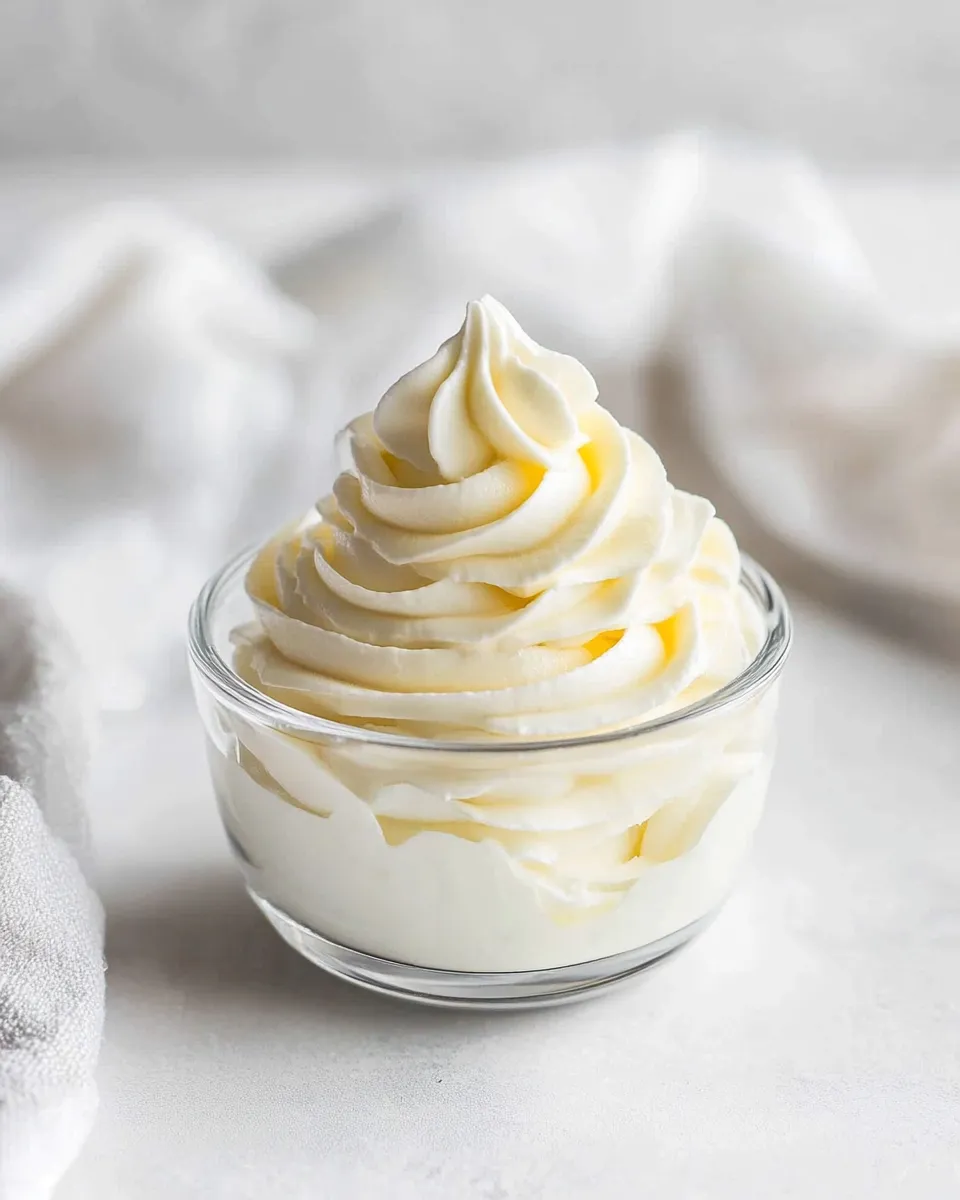
Stabilized Whipped Cream
Stabilized whipped cream is the little trick that keeps your desserts looking fresh and tasting light, long after you’ve finished decorating. It holds its shape better than straight whipped cream, so swirls on cupcakes stay neat and layers on cakes don’t weep. For everyday home baking, it’s a fast, reliable upgrade that doesn’t complicate the process.
In this post I’ll walk you through a simple method that uses instant vanilla pudding powder as the stabilizer. The technique is forgiving, fast, and requires only ingredients you likely already have on hand or can grab at any supermarket. You’ll get a glossy, pipe-able cream that keeps in the refrigerator.
There’s no fussy tempering or melting. You’ll measure, whip, and chill. The result: a smoother finish on pies, tidy dollops on shortcakes, and easier transport if you need to take desserts to a party. Read on for the ingredient details, the exact process, troubleshooting tips, and how to store what’s left.
Ingredient List

- 1 cup heavy whipping cream, chilled — the base: provides fat and structure for whipping; chilling it first helps it reach full volume faster.
- 2 tablespoons instant vanilla pudding powder — the stabilizer: adds structure and a touch of vanilla flavor without cooking; it keeps the whipped cream firm.
- 2-3 tablespoons powdered sugar, if desired for sweetness — sweetener and texture helper: powdered sugar dissolves smoothly and the amount lets you customize sweetness (2 tbsp = less sweet, 3 tbsp = sweeter).
Cooking (Stabilized Whipped Cream): The Process
- Place 1 cup chilled heavy whipping cream, 2 tablespoons instant vanilla pudding powder, and 2–3 tablespoons powdered sugar (use 2 tbsp for less sweetness or 3 tbsp if desired) into a large mixing bowl.
- Fit a stand mixer with the whisk attachment or use a hand mixer. Begin beating on medium speed until the mixture starts to thicken and the ingredients are combined.
- Increase to high speed and continue beating until medium-soft peaks form — the peaks should hold but the tips will curl over slightly when you lift the whisk. Stop immediately to avoid overbeating.
- Use the stabilized whipped cream to top cakes, cupcakes, pies, or other desserts, or refrigerate until ready to use. Keep chilled.
Top Reasons to Make Stabilized Whipped Cream
- Lasts longer in the fridge than regular whipped cream — great when you need to prep ahead of a party or bake sale.
- Retains shape for piping and decorating — swirls, rosettes, and borders stay crisp instead of melting into flat blobs.
- Easy to flavor or tint — start with the base method and add extracts or gel color sparingly for custom looks.
- Textures remain consistent across humid or warm kitchens — the pudding powder helps hold moisture and structure.
- Fast and accessible — the method uses common pantry items and finishes in minutes, which is ideal for home bakers.
Budget & Availability Swaps
- If you want a stronger vanilla boost, look for vanilla-flavored instant pudding powder. It replaces the standard instant vanilla pudding powder without changing technique.
- When powdered sugar runs out, keep the sweetness conservative. The recipe already offers a range (2–3 tablespoons) so you can lean toward the lower amount and taste before adding more.
- Heavy whipping cream is the non-negotiable element for this texture. If you’re watching costs, buy larger containers and freeze extras (see storage tips below) rather than substituting with lighter creams — they won’t whip the same.
Gear Checklist
- Large mixing bowl — a chilled metal bowl works best for keeping the cream cold while you whip.
- Stand mixer with whisk attachment or an electric hand mixer — whisking by hand is possible but takes much longer and risks inconsistent peaks.
- Measuring cups and spoons — accurate measuring keeps the cream stable and predictable.
- Rubber spatula — for scraping the bowl and transferring cream without deflating it.
- Piping bag and tips (optional) — for decorated cupcakes, cakes, or precise dollops.
Avoid These Mistakes
- Don’t use warm equipment. Warm bowls or whisk attachments slow whipping and can cause under-whipped or broken cream. Chill metal bowls briefly if your kitchen is warm.
- Stop at medium-soft peaks. Overbeating turns whipped cream grainy and buttery. When peaks curl over slightly, you’re done.
- Don’t skip the pudding powder if you want stability. Plain whipped cream will collapse sooner; this recipe relies on that powdered stabilizer.
- Avoid adding too much liquid flavoring or extracts while whipping. Extra liquid can destabilize the foam; add extracts sparingly and fold in off the whisk if needed.
Warm & Cool Weather Spins
- Warm weather: Chill bowls, beaters, and cream before starting. Work in short bursts, then pause and rest the bowl in the fridge if the room is very warm. Use a shallow pan of ice under the mixing bowl for extra cooling if you’ll be piping outside.
- Cool weather: The cream will whip faster. Reduce whipping time and check earlier for the medium-soft peak stage to avoid overwhipping.
- High humidity: Keep filled desserts chilled until serving time. Stabilized cream tolerates humidity better than plain whipped cream, but refrigeration is still essential for best texture.
Notes from the Test Kitchen
We tested this method on several desserts—cupcakes, a two-layer sponge cake, and a fruit tart. The stabilized cream piped beautifully, held defined ridges for 24 hours in the refrigerator, and did not weep onto the fruit. Texture remained smooth with a light vanilla note from the pudding powder; it’s noticeable but not overpowering.
Timing matters. Start at medium speed so the pudding powder disperses evenly. The mixture will look glossy as it thickens; once it turns into soft peaks, switch to high briefly to finish. I usually check after about 3–4 minutes with a stand mixer on medium-to-high, depending on your mixer’s power.
If you need an ultra-flat finish for frosting a cake, apply a thin crumb coat with stabilized cream, chill briefly, then add a smooth top layer. It sands down well and accepts light smoothing with an offset spatula.
Save for Later: Storage Tips
- Refrigerate: Store stabilized whipped cream in an airtight container and keep chilled. It stays best for 2–3 days for piping or topping; some firmness remains up to 5 days but texture will gradually soften.
- Transporting topped desserts: Keep them in a cool carrier or cooler pack if you’re traveling. Stabilized cream tolerates short room-temperature periods better than plain whipped cream, but refrigeration is ideal.
- Freezing: You can freeze dollops of stabilized cream on a baking sheet, then transfer to a sealed bag. Thaw in the refrigerator; note that texture softens and may be less suitable for fine piping after thawing, but works well for layered desserts.
Helpful Q&A
- Q: Can I use other pudding flavors?
A: Yes. Using chocolate or vanilla pudding powder will change the flavor; chocolate gives a mocha-chocolate note while vanilla stays neutral. Don’t swap for cooked pudding. - Q: Will this work with non-dairy creams?
A: This method is designed for heavy whipping cream. Non-dairy alternatives often have stabilizers already and don’t always whip the same. For consistent results, use dairy heavy cream. - Q: Why powdered sugar instead of granulated?
A: Powdered sugar dissolves completely, leaving a smooth texture. Granulated sugar can feel grainy and won’t blend as cleanly into the whipped cream. - Q: I hit stiff peaks—can I rescue it?
A: If the cream becomes grainy and buttery from overbeating, it’s technically turning to butter. You can sometimes rescue slightly overwhipped cream by folding in a small amount of fresh chilled cream, but if it’s past the grainy stage it’s better to start fresh. - Q: Can I pipe stabilized cream onto a cake and then freeze the whole cake?
A: Yes, but expect slight texture changes. For long freezing periods, consider a buttercream or other frosting formulated for freezing. Short freezes (overnight) are usually fine.
Hungry for More?
If you liked this stabilized whipped cream trick, try incorporating it into your next batch of berry shortcakes or as a filling for cream puffs. It’s also worth experimenting with a light lemon or almond extract added in small amounts for subtle flavor twists. Keep notes on flavors and timings so you can repeat what worked best for your climate and mixer.
Subscribe to the blog for weekly practical tips and fast recipes that make busy baking simpler. I’ll keep sharing techniques that save time and keep your desserts looking and tasting great—no fuss, just dependable results.
Stabilized Whipped Cream
Ingredients
Equipment
Method
- Place 1 cup chilled heavy whipping cream, 2 tablespoons instant vanilla pudding powder, and 2–3 tablespoons powdered sugar (use 2 tbsp for less sweetness or 3 tbsp if desired) into a large mixing bowl.
- Fit a stand mixer with the whisk attachment or use a hand mixer. Begin beating on medium speed until the mixture starts to thicken and the ingredients are combined.
- Increase to high speed and continue beating until medium-soft peaks form — the peaks should hold but the tips will curl over slightly when you lift the whisk. Stop immediately to avoid overbeating.
- Use the stabilized whipped cream to top cakes, cupcakes, pies, or other desserts, or refrigerate until ready to use. Keep chilled.