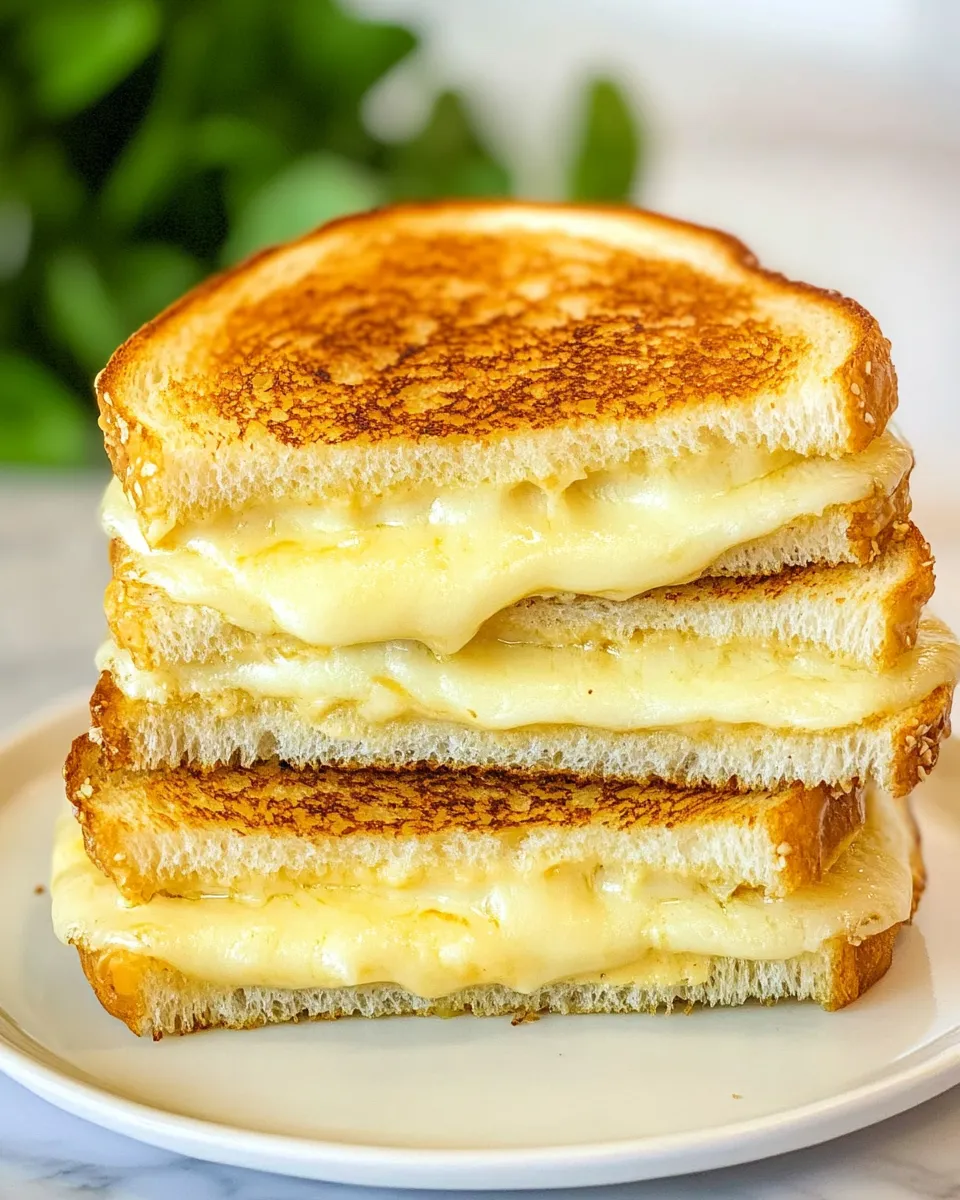
Starbucks Grilled Cheese Sandwich Recipe (Easy Copycat)
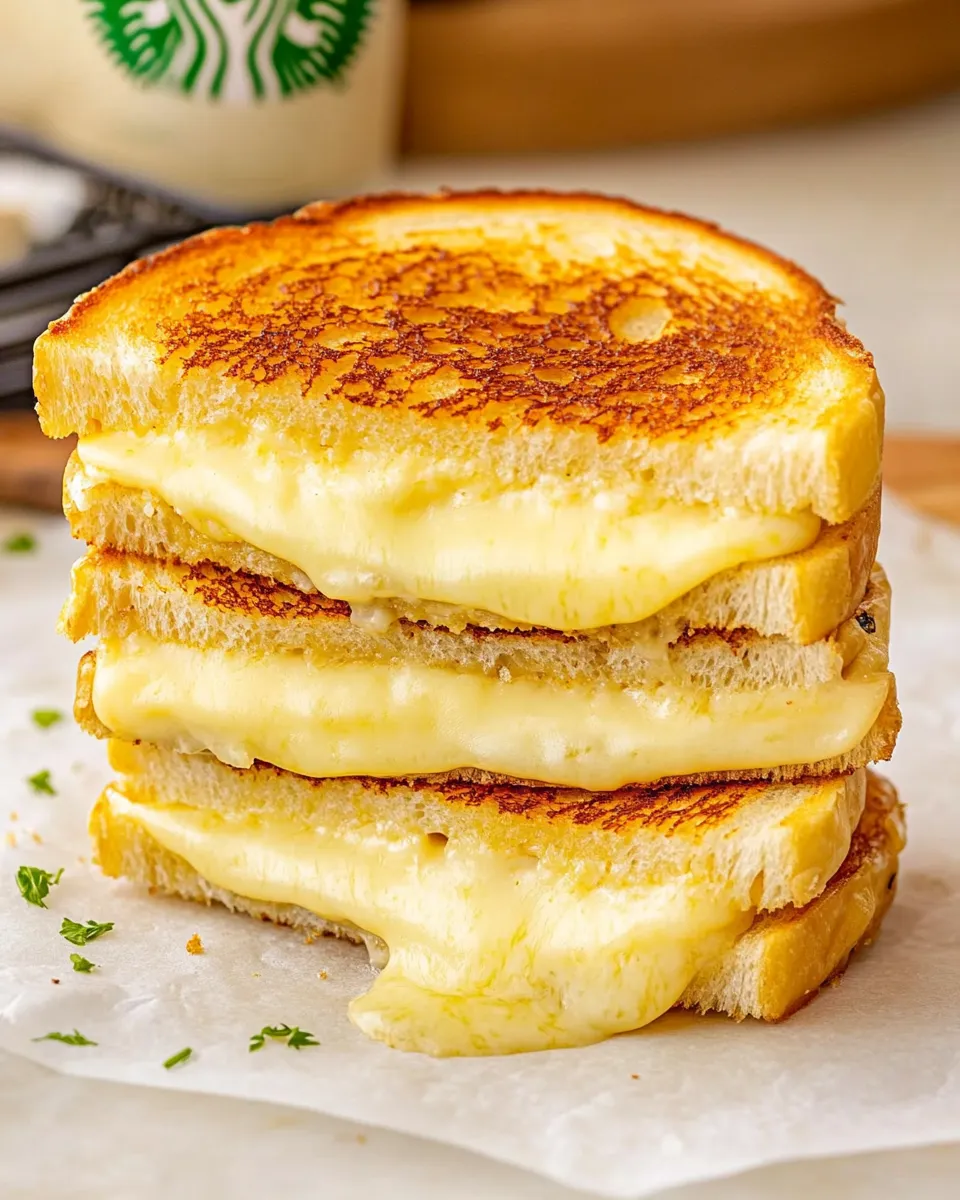
I love a simple sandwich that tastes like it took all afternoon to prepare. This copycat of Starbucks’ grilled cheese hits that mark: crisp sourdough, melty cheese, a whisper of garlic and Parmesan in the butter. It’s straightforward to make, but the small details—how you butter the bread, the heat of the pan, and resting for a minute—make a big difference.
Over the years I’ve taught friends and readers how to get reliably crisp bread and completely melted cheese without burning the exterior. This version is intentionally minimal and practical so you can make it at home any day of the week and trust the outcome. No tricks, no odd ingredients—just a few techniques that elevate the sandwich.
Below you’ll find the ingredients, the step-by-step instructions verbatim from the recipe source, and helpful commentary: swaps, tools, troubleshooting, storage, and quick answers to common questions. If you want a faithful Starbucks-style grilled cheese, this will get you there—fast.
Ingredient Breakdown
This section explains why each ingredient is here and what it contributes to the final sandwich. Understanding roles helps you make confident swaps if needed.
Ingredients
- 2tablespoonsbuttersoftened — Provides the frying fat and browning flavor; softened butter spreads easily for even coverage.
- 1tablespoonfinely grated Parmesan cheese — Adds a nutty, savory note to the butter and helps the crust brown more deeply.
- 1/2garlic clovegrated, or 1/4 teaspoon of garlic powder — Brings a subtle garlic background; use grated clove for freshness or powder for convenience.
- 4slicessourdough bread — The foundation: sourdough crisps well and holds up to melting cheese without getting soggy.
- 2ouncesmozzarella cheesesliced — Melts into stringy, mild richness that stretches when you pull the sandwich apart.
- 2ounceswhite cheddar cheesesliced — Adds sharpness and depth to balance the mozzarella’s creaminess.
Starbucks Grilled Cheese Sandwich, Made Easy
- In a small bowl, combine 2 tablespoons softened butter, 1 tablespoon finely grated Parmesan cheese, and 1/2 garlic clove grated (or 1/4 teaspoon garlic powder). Stir until smooth.
- Spread the butter mixture evenly on one side of each of the 4 slices of sourdough bread.
- Place the 2 ounces sliced mozzarella and 2 ounces sliced white cheddar on the unbuttered side of two slices of bread, dividing the cheese evenly between them.
- Top each cheese-covered slice with the remaining bread slice, with the buttered side facing outward.
- Heat a griddle or large skillet over medium-low heat until hot but not smoking.
- Carefully place the assembled sandwiches onto the hot griddle or skillet and cook until the bottom is golden brown, about 4–5 minutes.
- Flip the sandwiches using a spatula, press lightly with the spatula if desired, and continue cooking until the second side is golden brown and the cheese is completely melted, about 3–5 minutes more. If needed, cover the skillet briefly to help the cheese melt.
- Remove the sandwiches from the pan, let rest 1 minute, slice, and serve immediately.
What Makes This Recipe Special
This grilled cheese comes together from small, deliberate choices. First, the butter is mixed with Parmesan and garlic. That does more than add flavor; Parmesan encourages a deeper, more even browning on contact with heat, and grated garlic distributes more evenly than a sliver of raw clove. The result is a buttery, savory crust that tastes a little more grown-up than plain butter.
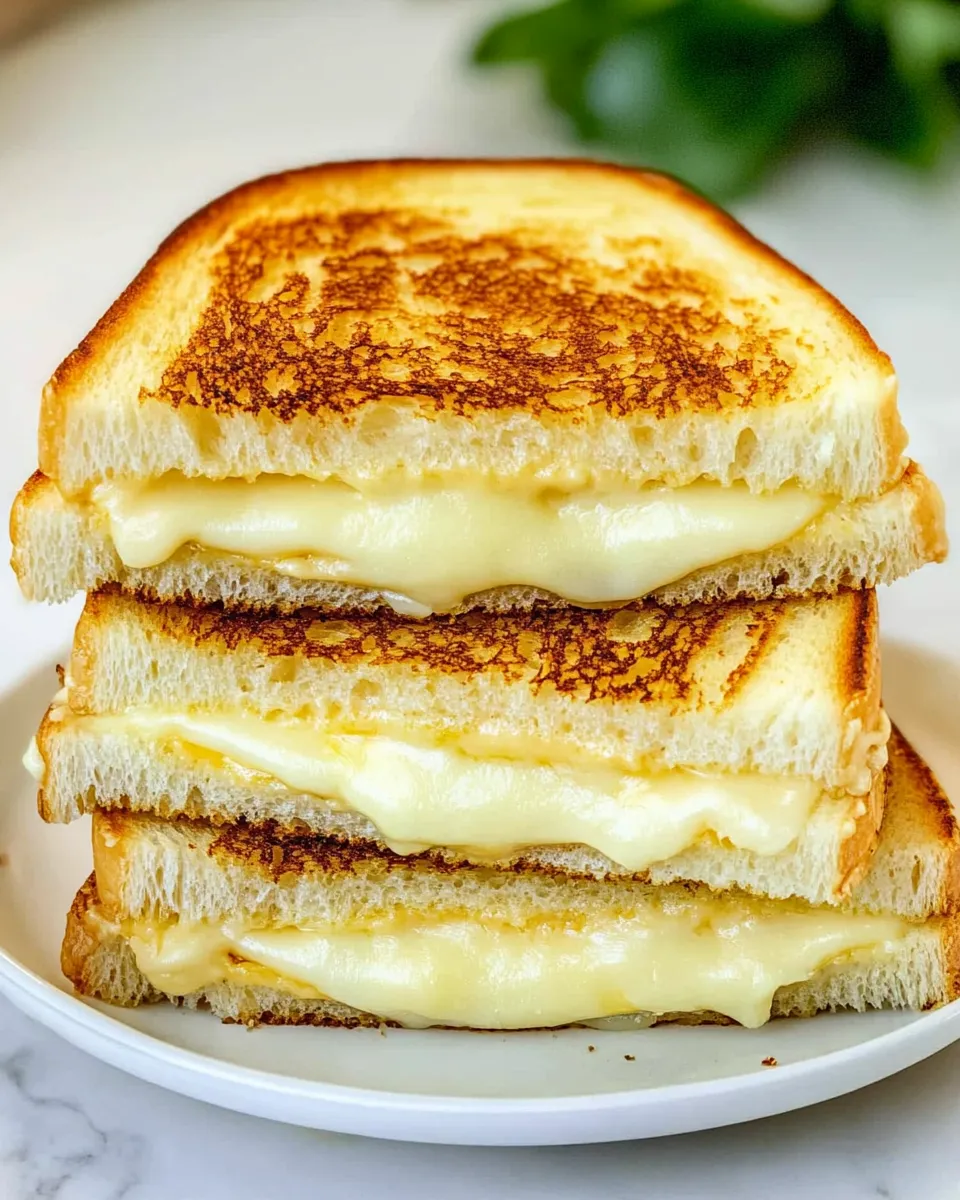
Second, the cheese pairing—mozzarella for melt and white cheddar for bite—creates a balance that’s creamy and flavorful without being one-note. The proportions are modest (2 ounces each total for two sandwiches), which keeps the sandwiches manageable and ensures the bread crispness remains a feature rather than getting lost under an avalanche of cheese.
Finally, the technique matters: medium-low heat and a patient 4–5 minutes per side allow the bread to reach a perfect golden brown while the cheese melts thoroughly. Rushing this with high heat usually burns the exterior before the interior softens.
Ingredient Swaps & Substitutions
Swapping is possible, but mind the roles each ingredient plays—fat, meltability, acidity, and texture.
- Butter — Swap for equal olive oil if you need dairy-free, but expect a different browning flavor and a slightly crisper, less creamy result.
- Parmesan — If unavailable, use a finely grated Pecorino or skip it. The cheese in the butter promotes browning and adds umami; without it, increase the salt in the sandwich slightly to compensate.
- Garlic clove / powder — Fresh garlic is brighter; powder is more stable and integrates easily. If you love garlic, add a touch more grated clove, but don’t overwhelm the bread.
- Sourdough bread — Any firm sandwich loaf works: country white, boule slices, or artisan pain de mie. Avoid ultra-thin or very soft sandwich bread—it can go soggy or tear when flipping.
- Mozzarella — Use low-moisture part-skim mozzarella for less excess liquid, or try fontina for an even silkier melt.
- White cheddar — Swap with yellow cheddar, Gruyère, or sharp provolone for different flavor profiles; note that Gruyère brings nuttiness and more complex melt behavior.
Prep & Cook Tools
- Small mixing bowl — to combine butter, Parmesan, and garlic for a smooth spread.
- Butter knife or offset spatula — for even spreading across bread slices.
- Griddle or large skillet — heavy-bottomed pan retains steady heat and cooks evenly.
- Spatula — sturdy, wide spatula for flipping and pressing gently.
- Lid or inverted baking sheet (optional) — helps trap heat briefly to finish melting cheese if needed.
- Cutting board and sharp knife — slice sandwiches cleanly after the brief 1-minute rest.
Steer Clear of These
There are a few common missteps that turn a great sandwich into a disappointment.
- Avoid high heat. Too-hot pans brown the bread rapidly while the cheese stays unmelted. Medium-low is where the magic happens.
- Don’t skimp on butter distribution. Uneven spreading creates hot spots that burn and areas that don’t brown.
- Resist the temptation to add too much cheese. Overstuffed sandwiches press out heat and take longer to melt, making the exterior burn first.
- Don’t flip too often. Let one side finish forming a golden crust before flipping; constant flipping prevents good caramelization.
- Avoid wet or thin bread. Very moist bread leads to sogginess; overly thin slices can tear when flipping or compress into a dense slab instead of a crisp sandwich.
In-Season Swaps
While this is a pantry-forward sandwich, seasonal produce can lift it beautifully.
- Spring: Add thinly sliced radishes or arugula after cooking for peppery freshness that cuts through the cheese.
- Summer: A few sun-ripened tomato slices tucked inside (pat dry first) bring acidity and brightness—add them on top of cheese before finishing so they warm but don’t release excess water.
- Fall: Thin apple slices (firm variety) add a sweet-tart crunch that complements sharp cheddar—place them inside raw so they stay crisp.
- Winter: Fold in a thin layer of caramelized onions for deep, sweet-savory notes that work with both cheeses.
Recipe Notes & Chef’s Commentary
Here are the small adjustments and checks I use when making this sandwich for friends—tiny habits that make the result reliably excellent.
Butter texture and spread
Make sure the butter is softened but not melted. If it’s too cold you’ll tear the bread; if it’s melted the bread will absorb it unevenly and become greasy. A brief 20–30 second zap in a microwave (in very cold kitchens) or leaving it at room temperature for 15–20 minutes usually does the trick.
Grating the garlic
Grating a garlic clove gives a fine paste that integrates with the butter. A microplane works best. If you use garlic powder, mix thoroughly so you don’t get a concentrated bite in one spot.
Monitoring the pan
Keep your eye on the pan during minutes 3–5. The sandwich should move from pale to deep golden slowly. If the butter starts smoking, lower the heat immediately and either lift the sandwich off the pan for a moment or finish it with a lid on low to allow the cheese to catch up.
Pressing lightly
Press only gently with the spatula. You want contact for even browning, not to turn the sandwich into a flat patty. A light press for a second after flipping helps the surfaces marry and the cheese distribute evenly.
Refrigerate, Freeze, Reheat
If you have leftovers, handle them with care—grilled cheese is best fresh, but you can store and reheat sensibly.
- Refrigerate: Wrap cooled sandwiches in foil or place in an airtight container for up to 2 days. The bread will soften but can be refreshed.
- Freeze: I don’t recommend freezing already-grilled sandwiches; the texture degrades. Instead, freeze unassembled fillings (cheese slices) and butter mixture separately, and assemble fresh when ready.
- Reheat: Reheat in a skillet over low-medium heat, covered briefly to encourage interior melting without burning the exterior. For quicker reheating, use a toaster oven at 350°F (175°C) for 5–8 minutes until warmed through and crisped.
Quick Q&A
Short answers to the questions I get most.
- Can I use salted butter? Yes. If using salted butter, taste the sandwich before adding extra salt elsewhere—Parmesan and cheddar both carry salt.
- Why both mozzarella and cheddar? Mozzarella brings stretch and cream; white cheddar adds sharpness and depth. Together they melt smoothly and taste layered.
- How do I prevent soggy bread? Use firm slices like sourdough and make sure the pan is hot enough to crisp the exterior. Don’t overload with wet fillings.
- What if the cheese isn’t melting? Lower the heat and cover the pan briefly for steam to help melt, or press lightly and give it an extra minute per side.
- Can I make one sandwich instead of two? Yes. Keep the proportions the same per sandwich (divide ingredients accordingly) and cook the single sandwich the same way; timing will be similar.
In Closing
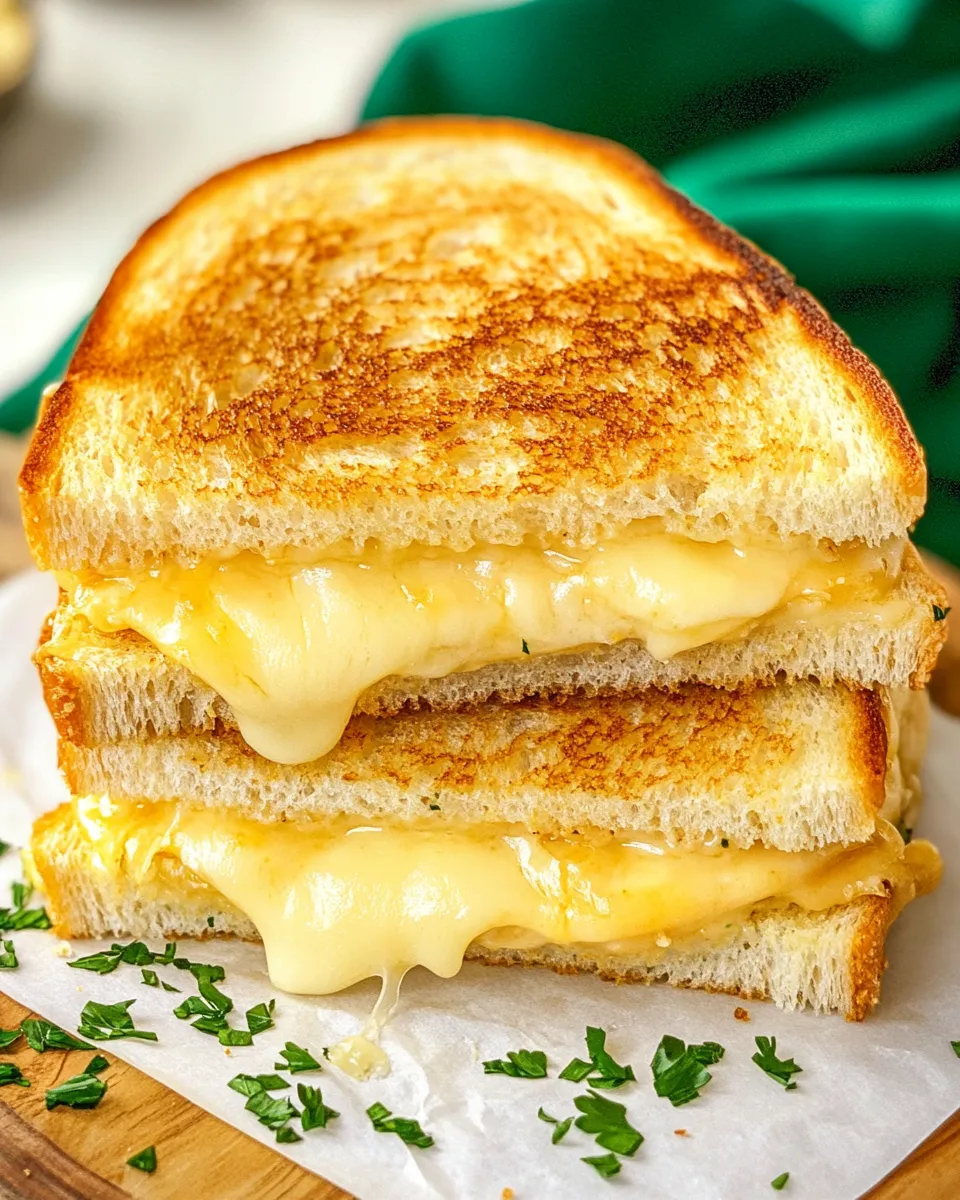
This Starbucks-style grilled cheese is a dependable, practical recipe that rewards a bit of patience and attention. The Parmesan-garlic butter is a small step with a big payoff—more depth, better browning, and a flavor that feels both familiar and slightly elevated. Keep the heat steady, don’t rush the melt, and you’ll have a crisp, glossy exterior with warm, gooey interior every time.
If you try it, let the bread get a real golden color before flipping, and give the sandwich that one-minute rest before slicing. These moments are the difference between okay and excellent. Enjoy—this is the kind of recipe that becomes comfort food fast, and it’s easy enough to make on a weeknight when you want something simple and satisfying.
Starbucks Grilled Cheese Sandwich Recipe (Easy Copycat)
Ingredients
Equipment
Method
- In a small bowl, combine 2 tablespoons softened butter, 1 tablespoon finely grated Parmesan cheese, and 1/2 garlic clove grated (or 1/4 teaspoon garlic powder). Stir until smooth.
- Spread the butter mixture evenly on one side of each of the 4 slices of sourdough bread.
- Place the 2 ounces sliced mozzarella and 2 ounces sliced white cheddar on the unbuttered side of two slices of bread, dividing the cheese evenly between them.
- Top each cheese-covered slice with the remaining bread slice, with the buttered side facing outward.
- Heat a griddle or large skillet over medium-low heat until hot but not smoking.
- Carefully place the assembled sandwiches onto the hot griddle or skillet and cook until the bottom is golden brown, about 4–5 minutes.
- Flip the sandwiches using a spatula, press lightly with the spatula if desired, and continue cooking until the second side is golden brown and the cheese is completely melted, about 3–5 minutes more. If needed, cover the skillet briefly to help the cheese melt.
- Remove the sandwiches from the pan, let rest 1 minute, slice, and serve immediately.