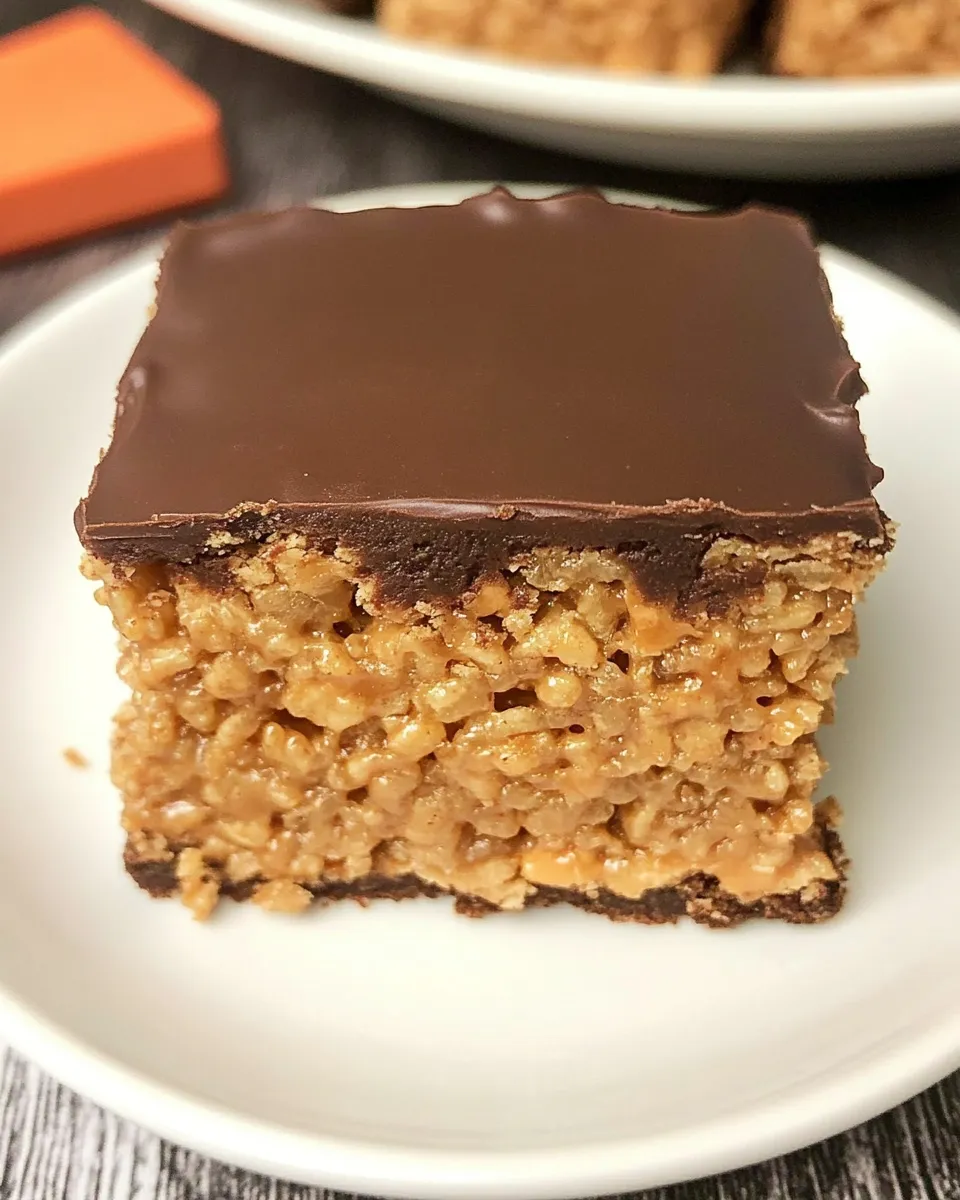
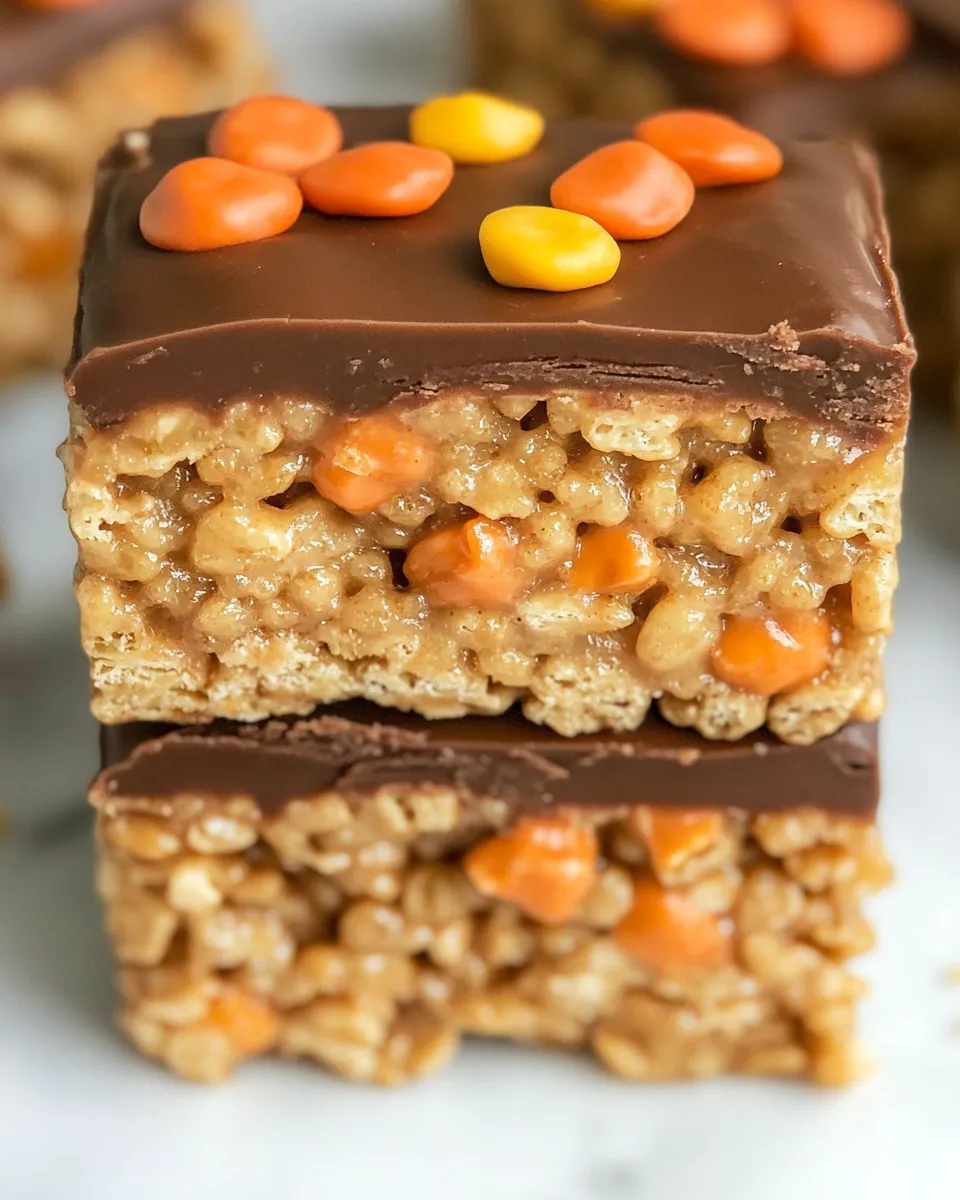
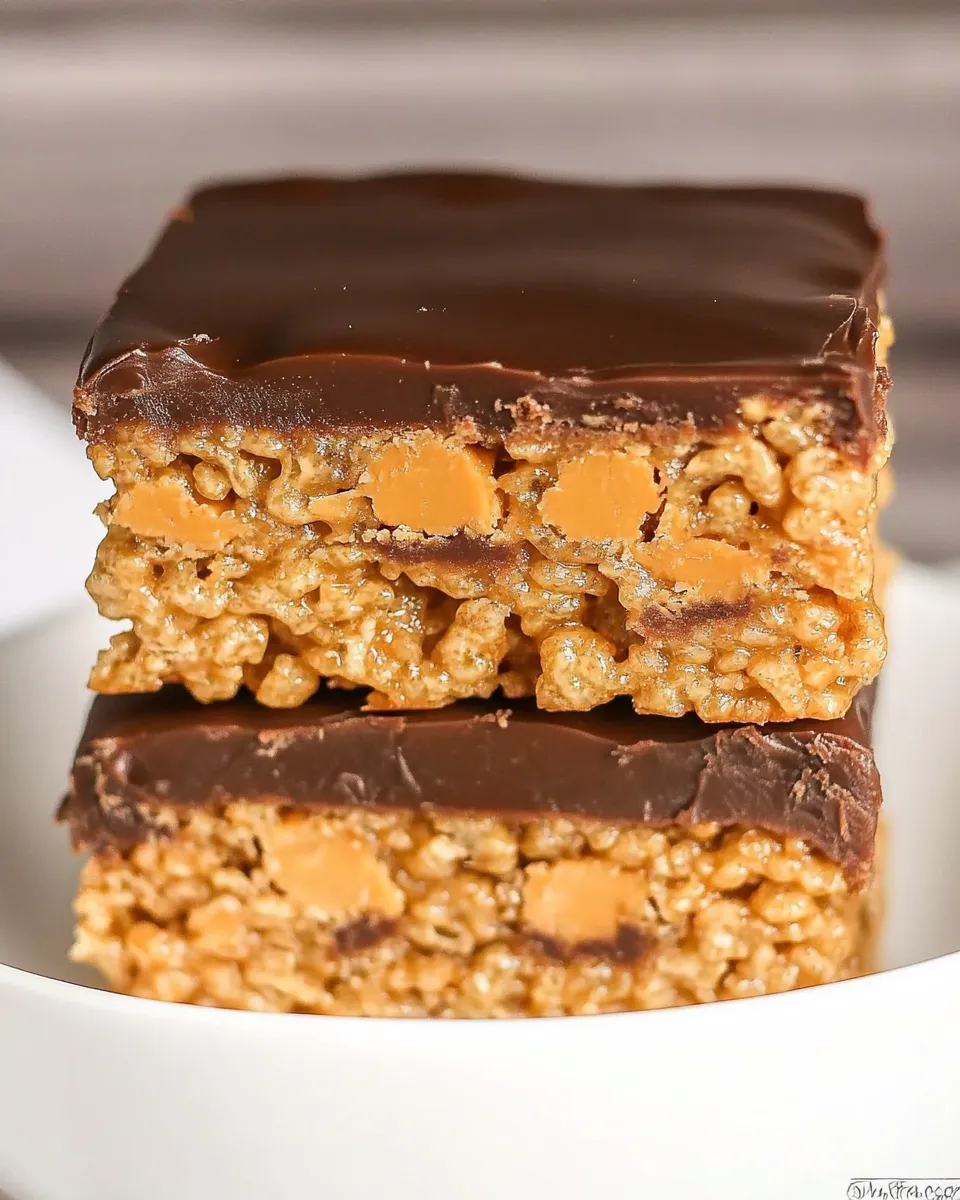
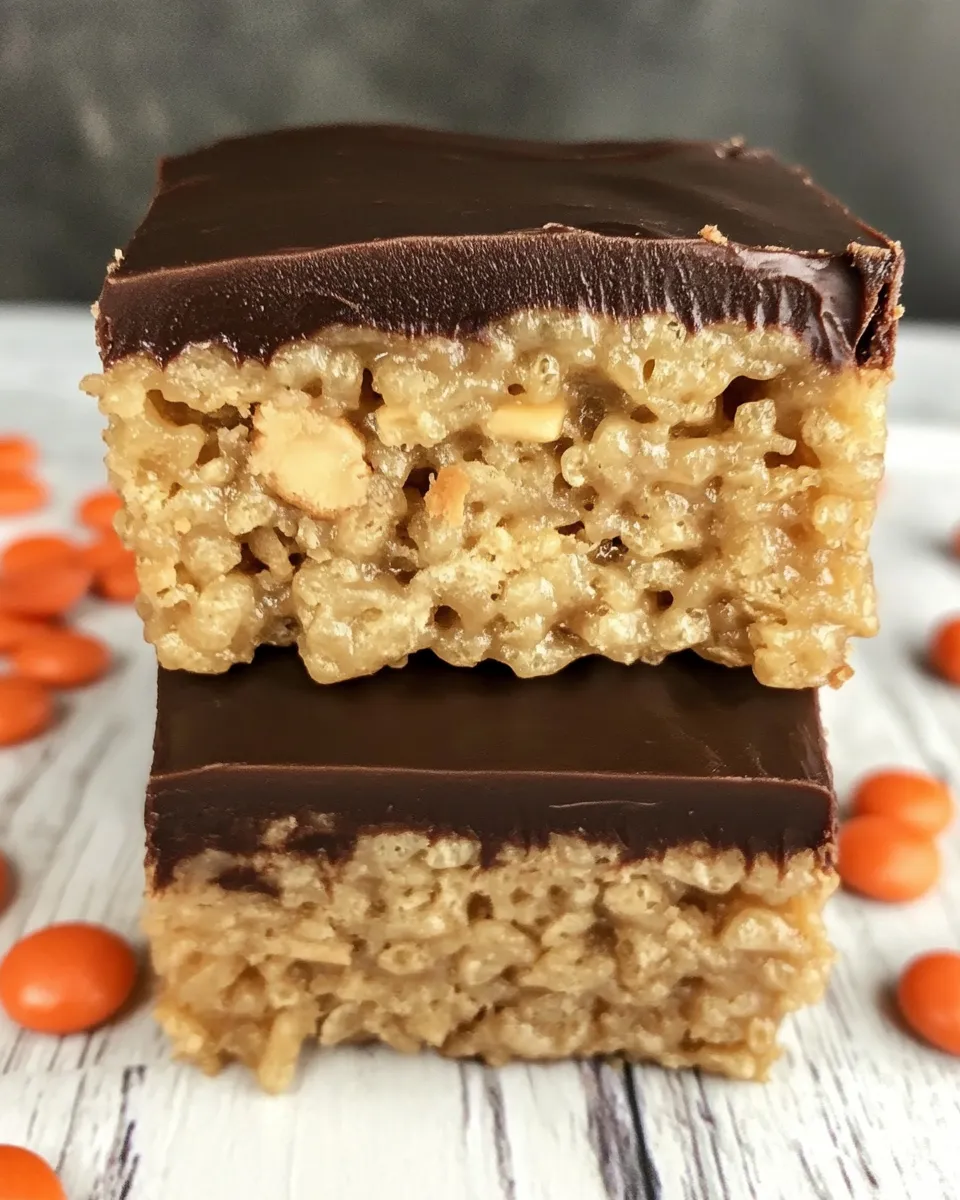
Stuffed Peanut Butter Rice Krispie Treats
These Stuffed Peanut Butter Rice Krispie Treats are a simple, honest twist on a nostalgic snack. You get the crisp snap of Rice Krispies coated in a sticky, peanut-butter-forward syrup with miniature Reese’s tucked right into the middle. They hold up well, cut cleanly, and travel without falling apart — perfect for a bake sale or an afternoon pick-me-up.
I like to keep this recipe straightforward: no tempering chocolate, no melting marshmallows, just a quick syrup, peanut butter, and cereal. The frozen peanut-butter cups are the only step that asks for patience, and it pays off with a neat sandwich of texture and flavor. If you follow the order and the small technique notes I share below, you’ll have consistent bars every time.
Read through the steps once before you start. Gather the handful of tools listed later and freeze the candies first. The rest moves fast. These treats are forgiving, forgiving enough for a weeknight project but reliable enough to make for guests.
What Goes In
Ingredients
- 6 cups Rice Krispies cereal — the light, crunchy base; handle gently when mixing so they stay crisp.
- 1 cup sugar — provides sweetness and structure in the syrup; dissolve fully for a smooth texture.
- 1 cup light corn syrup (I use Karo brand) — keeps the syrup pliable and prevents crystallization; key to binding without hard candy.
- 1 cup creamy peanut butter — adds flavor and richness; creamy spreads evenly into the hot syrup for a cohesive mix.
- 1 teaspoon vanilla — small but important; brightens the peanut butter and balances the sweetness.
- 1 10-ounce bag of snack sized Reese’s Peanut Butter Cups, frozen for about a half hour — the surprise center; freezing helps them hold shape while you press the top layer.
Cooking (Stuffed Peanut Butter Rice Krispie Treats): The Process
- Place the 10-ounce bag of snack-sized Reese’s Peanut Butter Cups in the freezer for about 30 minutes.
- Line a 9 x 9-inch pan with non-stick foil, or line with foil and spray the foil with non-stick cooking spray; set the pan aside.
- Put 6 cups Rice Krispies cereal into a large bowl and set aside.
- In a medium saucepan, combine 1 cup sugar and 1 cup light corn syrup. Heat over medium, stirring, until the sugar dissolves. Do not allow the mixture to boil. Remove the pan from the heat as soon as the sugar is dissolved.
- Stir 1 cup creamy peanut butter and 1 teaspoon vanilla into the hot syrup mixture until smooth and fully combined.
- Pour the peanut butter mixture over the cereal. Stir gently but thoroughly until the cereal is evenly coated.
- Transfer about half of the coated cereal mixture into the prepared pan. Use a spatula or the back of a spoon to gently press it into an even layer.
- Arrange the frozen Reese’s Peanut Butter Cups in a single layer on top of the pressed cereal base, spacing them evenly.
- Press small amounts of the remaining cereal mixture into the spaces between the peanut butter cups. Spread the rest of the cereal mixture over the cups and press gently until the top is even and the cups are mostly covered.
- Allow the bars to cool and set at room temperature until firm (about 30 minutes), or refrigerate for 10–15 minutes to speed setting.
- Lift the bars from the pan using the foil, place on a cutting board, and cut into squares or bars to serve.
Why This Recipe Belongs in Your Rotation
This recipe sits in that sweet spot: minimal ingredients, minimal fuss, maximum nostalgia with a grown-up twist. It’s faster than recipes that require melted marshmallows or tempering chocolate, and it yields a snack that looks and tastes special. The peanut-butter syrup gives the whole bar a defined flavor so each bite feels intentional.
It’s also reliably portable. If you need something to bring to work, school, or a small party, these travel well. They slice cleanly and hold together at room temperature for several hours, provided they’re not left in a hot car. Make them ahead and you’ve added a quick, crowd-pleasing option to your week.
No-Store Runs Needed
If you already keep staples like cereal, sugar, and peanut butter on hand, you only need the Reese’s cups and maybe the light corn syrup. The good news: snack-sized candies are usually easy to find, and the rest are pantry items. I recommend checking your pantry first; you may already have everything for these bars.
Essential Tools for Success
- 9 x 9-inch pan — the recipe is scaled for this size so the layers press to the right thickness.
- Non-stick foil or foil + cooking spray — for easy lifting and clean cuts.
- Medium saucepan — to heat the sugar and corn syrup mixture gently.
- Large mixing bowl — gives space to fold the cereal without crushing it.
- Spatula or back of a spoon — use it to press layers gently; avoid packing too hard.
- Cutting board and sharp knife — a hot, clean knife makes the neater slices once the bars are set.
Steer Clear of These
Don’t let the syrup boil. The directions are clear: heat only until the sugar dissolves. If it boils, the syrup can harden as it cools and you’ll end up with brittle, grainy bars instead of soft, chewy ones.
Avoid pressing the cereal too hard into the pan. Press gently but firmly. Over-packing squeezes the air out and makes dense, tougher bars. You want them held together, not compressed into a candy brick.
Finally, don’t skip freezing the peanut-butter cups. If they’re not chilled, they’ll smear into the top layer and you’ll lose the neat “stuffed” effect. A half-hour in the freezer makes assembly tidy and the final bars prettier.
Smart Substitutions
If you’re working with what you have, stick to the core components and methods. The recipe relies on a syrup binder and creamy peanut butter to coat the cereal evenly; using a runnier or oil-separated nut spread can make the mixture looser and harder to handle. For best results, use a creamy, spreadable peanut butter as called for.
If you must adjust one thing, alter the candy size or spacing rather than the binder ratios. Keep the syrup and peanut butter quantities unchanged so the mixture binds properly. That way you preserve texture and slicing behavior.
Pro Perspective
Small technique choices add up. Heat the sugar and corn syrup slowly over medium and stir until you no longer feel sugar granules under the spoon. Remove from the heat immediately — residual heat will finish the job. Mixing the peanut butter into the hot syrup off the heat prevents overheating the peanut butter oils and gives you a smooth, glossy binder.
When folding the cereal into the wet mixture, use a light hand. A gentle folding motion keeps the cereal airy. Press the bottom layer evenly, then arrange the frozen candies with a little space between each so you can fill gaps with the remaining mixture. When you press the top layer, aim for an even surface, not a compacted one. Let the bars cool fully for cleaner cuts.
Make-Ahead & Storage
Make them up to three days in advance and store them in an airtight container at room temperature. Place parchment between layers to prevent sticking. If your kitchen is warm, refrigerate; they’ll be firmer and still tasty. For longer storage, freeze wrapped bars for up to a month. Thaw in the refrigerator or at room temperature before serving.
Quick Questions
- Can I freeze the bars? Yes. Wrap them well and freeze for up to a month. Thaw before cutting for cleaner slices.
- Do they need refrigeration? Not at room temperature for a few hours or a day, but refrigerate if your kitchen is warm or if you prefer firmer bars.
- Can I use larger Reese’s cups? The recipe calls for snack-sized candies. Larger cups will change layer distribution; if you use larger ones, space them and expect fewer per pan.
- What’s the best knife to cut them? A sharp chef’s knife warmed under hot water and wiped dry will make smoother cuts. Wipe between cuts.
Bring It Home
These bars are straightforward and deliver reliably: crunchy cereal, a cohesive peanut-butter syrup, and a fun, chocolate-peanut-butter surprise inside. Follow the order in the process, don’t boil the syrup, and freeze the candies before assembly. If you do those few things, you’ll get neat, satisfying bars every time.
Make a batch this weekend. Wrap a few squares for lunchboxes, give a stack to friends, or keep them on the counter for an honest afternoon snack. They’ll disappear fast — and for good reason.
Stuffed Peanut Butter Rice Krispie Treats
Ingredients
Equipment
Method
- Place the 10-ounce bag of snack-sized Reese's Peanut Butter Cups in the freezer for about 30 minutes.
- Line a 9 x 9-inch pan with non-stick foil, or line with foil and spray the foil with non-stick cooking spray; set the pan aside.
- Put 6 cups Rice Krispies cereal into a large bowl and set aside.
- In a medium saucepan, combine 1 cup sugar and 1 cup light corn syrup. Heat over medium, stirring, until the sugar dissolves. Do not allow the mixture to boil. Remove the pan from the heat as soon as the sugar is dissolved.
- Stir 1 cup creamy peanut butter and 1 teaspoon vanilla into the hot syrup mixture until smooth and fully combined.
- Pour the peanut butter mixture over the cereal. Stir gently but thoroughly until the cereal is evenly coated.
- Transfer about half of the coated cereal mixture into the prepared pan. Use a spatula or the back of a spoon to gently press it into an even layer.
- Arrange the frozen Reese's Peanut Butter Cups in a single layer on top of the pressed cereal base, spacing them evenly.
- Press small amounts of the remaining cereal mixture into the spaces between the peanut butter cups. Spread the rest of the cereal mixture over the cups and press gently until the top is even and the cups are mostly covered.
- Allow the bars to cool and set at room temperature until firm (about 30 minutes), or refrigerate for 10–15 minutes to speed setting.
- Lift the bars from the pan using the foil, place on a cutting board, and cut into squares or bars to serve.