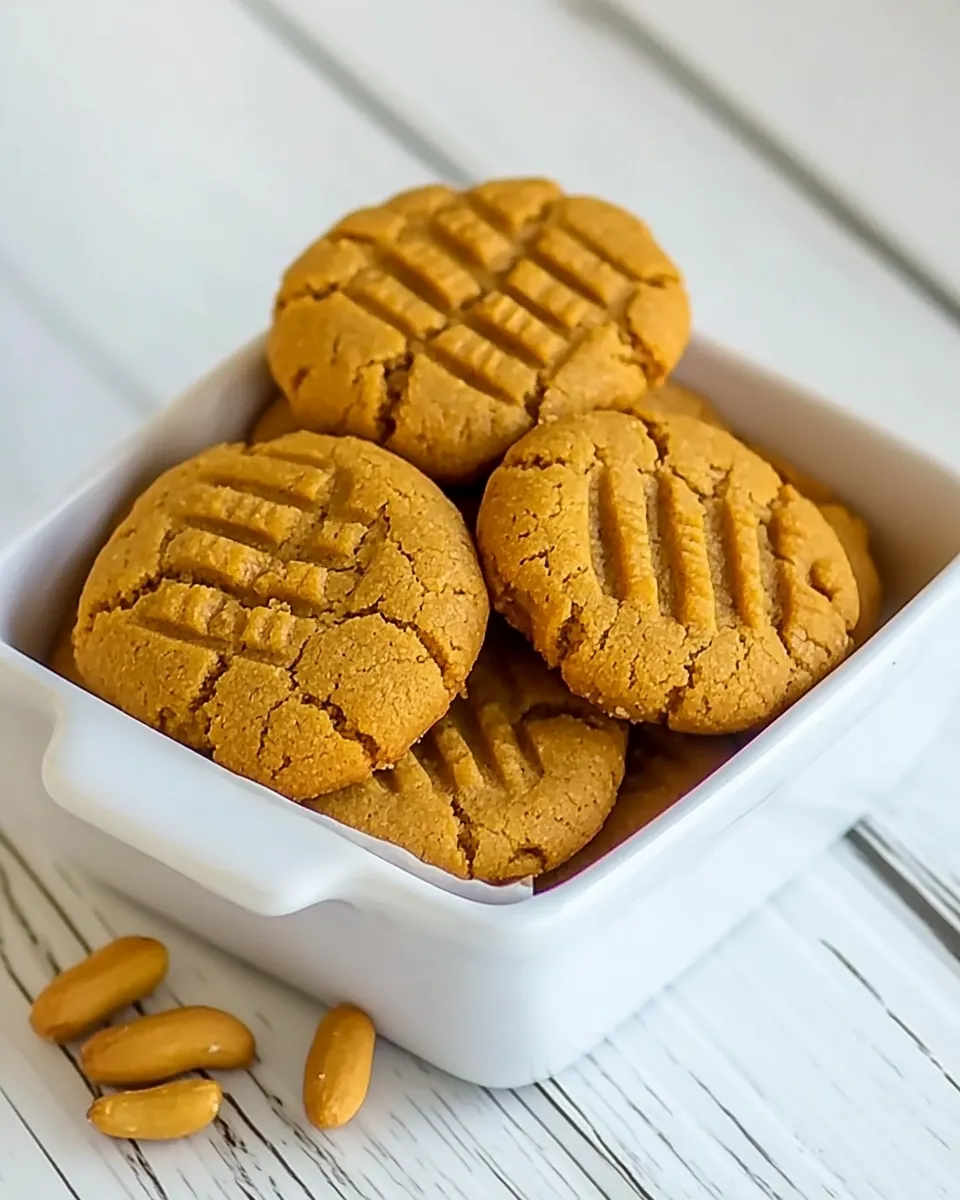
Sugar-Free Peanut Butter Cookies
These cookies are exactly what I reach for when I want something quick, familiar, and low on sugar without sacrificing flavor. They’re small, sturdy, and pleasantly peanut-forward — the kind of cookie that disappears at a coffee break or in a lunchbox. No complicated tempering, no long chill time: just a few pantry items and a reliable bake.
I tested this exact recipe repeatedly to make sure the texture and timing were consistent. The dough is straightforward and can feel a bit dry at first, but trust the instructions: fully mixing the peanut butter with the egg and sweetener yields a cohesive dough that bakes into tender little rounds. The optional chopped peanuts add crunch if you like contrast.
If you’re new to sugar-free baking, this is a friendly one to start with. The cookies hold their shape, brown lightly along the edges, and require a patient 30-minute cool time on the baking sheet — an essential step for handling them without breaking. I’ll walk you through the ingredients, the exact steps, and practical tips I picked up while testing.
Ingredient Rundown
Below I outline what each component does in this recipe so you know what to expect and why each item matters. The list that follows contains the exact ingredients from the recipe and a short note about their role.
Ingredients
- 1 large egg — binds the dough and gives structure and a tender crumb.
- 1/2 cup Lakanto Monkfruit Sweetener Golden — provides sweetness without sugar and contributes a touch of caramel color.
- 1 tsp. baking powder — gives a slight lift so the cookies are not flat and dense.
- 1/2 tsp. vanilla — rounds and deepens the peanut flavor.
- 1 cup Skippy Creamy No-Sugar Added Peanut Butter — the base of the dough and source of fat, flavor, and texture.
- 1 tsp. water — helps the dough come together if the peanut butter is thick or the mix feels dry.
- 1/2 tsp. sea salt — balances sweetness and highlights the peanut taste.
- 1/3 cup chopped peanuts (optional) — adds crunch and a toasty peanut note when included.
Sugar-Free Peanut Butter Cookies: Step-by-Step Guide
- Preheat oven to 350°F (180°C).
- In a mixing bowl, use an electric beater to beat together 1 large egg, 1/2 cup Lakanto Monkfruit Sweetener Golden, 1 tsp baking powder, and 1/2 tsp vanilla for about 1 minute, until combined.
- Add 1 cup Skippy Creamy No-Sugar Added Peanut Butter, 1 tsp water, and 1/2 tsp sea salt. Beat until the mixture is well combined and forms a cohesive dough (it may be fairly dry; ensure the peanut butter is fully mixed).
- If using 1/3 cup chopped peanuts, add them now and beat a few times to distribute them through the dough.
- Line a large cookie sheet with a silicone baking mat or parchment paper.
- Measure about 1 tablespoon of dough for each cookie, roll into a ball, and place on the prepared sheet, leaving space between cookies (you should get about 20 small cookies).
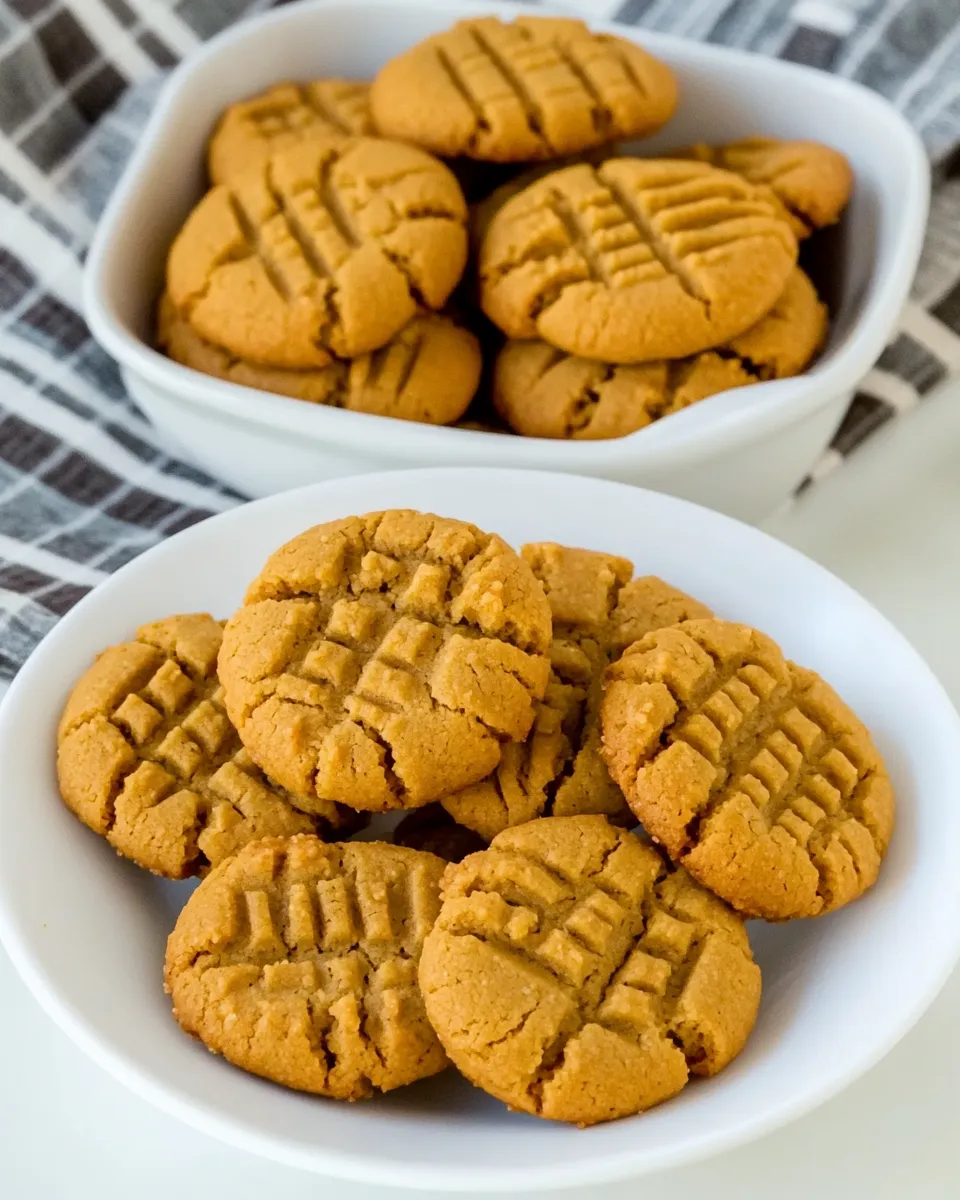
- Smash each dough ball down with a fork to flatten.
- Bake for 14–15 minutes, or until the cookies are starting to feel firm and are slightly browned (they will still feel soft to the touch when done).
- Let the cookies cool on the baking sheet for at least 30 minutes before handling. Store extras in the freezer if desired.
Why Cooks Rave About It
There’s a simple honesty to these cookies. Peanut butter is doing most of the work here: it provides fat, moisture, and flavor, so the rest of the recipe is intentionally short. People appreciate that they’re predictable — you don’t get a one-cookie wonder that turns into crumbs the moment you touch it. The small size makes portion control easy and invites multiple bites rather than huge, intimidating cookies.
Because the recipe relies on a no-sugar-added peanut butter and a monkfruit sweetener, it keeps sugar content low without leaning on artificial textures. Bakers who want a straightforward sugar-free treat like the idea of a 9-step process that ends in a reliable batch of roughly 20 cookies. The cooling step is also something home bakers note as a game-changer: it gives the cookies time to set, so they firm properly and don’t fall apart.
Flavor-Forward Alternatives
Given the tight ingredient list, the easiest way to change things up is with texture and finishing touches that use what’s already in the recipe. Fold in the optional chopped peanuts for a louder crunch and a more rustic mouthfeel. If you’re aiming for a slightly more pronounced salty-sweet contrast, a tiny extra sprinkle of sea salt on the tops right after you press them will do the trick — the recipe’s 1/2 tsp already seasons the dough, but a finishing touch sharpens that contrast.
For a different bite, press the fork pattern slightly deeper before baking so the cookies spread less and keep a denser interior. If you prefer a softer center, watch the edges closely during baking and pull them when they’re just turning golden; they’ll finish setting on the hot baking sheet and during the 30-minute cooling.
Must-Have Equipment
- Oven that maintains 350°F (180°C) — precise temperature is helpful for consistent browning.
- Mixing bowl — roomy enough for beating and folding.
- Electric beater — the recipe specifies one and it speeds up getting the egg and sweetener combined.
- Measuring cups and spoons — to keep the small batch proportions accurate.
- Large cookie sheet and silicone baking mat or parchment paper — prevents sticking and promotes even baking.
- A fork — for the classic peanut butter cookie crosshatch and to slightly flatten each ball.
- Spatula or bench scraper — for lifting cookies after they cool.
Errors to Dodge
Skip these common missteps and the cookies will turn out much more predictable.
- Not fully mixing the peanut butter: if the peanut butter isn’t well incorporated, the dough can stay crumbly and won’t form cohesive balls.
- Rushing the cool time: the recipe calls for at least 30 minutes on the baking sheet. Moving cookies too soon risks breakage and misshapen pieces.
- Overbaking: they’ll look a bit soft when done. If you bake until they feel firm in the center, you’ll end up with dry cookies.
- Using a different peanut butter texture without adjusting expectations: the specified item is a creamy, no-sugar-added spread. Thicker or oil-separated varieties can change dough consistency.
Make It Your Way
Personalization here is more about technique than changing ingredient lists. Want them crisper? Let them bake to a touch more color on the edges and skip the extra cooling time only at your own risk — they will firm further as they cool but will keep crisping in the oven’s residual heat. Prefer them chewier? Keep a close eye during those last couple of minutes and take them out as soon as they’re slightly set.
If you opt in for the chopped peanuts, fold them in evenly so every cookie has some crunch. When you measure dough, keeping each ball around the specified 1 tablespoon helps you get the promised yield of about 20 small cookies and ensures uniform baking.
What I Learned Testing
Testing this recipe showed the importance of three small things: completely mixing the wet ingredients, trusting the bake time, and obeying the cool time. In early tests, cookies that were handled immediately after coming out of the oven tore or crumbled. Letting them sit undisturbed on the sheet allows the heat to finish the set and makes them surprisingly easy to lift off without breaking.
I also learned that the dough can seem drier than expected, which worries people doing this for the first time. Beat a little longer and the peanut butter will relax and incorporate. If you’re seeing visible streaks of unmixed peanut butter, keep beating until it’s uniform. The optional peanuts add a pleasing contrast, but the cookies are perfectly enjoyable without them.
Make Ahead Like a Pro
There are two simple ways to plan ahead. One: bake now, then freeze extras. The recipe notes that extras can be stored in the freezer. Let the cookies cool fully, then place them in an airtight container with layers separated by parchment — they thaw in minutes and keep well for weeks.
Two: assemble dough balls and freeze them on a sheet until firm, then transfer to a container. When you’re ready to bake, place frozen dough balls on a prepared sheet and add a couple of minutes to the baking time — check visually for the same cues: slight browning and a slightly firming center. Either approach saves time and gives you a quick grab-and-go cookie when you need one.
Frequently Asked Questions
- Are these cookies truly sugar-free? — The recipe uses a monkfruit-based sweetener and a no-sugar-added peanut butter, so they contain no added sugar. Read labels if you need to monitor total carbohydrate or sweetener types.
- Can I skip the chopped peanuts? — Yes. The peanuts are optional. The dough and final cookie are fully enjoyable without them.
- Why does the recipe call for cooling on the baking sheet? — This resting time lets the cookies finish setting so they don’t fall apart when you try to move them. It also helps the texture stabilize; handling sooner risks breakage.
- How many cookies does this make? — The recipe indicates you should get about 20 small cookies when using roughly 1 tablespoon of dough per cookie.
Time to Try It
This is a dependable, short-list recipe that rewards minimal effort with consistent cookies. Keep your tools ready, follow the exact steps here, and give the cooling time the respect it deserves. The result is a stash of small, peanut-forward cookies you can pull from the freezer or share straight away. Make a batch, observe the texture cues during baking, and you’ll have a reliable sugar-free go-to that’s easy to reproduce.

Sugar-Free Peanut Butter Cookies
Ingredients
Equipment
Method
- Preheat oven to 350°F (180°C).
- In a mixing bowl, use an electric beater to beat together 1 large egg, 1/2 cup Lakanto Monkfruit Sweetener Golden, 1 tsp baking powder, and 1/2 tsp vanilla for about 1 minute, until combined.
- Add 1 cup Skippy Creamy No-Sugar Added Peanut Butter, 1 tsp water, and 1/2 tsp sea salt. Beat until the mixture is well combined and forms a cohesive dough (it may be fairly dry; ensure the peanut butter is fully mixed).
- If using 1/3 cup chopped peanuts, add them now and beat a few times to distribute them through the dough.
- Line a large cookie sheet with a silicone baking mat or parchment paper.
- Measure about 1 tablespoon of dough for each cookie, roll into a ball, and place on the prepared sheet, leaving space between cookies (you should get about 20 small cookies).
- Smash each dough ball down with a fork to flatten.
- Bake for 14–15 minutes, or until the cookies are starting to feel firm and are slightly browned (they will still feel soft to the touch when done).
- Let the cookies cool on the baking sheet for at least 30 minutes before handling. Store extras in the freezer if desired.