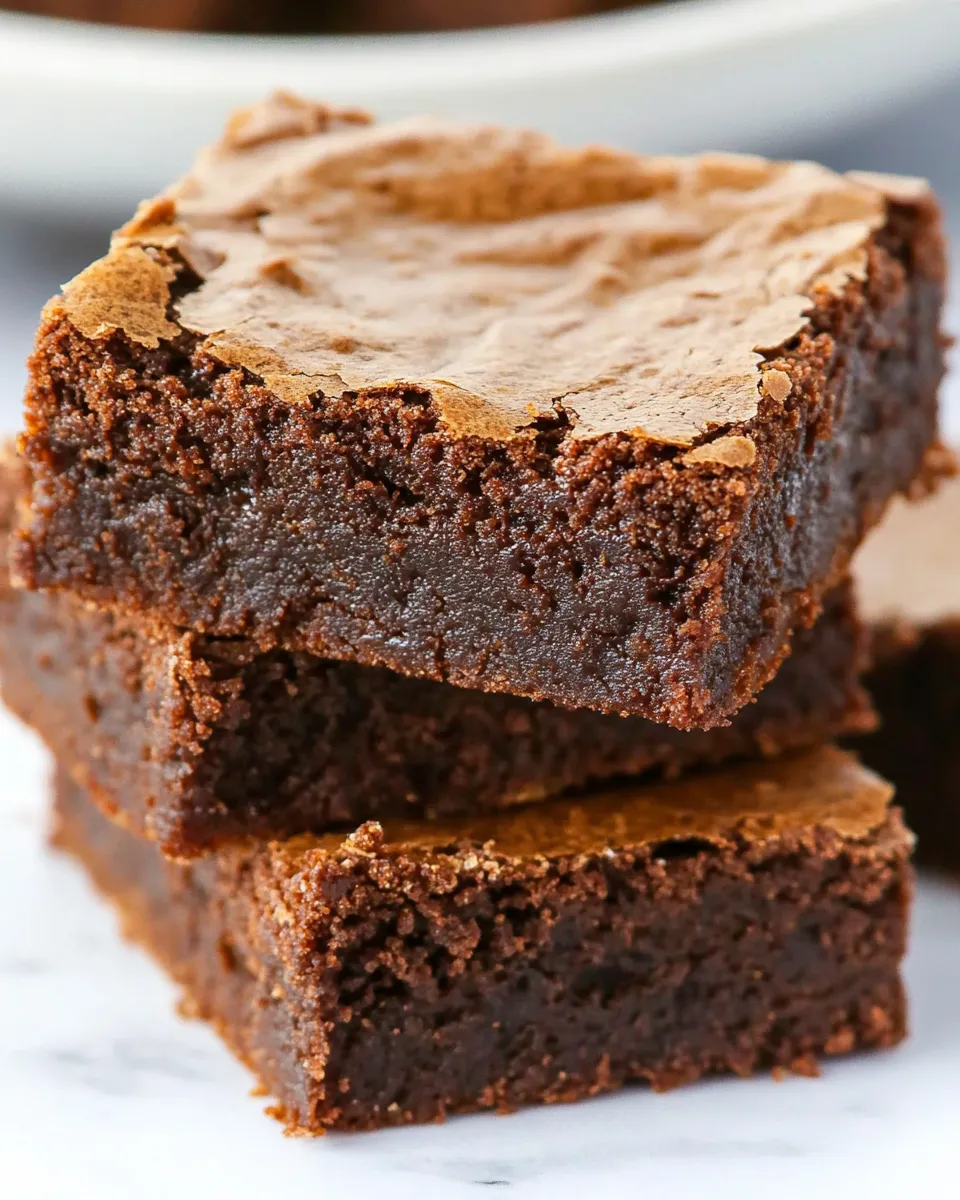
The BEST Gluten-Free Brownies
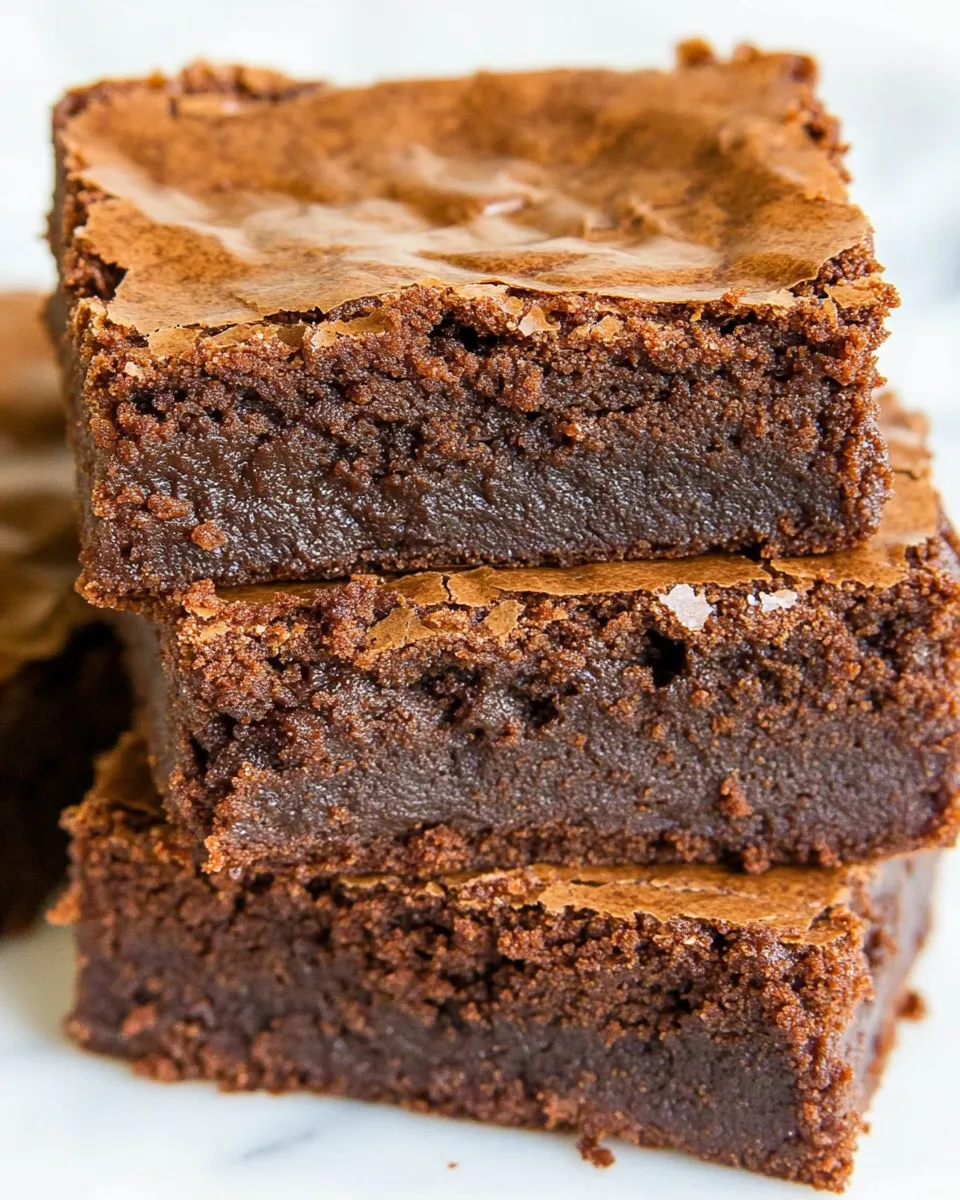
I make these brownies on repeat when a chocolate craving hits or when someone tells me they need a gluten-free dessert for a gathering. They deliver a dense, fudgy center and a slight crackle on top — exactly what you want from a classic brownie. They’re straightforward, forgiving, and don’t demand unusual ingredients or techniques.
This recipe is one I trust when time is short but expectations are high. The method is simple: melt, mix, fold, bake. The result is reliably rich and chocolate-forward without any grainy or crumbly texture that can dog some gluten-free bakes.
Below you’ll find the exact ingredient notes and step-by-step instructions I use. I’ll also cover common mistakes, helpful gear, easy variations, and storage so your brownies come out perfect every time.
Ingredient Rundown
Ingredients
- 4 ounces (113 g) unsweetened baking chocolate — the backbone of chocolate flavor; use a good-quality bar for the cleanest taste.
- ¾ cup (170 g) unsalted butter — provides richness and helps create that fudgy texture; room temperature isn’t required since it melts with the chocolate.
- 1 ¾ cups (350 g) granulated sugar — sweetens and helps form the glossy top; granulated sugar gives the classic crackle.
- 3 large eggs — add structure and shine; beat in one at a time for a smooth, glossy batter.
- 1 teaspoon vanilla extract — brightens and rounds the chocolate flavor.
- ½ teaspoon salt — balances sweetness and enhances chocolate notes.
- 2 tablespoons (10 g) unsweetened cocoa powder — deepens the chocolate intensity and helps with color and flavor concentration.
- 1 cup Gluten-Free 1-to-1 Baking Flour (such as Bob’s Red Mill, the blue package) — the single flour called for; it’s a direct swap for wheat flour in this formula and keeps the texture familiar.
Stepwise Method: Gluten-Free Brownies
- Preheat oven to 350°F (175°C). Line a 9×9-inch pan with foil or parchment, leaving an overhang on two sides to lift the brownies out later, and spray the lining lightly with nonstick cooking spray (do not use a spray that contains flour).
- Place the 4 ounces (113 g) unsweetened baking chocolate and ¾ cup (170 g) unsalted butter in a large microwave-safe bowl.
- Melt the chocolate and butter in the microwave in 30-second increments, stirring well between each interval, until completely melted and smooth (about 2 minutes total, depending on your microwave). Alternatively, melt in a heatproof bowl set over simmering water (double boiler), stirring until smooth.
- Stir the 1 ¾ cups (350 g) granulated sugar into the melted chocolate mixture until combined.
- Add the 3 large eggs, one at a time, stirring well after each addition until the mixture is smooth and glossy.
- Stir in 1 teaspoon vanilla extract, 2 tablespoons (10 g) unsweetened cocoa powder, and ½ teaspoon salt until evenly incorporated.
- Carefully fold in 1 cup Gluten-Free 1-to-1 Baking Flour until just combined; do not overmix. (Optional: fold in any gluten-free candy or chopped cookies now if using.)
- Pour the batter into the prepared pan and spread it evenly with a spatula.
- Bake at 350°F for about 22–25 minutes. To check doneness, insert a toothpick about 1 inch from the edge of the pan — it should come out with just a few moist crumbs. For fudgier brownies, err on the side of slightly underbaking. If using a 9×13-inch pan for thinner brownies, the total baking time will be shorter, so begin checking several minutes earlier.
- Cool the brownies completely in the pan on a wire rack. Use the foil or parchment overhang to lift them from the pan, then cut into squares.
- Store cooled brownies in an airtight container for up to 4 days, or freeze for up to one month.
Why I Love This Recipe
First, it’s reliable. The technique is minimal and forgiving, which matters on busy weeknights or when you’re baking for people who need truly gluten-free treats. The flour called for is a 1-to-1 blend, so the texture stays familiar and not gritty.
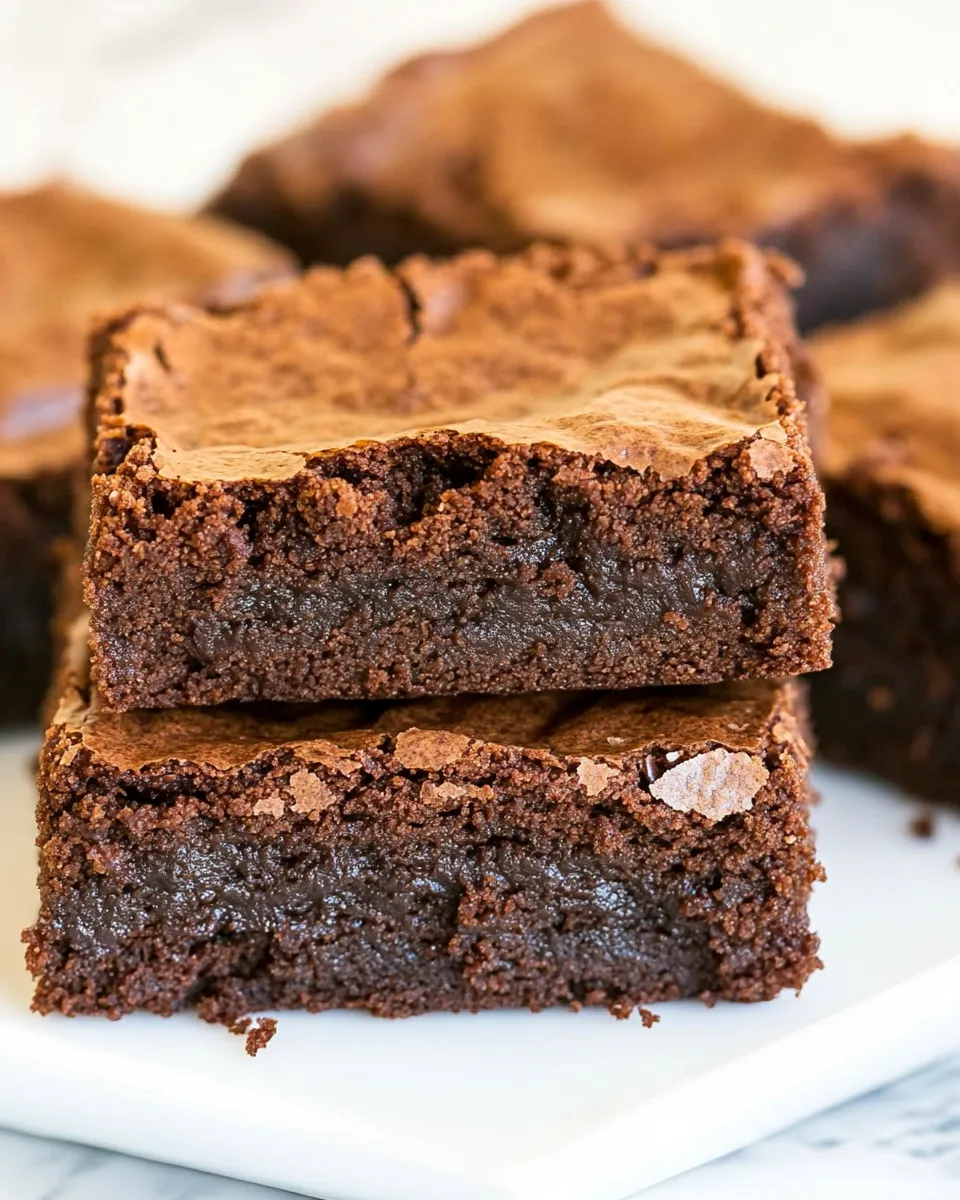
Second, the balance is right. The unsweetened baking chocolate gives real depth without relying solely on cocoa powder, and the small amount of cocoa powder enhances the chocolate notes rather than replacing them. The sugar and eggs combine to give that glossy top and fudgy interior we all want.
Finally, it’s flexible. You can tuck in mix-ins, serve it warm with ice cream, or slice it small for a party tray. It travels well and keeps its chocolate integrity for several days when stored properly.
Low-Carb/Keto Alternatives
- Flour swap options: Many low-carb bakers replace the 1-to-1 gluten-free flour with almond flour or a blend of almond and coconut flours, but expect a denser, less chewy texture and adjust liquid and binding ingredients when experimenting.
- Sugar alternatives: Use a cup-for-cup granular erythritol blend designed for baking to mimic the texture that granulated sugar gives to the top crust. Note that sweetness level and browning may differ.
- Chocolate options: Choose a low-sugar or sugar-free baking chocolate if you’re cutting carbs; be aware these bars sometimes behave slightly differently when melted.
- Testing: Any time you replace major components like flour or sugar, watch baking time closely and be prepared for textural differences.
Kitchen Gear Checklist

- 9×9-inch baking pan — the recipe is written for this size; a 9×13 will yield thinner brownies and change baking time.
- Foil or parchment — for the overhang that makes lifting brownies simple.
- Nonstick cooking spray (no flour) — a light spray prevents sticking to the lining.
- Microwave-safe bowl or heatproof bowl for double boiler — for melting chocolate and butter.
- Spatula and wooden spoon or silicone spatula — for folding and spreading batter evenly.
- Measuring cups and kitchen scale — the recipe gives weights; scale gives the most consistent results.
- Wire rack — cool brownies completely to set the texture.
- Toothpick — the simple doneness test called for in the method.
Frequent Missteps to Avoid
- Overbaking — this is the most common error. Remove a few minutes early if you want fudgy brownies. A toothpick should show a few moist crumbs near the edge, not a fully clean stick.
- Using a spray with flour — the recipe warns against sprays containing flour because some commercial sprays list flour and can cause a sticky film or alter texture.
- Overmixing after adding flour — fold just until combined. Overworking gluten-free blends can make a dry, cakey result.
- Not cooling before cutting — brownies seem tempting to slice warm, but they’ll be cleaner and less crumbly once fully cooled and set.
- Substituting unfamiliar GF blends without testing — not all “gluten-free” flours behave the same. Stick to a reliable 1-to-1 blend until you’re confident in how an alternative performs.
Year-Round Variations
- Nutty: Fold in chopped toasted walnuts or pecans before baking for crunch and contrast.
- Espresso boost: Add a small amount of instant espresso powder to the batter to intensify chocolate flavor without tasting like coffee.
- Orange-chocolate: Stir in a teaspoon of orange zest for bright citrus notes that pair beautifully with dark chocolate.
- Salted caramel swirl: Drop spoonfuls of thick caramel over the batter and swirl with a knife before baking; finish with flaky sea salt.
- Cookie-studded: Fold in pieces of gluten-free sandwich cookies or candy for texture and variety.
Pro Tips & Notes
- Melting chocolate: If using the microwave, stir between short bursts. Chocolate can seize quickly, so steady stirring distributes heat and prevents scorching. A double boiler is gentler if you’re nervous.
- Room-temperature eggs: They incorporate more smoothly when added one at a time; if your eggs are cold, they’ll still work, but stir thoroughly to avoid any lumps.
- Even spreading: Use an offset spatula or the back of a spoon to smooth the batter for uniform thickness and even baking.
- Doneness check: Insert a toothpick about 1 inch from the edge because edges cook faster. The center will be slightly softer; pull the pan at the lower end of the time range for fudgy brownies.
- Cutting neat squares: Chill the baked brownies briefly in the refrigerator for 15–20 minutes, then use a sharp knife wiped clean between cuts for tidy pieces.
- Scaling up or down: If doubling the recipe, bake in a 9×13-inch pan and expect a shorter bake time. The recipe notes this — begin checking several minutes earlier.
Save for Later: Storage Tips
Store cooled brownies in an airtight container at room temperature for up to 4 days. If you live in a very warm or humid climate, refrigerate to keep them from becoming overly soft, but allow them to come to room temperature before serving for best texture.
To freeze, wrap bars individually in plastic wrap or parchment and place them in a sealed freezer bag; they keep well for up to one month. Thaw at room temperature or warm briefly in a low oven or microwave for a warm, fudgy treat.
Questions People Ask
- Can I make this egg-free? This formula relies on eggs for structure and gloss; egg-free substitutions will change texture substantially. If you need an egg-free brownie, try a recipe specifically developed for that purpose rather than substituting here.
- Will other gluten-free flours work? A 1-to-1 gluten-free baking blend is recommended for texture parity. Single-ingredient flours (almond, coconut) will need adjustments and may change bake time and density.
- How do I get a shiny top? The combination of eggs and sugar beaten into the melted chocolate creates the classic shiny crackle. Beating each egg in fully as directed helps form that surface.
- Can I make bars thicker or thinner? Use a 9×13 pan for thinner bars (shorter bake), or a smaller pan for thicker bars (longer bake). Keep a close eye on timing and test for doneness.
Final Bite
This is my go-to formula for dependable, chocolate-rich gluten-free brownies. They’re simple to make, easy to customize, and loved by folks who both do and don’t need to eat gluten-free. Try them once and you’ll have a reliable dessert to turn to whenever you want a real brownie — fudgy, glossy, and satisfying.
The BEST Gluten-Free Brownies
Ingredients
Equipment
Method
- Preheat oven to 350°F (175°C). Line a 9×9-inch pan with foil or parchment, leaving an overhang on two sides to lift the brownies out later, and spray the lining lightly with nonstick cooking spray (do not use a spray that contains flour).
- Place the 4 ounces (113 g) unsweetened baking chocolate and ¾ cup (170 g) unsalted butter in a large microwave-safe bowl.
- Melt the chocolate and butter in the microwave in 30-second increments, stirring well between each interval, until completely melted and smooth (about 2 minutes total, depending on your microwave). Alternatively, melt in a heatproof bowl set over simmering water (double boiler), stirring until smooth.
- Stir the 1 ¾ cups (350 g) granulated sugar into the melted chocolate mixture until combined.
- Add the 3 large eggs, one at a time, stirring well after each addition until the mixture is smooth and glossy.
- Stir in 1 teaspoon vanilla extract, 2 tablespoons (10 g) unsweetened cocoa powder, and ½ teaspoon salt until evenly incorporated.
- Carefully fold in 1 cup Gluten-Free 1-to-1 Baking Flour until just combined; do not overmix. (Optional: fold in any gluten-free candy or chopped cookies now if using.)
- Pour the batter into the prepared pan and spread it evenly with a spatula.
- Bake at 350°F for about 22–25 minutes. To check doneness, insert a toothpick about 1 inch from the edge of the pan — it should come out with just a few moist crumbs. For fudgier brownies, err on the side of slightly underbaking. If using a 9×13-inch pan for thinner brownies, the total baking time will be shorter, so begin checking several minutes earlier.
- Cool the brownies completely in the pan on a wire rack. Use the foil or parchment overhang to lift them from the pan, then cut into squares.
- Store cooled brownies in an airtight container for up to 4 days, or freeze for up to one month.
Notes
11. Store cooled brownies in an airtight container for up to 4 days, or freeze for up to one month.