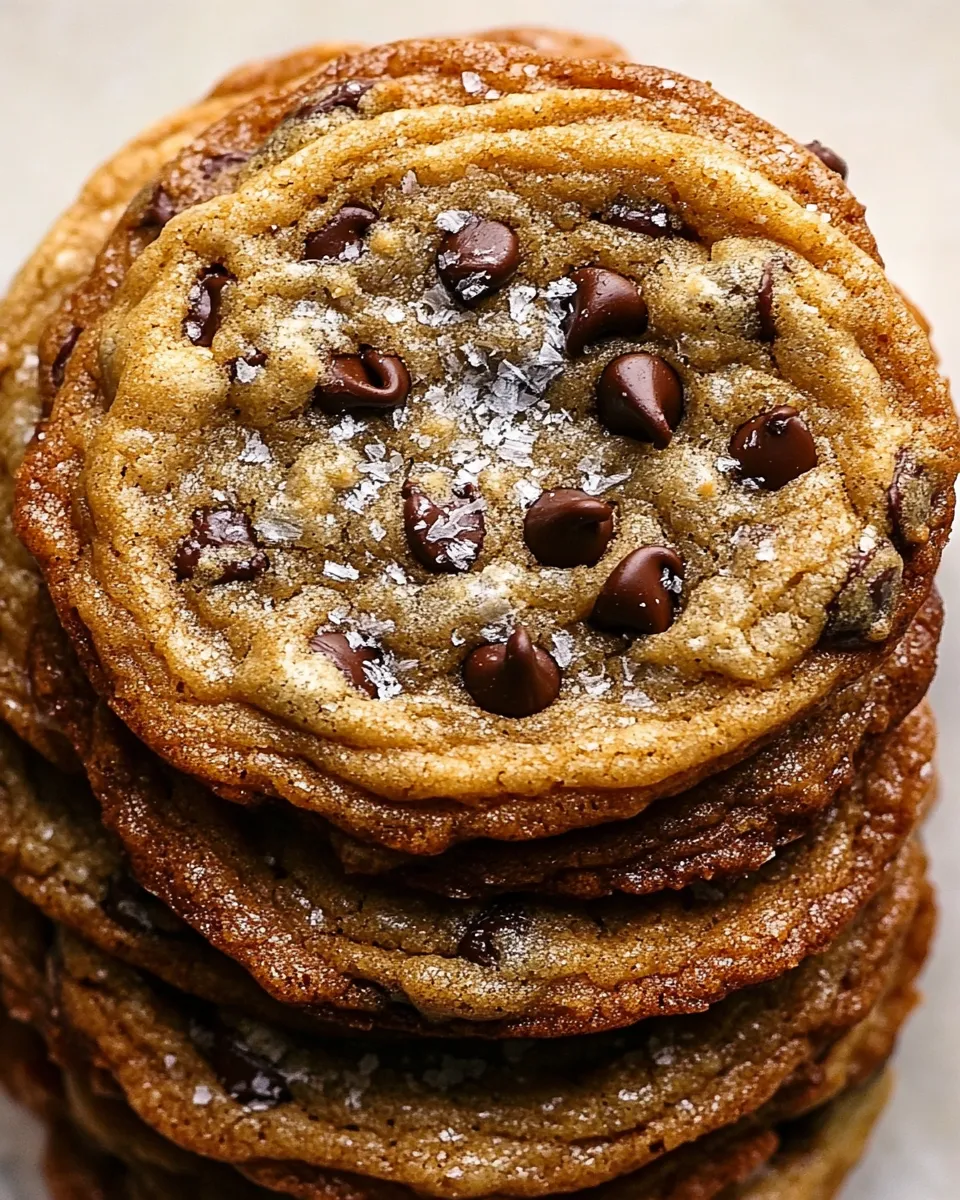
Thin Crispy Chocolate Chip Cookies
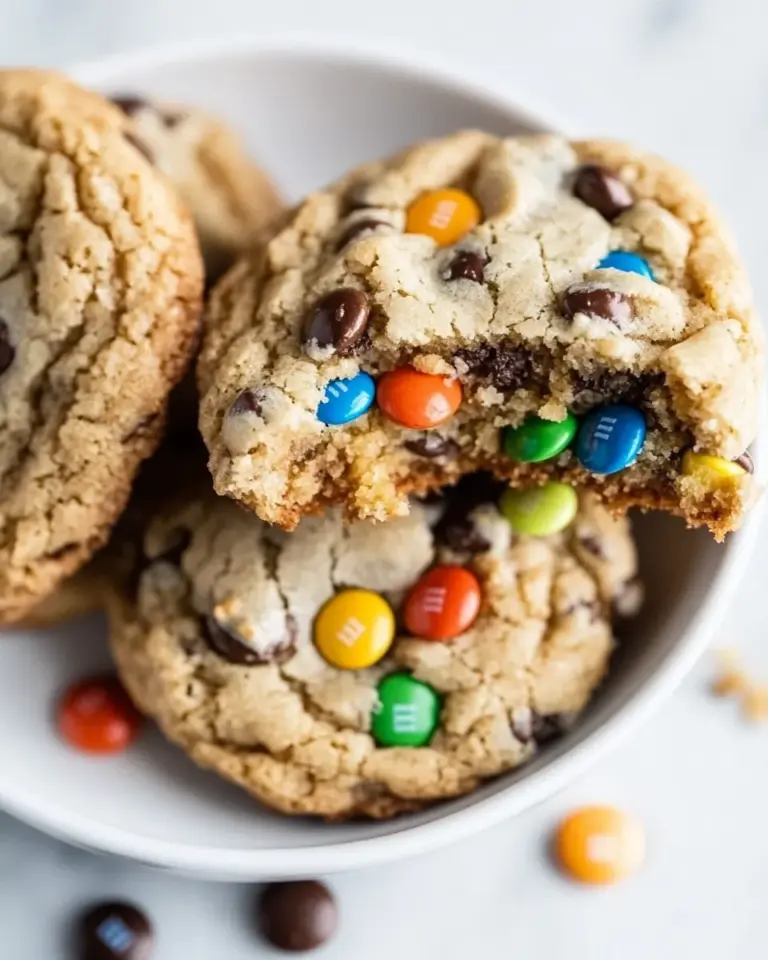
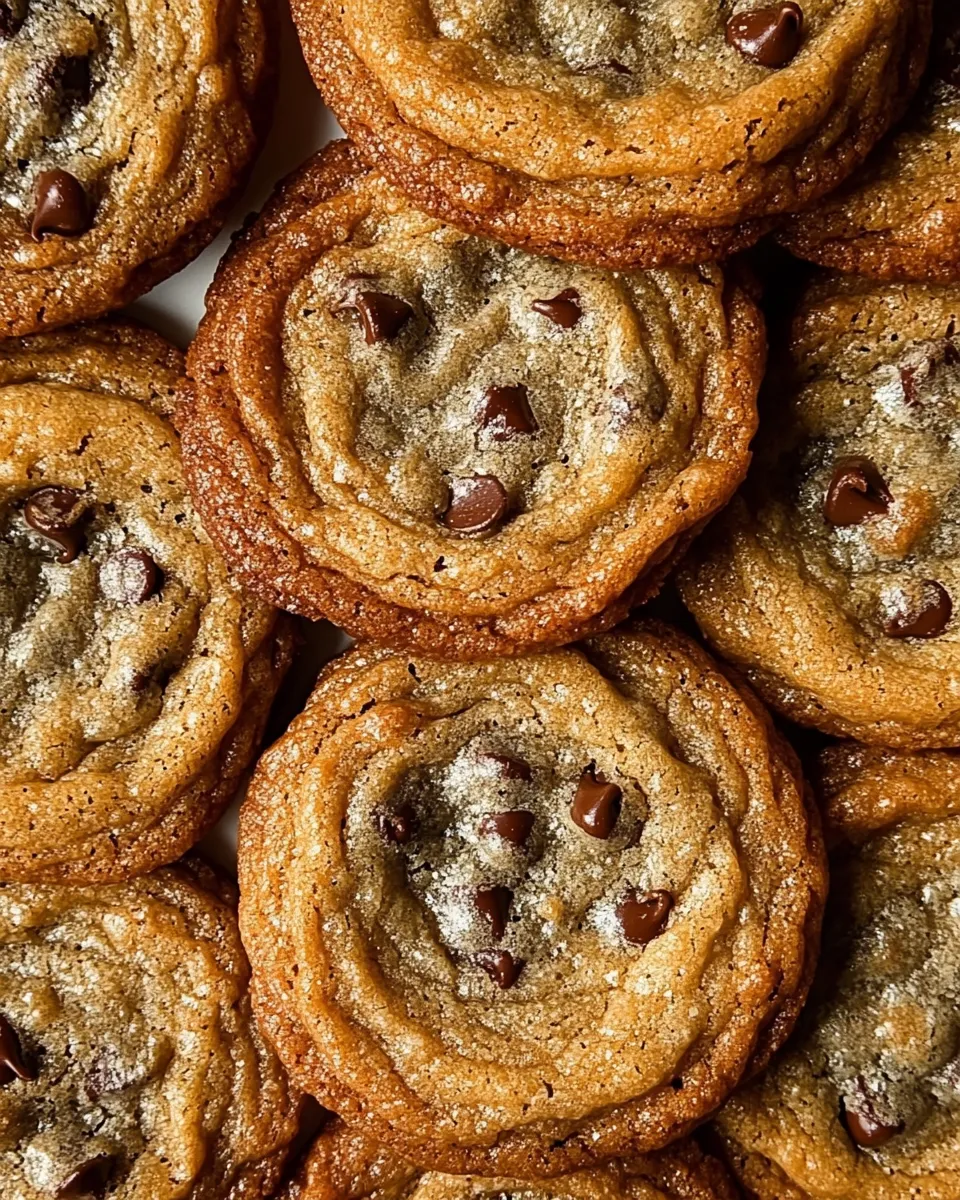
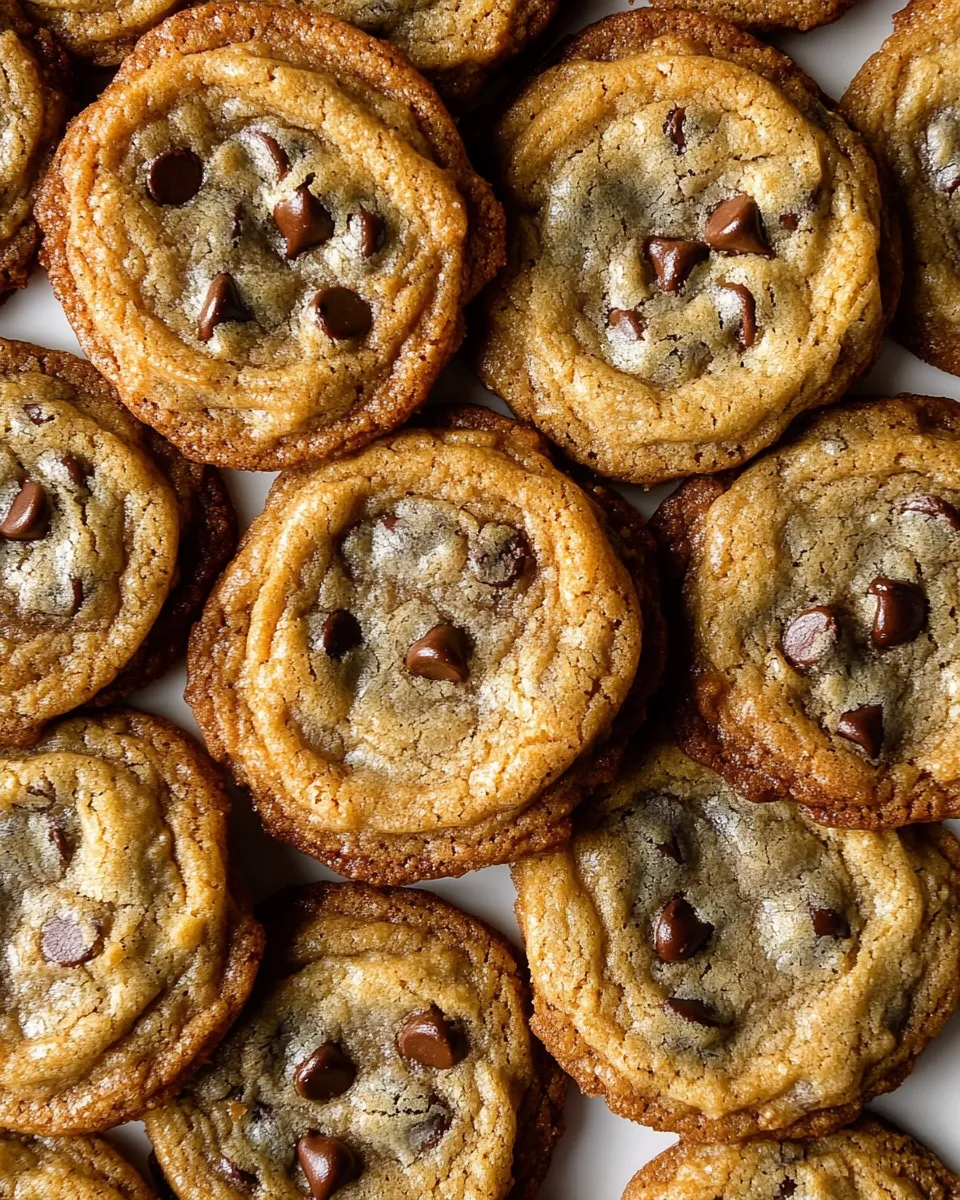
These are the cookies I reach for when I want something that snaps at the edge and melts in the center. They bake thin and lacy, with a deep golden edge and a modestly set middle. The chocolate pockets stay slightly glossy, so you get bite-after-bite of crunchy texture and pure chocolate comfort.
I developed this version to be reliably thin and crisp without special ingredients or long chill times. The method focuses on room-temperature dairy and eggs, modest mixing, and baking one tray at a time so heat remains consistent. Follow it closely and you’ll have a tray of uniform cookies every time.
Below you’ll find the ingredient list, a step-by-step guide that follows the exact method I use, and practical sections on equipment, common mistakes, variations, and storage. No fluff. Just clear, usable guidance so your cookies come out the way you intend.
The Ingredient Lineup
Ingredients
- 2 cups all-purpose flour — the structure for the cookie; measure by spooning into the cup and leveling for accuracy.
- 1 teaspoon baking soda — provides the lift and helps the cookies spread thin and evenly.
- 1 teaspoon sea salt — balances sweetness and sharpens chocolate flavor; use fine or flaky sea salt as you prefer.
- 10 ounces unsalted butter, at room temperature — the primary fat that controls spread and crispness; room temperature means soft but not greasy.
- 1 and 1/3 cups granulated sugar — promotes crispness and browning; granulated sugar encourages a thinner, crisper cookie than using all brown sugar.
- 1/4 cup light brown sugar, packed — adds a hint of caramel and helps with chew in the center without making the cookie cakey.
- 2 teaspoons vanilla extract — rounds flavors and lifts the chocolate.
- 2 large eggs, at room temperature — bind the dough and add a little richness; room temperature eggs incorporate more smoothly.
- 1 tablespoon milk, at room temperature — adds the tiniest bit of extra moisture so the dough spreads reliably thin.
- 2 cups semi-sweet chocolate chips — the obvious star; they distribute throughout the dough to give even chocolate in every bite.
Thin Crispy Chocolate Chip Cookies: Step-by-Step Guide
- Remove the butter, eggs, and milk from the refrigerator so they come to room temperature. Preheat the oven to 350°F. Line 2 large baking sheets with parchment paper and set aside.
- In a medium bowl, whisk together 2 cups all-purpose flour, 1 teaspoon baking soda, and 1 teaspoon sea salt. Set the dry mixture aside.
- In the bowl of a stand mixer fitted with the paddle attachment, beat 10 ounces unsalted butter and both sugars (1 1/3 cups granulated sugar and 1/4 cup packed light brown sugar) on medium speed for about 2 minutes, until light and fluffy, scraping the bowl as needed.
- Add 2 teaspoons vanilla extract and beat until smooth. Add the 2 large eggs one at a time, beating well after each addition. Add 1 tablespoon milk and beat until combined.
- Reduce the mixer to low speed and add the flour mixture. Mix only until just combined—do not overmix.
- Add 2 cups semi-sweet chocolate chips and stir on low speed or fold in with a spatula until evenly distributed.
- Drop level 1-tablespoon portions of dough onto the prepared baking sheets, spacing the dough 2 inches apart to allow for spreading.
- Bake one sheet at a time on the middle oven rack for 10 to 11 minutes, rotating the sheet halfway through baking, until the cookie edges are golden and the centers look set.
- Remove the baking sheet from the oven and let the cookies cool on the sheet for 15 minutes. Use a thin spatula to transfer the cookies to a wire rack to cool completely. Repeat baking with the remaining dough.
Why This Recipe Belongs in Your Rotation
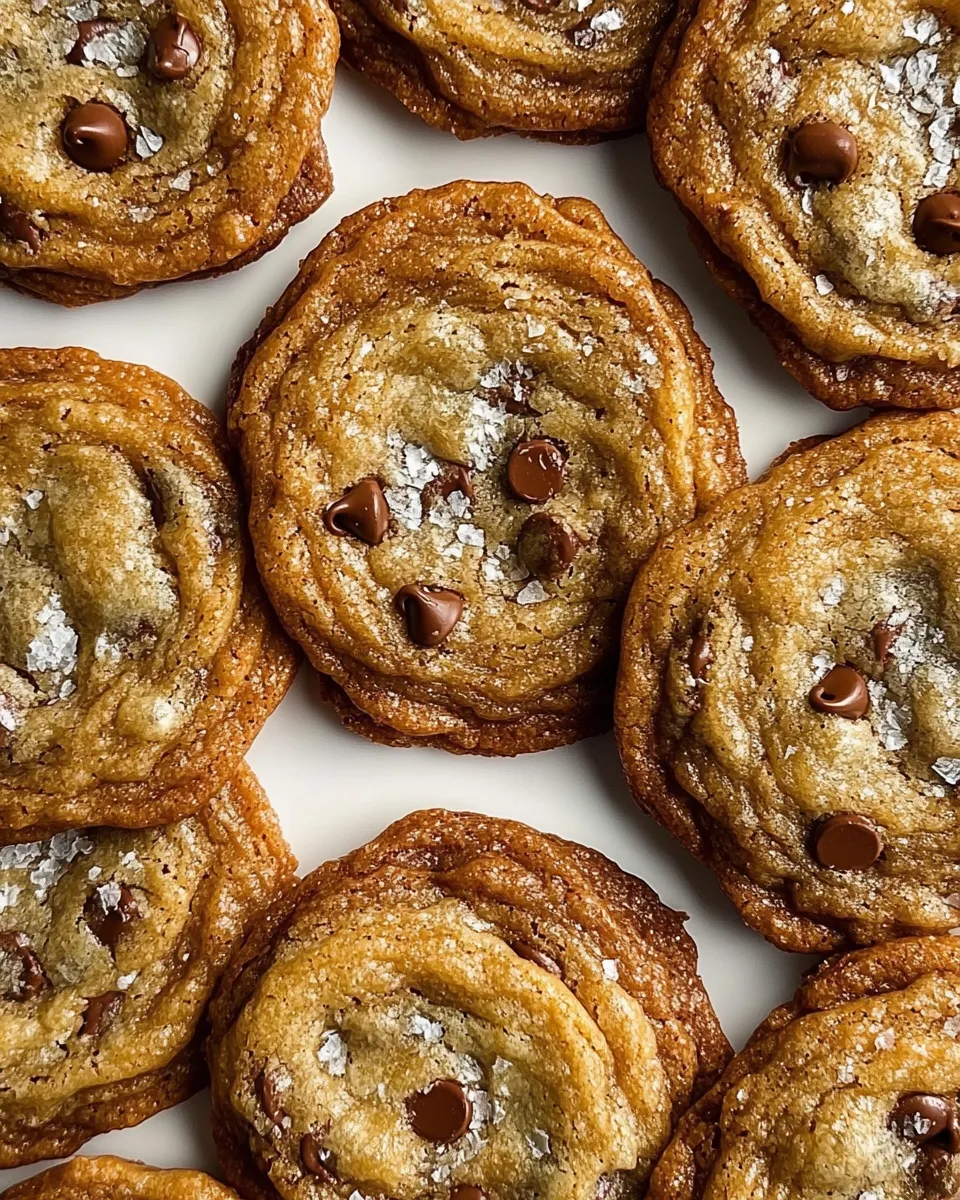
These cookies are fast to make, use pantry-friendly ingredients, and give consistent results. They’re thin and crisp instead of soft and cakey, which makes them great for dunking in milk, layering in ice cream sandwiches, or stacking in a cookie jar without collapsing.
The formula balances granulated and brown sugar so you get golden color and snap without losing a pleasant center texture. The modest amount of milk and the relatively large amount of butter (10 ounces) promote spread, giving you those beautiful lacy edges every time.
Finally, the recipe doesn’t demand advanced technique or specialty equipment. If you’re pressed for time but still want an impressive cookie, this one reliably delivers.
Texture-Safe Substitutions
- Butter — if you must use a margarine or plant-based butter, expect less snap and slightly different spread. Choose a high-fat, block-style alternative for the best texture.
- Flour — swapping to a 1-to-1 gluten-free flour blend can work, but the cookies may be more fragile. Add a tablespoon of cornstarch per cup if you want a slightly more tender result.
- Sugars — you can increase brown sugar to shift toward chewiness, but more brown sugar will reduce crispness. For thin and crispy, keep the granulated sugar dominant.
- Chocolate chips — use chopped chocolate if you want larger pools of melted chocolate; chips keep a neater, slightly firmer texture after cooling.
Setup & Equipment
Gather these basics before you start. Having everything ready makes the process smooth and keeps the dough from overmixing.
- Stand mixer with paddle attachment (or a sturdy hand mixer and a bowl)
- Measuring cups and spoons; a kitchen scale helps for butter accuracy
- Two large baking sheets and parchment paper
- Medium mixing bowl for dry ingredients
- Thin metal spatula for transferring cookies after cooling
- Wire rack to cool cookies completely
- Tablespoon scoop or small cookie scoop for consistent portions
Learn from These Mistakes
Here are the usual reasons cookies don’t turn out thin and crispy, and how to avoid them.
- Cold ingredients. If butter, eggs, or milk are cold, the dough won’t spread properly. Let them sit until softened but not melted.
- Overmixing the dough. Once you add the flour, mix only until just combined. Overmixing develops gluten and creates tougher, thicker cookies.
- Crowding the sheet. These cookies spread. Leave 2 inches between mounds to avoid merging.
- Baking multiple sheets at once. Heat distribution changes when two trays share the oven. Bake one sheet at a time on the middle rack for consistent results.
- Skipping the parchment. Direct contact with a hot pan encourages uneven browning; parchment gives predictable spread and ease of transfer.
Variations for Dietary Needs
If you need to adapt for allergies or preferences, here are practical swaps that preserve texture as much as possible.
- Vegan. Replace butter with a firm, high-fat vegan butter and substitute each egg with a commercially tested egg replacer or a flax “egg” (1 tbsp ground flax + 3 tbsp water per egg). Note: vegan swaps can slightly change crispness and flavor.
- Gluten-free. Use a reputable 1-to-1 gluten-free flour blend. Expect a slightly different mouthfeel; adding a tablespoon of cornstarch per cup can help mimic tenderness.
- Lower-sugar. Reducing sugar will change spread, color, and crispness. If you must, reduce granulated sugar very slightly and test a small batch first.
Chef’s Rationale
This recipe emphasizes three things: controlled spread, predictable browning, and even chocolate distribution. The relatively high butter-to-flour ratio and the use of mostly granulated sugar encourage thinness and crisp edges. The small amount of milk and the eggs (added one at a time) provide just enough moisture and structure without puffing the cookie up.
Beating the butter and sugars until light incorporates air for a delicate lift, but the brief mixing with flour minimizes gluten development. Baking one sheet at a time ensures a consistent oven environment so you don’t get under-baked middles or overly dark edges.
Leftovers & Meal Prep
Store cooled cookies in an airtight container at room temperature for up to 4-5 days. They keep their crisp edge best when separated by parchment if you’re stacking multiple layers. For longer storage, freeze in a single layer on a tray; once solid, transfer to a freezer-safe bag for up to 3 months. Thaw at room temperature for 15–30 minutes before serving.
To make ahead: you can prepare the dough and refrigerate it tightly wrapped for up to 48 hours. Bring it back to room temperature for 20–30 minutes before scooping to get proper spread. If you prefer to freeze unbaked portions, scoop onto a tray, freeze until solid, then store the frozen mounds in a bag and bake from frozen, adding 1–2 minutes to the bake time and watching for golden edges.
Quick Q&A
- Why are my cookies too thick? Likely cold ingredients, too much flour, or overmixing. Use measured flour, room-temperature butter and eggs, and mix just until combined.
- How do I get crispier cookies? Bake until edges are clearly golden; use more granulated sugar and ensure thin portions on the sheet.
- Can I halve the recipe? Yes. Keep the same proportions and bake a test tray to dial in timing if your oven runs hot or cool.
- Why bake one sheet at a time? Baking one sheet ensures consistent heat and even browning. Two trays change airflow and can produce uneven results.
Hungry for More?
If you enjoyed these thin, crispy cookies, try experimenting with a few small tweaks: swap in chopped bittersweet chocolate for larger chocolate pockets, or add a sprinkle of flaky sea salt on top right after they come out of the oven for a pronounced salty-sweet contrast. When you want to shift the texture, alter the ratio of granulated to brown sugar, but make changes gradually and test small batches.
Come back to this method whenever you want a reliable thin cookie. It’s simple, forgiving, and designed to highlight chocolate without fuss. Now preheat the oven and get baking.
Thin Crispy Chocolate Chip Cookies
Ingredients
Equipment
Method
- Remove the butter, eggs, and milk from the refrigerator so they come to room temperature. Preheat the oven to 350°F. Line 2 large baking sheets with parchment paper and set aside.
- In a medium bowl, whisk together 2 cups all-purpose flour, 1 teaspoon baking soda, and 1 teaspoon sea salt. Set the dry mixture aside.
- In the bowl of a stand mixer fitted with the paddle attachment, beat 10 ounces unsalted butter and both sugars (1 1/3 cups granulated sugar and 1/4 cup packed light brown sugar) on medium speed for about 2 minutes, until light and fluffy, scraping the bowl as needed.
- Add 2 teaspoons vanilla extract and beat until smooth. Add the 2 large eggs one at a time, beating well after each addition. Add 1 tablespoon milk and beat until combined.
- Reduce the mixer to low speed and add the flour mixture. Mix only until just combined—do not overmix.
- Add 2 cups semi-sweet chocolate chips and stir on low speed or fold in with a spatula until evenly distributed.
- Drop level 1-tablespoon portions of dough onto the prepared baking sheets, spacing the dough 2 inches apart to allow for spreading.
- Bake one sheet at a time on the middle oven rack for 10 to 11 minutes, rotating the sheet halfway through baking, until the cookie edges are golden and the centers look set.
- Remove the baking sheet from the oven and let the cookies cool on the sheet for 15 minutes. Use a thin spatula to transfer the cookies to a wire rack to cool completely. Repeat baking with the remaining dough.