Toaster Oven Oatmeal Cookies
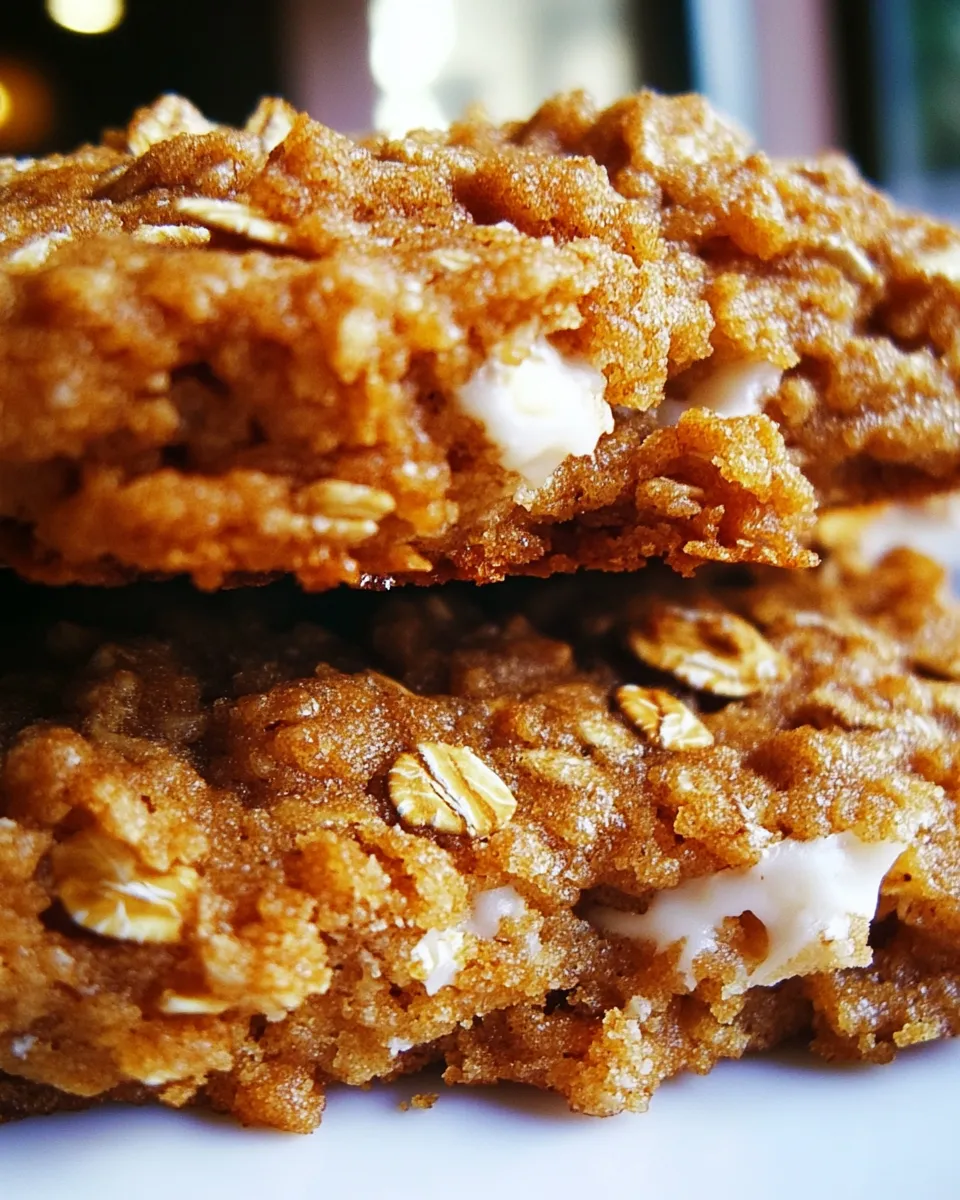
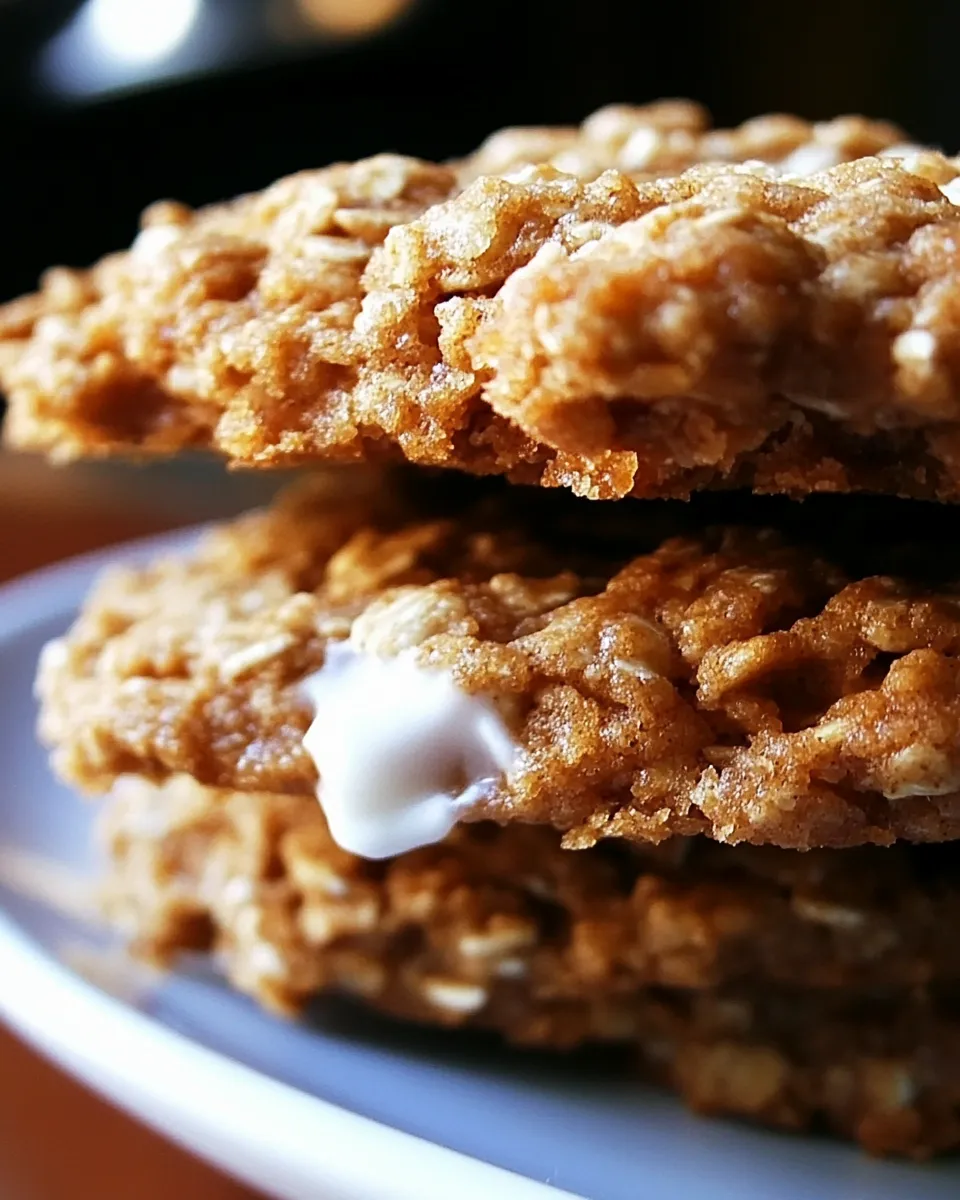
These are the oatmeal sandwich cookies I reach for when I want a reliable treat without firing up the full oven. The recipe is written for a toaster oven, which makes it great for small batches, late-night baking, or when your kitchen is already warm. The oat texture stays hearty and the marshmallow filling keeps the sandwiches soft and nostalgic.
I like this version because it’s straightforward and forgiving. The dough is thick and easy to portion with a tablespoon, and the filling comes together quickly with powdered sugar, marshmallow creme, and shortening. There’s a little flexibility in how you finish them — pipe the filling for a neat look or spread it for a rustic feel.
One practical note: toaster ovens vary widely. Watch the cookies closely around the 10-minute mark. They should be lightly browned on top and still soft in the center. Move them to a wire rack to cool completely before assembling so the filling doesn’t melt out.
What Goes Into Toaster Oven Oatmeal Cookies
Below are the ingredients this recipe uses. I list a short tip for each, so you understand the role it plays and how to handle it.
Ingredients
- ½ cup unsalted butter — brings fat and flavor; room temperature makes creaming easier.
- ½ cup brown sugar — adds moisture and a mild molasses note; packs lightly into the measuring cup.
- 3 tablespoons granulated sugar — helps with spreading and gives a little crunch to the edges.
- 1 large egg — binds the dough and contributes to structure and tenderness.
- ½ teaspoon vanilla extract — rounds out flavors; use pure vanilla if you have it.
- 1½ cups old-fashioned rolled oats — the base of the cookie; gives chew and texture.
- ½ cup all-purpose flour — provides structure so the cookies hold together as sandwiches.
- ½ teaspoon baking soda — a small lift so cookies aren’t too dense.
- ½ teaspoon ground cinnamon — warm spice that complements the oats.
- ½ teaspoon kosher salt — balances sweetness and highlights flavors.
- 1½ cups powdered sugar — sweet base for the filling; sift if lumpy.
- 3½ ounce marshmallow creme — gives the filling its classic fluffy chew.
- ⅓ cup vegetable shortening — stabilizes the filling so it stays spreadable at room temperature.
- 1 tablespoon half and half — thins the filling slightly; add more if you need a looser texture.
From Start to Finish: Toaster Oven Oatmeal Cookies
- Preheat the toaster oven to 350°F. Spray a toaster oven sheet pan with nonstick cooking spray or line it with a small piece of parchment paper.
- In a large mixing bowl, cream together ½ cup unsalted butter, ½ cup brown sugar, and 3 tablespoons granulated sugar with a hand mixer or stand mixer on medium speed until light and fluffy, about 3 minutes.
- Add 1 large egg and ½ teaspoon vanilla extract to the butter-sugar mixture and mix just until combined, scraping down the bowl as needed.
- In a medium bowl, whisk together 1½ cups old-fashioned rolled oats, ½ cup all-purpose flour, ½ teaspoon baking soda, ½ teaspoon ground cinnamon, and ½ teaspoon kosher salt.
- Add the dry ingredients to the wet ingredients and mix until just combined. The dough will be thick and should hold together.
- Use a tablespoon to portion dough into balls and place them on the prepared sheet pan (depending on pan size, about six cookies per batch). Leave space between cookies to spread.
- Gently press each dough ball down to flatten slightly before baking.
- Bake at 350°F for up to 15 minutes, checking at the 10-minute mark; bake until the tops are lightly browned. Toaster oven times and heat can vary, so watch closely.
- Transfer baked cookies to a wire rack and let them cool completely. Repeat baking in batches until all dough is used.
- Make the filling: in a bowl, beat 1½ cups powdered sugar, 3½ ounces marshmallow creme, and ⅓ cup vegetable shortening with an electric mixer until smooth.
- Add 1 tablespoon half and half and blend until the filling is smooth and spreadable. Add additional half and half, a small amount at a time, if needed to reach the desired consistency.
- Assemble cookies: spread or pipe the filling onto the flat side of one cooled cookie, top with a second cookie, and press gently to create a sandwich.
Why It Deserves a Spot

These cookies are small-batch friendly and ideal when you want something homemade fast. The oat-forward cookie is hearty, not cakey, and the marshmallow filling makes each bite soft and nostalgic. If you bake for a couple of people or want to test a new idea without committing to a dozen, the toaster oven approach is perfect.
They’re also versatile. The cookie itself is straightforward — it won’t hide flavor problems and will work well with small additions: a pinch more cinnamon, a handful of toasted nuts on top of the filling, or a light drizzle of chocolate after assembling. Because the filling is stabilized with shortening, these sandwiches keep their shape at room temperature without puckering or collapsing.
Ingredient Swaps & Substitutions
Here are practical swaps that keep the method the same. Quantities remain unchanged in the recipe—use the same amounts if substituting.
- Brown sugar: swap with an equal amount of light brown sugar if yours is labeled simply “brown sugar.”
- Unsalted butter: you can use salted butter; reduce the added kosher salt slightly or omit it in the dough.
- Old-fashioned rolled oats: if you only have quick oats, use them, but expect a slightly softer texture.
- All-purpose flour: whole wheat pastry flour can be used for a nuttier flavor; cookies will be denser.
- Half and half: use milk (whole milk preferred) if you don’t have half and half; add a teaspoon at a time to reach spreadable filling consistency.
Appliances & Accessories
Because this recipe is written for a toaster oven, a few small tools make it easier:
- Toaster oven with a sheet pan that fits — size affects batch count and spacing.
- Nonstick cooking spray or small parchment paper squares to line the pan.
- Hand mixer or stand mixer for creaming the butter and making the filling smooth.
- Tablespoon scoop for portioning consistent cookies.
- Wire rack to cool cookies completely before filling.
- Piping bag or zip-top bag with a corner snipped (optional) for neater filling application.
Troubleshooting Tips
Toaster ovens differ. If something isn’t turning out as expected, these quick checks usually fix it.
Before Baking
- Dough too dry and crumbly: make sure the butter was creamed until light. If it’s still too dry, a teaspoon of milk can help bring it together.
- Dough too soft or spreading too much: chill the dough briefly (10–15 minutes) before portioning, or reduce granulated sugar slightly.
During & After Baking
- Cookies browned too quickly on top: your toaster oven may run hot. Lower the temperature by 10–20°F and watch the time.
- Cookies underbaked in center: make sure the cookie bottoms have firmed up. Add a minute or two, checking frequently.
- Filling too stiff: add half and half in small increments until spreadable.
- Filling too runny: add a tablespoon of powdered sugar at a time until it firms up.
Allergy-Friendly Swaps
For common allergies, here are concise options. Make small test batches if you’re unsure how texture will change.
- Dairy-free: replace butter with a dairy-free spread and use a nondairy creamer instead of half and half. Note that flavor and spread may differ slightly.
- Gluten-free: use certified gluten-free rolled oats and a 1:1 gluten-free all-purpose flour in place of the AP flour.
- Egg-free: use a commercial egg replacer according to package instructions or try a flax “egg” (1 tablespoon ground flax + 3 tablespoons water, chilled) — texture will be a touch denser.
- Gelatin-free filling: many commercial marshmallow cremes contain gelatin. Look for a labeled vegan marshmallow creme alternative if you need to avoid gelatin.
Behind the Recipe
I developed this recipe with small-batch toaster oven testing in mind. The oat-to-flour ratio keeps the cookies from falling apart when you sandwich them, and the mix of brown and granulated sugar balances chewiness and edge crisp. Marshmallow creme and shortening form a filling that’s sweet, stable, and familiar — the kind of filling that won’t weep on a warm day but still tastes pillow-soft.
For me, the toaster oven version is a kitchen convenience, not a compromise. You get the same comforting flavors as a full-batch cookie without the wait or wasted heat. It’s ideal for when you want to bake a few cookies for guests, a school lunch, or a simple dessert.
Storing Tips & Timelines
- Room temperature: Store assembled sandwiches in an airtight container at room temperature for up to 3 days.
- Refrigeration: If you prefer them cooler or if your kitchen is warm, refrigerate in an airtight container for up to 7 days. Bring to room temperature before serving for best texture.
- Freezing cookies: Freeze unfilled cookies in a single layer on a tray until solid, then transfer to a freezer bag for up to 2 months. Thaw fully before filling.
- Freezing assembled sandwiches: Freeze assembled cookies on a tray until solid, then pack in a freezer-safe container for up to 1 month. Thaw in the fridge to avoid condensation making them soggy.
Common Questions
Here are brief answers to questions I get most often when people try this recipe.
- Can I bake these in a conventional oven? Yes. Use the same temperature (350°F) and check at 10 minutes; total time may be similar but depends on oven size and baking sheet.
- Can I add chocolate chips or nuts? Yes. Stir up to ½ cup chopped mix-ins into the dough after combining dry and wet ingredients. Batch size in the toaster oven may change; leave space to spread.
- Why use shortening in the filling? Shortening stabilizes the marshmallow creme so the filling stays spreadable and holds its shape at room temperature.
- My filling got grainy. What happened? If powdered sugar wasn’t fully dissolved or was added too quickly, it can be grainy. Beat longer or add a touch more half and half to smooth it.
- How many cookies does this make? It depends on your toaster oven pan and how large you make each cookie; expect about six per batch on many toaster oven pans. Repeat baking until dough is used.
The Last Word
Toaster Oven Oatmeal Cookies are a small-batch, practical way to enjoy homemade sandwich cookies without the fuss. The method is forgiving, the filling keeps its shape, and the final result is chewy, sweet, and a little nostalgic. Start with the recipe as written, then tweak spices or add-ins to make it yours. Bake a batch, let them cool fully, assemble, and enjoy—one cookie at a time.

Toaster Oven Oatmeal Cookies
Ingredients
Equipment
Method
- Preheat the toaster oven to 350°F. Spray a toaster oven sheet pan with nonstick cooking spray or line it with a small piece of parchment paper.
- In a large mixing bowl, cream together ½ cup unsalted butter, ½ cup brown sugar, and 3 tablespoons granulated sugar with a hand mixer or stand mixer on medium speed until light and fluffy, about 3 minutes.
- Add 1 large egg and ½ teaspoon vanilla extract to the butter-sugar mixture and mix just until combined, scraping down the bowl as needed.
- In a medium bowl, whisk together 1½ cups old-fashioned rolled oats, ½ cup all-purpose flour, ½ teaspoon baking soda, ½ teaspoon ground cinnamon, and ½ teaspoon kosher salt.
- Add the dry ingredients to the wet ingredients and mix until just combined. The dough will be thick and should hold together.
- Use a tablespoon to portion dough into balls and place them on the prepared sheet pan (depending on pan size, about six cookies per batch). Leave space between cookies to spread.
- Gently press each dough ball down to flatten slightly before baking.
- Bake at 350°F for up to 15 minutes, checking at the 10-minute mark; bake until the tops are lightly browned. Toaster oven times and heat can vary, so watch closely.
- Transfer baked cookies to a wire rack and let them cool completely. Repeat baking in batches until all dough is used.
- Make the filling: in a bowl, beat 1½ cups powdered sugar, 3½ ounces marshmallow creme, and ⅓ cup vegetable shortening with an electric mixer until smooth.
- Add 1 tablespoon half and half and blend until the filling is smooth and spreadable. Add additional half and half, a small amount at a time, if needed to reach the desired consistency.
- Assemble cookies: spread or pipe the filling onto the flat side of one cooled cookie, top with a second cookie, and press gently to create a sandwich.