Triple Chocolate Blondies
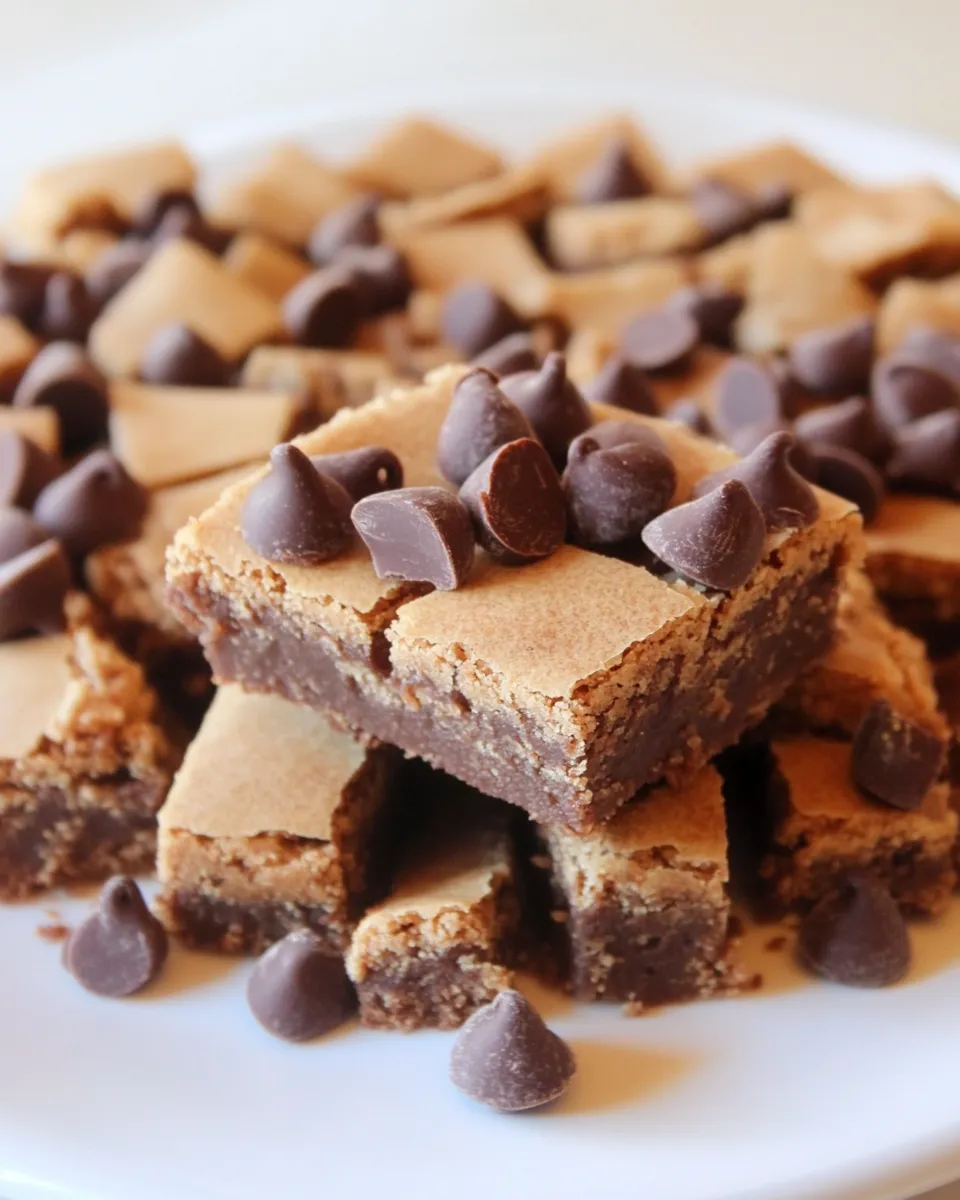
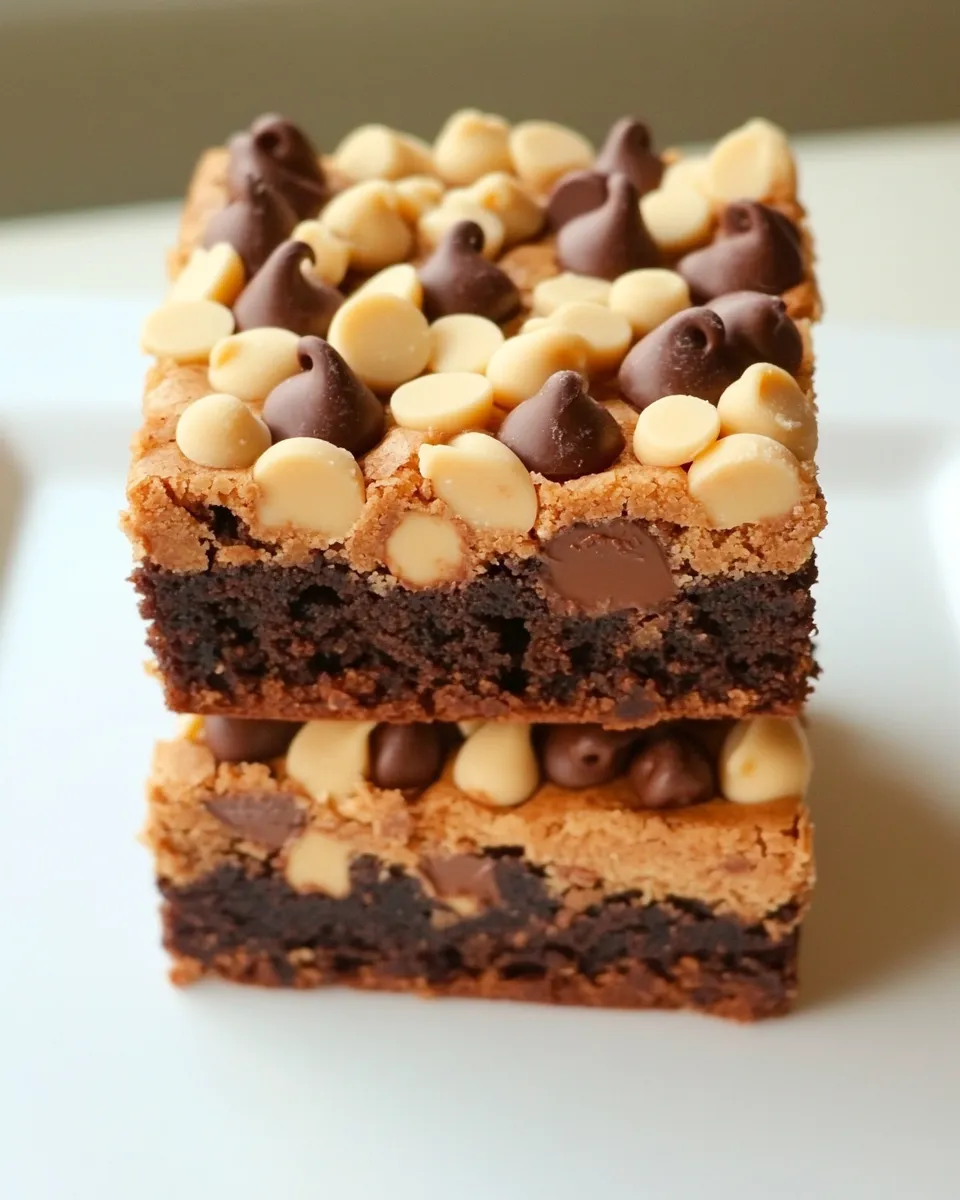
These blondies are my go-to when I want a dessert that’s rich but not fussy. The batter comes together in minutes, and the triple chocolate gives every bite a melt-in-your-mouth contrast: dark, milk, and white. They bake up with crisp edges and a tender, slightly gooey center. That texture is the point—chewy, fudgy, comforting.
I tested this recipe until the bake times and mix-ins landed in a sweet spot. The method is straightforward: melted butter, brown sugar, an egg, flour, then the three chocolate chunks folded in. No creaming required. If you follow the steps closely, you get reliable results every time.
Below you’ll find the ingredient breakdown, step-by-step process straight from the recipe, plus practical tips for handling, storing, and tweaking the bars to suit diets or equipment. Read the notes before you bake; a few small habits make a big difference in texture and timing.
Ingredient Breakdown
Ingredients
- 1 stick (4 ounces) unsalted butter, melted — Provides fat for tenderness and helps create that slightly crisp edge; melt gently to avoid burning.
- 1 cup light brown sugar, packed — Adds sweetness and moisture; the molasses in brown sugar contributes to chewiness and a subtle caramel note.
- 1 large egg, at room temperature — Binds the batter and adds lift; room temperature blends more evenly with the melted butter.
- 1 tsp vanilla extract — Enhances and rounds the chocolate flavors; add it to the egg mixture for even distribution.
- Pinch of salt — Balances sweetness and sharpens chocolate notes; essential even in small amounts.
- 1 cup all-purpose flour — The structure for the blondies; measure carefully to avoid a dry, cakey result.
- 1/2 cup dark chocolate chunks — Adds depth and slight bitterness to balance the sweeter chocolates.
- 1/2 cup milk chocolate chunks — Melts into creamy pockets and adds classic milk-chocolate sweetness.
- 1/2 cup white chocolate chunks — Brings buttery, sweet contrast and creamy blobs throughout the bars.
Cooking (Triple Chocolate Blondies): The Process
- Preheat the oven to 350°F (175°C). Grease an 8×8-inch baking pan and set it aside.
- Melt 1 stick (4 ounces) unsalted butter in a small saucepan over low heat or in a microwave-safe bowl; allow it to cool slightly.
- Stir 1 cup packed light brown sugar into the melted butter until smooth.
- Add 1 large room-temperature egg and 1 teaspoon vanilla extract; beat or whisk until the mixture is well combined and glossy.
- Stir in a pinch of salt and 1 cup all-purpose flour until just combined—do not overmix.
- Quickly fold in 1/2 cup dark chocolate chunks, 1/2 cup milk chocolate chunks, and 1/2 cup white chocolate chunks until evenly distributed.
- Spread the batter evenly into the prepared 8×8 pan.
- Bake for 20–25 minutes, until the edges are set and the center does not jiggle when you gently shake the pan; the blondies should remain moist and slightly gooey.
- Cool completely in the pan before cutting into squares and serving.
What You’ll Love About This Recipe
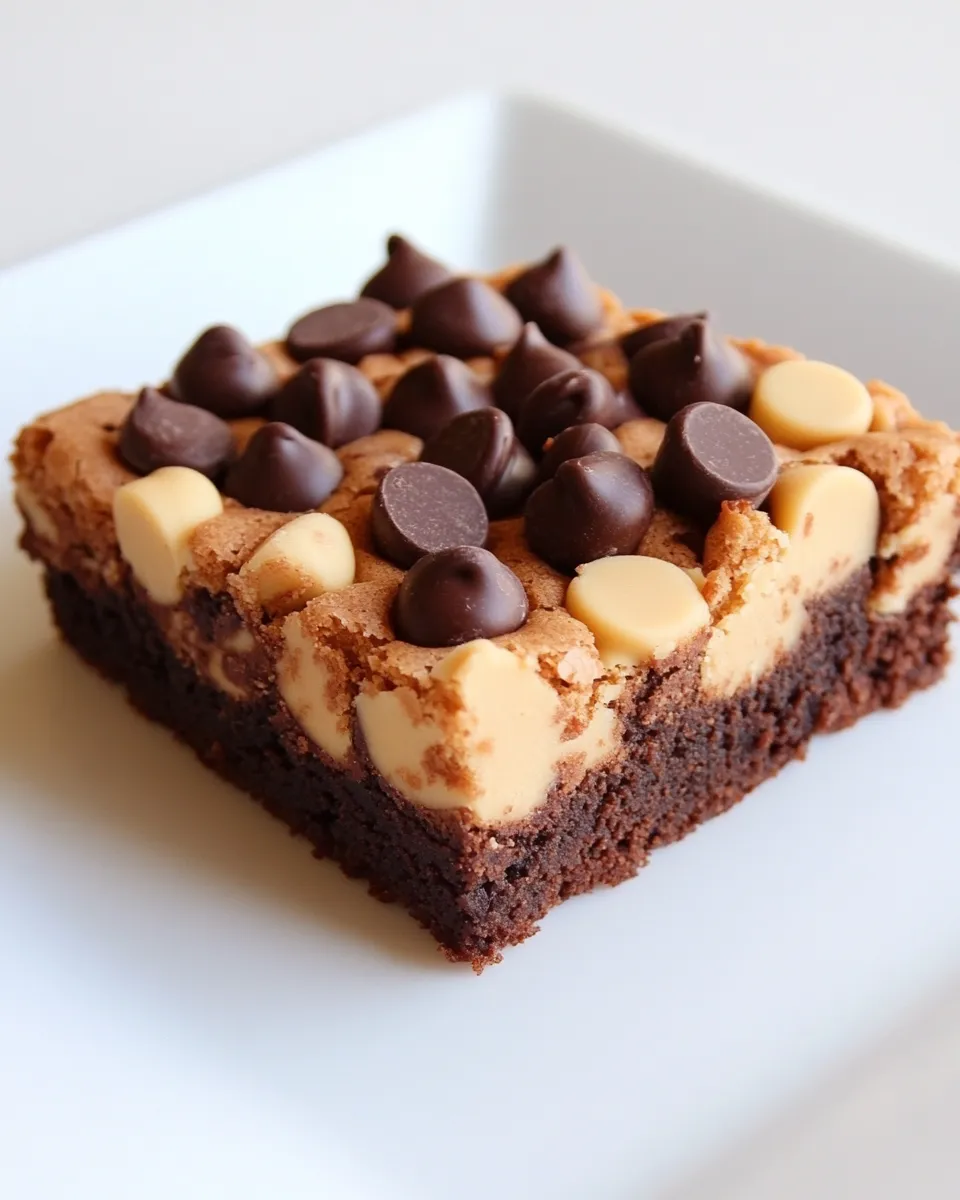
First, the texture: chewy edges with a tender, slightly gooey center. That contrast is what makes these blondies feel indulgent without being heavy. The triple chocolate mix gives you bitter, creamy, and sweet notes all at once—dark chocolate for depth, milk for comfort, and white for buttery sweetness.
Second, the ease. This is a melt-and-stir batter—no creaming, no folding egg whites, no chilling. It’s practical for weekday baking or a quick weekend treat. The recipe scales well if you want more bars; just keep the pan size and bake time in mind.
Allergy-Friendly Substitutes
If you need to adapt for allergies or preferences, these swaps work well. Make swaps mindfully and keep an eye on texture changes.
- Butter: Use a plant-based or vegan butter substitute of comparable fat content if dairy is an issue. Melt it and proceed the same way.
- Egg: For an egg allergy, try a commercial egg replacer or a flax “egg” (1 tbsp ground flax + 3 tbsp water, let sit) as a binder; texture may be slightly denser.
- Flour: Substitute a 1-to-1 gluten-free all-purpose flour blend that contains xanthan gum for structure. Expect a small change in chewiness.
- Chocolate: Use allergy-safe chocolate alternatives made without dairy or nuts when necessary. Break or chop them into chunks similar to the originals.
Hardware & Gadgets
- 8×8-inch baking pan — The recipe is calibrated for this size; a different pan affects depth and baking time.
- Small saucepan or microwave-safe bowl — For melting the butter. Use what you have, but melt gently.
- Whisk or fork — To combine the egg and sugar with the melted butter until glossy.
- Rubber spatula — Helpful for folding in the chocolate chunks without overworking the batter.
- Cooling rack — For cooling the pan to room temperature so the blondies cut cleanly.
Avoid These Mistakes
These are the common missteps I see—avoid them for reliable results.
- Overbaking — The center should be slightly gooey. If you wait for it to be completely firm, the brownies will dry out. Start checking at 20 minutes.
- Overmixing — Once you add flour, mix just until it disappears. Overmixing activates gluten and yields cakier blondies.
- Adding cold egg to hot butter — Temperatures matter. A hot butter mixture can cook the egg; let the butter cool slightly or bring the egg closer to room temp.
- Using the wrong pan size — A larger pan spreads the batter thin and overbakes; a smaller pan yields thicker bars and longer bake time.
- Skipping the cool — Cutting while warm ruins the edges and makes a mess. Cool fully in the pan for clean squares.
Health-Conscious Tweaks
You can nudge this recipe toward a lighter profile without losing the spirit of the blondie. Each change shifts texture and flavor; adjust with expectation.
- Reduce sugar slightly — You can try using 3/4 cup packed light brown sugar instead of a full cup; expect a firmer texture and less chewiness.
- Use darker chocolate predominately — Increasing the dark chocolate ratio (without changing total chocolate amount) lowers overall sweetness while keeping chocolate intensity.
- Swap half the butter for applesauce — This will reduce fat but make the bars denser and more cake-like; it changes the classic blondie mouthfeel.
- Portion control — Cut smaller squares. The recipe makes rich bars; a smaller serving still satisfies.
Pro Tips & Notes
Measuring and Mixing
Spoon flour into the measuring cup and level it off with a straight edge instead of scooping directly from the bag. That prevents overpacking. When folding in the chocolate chunks, use a gentle hand so you don’t deflate the batter or overwork the flour.
Chocolate Handling
Use chunks rather than chips if you can. Chunks melt into more irregular pockets, which gives a better texture and distribution. If you only have bars, chop them roughly into 1/4-inch to 1/2-inch pieces.
Bake Testing
To test doneness, give the pan a gentle shake. If the edges are set but the center has only a slight jiggle, it’s perfect. It will continue to set while cooling. If you prefer firmer blondies, bake toward the upper end of the time range.
Cooling, Storing & Rewarming
Cooling completely in the pan is key. Warm blondies are soft and gooey and won’t cut cleanly. Once cool, lift them out (line the pan with parchment next time for easy removal) and slice into squares with a sharp knife. Wiping the knife between cuts keeps edges tidy.
- Room temperature — Store in an airtight container for up to 3 days.
- Refrigeration — For longer storage, refrigerate for up to one week. Let them come to room temperature before serving for best texture.
- Freezing — Wrap individual squares tightly and freeze up to 2 months. Thaw at room temperature or warm gently in a low oven (300°F) for 5–8 minutes to revive that just-baked feel.
Frequently Asked Questions
Q: Can I double the recipe? A: Yes. Use a 9×13-inch pan or two 8×8 pans; watch the bake time—thinner batter will bake faster, thicker will need a few extra minutes.
Q: Can I substitute different chocolates? A: Yes. Swap within the three types if you prefer more or less sweetness, but keep the total chocolate volume at 1 1/2 cups to maintain texture.
Q: Why do my blondies come out cakey? A: Likely from overmixing after adding flour or using too much flour. Measure carefully and stir until just combined.
Q: Can I add nuts? A: You can. Fold in up to 1/2 cup chopped nuts if desired. Toast them first for extra flavor.
Save & Share
If you loved these Triple Chocolate Blondies, save the recipe somewhere you’ll find it again. They make excellent gifts in a box or wrapped in parchment for neighbors and friends. When you bake, take a photo with natural light—those glossy chocolate pockets and crispy edges photograph beautifully.
Share this recipe with someone who appreciates a simple bake with dependable results. Tag me in your photos or leave a note about how you adapted it; I read every comment and love hearing about your tweaks and timing adjustments. Happy baking—these bars are meant to be enjoyed warm, with a cup of coffee or a scoop of vanilla for extra indulgence.
Ingredients
Equipment
Method
- Preheat the oven to 350°F (175°C). Grease an 8x8-inch baking pan and set it aside.
- Melt 1 stick (4 ounces) unsalted butter in a small saucepan over low heat or in a microwave-safe bowl; allow it to cool slightly.
- Stir 1 cup packed light brown sugar into the melted butter until smooth.
- Add 1 large room-temperature egg and 1 teaspoon vanilla extract; beat or whisk until the mixture is well combined and glossy.
- Stir in a pinch of salt and 1 cup all-purpose flour until just combined—do not overmix.
- Quickly fold in 1/2 cup dark chocolate chunks, 1/2 cup milk chocolate chunks, and 1/2 cup white chocolate chunks until evenly distributed.
- Spread the batter evenly into the prepared 8x8 pan.
- Bake for 20–25 minutes, until the edges are set and the center does not jiggle when you gently shake the pan; the blondies should remain moist and slightly gooey.
- Cool completely in the pan before cutting into squares and serving.
Notes
Blondies are extremely versatile! Swap out one mix-in for another if you'd like! I've added butterscotch chips, nuts, dried fruit, and even granola to these blondies and they always turn out great!