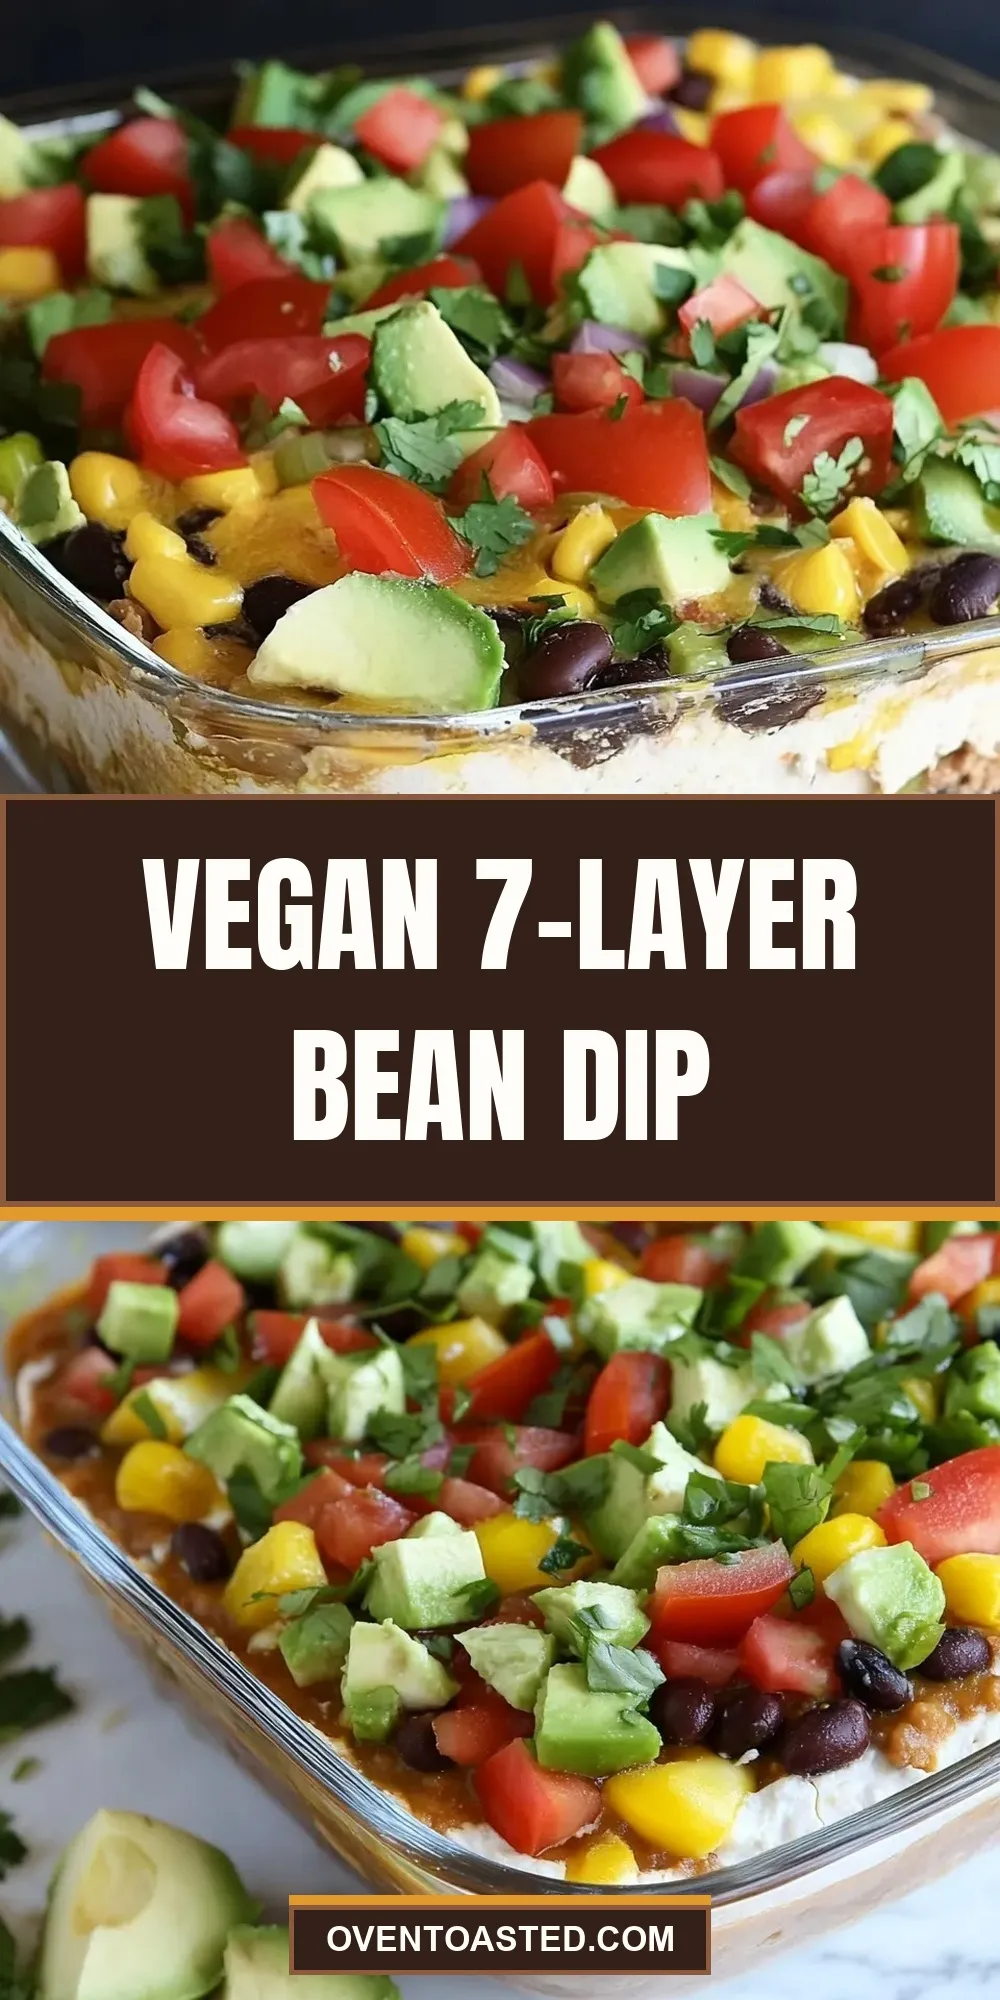
Vegan 7-Layer Bean Dip
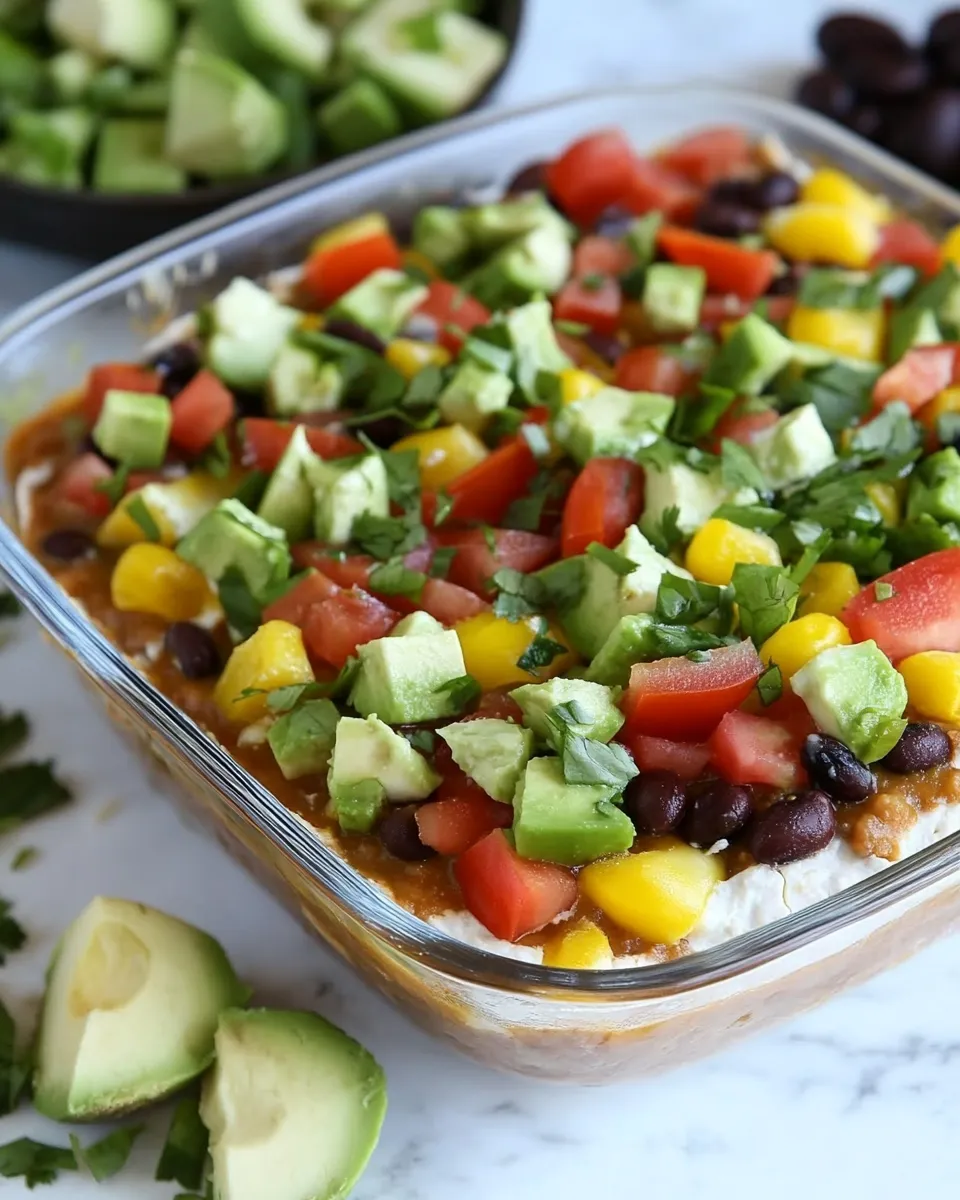
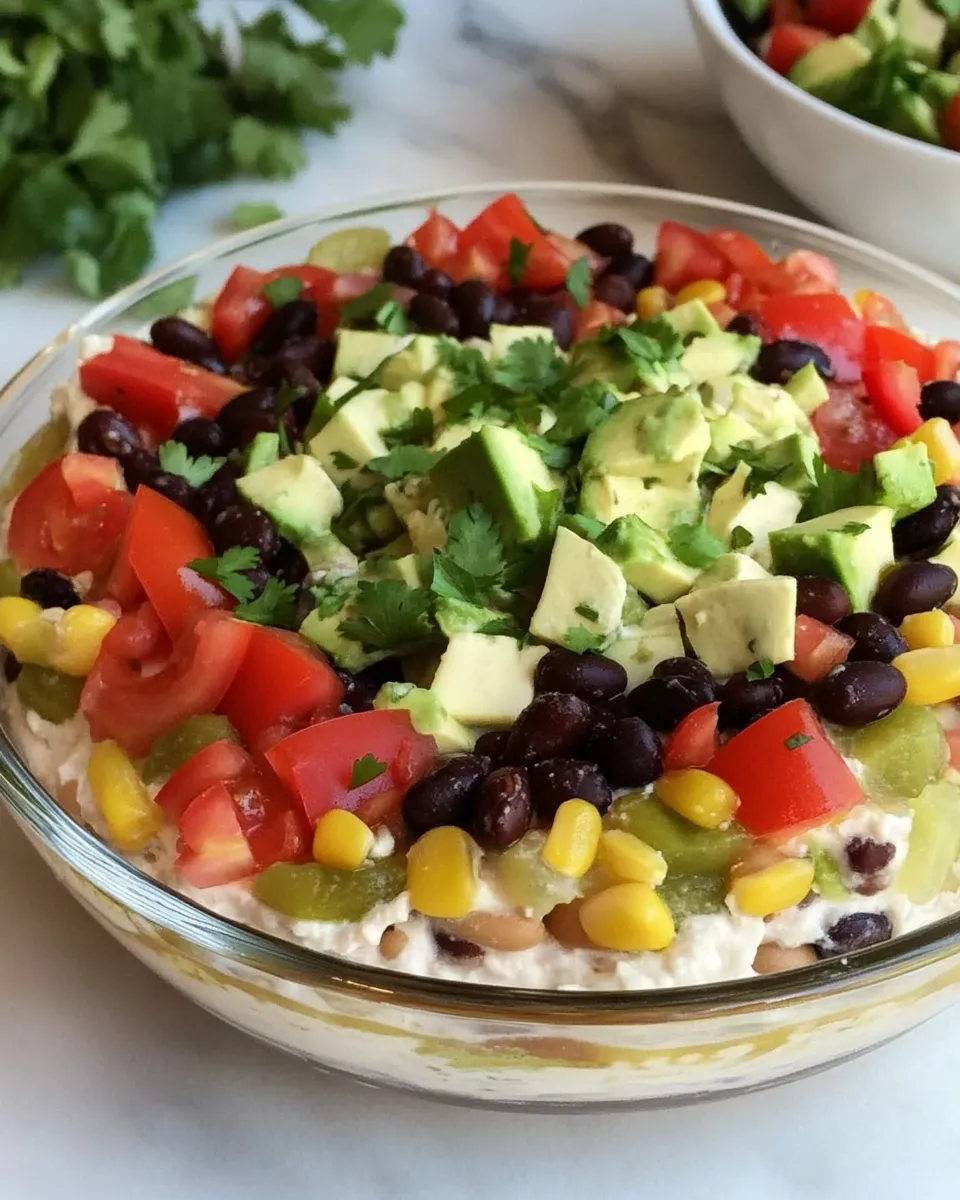
Seven layers, zero fuss. This vegan 7-layer bean dip is the kind of recipe I turn to when I want a crowd-pleaser that’s quick to assemble, reliably tasty, and easy to customize. It’s creamy, tangy, and colorful — and it keeps well if you’re making it a few hours ahead for a party.
I like making it in a shallow glass serving dish so the layers show through and people can see what they’re digging into. The trick is simple: respect the layers, drain any excess liquid, and finish with fresh, crisp toppings just before you serve. That keeps the texture bright and prevents the guacamole from browning.
Below you’ll find a tight shopping guide, the exact ingredient list I use, step-by-step directions you can follow without guessing, and practical tips for substitutions, storing, and avoiding common problems. If you want to scale or tweak this for spice, creaminess, or a lower-sodium version, I’ll walk you through that too.
Your Shopping Guide
Stick to simple, sturdy pantry items for the base: a large can of vegetarian refried beans and a packet of taco seasoning do the heavy lifting. For freshness and contrast, pick a ripe guacamole and a firm yellow bell pepper. If you’re buying store-bought guacamole, choose one that’s thick rather than runny; it’s easier to layer cleanly.
For the creamy element, vegan cashew sour cream is our stand-in for dairy sour cream. If you can’t find it, there are workable swaps in the substitutions section. For salsa, drain the excess liquid before layering — that keeps the top from getting soggy. And don’t forget a good offset spatula; it smooths layers beautifully and makes the dip look composed.
Ingredients
- 115-ounce can vegetarian refried beans — the hearty base that holds the dip together; make sure it’s well stirred.
- 11-ounce packet taco seasoning mix — seasons the beans; mix fully into the can for even flavor.
- 1cupvegan cashew sour cream* — creamy middle layer; spreads easily and balances spices.
- 1cupchunky salsa(mild, medium, or spicy – your choice, excess liquid drained) — adds acidity and texture; drain well to avoid sogginess.
- 2cupsguacamole(store-bought or homemade) — the cool, rich layer; spread to the edges for presentation.
- 3/4cupdiced yellow bell pepper — bright crunch; add just before serving if chilling ahead.
- 1/2cupcherry tomatoes(halved) — juicy pop and color; add right before serving.
- 12.25 oz. can sliced olives, drained — salty garnish; drain completely to prevent pooling.
- 3-4green onions(sliced (about 1/3 cup)) — sharp finish; slice thin so they layer nicely.
- Tortilla chips for serving — the obvious vehicle; sturdy, scoopable chips work best.
- Pie plate or shallow glass serving bowl(around 10 inches in diameter is ideal) — shallow dish shows the layers and gives even access.
- Offset spatula for easy spreading — optional but highly recommended for smooth, even layers.
How to Prepare Vegan 7-Layer Bean Dip
- Choose your serving dish: a pie plate or shallow glass serving bowl about 10 inches in diameter is ideal. Place it on a flat surface.
- Prep the fresh and canned ingredients:
- Dice yellow bell pepper to yield 3/4 cup.
- Halve cherry tomatoes to yield 1/2 cup.
- Slice 3–4 green onions to yield about 1/3 cup.
- Drain excess liquid from the 1 cup chunky salsa.
- Drain the 12.25 oz. can sliced olives.
- In a medium bowl, combine the entire 115-ounce can vegetarian refried beans and the entire 11-ounce packet taco seasoning mix. Stir until the seasoning is evenly distributed.
- Spoon the seasoned refried beans into the serving dish and use an offset spatula to spread them into an even layer across the bottom.
- Spoon 1 cup vegan cashew sour cream over the bean layer and spread it evenly with the spatula.
- Spoon the drained 1 cup chunky salsa over the sour cream and spread carefully to cover as much of the surface as you can without mixing layers.
- Spoon 2 cups guacamole over the salsa and spread it right to the edges with the offset spatula.
- If you are making the dip ahead and will chill it, press a piece of plastic wrap directly onto the surface of the guacamole to prevent browning, then cover loosely and chill for up to 8 hours. Do not add the diced bell pepper, halved cherry tomatoes, sliced green onions, or drained olives before chilling (add them just before serving).
- Arrange the diced yellow bell pepper, halved cherry tomatoes, drained sliced olives, and sliced green onions over the top of the guacamole. You can place them around the perimeter or evenly across the top—arrange as you prefer for presentation.
- Serve immediately with tortilla chips, or, if chilled, remove the plastic wrap, add the prepared toppings, and serve.
What Makes This Recipe Special
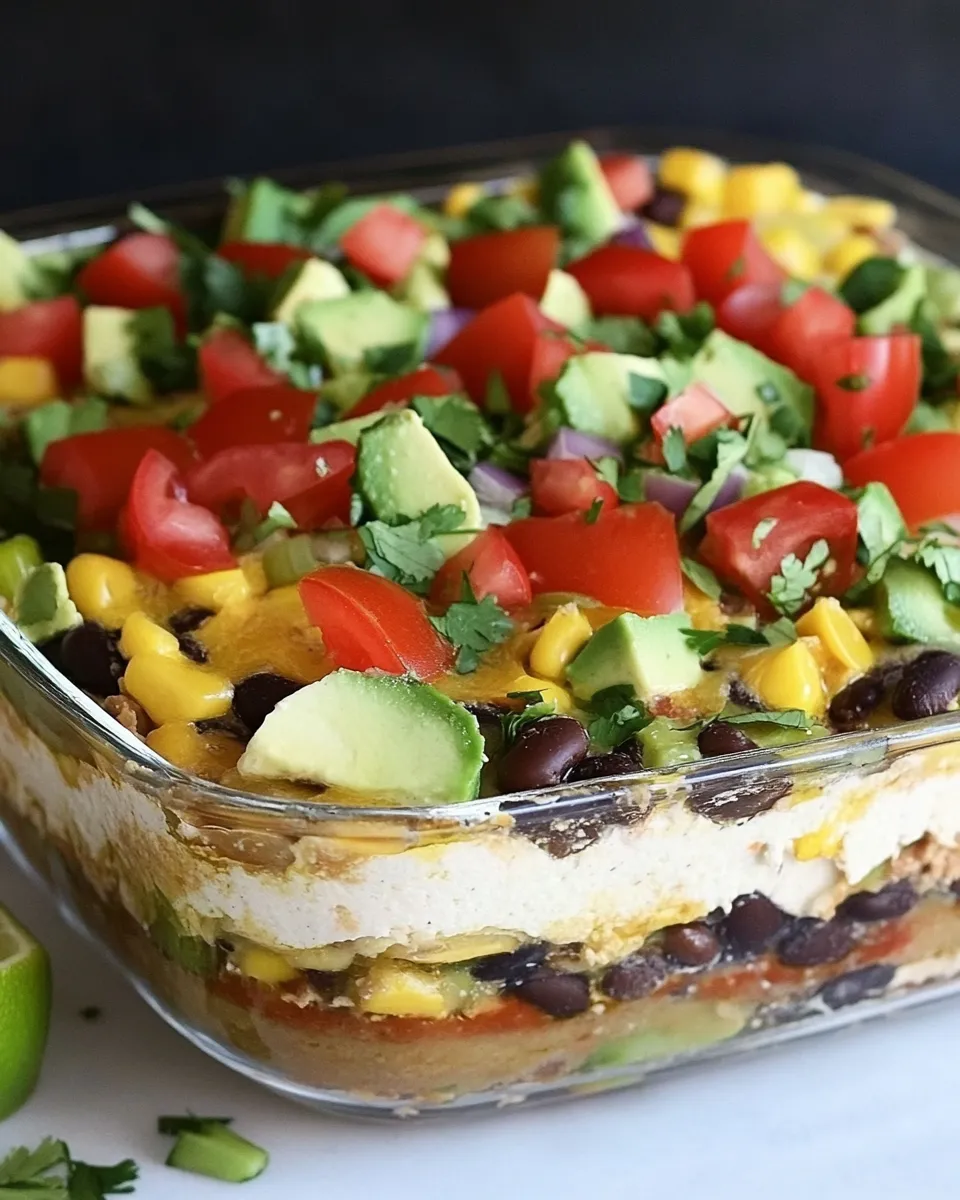
This dip balances heft and brightness. The refried beans provide a substantial, protein-rich base while taco seasoning gives a consistent, familiar flavor profile. Vegan cashew sour cream introduces a tangy creaminess that melts into the beans without making the dip greasy. Guacamole brings richness and color, and the fresh toppings add crunch and acidity so every scoop hits multiple textures.
It’s also extremely adaptable. You can assemble most of it in advance, protect the guacamole with plastic wrap, and finish the fresh items just before guests arrive. That small timing trick keeps the presentation fresh and the flavors bright.
Substitutions by Category
Beans & Seasoning
If you can’t find a large vegetarian refried-bean can, use two medium cans of refried beans or substitute with a thick mashed-bean mixture; just ensure it spreads. Swap the taco seasoning for your favorite Mexican-style spice blend if needed—taste and adjust salt.
Creamy Layer
Vegan cashew sour cream gives the best texture, but plain vegan yogurt or silken tofu blended with a splash of lemon or apple-cider vinegar will also work in a pinch. The goal is a tangy layer that contrasts the beans.
Salsa & Guacamole
Chunky salsa is specified because the texture plays well between layers. If your salsa runs thin, drain it longer or choose a thicker style. Use store-bought guacamole for speed, or fresh if you prefer—just keep it thick and well seasoned. Lime juice in guacamole helps delay browning.
Toppings
Yellow bell pepper can be swapped with red or orange for color. Cherry tomatoes can be replaced with diced roma tomatoes, though they may release more liquid and should be drained. Olives and green onions are classic; pick mild or pungent olives based on preference.
Setup & Equipment
Keep it minimal and efficient. You’ll need a pie plate or shallow glass serving bowl (about 10 inches), an offset spatula for smooth layers, a medium mixing bowl for the beans, a can opener, a cutting board, a sharp knife for the vegetables, and plastic wrap if you’re chilling the dip ahead. Tortilla chips for serving are the finishing touch.
Troubles You Can Avoid
Watery salsa: drain it thoroughly or the layers will run and the dip will get soggy. Runny guacamole: use thicker guac and avoid over-mashing; if it’s too thin, fold in a little finely diced avocado to thicken.
Guacamole browning: press plastic wrap directly onto the guacamole surface if chilling, as the instructions recommend. Over-spiced beans: taste the seasoned bean mixture before layering; commercial taco mixes can be salty, so adjust by adding a small scoop of plain refried beans if needed.
Nutrition-Minded Tweaks
To cut sodium, choose low-sodium or no-salt-added refried beans and a low-sodium taco seasoning—or make a simple homemade blend of chili powder, cumin, garlic powder, and a pinch of salt. Swap the canned olives for a smaller amount of chopped cilantro and capers if you want less sodium from toppings.
For more fiber and vitamins, increase the pepper and tomato amounts or add a layer of finely shredded lettuce directly atop the guacamole just before serving. If you want more protein, serve with high-protein chips made from legumes or whole-grain crackers.
Insider Tips
1) Use an offset spatula. You’ll get clean layers without disturbing what’s underneath.
2) Drain several times. The salsa and olives should be well drained to maintain clean layers.
3) Chill smart: if you have to make the dip ahead, do all layering up to the guacamole, press plastic on the surface, and hold the fresh, colorful toppings back until the last minute. That keeps everything looking fresh for guests.
Keep-It-Fresh Plan
If you assemble the dip fully with toppings, eat it within 24 hours for best texture and flavor. If you make it ahead following step 8 — chilling the dip with the guacamole covered and adding fresh toppings later — you can prepare up to 8 hours ahead as the recipe allows. Store any leftovers in an airtight container in the fridge; the guacamole layer will brown over time, so I often spoon leftovers into a shallow container, press plastic wrap on top, and use within 24–48 hours.
FAQ
Q: Can I freeze this dip?
A: Freezing is not recommended. The texture of the vegan cashew sour cream and guacamole will suffer when frozen and thawed.
Q: Can this be made gluten-free?
A: Yes. Ensure your taco seasoning and tortilla chips are labeled gluten-free.
Q: How many does this serve?
A: It depends on appetite and whether it’s an appetizer or part of a spread. Plan on roughly 6–10 people for snacking with other dishes, more if it’s one of many appetizers.
Q: Can I make my own guacamole?
A: Absolutely. Homemade guacamole often tastes brighter. Use ripe avocados, a squeeze of lime, a pinch of salt, and optionally a little minced onion or jalapeño.
Next Steps
Make a test run before a big event if you’re concerned about timing. Assemble up to the guacamole in advance, chill, and finish the toppings at the last moment. Serve with a mix of sturdy corn tortilla chips and thinly sliced vegetables for dipping. If you want a variation, swap in spicy salsa and pickled jalapeños for a heat-forward version.
Now grab a shallow dish and your offset spatula. Layer in confidence, chill if you must, and add the bright toppings last. This dip is simple, forgiving, and always one of the first bowls emptied at my table.
Vegan 7-Layer Bean Dip
Ingredients
Equipment
Method
- Choose your serving dish: a pie plate or shallow glass serving bowl about 10 inches in diameter is ideal. Place it on a flat surface.
- Prep the fresh and canned ingredients: - Dice yellow bell pepper to yield 3/4 cup. - Halve cherry tomatoes to yield 1/2 cup. - Slice 3–4 green onions to yield about 1/3 cup. - Drain excess liquid from the 1 cup chunky salsa. - Drain the 12.25 oz. can sliced olives.
- In a medium bowl, combine the entire 115-ounce can vegetarian refried beans and the entire 11-ounce packet taco seasoning mix. Stir until the seasoning is evenly distributed.
- Spoon the seasoned refried beans into the serving dish and use an offset spatula to spread them into an even layer across the bottom.
- Spoon 1 cup vegan cashew sour cream over the bean layer and spread it evenly with the spatula.
- Spoon the drained 1 cup chunky salsa over the sour cream and spread carefully to cover as much of the surface as you can without mixing layers.
- Spoon 2 cups guacamole over the salsa and spread it right to the edges with the offset spatula.
- If you are making the dip ahead and will chill it, press a piece of plastic wrap directly onto the surface of the guacamole to prevent browning, then cover loosely and chill for up to 8 hours. Do not add the diced bell pepper, halved cherry tomatoes, sliced green onions, or drained olives before chilling (add them just before serving).
- Arrange the diced yellow bell pepper, halved cherry tomatoes, drained sliced olives, and sliced green onions over the top of the guacamole. You can place them around the perimeter or evenly across the top—arrange as you prefer for presentation.
- Serve immediately with tortilla chips, or, if chilled, remove the plastic wrap, add the prepared toppings, and serve.
Notes
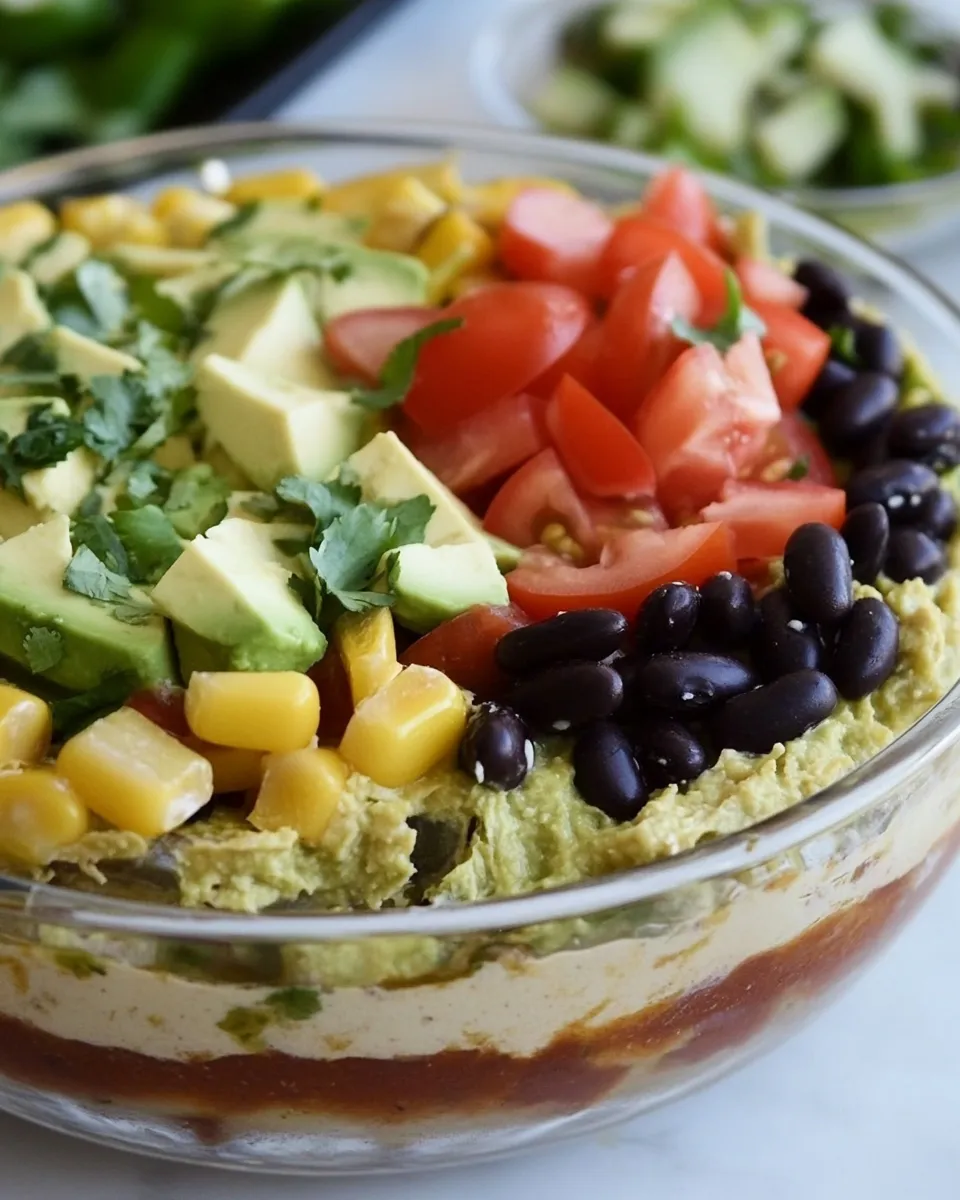
* Right out of the blender, your cashew sour cream might not be quite thick enough to spread in an even layer and stay that way. You can see from my pictures that I had trouble keeping nice clean layers. It still tastes delicious, but if you want those perfect layers, I suggest refrigerating your sour cream for at least a couple of hours first.
Adapted from
Chelsea’s Messy Apron