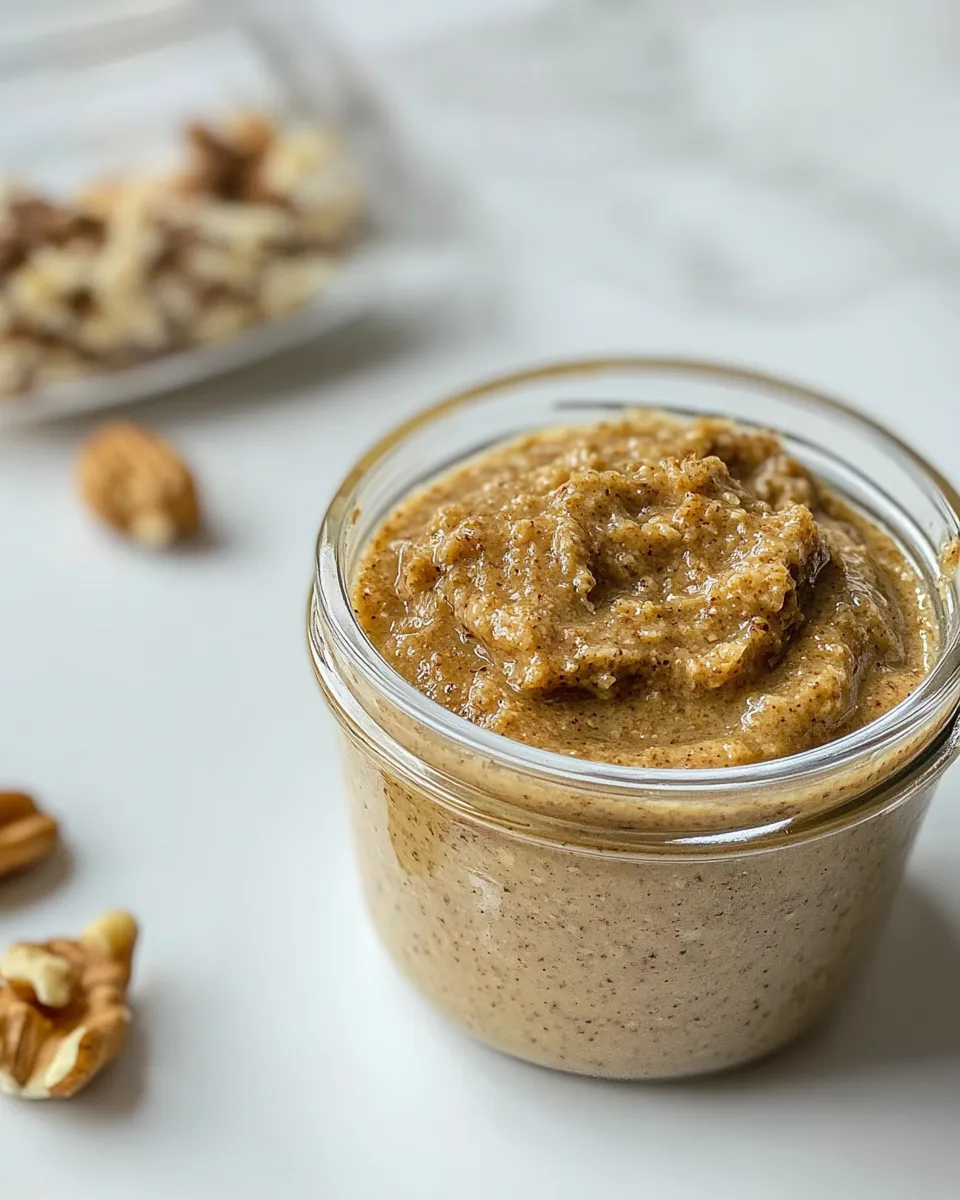
Walnut Butter
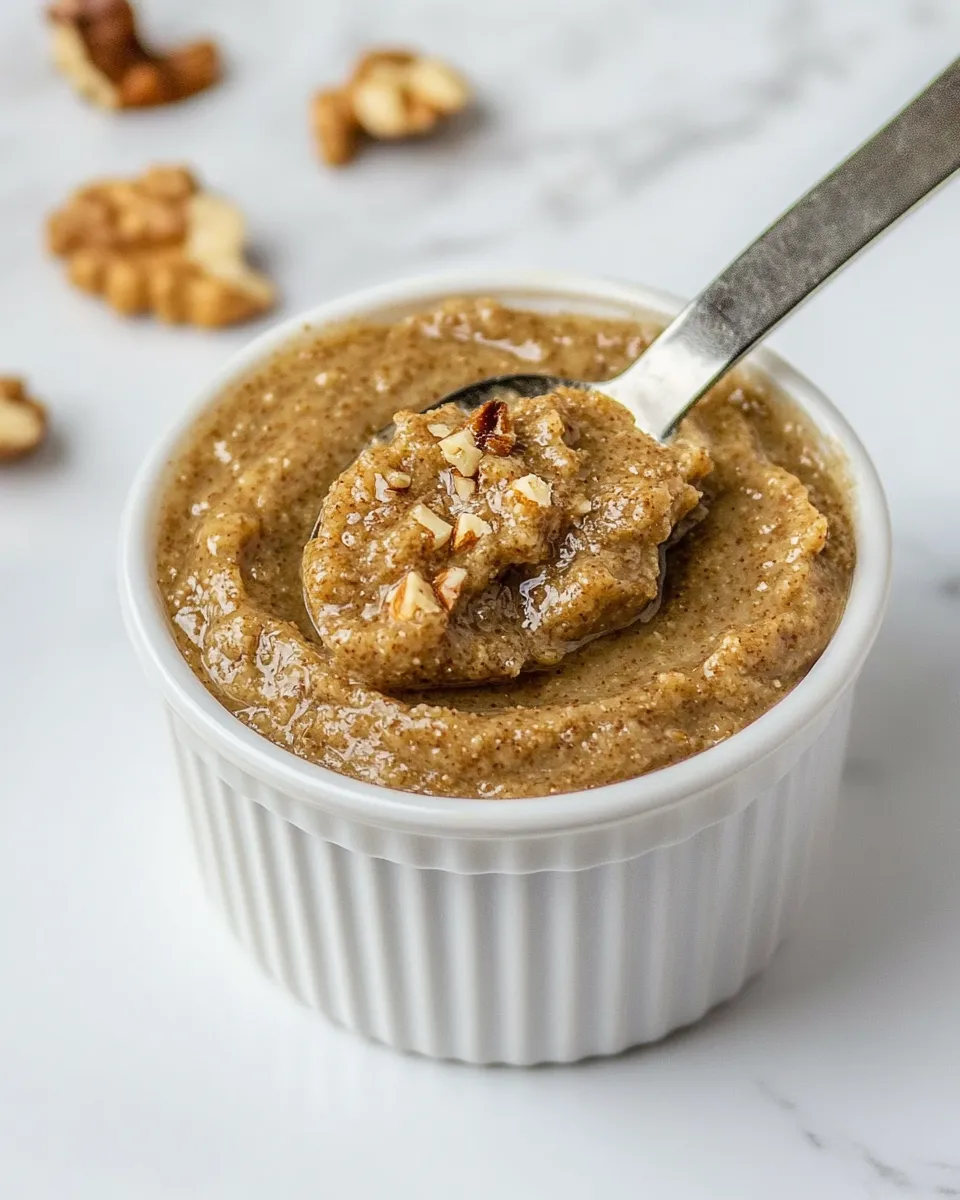
I make walnut butter when I want something rich, slightly tannic, and quietly complex—an alternative to the usual almond or peanut. It’s straightforward: three ingredients and a food processor. The result is silky, toasty, and excellent on toast, swirled into oatmeal, or folded into dressings and baked goods.
There’s a satisfying rhythm to making nut butter: pulse, scrape, wait for the oils to free themselves, scrape again. The most common decisions are whether to toast the nuts and how sweet or salty to make it. Both are small choices that change the mood of the jar without changing the core technique.
Below I’ll walk you through exactly what to do, why each step matters, common problems and fixes, and options to adapt the recipe for different diets. No fluff—just clear, kitchen-friendly advice so you can get to that first spread as quickly as possible.
Ingredients at a Glance
- 2 cups (217 g) walnuts — the base: rich, slightly bitter, and full of oils that become the butter’s body.
- 1 tablespoon pure maple syrup (see note) — adds a touch of sweetness and balances the walnut’s natural tannin.
- ¼ teaspoon salt (to taste, see note) — brightens and rounds the flavors; adjust to preference.
From Start to Finish: Walnut Butter
- (Optional) Toast the walnuts: place them in a dry frying pan in a single layer over low heat. Stir almost constantly and cook until you notice small brown spots or a toasty aroma, about 2–5 minutes. Immediately transfer the walnuts to a plate and let them cool until almost completely cool.
- Place the cooled (or raw, if you skipped toasting) 2 cups (217 g) walnuts in a food processor. Process for about 1 minute, then stop and scrape down the sides.
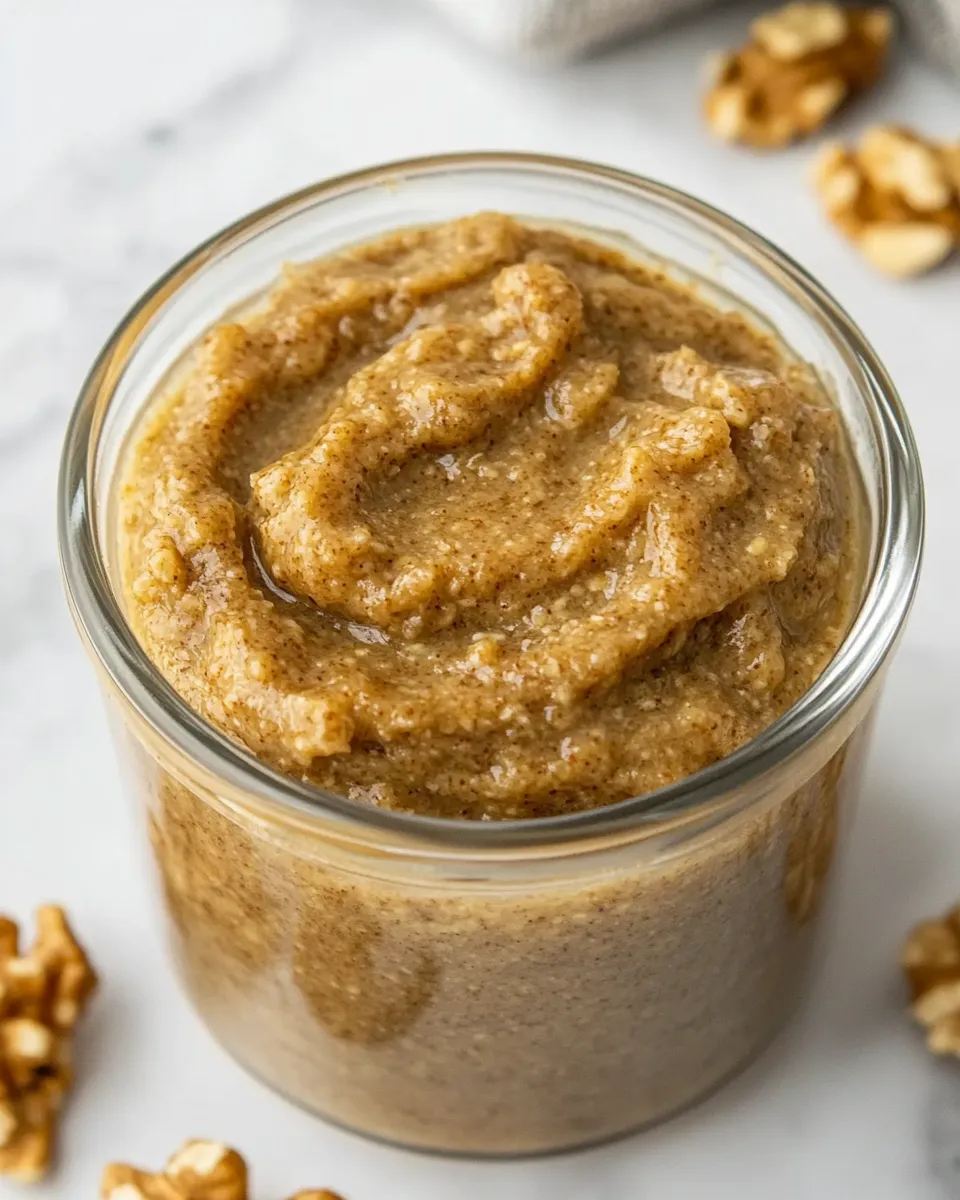
- Add 1 tablespoon pure maple syrup and 1/4 teaspoon salt to the processor. Continue processing, stopping occasionally to scrape the sides, until the mixture first becomes thick and paste-like and then loosens into a smoother, spreadable butter as the oils are released.
- Taste the walnut butter and, if desired, adjust seasoning by adding a little more salt and/or maple syrup to taste.
- Transfer the walnut butter to a jar or airtight container and store in the refrigerator. Makes about 1 cup.
Why You’ll Keep Making It
Walnut Butter has a flavor profile that other nut butters don’t offer: a subtle bitterness, a deep, almost woodsy richness, and a texture that can be mellow or assertive depending on how long you process it. That makes it versatile—use it where you want a nutty backbone without an overpowering sweetness.
It’s also fast and satisfying. From raw walnut to spreadable butter in under 10 minutes of active time (longer if you toast and cool), it’s a small production with a big payoff. And because it’s just three ingredients, you know what’s in it and can tweak it to taste easily.
Finally, walnut butter shines in both sweet and savory contexts. Drizzle on pancakes, stir into yogurt, slather on sandwiches, or add a spoon to sauces and dressings for extra depth.
Substitutions by Category
- Nuts — Pecans or almonds can be substituted if you want a different flavor or texture. Expect a sweeter profile with pecans and a firmer texture with almonds.
- Sweetener — If you don’t have maple syrup, a mild liquid sweetener you prefer can be used in the same amount to balance bitterness; omit entirely if you want no added sweetness.
- Salt — Adjust the amount or use a finishing salt on top after transferring to the jar. If you’re on a low-sodium plan, you can skip the added salt and rely on the nuts’ natural flavors.
Cook’s Kit

- Food processor (preferred) or a high-speed blender
- Dry frying pan (if toasting walnuts)
- Spatula for scraping the bowl
- Clean jar or airtight container for storage
Missteps & Fixes
Texture troubles
- Too grainy or dry: Continue processing. The mixture often looks grainy before the oils are released. Be patient and scrape the sides so the motor can work on all the bits.
- Too oily at the end: That usually means you’ve processed a bit longer than necessary or your walnuts are extra oily. Stir to homogenize and refrigerate—the butter firms up when cold.
Flavor issues
- Bitter or astringent: Toasting mellows tannins, so consider toasting next time (see the optional step). A bit more maple syrup or a small pinch more salt can also balance bitterness.
- Too sweet: Reduce the maple syrup incrementally next time, or simply omit it and rely on the walnut’s natural flavor.
Make It Diet-Friendly
Walnut Butter is naturally vegan and dairy-free. To lower sugar, omit the maple syrup or reduce it; the butter will be less sweet and more savory. For a low-sodium approach, leave out the added salt and season later only if needed.
If you’re managing calorie intake, portion control is the practical route: nut butters are nutrient-dense and calorie-dense, so stick to measured servings. For nut allergies, this recipe isn’t suitable—seed butters are an alternative, though they’re a different product and require separate handling and equipment.
Chef’s Rationale
Why optional toasting? Toasting warms walnuts and develops the Maillard notes: caramelized aromatics and a rounder mouthfeel. It also reduces the raw edge some walnuts have. But toasting is optional because it’s a trade-off—you get deeper flavor but add time and risk of over-browning.
Why a touch of maple syrup? Walnut has tannic elements that can come across as dry or slightly bitter. A tablespoon of maple syrup softens that impression and gives a pleasant rounded finish without making the butter overtly sweet.
Why process in stages? Pulsing and scraping allow the nuts to break down evenly. Early on you’ll get a slurry of crumbs. Scraping brings those crumbs to the blades where friction and time release the oils that turn the paste into butter. Rushing this stage can overwork the motor and produce uneven texture.
Storage & Reheat Guide
Store walnut butter in a clean jar or airtight container in the refrigerator. It firms up when chilled; simply leave at room temperature for a few minutes or stir with a spoon before using if you prefer a softer spread. Making about 1 cup at a time is practical—keep it refrigerated and use within a few weeks for best flavor.
Quick Q&A
- Do I have to toast the walnuts? No. Toasting is optional and enhances flavor. Raw walnuts work fine and produce a slightly fresher, greener flavor.
- Can I add oil to make it creamier? The recipe is designed to rely on the walnuts’ own oils. If you want a thinner texture, you can adjust after tasting, but I recommend patience while processing first to see how it develops.
- How long will it keep? Refrigerated, homemade walnut butter is best within a few weeks. Always use clean utensils to avoid introducing contaminants.
- Can I make a larger batch? Yes, but process in batches that your food processor can handle. Overfilling will impede even processing.
See You at the Table
Walnut Butter is one of those small homemade things that changes how you think about simple spreads. The technique is forgiving: a little patience at the processor and basic seasoning choices get you a deeply flavored butter that’s useful across breakfast, lunch, and dinner. Make a jar, taste as you go, and adjust the next batch to your preference. I’ll be doing the same—see you at the table.
Walnut Butter
Ingredients
Equipment
Method
- (Optional) Toast the walnuts: place them in a dry frying pan in a single layer over low heat. Stir almost constantly and cook until you notice small brown spots or a toasty aroma, about 2–5 minutes. Immediately transfer the walnuts to a plate and let them cool until almost completely cool.
- Place the cooled (or raw, if you skipped toasting) 2 cups (217 g) walnuts in a food processor. Process for about 1 minute, then stop and scrape down the sides.
- Add 1 tablespoon pure maple syrup and 1/4 teaspoon salt to the processor. Continue processing, stopping occasionally to scrape the sides, until the mixture first becomes thick and paste-like and then loosens into a smoother, spreadable butter as the oils are released.
- Taste the walnut butter and, if desired, adjust seasoning by adding a little more salt and/or maple syrup to taste.
- Transfer the walnut butter to a jar or airtight container and store in the refrigerator. Makes about 1 cup.
Notes
Same goes for the maple syrup (or honey) – start with 1 tablespoon and add more as desired.
If your nut butter ends up too salty – add a bit more syrup. Same goes vice versa – too sweet? Add a bit more salt.