White Chocolate Molten Lava Cakes
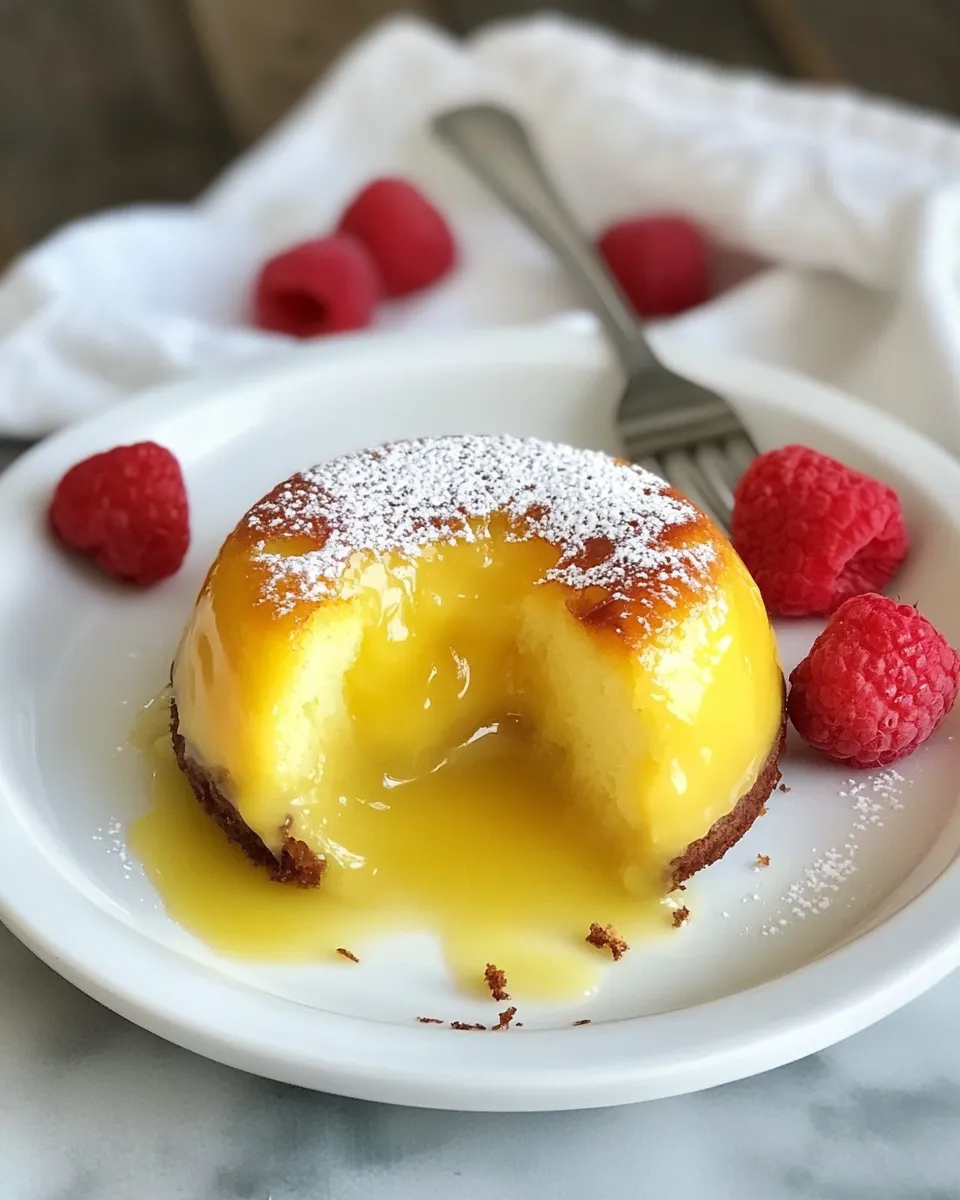
I fell in love with molten cakes long before I learned how forgiving they can be when you understand timing and heat. These white chocolate versions are a bright, silky twist — less bitter, more buttery, and they bloom beautifully against tart raspberries or a scoop of vanilla ice cream. If you like desserts that look impossibly fancy but come together in under 30 minutes, this is for you.
This recipe is straightforward: melted white chocolate and butter folded into beaten eggs and sugar, a touch of flour to set the exterior, baked briefly until the edges are firm and the center remains molten. The technique is what makes the difference — gentle melting, careful folding, and a short, hot bake. Stick to the steps, and you’ll get that signature runny center every time.
I write from a small kitchen with a busy life, so these cakes are designed to be repeatable on weeknights and elegant enough for guests. Below you’ll find an exact ingredient list with notes, a step-by-step guide taken straight from the recipe, troubleshooting tips, and simple serving ideas. Let’s get baking.
Ingredient List
- 1 stick butter, plus more for ramekins — provides richness and helps the cakes release from the ramekins.
- 4 ounces white chocolate, chopped (may substitute bittersweet if you love an intense chocolate experience) — the main flavor and molten core; chopping helps it melt evenly.
- 2 eggs — whole eggs add structure and lift.
- 2 egg yolks — extra yolks make the center silky and custardy.
- ¼ cup sugar — sweetens and helps the eggs whip to a pale, thick texture.
- 2 teaspoons flour, plus more to dust the ramekins — just enough to set the exterior without weighing down the center.
- Fresh raspberries, fresh mint, whipped cream or vanilla ice cream, to garnish, optional — bright, acidic, or cold accompaniments cut the sweetness and complete the plate.
White Chocolate Molten Lava Cakes Cooking Guide
- Preheat the oven to 450°F (232°C).
- Cut four rounds of parchment to fit the bottoms of four 4-ounce ramekins. Butter each ramekin (use the extra butter called for in the ingredients), press a parchment round into the bottom of each, and butter the top of the parchment. Sprinkle a little flour into each ramekin, tilt and rotate to coat the buttered sides, and tap out any excess flour. Set ramekins aside.
- Place the stick of butter (1 stick) and the chopped white chocolate (4 ounces) in a microwave-safe bowl. Microwave on medium power in 20–30 second bursts, stirring thoroughly between bursts, until the mixture is smooth and fully melted. Set the melted chocolate mixture aside to cool slightly so it is warm but not hot.
- In a mixing bowl, beat the whole eggs (2), egg yolks (2), and sugar (1/4 cup) together until the mixture is pale and thick. You can use a stand mixer with the paddle attachment, a hand mixer, or whisk by hand.
- With the mixer running on low (or whisking), slowly add the warm melted chocolate and butter to the egg mixture and combine until smooth.
- Sprinkle the flour (2 teaspoons) over the batter and fold or mix just until no streaks of flour remain. Do not overmix.
- Divide the batter evenly among the prepared ramekins.
- Place the filled ramekins on a baking sheet and bake in the preheated oven until the edges are set but the centers remain soft and slightly jiggly, about 6–10 minutes (oven times vary; this recipe took about 9 minutes in the original testing).
- Remove the baking sheet from the oven and let the ramekins sit on the sheet for 1 minute. Run a thin knife or small metal spatula around the inside perimeter of each ramekin to loosen the cakes.
- Invert each ramekin onto a serving plate, wait 1–2 seconds, then lift the ramekin off. If a cake does not release, gently tap or shake the ramekin and try again.
- Garnish with fresh raspberries, fresh mint, whipped cream, or vanilla ice cream if desired, and serve immediately.
Why It Works Every Time
Three simple principles make these cakes reliable: temperature control, timing, and minimal flour. Melting the white chocolate and butter until smooth and letting it cool to warm prevents cooking the eggs when combined. Beating the eggs and sugar to a pale, thick ribbon adds air and structure so the exterior sets quickly while the center stays molten. Finally, using only 2 teaspoons of flour gives the walls enough strength without converting the center into solid cake.
High oven heat (450°F / 232°C) creates rapid oven spring and sets the outside in minutes. That’s why the baking window is narrow — 6 to 10 minutes. A minute or two under and the center will be too loose; a minute or two over and it will be nearly set. Practicing on one ramekin first to learn your oven’s behavior is a tiny, effective investment.
Quick Replacement Ideas
- White chocolate — the recipe notes you may substitute bittersweet chocolate if you prefer a darker, more intense center. Use the same weight (4 ounces) and chop it before melting.
- Garnish options — the provided list (fresh raspberries, fresh mint, whipped cream, vanilla ice cream) covers bright, herbal, creamy, and cold pairings; choose one or combine two for contrast.
Tools & Equipment Needed
Essentials
- Four 4-ounce ramekins — the size is important for the set and timing.
- Baking sheet — to carry the ramekins in and out of the oven easily.
- Mixing bowls — one for beating eggs and sugar, one microwave-safe bowl for melting chocolate and butter.
- Whisk, hand mixer, or stand mixer — something to beat the eggs and sugar until pale and thick.
- Thin knife or small metal spatula — to loosen the cakes before inverting.
Nice-to-have
- Parchment paper — for perfect release and easier cleanup when lining ramekins.
- Digital timer — the bake window is short; a timer helps you pull them at the right moment.
Avoid These Mistakes
- Overheating the chocolate mixture — if it’s hot when added to the eggs, you risk scrambling them. Aim for warm, not piping hot.
- Skipping the parchment and butter step — it makes releasing the cakes simple and prevents sticking.
- Overmixing after adding flour — fold only until no streaks remain. Overworking the batter develops gluten and can firm the center.
- Baking too long — watch closely in the last two minutes. The edges should be set and the center slightly jiggly.
- Using the wrong ramekin size — larger or smaller vessels will change bake time and texture.
Health-Conscious Tweaks
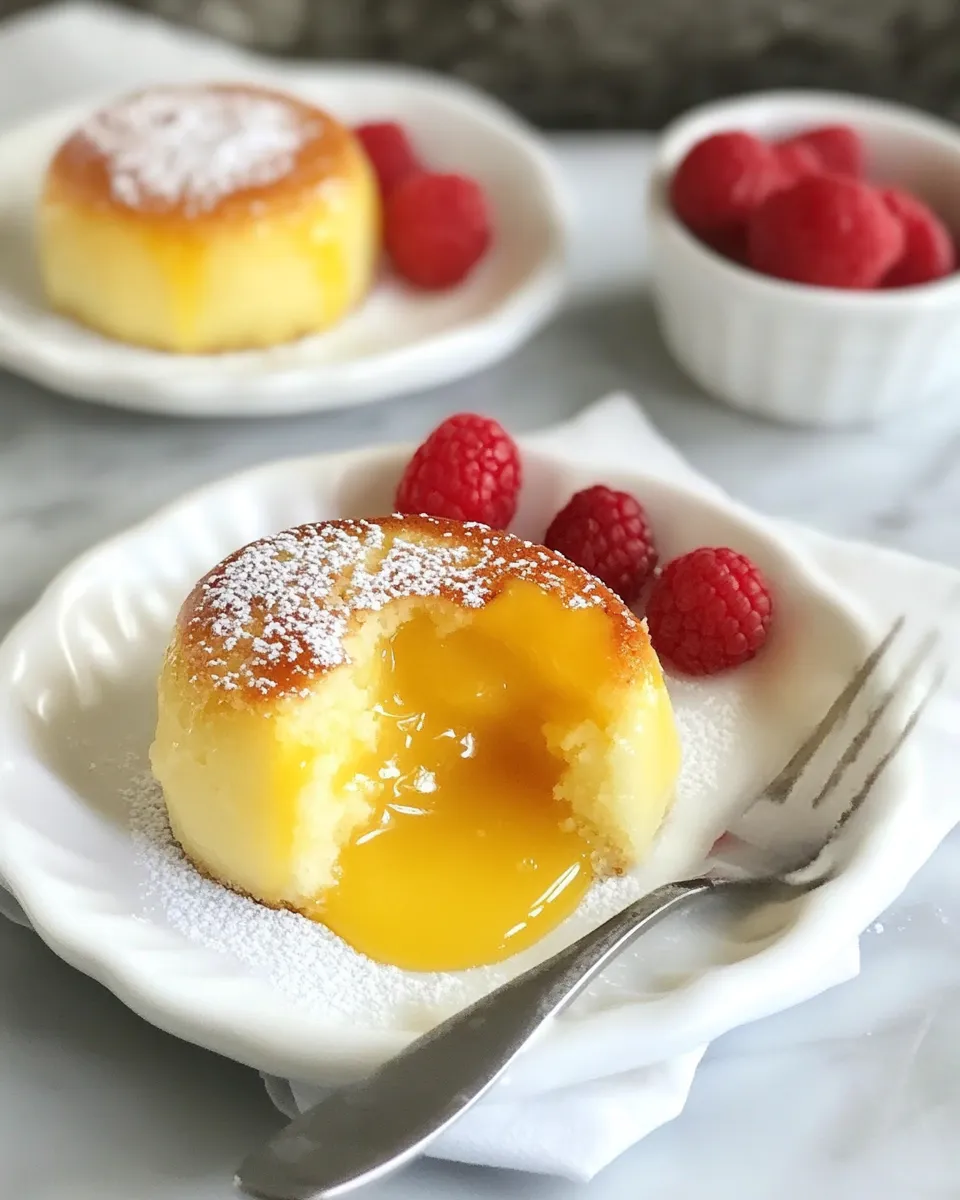
If you want to lighten the dessert without inventing new ingredients, here are modest adjustments that keep the method intact: reduce the sugar slightly (try 3 tablespoons instead of 1/4 cup) to let the white chocolate’s sweetness shine through. Serve smaller portions on petite plates and accompany with fresh raspberries or mint to add volume and acidity without added calories. You can also skip the optional whipped cream or ice cream and use a single raspberry garnish per serving for a lighter finish.
Because the core ingredients are fixed, the biggest health win is portion control and pairing the cake with tart fruit rather than heavy creams.
What Could Go Wrong
Most failures come down to timing and temperature. If the center is fully set, the cake baked too long; decrease bake time by 30–60 seconds on your next trial. If the center is totally liquid and the edges raw, the oven either wasn’t hot enough or the batter was too runny from overheating the chocolate or underbeating the eggs. If a cake sticks, it usually means the ramekin wasn’t properly buttered and floured — don’t skip that step.
Minor variations in oven calibration, ramekin material, and even ambient kitchen temperature can shift bake time. That’s why practicing with one ramekin first, noting the time and appearance at pull, will make every subsequent batch consistent.
Store, Freeze & Reheat
Molten cakes are best served immediately. If you must store them, keep unbaked batter covered in the refrigerator for up to 24 hours; bring to room temperature and bake, adding a minute or two to the suggested time if cold. Baked cakes do not retain the same molten quality after refrigeration — the center will firm up.
Freezing baked molten cakes is not recommended if you’re after the runny center. If you want to prepare ahead, assemble the filled ramekins, cover tightly, and freeze before baking for up to one month. When ready, bake straight from the freezer: add a few extra minutes to the bake time and watch for the edges to set while the center stays soft.
Helpful Q&A
- Q: How do I know they’re done? A: The edges should be set and slightly puffed, and the center should still jiggle when you gently shake the baking sheet. If it looks liquidy on top, it’s underbaked; if it’s firm across the top, it’s overbaked.
- Q: Can I make a double batch? A: Yes. Prepare more ramekins and bake on multiple sheets or in separate batches. Rotate pans if they don’t fit on one rack to ensure even baking.
- Q: My cakes didn’t release. What now? A: Run a thin knife around the perimeter, tap the ramekin on the counter, and invert again. If that fails, serve them in the ramekins — they’ll still taste great.
- Q: Can I use bittersweet chocolate instead? A: Yes — the ingredient list explicitly allows substituting bittersweet if you prefer a deeper chocolate taste. Use the same weight (4 ounces).
Serve & Enjoy
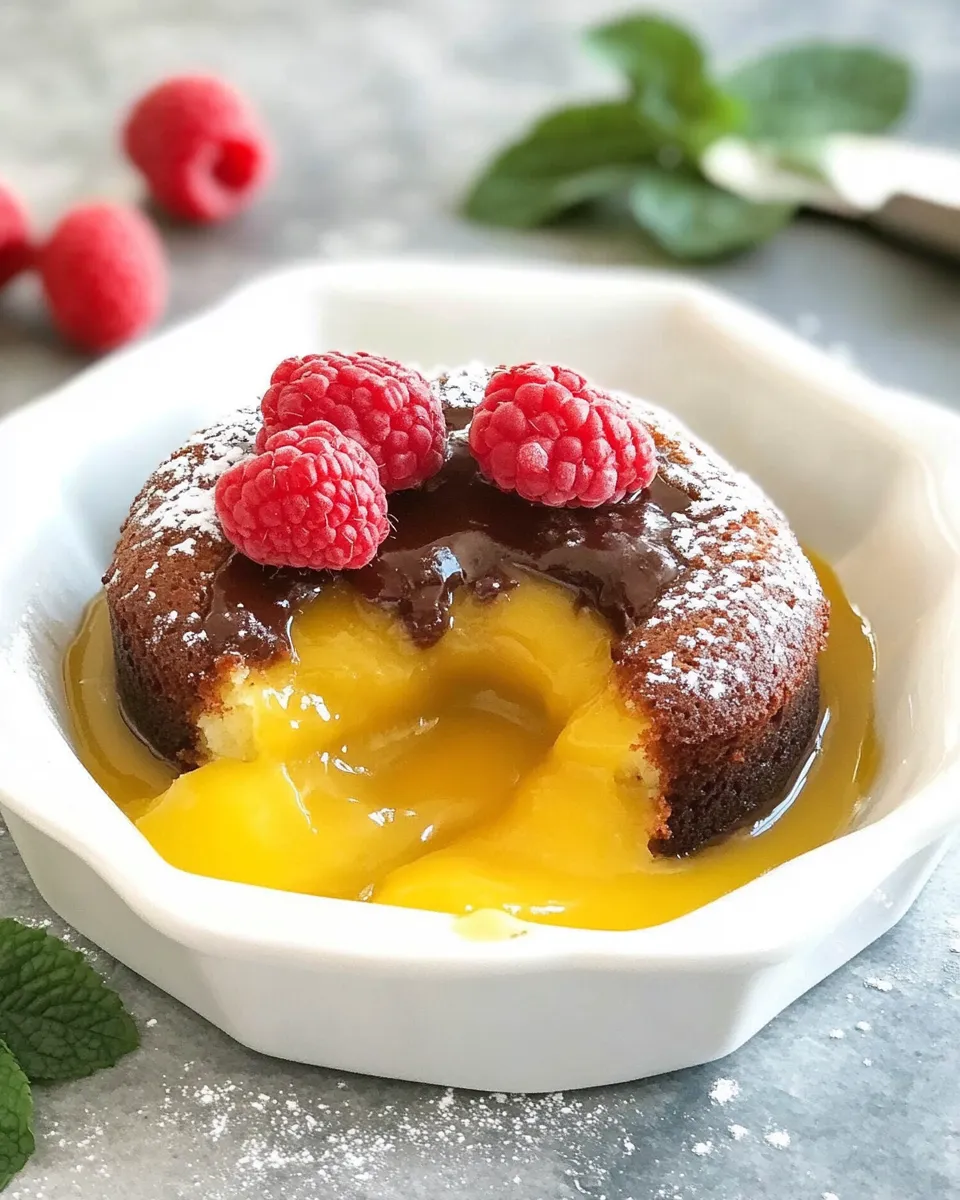
Presentation is quick but impactful. Invert each ramekin onto a warmed dessert plate, lift, and immediately add a few fresh raspberries and a small sprig of mint for color and brightness. A small scoop of vanilla ice cream or a dollop of whipped cream is a classic contrast to the warm, sweet center. If you’re serving guests, bring the plated ramekins to the table right away so the molten middle stays warm and flowing.
These cakes reward attention to detail: measure, temper temperatures, time carefully, and you’ll be rewarded with the kind of dessert that feels special yet is entirely attainable. Make one batch to practice, then double down for a small dinner party — you’ll walk away with happy smiles and empty plates.

White Chocolate Molten Lava Cakes
Ingredients
Equipment
Method
- Preheat the oven to 450°F (232°C).
- Cut four rounds of parchment to fit the bottoms of four 4-ounce ramekins. Butter each ramekin (use the extra butter called for in the ingredients), press a parchment round into the bottom of each, and butter the top of the parchment. Sprinkle a little flour into each ramekin, tilt and rotate to coat the buttered sides, and tap out any excess flour. Set ramekins aside.
- Place the stick of butter (1 stick) and the chopped white chocolate (4 ounces) in a microwave-safe bowl. Microwave on medium power in 20–30 second bursts, stirring thoroughly between bursts, until the mixture is smooth and fully melted. Set the melted chocolate mixture aside to cool slightly so it is warm but not hot.
- In a mixing bowl, beat the whole eggs (2), egg yolks (2), and sugar (1/4 cup) together until the mixture is pale and thick. You can use a stand mixer with the paddle attachment, a hand mixer, or whisk by hand.
- With the mixer running on low (or whisking), slowly add the warm melted chocolate and butter to the egg mixture and combine until smooth.
- Sprinkle the flour (2 teaspoons) over the batter and fold or mix just until no streaks of flour remain. Do not overmix.
- Divide the batter evenly among the prepared ramekins.
- Place the filled ramekins on a baking sheet and bake in the preheated oven until the edges are set but the centers remain soft and slightly jiggly, about 6–10 minutes (oven times vary; this recipe took about 9 minutes in the original testing).
- Remove the baking sheet from the oven and let the ramekins sit on the sheet for 1 minute. Run a thin knife or small metal spatula around the inside perimeter of each ramekin to loosen the cakes.
- Invert each ramekin onto a serving plate, wait 1–2 seconds, then lift the ramekin off. If a cake does not release, gently tap or shake the ramekin and try again.
- Garnish with fresh raspberries, fresh mint, whipped cream, or vanilla ice cream if desired, and serve immediately.