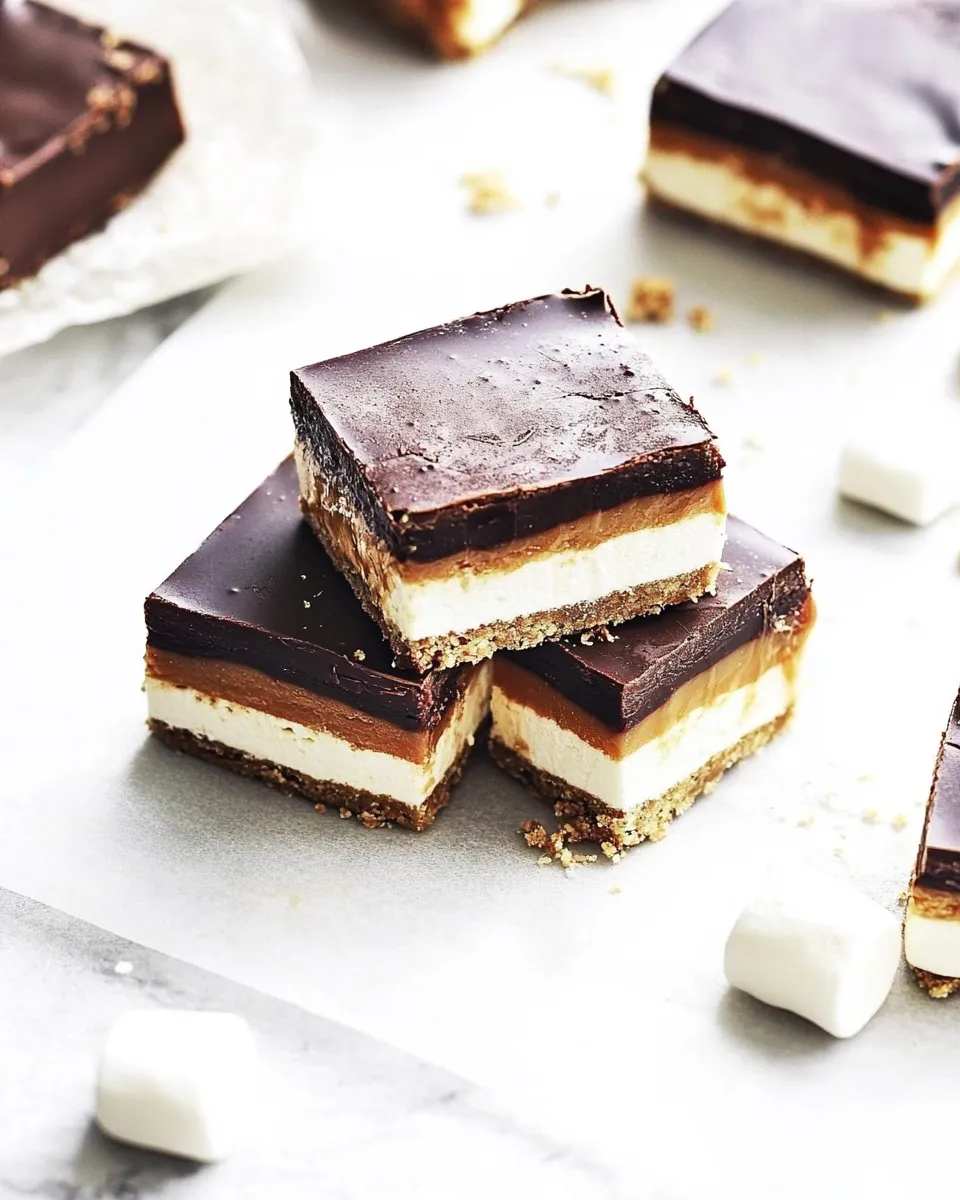
3-Layer Caramel and Chocolate Marshmallow Bars
These bars are one of those recipes that live somewhere between nostalgic and indulgent. I make them when I want something that feels like a s’more upgraded for a party — gooey, chocolatey, and with that soft chew from the caramel. They hold together well enough to pass around, but are soft and tender under the bite.
I wrote the version below to be straightforward and dependable. There’s no tempering, no tricky bake times, and the steps are built around layering and controlled melting. Follow the order and you’ll have a neat slab you can slice into portable bars for coworkers, potlucks, or an unexpected guest.
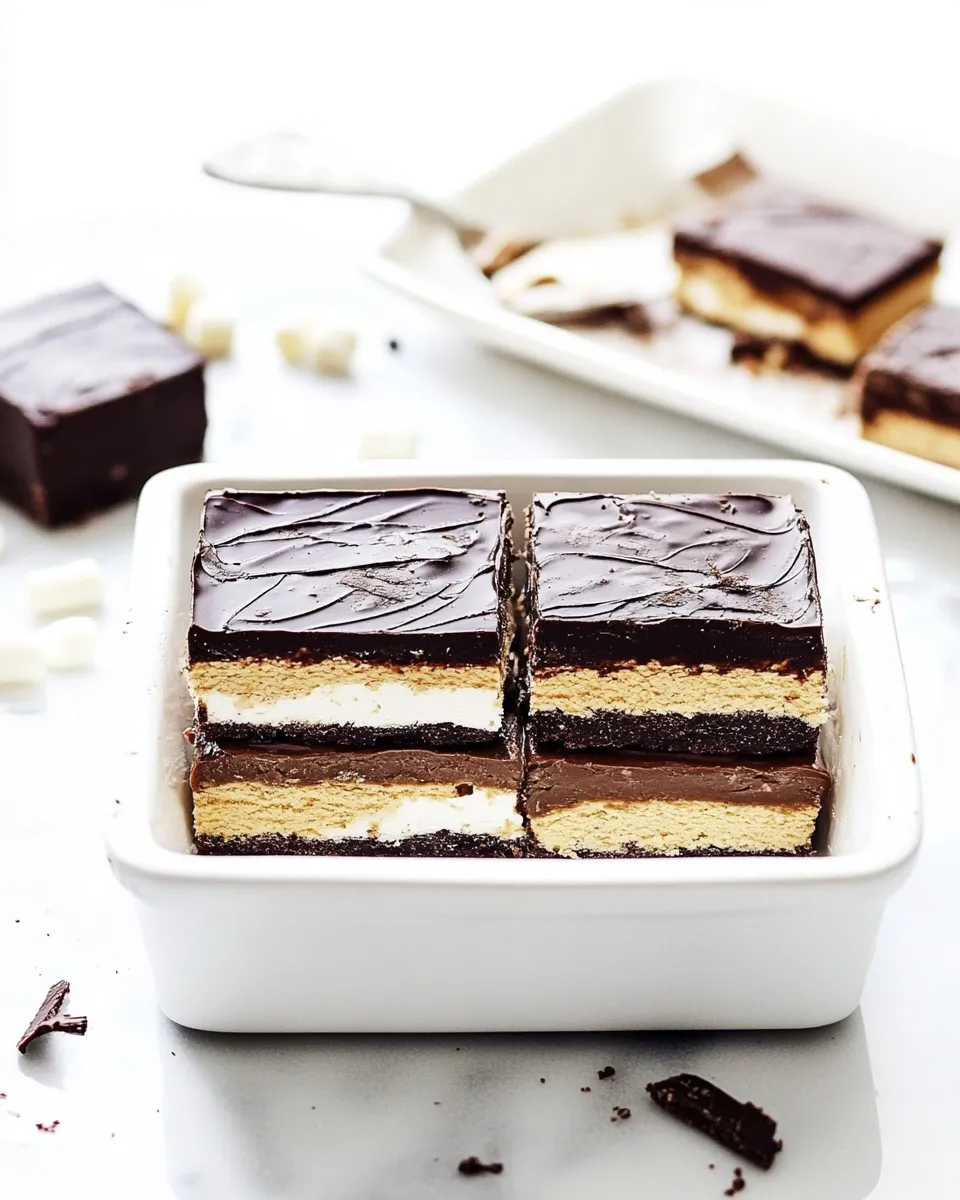
I like to keep the prep simple: line the pan, melt, spread, repeat. The result is a three-layer treat with crisp graham, soft caramel, and chocolate-marshmallow clouds. Read through the tips and FAQs — they’ll save you time and prevent common hiccups.
Gather These Ingredients
- 15 whole Keebler Graham Crackers — the crunchy structure; break as needed to form even layers in the pan.
- 2 11oz. caramel pieces — meltable caramel for the gooey layers; use as directed for two separate layers.
- 16 oz. Dove Dark Chocolate — the main chocolate component; you’ll melt most of it and reserve a portion for topping.
- 2 cups mini marshmallow — folded into chocolate for the middle marshmallow layer; they give chew and volume.
From Start to Finish: 3-Layer Caramel and Chocolate Marshmallow Bars
- Line an 8×8-inch pan with foil, leaving about a 2-inch overhang on the sides to lift the bars out later.
- Arrange 5 whole graham crackers to cover the bottom of the pan, breaking crackers as needed to fit and form an even layer.
- Place one 11-oz bag of caramel pieces in a microwave-safe bowl. Melt in 30-second bursts, stirring between each burst, until smooth. Pour and spread the melted caramel evenly over the bottom graham cracker layer.
- Place a second layer of 5 whole graham crackers on top of the caramel, breaking as needed to fit.
- Place all 16 oz Dove Dark Chocolate in a microwave-safe bowl. Melt in 30-second bursts, stirring between each burst, until completely smooth. Transfer about one-third of the melted chocolate to a separate bowl and set it aside for the final topping.
- Add the 2 cups mini marshmallows to the remaining (about two-thirds) melted chocolate and stir until the marshmallows are evenly coated. Spread this marshmallow-chocolate mixture evenly over the second graham cracker layer.
- Place the final layer of 5 whole graham crackers on top of the marshmallow-chocolate layer, breaking as needed to fit.
- Place the second 11-oz bag of caramel pieces in a microwave-safe bowl. Melt in 30-second bursts, stirring between each burst, until smooth. Pour and spread the melted caramel evenly over the top graham cracker layer.
- Pour the reserved one-third of the melted chocolate over the caramel and spread to cover the top. Optional: sprinkle sea salt on top.
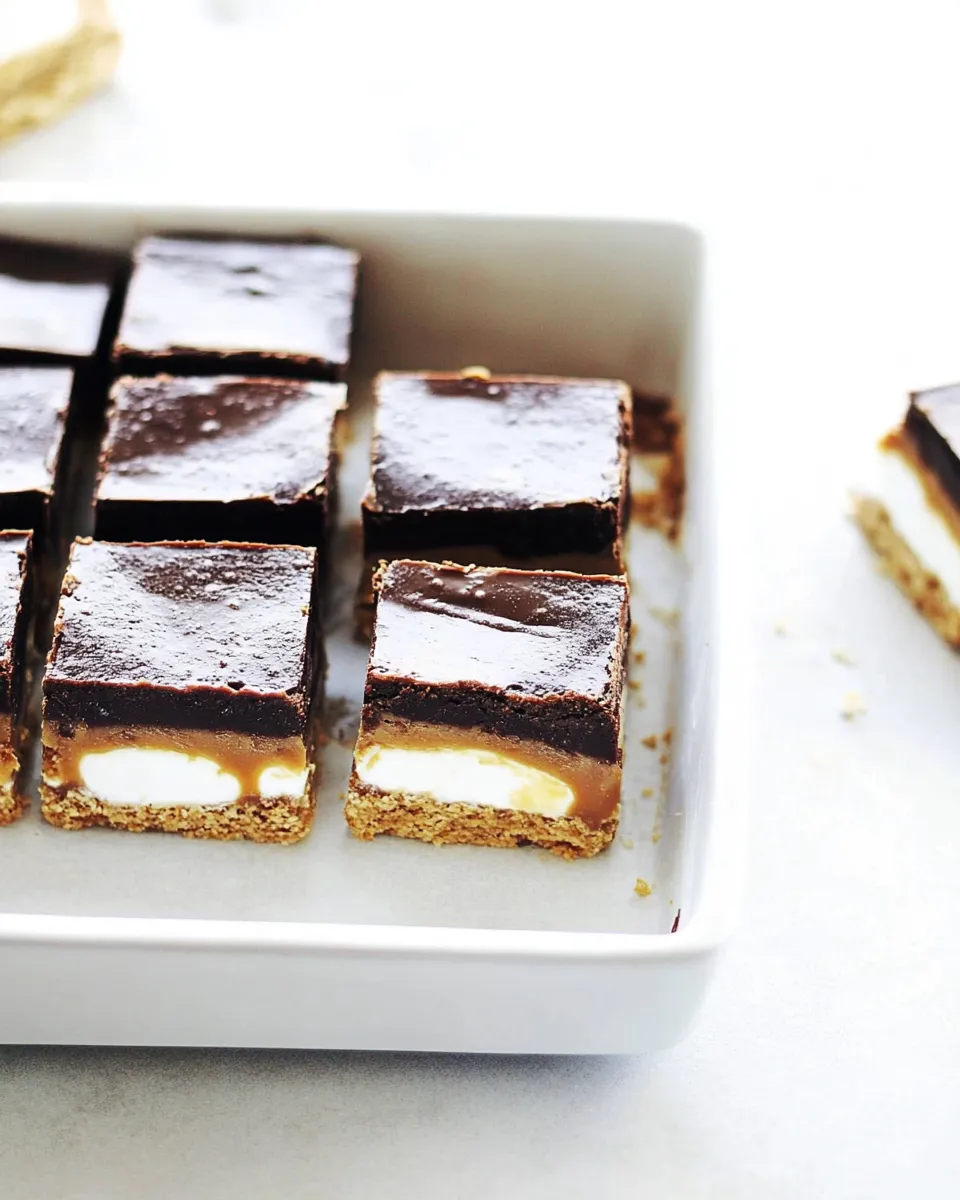
- Let the bars cool and set (at room temperature or in the refrigerator). Use the foil overhang to lift the slab from the pan and cut into bars.
Reasons to Love 3-Layer Caramel and Chocolate Marshmallow Bars
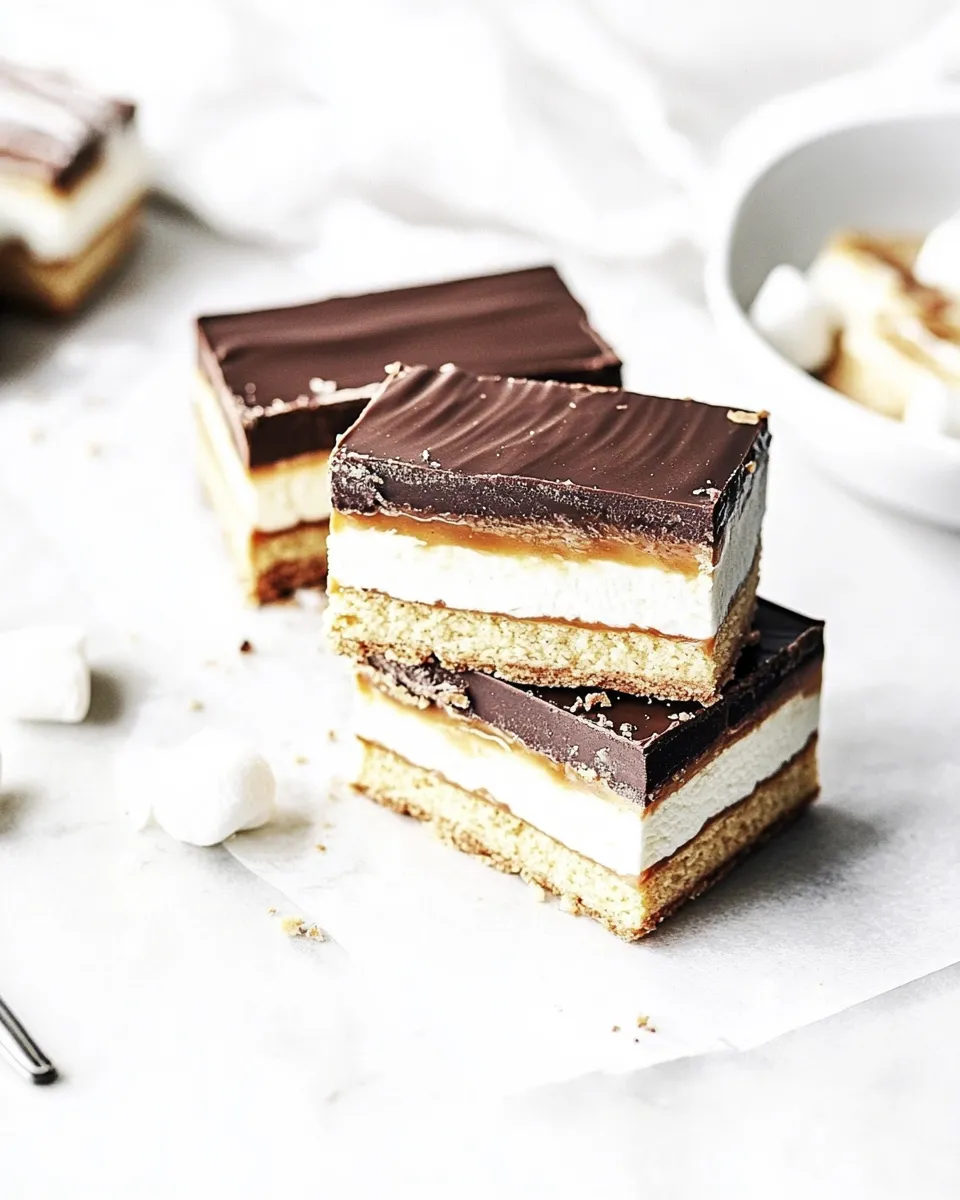
They check a lot of boxes: crispy, chewy, gooey, and chocolate-forward. The graham crackers give structure and familiar flavor, while the double caramel layers deliver that sticky, pull-apart chew that makes these bars impossible to eat just one of. The marshmallow mixed into chocolate keeps the center soft without making the whole slab unstable.
These bars are also forgiving. You don’t need precise oven times or complicated equipment. Melting the caramel and chocolate in short microwave bursts keeps you in control and reduces the chances of burning. Because everything sets in layers, skim and tidy edges with the foil overhang, then slice through with a sharp knife for tidy pieces.
Finally, they’re crowd-pleasers. Kids will adore the marshmallow center and adults will appreciate the dark chocolate edge. They travel well enough for a picnic or potluck and present beautifully on a simple plate or wrapped in parchment for gifting.
Texture-Safe Substitutions
If you need to adjust for texture preferences or dietary needs, focus on components that change texture least:
- Swap graham crackers for a gluten-free graham-style cracker to maintain the crunchy layer; choose one that’s crisp rather than cakey.
- Instead of mini marshmallows, mini marshmallow-type products that are softer may change the chew; if you want less puff, use slightly fewer marshmallows so the chocolate binds more tightly.
- If Dove Dark Chocolate is not available, pick a dark chocolate bar with a similar cocoa percentage — anything significantly higher will be firmer at room temperature, and much lower will be softer.
- For caramel texture, avoid caramel sauces that are liquid at room temperature. The recipe uses meltable caramel pieces because they set into a cohesive layer as they cool.
Must-Have Equipment
- 8×8-inch baking pan — the recipe is built to this size for layer proportions.
- Aluminum foil — for lining and creating an overhang to lift the bars out cleanly.
- Two microwave-safe bowls — one for melting the chocolate and one to reserve a portion of melted chocolate for topping.
- One microwave-safe bowl for caramel melting — keep it separate from chocolate to manage cleanly.
- Rubber spatula or offset spatula — for spreading hot caramel and chocolate evenly across layers.
- Sharp knife — for cutting tidy bars after the slab has set.
Frequent Missteps to Avoid
- Overheating chocolate or caramel — heat in 30-second bursts and stir between bursts to avoid scorching. Burned chocolate or caramel will seize and ruin texture.
- Skipping the foil overhang — without it you’ll struggle to remove the slab intact for neat slicing.
- Trying to slice too early — let the bars set until the caramel and chocolate are firm enough to cut without squishing. If the kitchen is warm, chill briefly before cutting.
- Using a wet knife — moisture drags chocolate and caramel. Wipe the knife clean and dry between cuts for neat edges.
- Layering unevenly — break and fit graham crackers carefully so each layer is as level as possible; an uneven base can cause shifting when you slice.
Seasonal Flavor Boosts
These bars adapt well to small seasonal twists. Here are practical additions that won’t disrupt the structure:
- Autumn: a light dusting of cinnamon over the top chocolate before it sets adds warmth; use sparingly so it doesn’t overwhelm.
- Winter: a sprinkle of finely crushed peppermint candy over the top chocolate gives a festive crunch; press gently so pieces stick.
- Summer: swap a pinch of flaky salt on the top for a bright counterpoint to the rich caramel and dark chocolate.
- Spring: a few toasted, finely chopped nuts pressed into the top layer before the chocolate firms add contrast—press them lightly so they adhere.
Author’s Commentary
I keep a batch of these bars in my freezer for “unexpected guest” situations because they thaw quickly and still taste fresh. They were a hit the first time I brought them to a neighborhood potluck — everyone gravitated toward the plate like it was the only snack in the room.
What I enjoy most is how modular the process is: five crackers, a poured caramel, a chocolate-marshmallow cloud, and repeat. It’s methodical and satisfying. I often slow down and level the layers as I go; a careful spread makes the final slice look professional even with minimal effort.
Make-Ahead & Storage
These bars benefit from chilling. You can let the slab set at room temperature, but for clean slicing allow them to cool in the refrigerator for 30–60 minutes. Once cut, store in an airtight container.
Short-term storage: keep at room temperature for up to 48 hours if your kitchen is cool; otherwise refrigerate. Chilled bars are firmer and easier to handle.
Long-term storage: the bars freeze well. After cutting, place pieces in a single layer on a baking sheet to freeze solid, then transfer to an airtight container or freezer bag with parchment between layers. They’ll keep for up to 2 months. Thaw at room temperature for 20–30 minutes before serving.
FAQ
Q: Can I use a glass pan instead of metal?
A: Yes. A glass pan works fine; just allow a little extra time for the slab to cool before removing because glass retains heat differently.
Q: What if my chocolate seizes while melting?
A: If chocolate becomes grainy, stop heating immediately and try stirring in a small teaspoon of neutral oil or a bit of the reserved melted chocolate (if you have any) to smooth it. Prevention is best: heat in short bursts and stir well. Avoid getting water in the bowl.
Q: Can I make smaller bars or use a different pan size?
A: You can, but the recipe proportions and number of crackers are calibrated to an 8×8-inch pan. If you change pan sizes, the layers’ thickness will change and you may need to adjust the number of crackers per layer.
Q: Are there alternatives to Dove Dark Chocolate?
A: Any dark chocolate of similar consistency will do. Avoid substitutes that are marketed as “baking chips” if you want a glossy finish on the top; chips often contain stabilizers and won’t spread as smoothly.
Q: My caramel is too runny after melting. What now?
A: If the caramel seems very thin, let it cool a minute to thicken slightly before pouring. If it remains very runny due to heat, work quickly and consider chilling the slab briefly between layers so the next layer doesn’t slide.
Bring It Home
This is a recipe I return to when I want to make something that feels homemade without a lot of fuss. The method is sturdy and the result is reliably crowd-pleasing. Follow the steps, keep an eye on the chocolate and caramel while you melt, and you’ll have neat, delicious bars to share. Happy baking — and don’t forget to wipe the knife between cuts for the prettiest slices.
3-Layer Caramel and Chocolate Marshmallow Bars
Ingredients
Equipment
Method
- Line an 8x8-inch pan with foil, leaving about a 2-inch overhang on the sides to lift the bars out later.
- Arrange 5 whole graham crackers to cover the bottom of the pan, breaking crackers as needed to fit and form an even layer.
- Place one 11-oz bag of caramel pieces in a microwave-safe bowl. Melt in 30-second bursts, stirring between each burst, until smooth. Pour and spread the melted caramel evenly over the bottom graham cracker layer.
- Place a second layer of 5 whole graham crackers on top of the caramel, breaking as needed to fit.
- Place all 16 oz Dove Dark Chocolate in a microwave-safe bowl. Melt in 30-second bursts, stirring between each burst, until completely smooth. Transfer about one-third of the melted chocolate to a separate bowl and set it aside for the final topping.
- Add the 2 cups mini marshmallows to the remaining (about two-thirds) melted chocolate and stir until the marshmallows are evenly coated. Spread this marshmallow-chocolate mixture evenly over the second graham cracker layer.
- Place the final layer of 5 whole graham crackers on top of the marshmallow-chocolate layer, breaking as needed to fit.
- Place the second 11-oz bag of caramel pieces in a microwave-safe bowl. Melt in 30-second bursts, stirring between each burst, until smooth. Pour and spread the melted caramel evenly over the top graham cracker layer.
- Pour the reserved one-third of the melted chocolate over the caramel and spread to cover the top. Optional: sprinkle sea salt on top.
- Let the bars cool and set (at room temperature or in the refrigerator). Use the foil overhang to lift the slab from the pan and cut into bars.