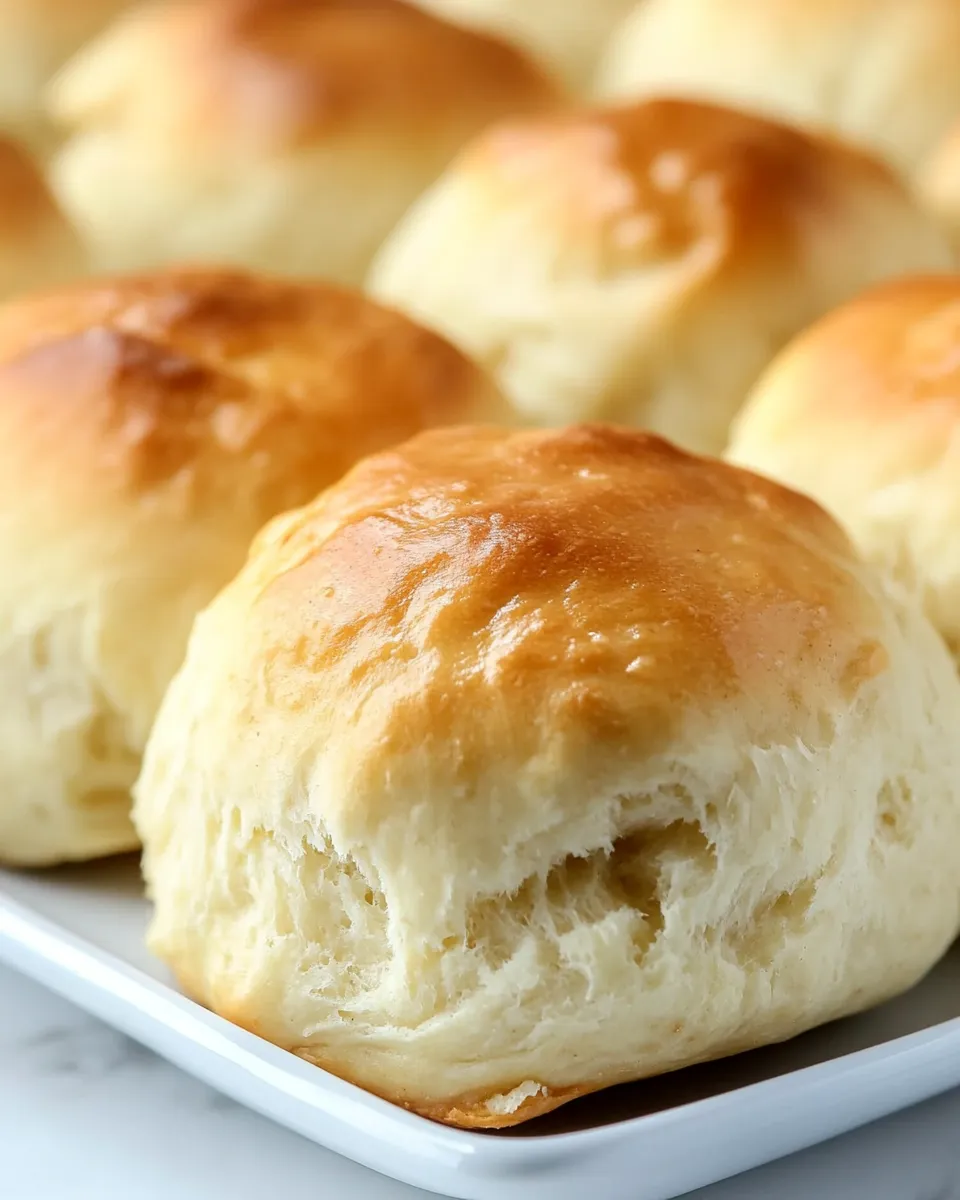
45 Minute Quick Dinner Rolls
I make these rolls on busy weeknights when the clock is tight but I still want something warm and homemade on the table. They deliver soft, pillowy texture and a lightly golden top in a fraction of the usual rising time. The formula leans on active dry yeast and a short rest to speed everything along without compromising tenderness.
The steps are straightforward, and the recipe fits neatly into a typical dinner prep window. You don’t need special ingredients, and there’s very little hands-on time—just mix, shape, rest, brush, and bake. These rolls pair beautifully with soup, roasted chicken, or a simple salad.
Below you’ll find the exact ingredient list and step-by-step directions used in my kitchen, followed by practical notes on equipment, common mistakes, flavor swaps, and storage. Read through once, then keep this page open while you work. You’ll have fresh rolls in about 45 minutes.
Ingredient List
- 1 cup (237 ml) warm water (between 100-110°F, approx 30 seconds in the microwave) — activates the yeast; temperature matters for proofing.
- ⅓ cup (79 ml) olive oil — adds tenderness and a subtle savory note; prevents sticking.
- 2 tablespoons (25 g) granulated sugar — feeds the yeast and contributes a light browning to the crust.
- 2 tablespoons (17 g) active dry yeast — the leavening agent; make sure it’s fresh for a strong rise.
- ½ teaspoon salt — balances flavor; don’t skip it or the rolls will taste flat.
- 3 cups (372 g) all-purpose flour — the structure of the rolls; add a bit more only if the dough is sticky.
- 1 tablespoon (14 g) unsalted butter, melted — brushed on top for color and a rich finish.
Mastering Dinner Rolls: How-To
- Preheat oven to 400°F (200°C). Spray a 9×13-inch baking dish with nonstick cooking spray or lightly oil it.
- In the bowl of a stand mixer fitted with the dough hook, combine 1 cup (237 ml) warm water (100–110°F — see ingredient note), 1/3 cup (79 ml) olive oil, 2 tablespoons (25 g) granulated sugar, and 2 tablespoons (17 g) active dry yeast. Stir briefly to combine.
- Let the mixture rest, uncovered, for 15 minutes until very frothy.
- Add 1/2 teaspoon salt and 3 cups (372 g) all-purpose flour to the mixer. Start the mixer on low (or “stir”) for a few seconds until the flour begins to incorporate, then increase to medium speed until the dough comes together into a ball and mostly pulls away from the sides of the bowl (about 1–2 minutes). If the dough is too sticky, add 1 tablespoon of flour at a time, up to 2 tablespoons.
- Turn the dough out onto a lightly floured cutting board and knead lightly by hand just until the dough is smooth and cohesive (about 30 seconds).
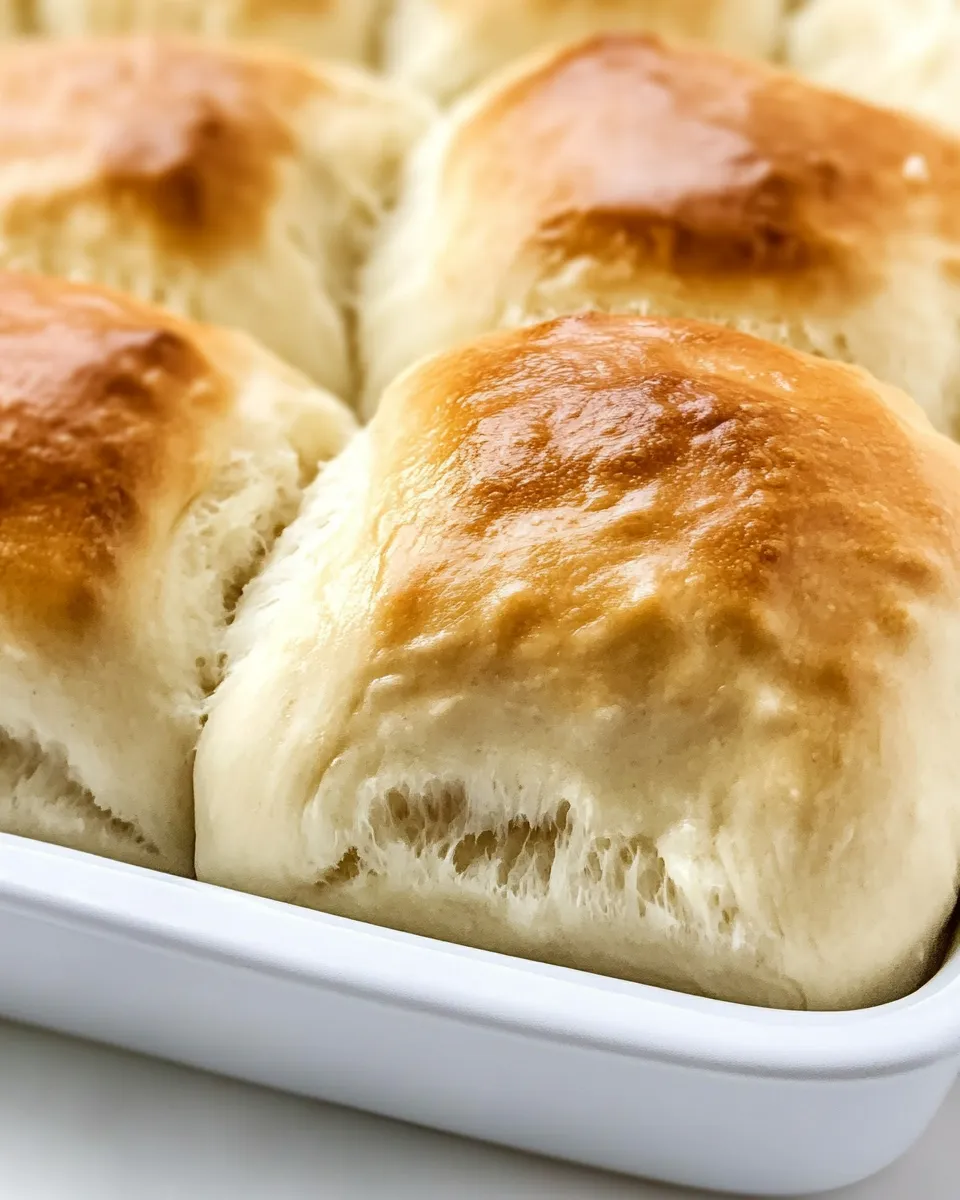
- Divide the dough into 12 equal pieces. Roll each piece into a tight ball and place the 12 rolls in the prepared 9×13-inch pan, spaced evenly.
- Cover the pan loosely with a clean kitchen towel or plastic wrap and let the rolls rest at room temperature for 10 minutes, until slightly puffed.
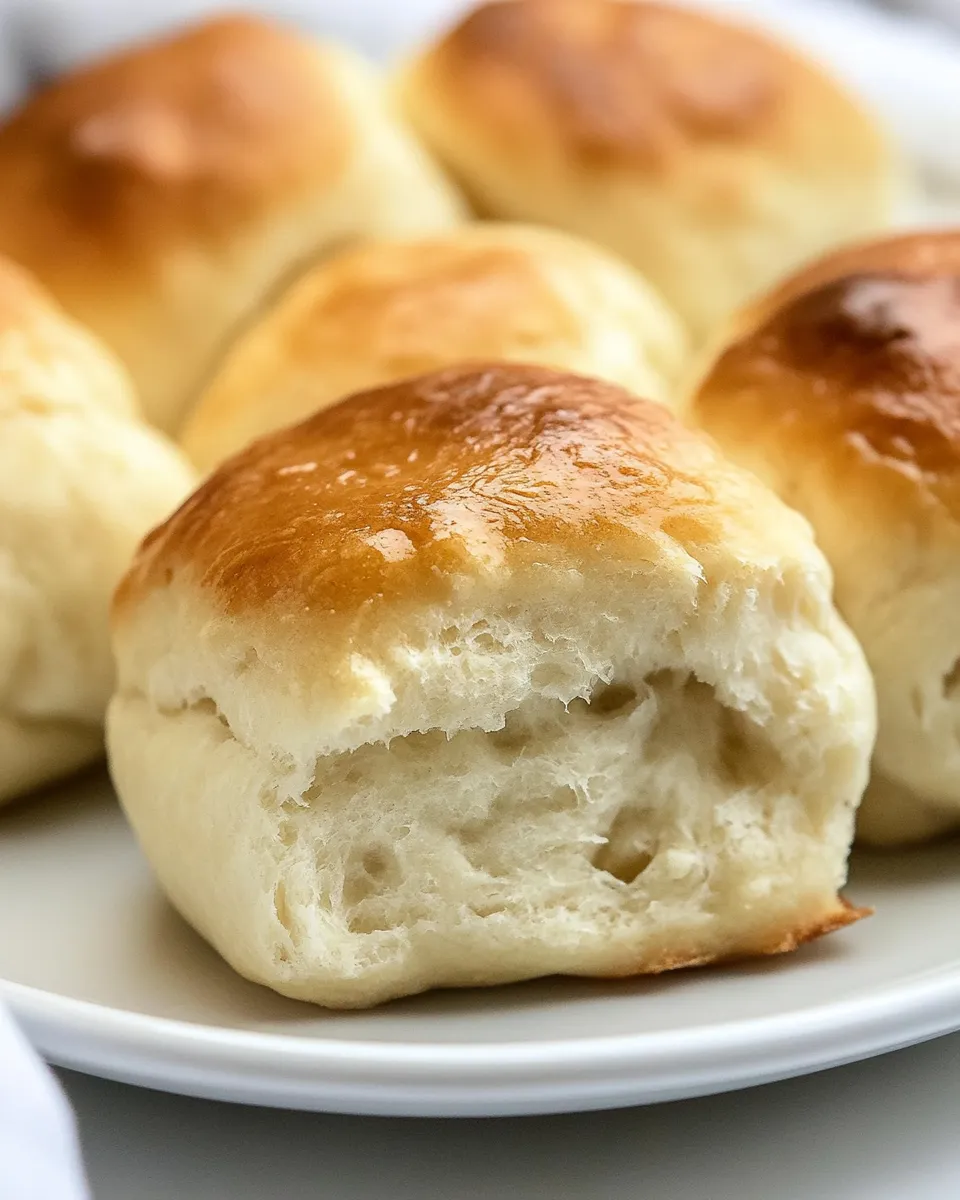
- Brush the tops of the rolls with 1 tablespoon (14 g) melted unsalted butter.
- Bake in the preheated 400°F oven for about 10 minutes, until the tops are golden. Remove from the oven and serve.
What You’ll Love About This Recipe
Speed. These rolls go from zero to table in roughly 45 minutes, including the short proof and bake. If you need something warm alongside dinner, they’re one of the fastest reliable options.
Texture. The crumb is soft and slightly pillowy because of the olive oil and the short, warm proof. They hold up well for sandwiches and also tear apart easily for family-style eating.
Simplicity. The ingredient list is short and pantry-friendly. You don’t need milk, eggs, or specialty flour—just common staples. That makes this a great midweek fallback.
Flexibility. The dough tolerates small add-ins or substitutions if you want to tweak flavor. I’ll list creative, flavor-forward alternatives below so you can mix it up without breaking the method.
Flavor-Forward Alternatives
Try these swaps to add character without changing the workflow.
- Herb-studded tops: Mix 1 teaspoon dried rosemary or oregano with melted butter and brush on before baking for aromatic tops.
- Garlic butter finish: Add 1/4 teaspoon garlic powder to the melted butter and brush after baking for immediate garlic flavor.
- Parmesan crust: Sprinkle 1–2 tablespoons grated Parmesan over the buttered tops before baking to add a nutty crust.
- Sweet finish: Swap granulated sugar for the same amount of brown sugar and brush with honey-butter after baking for soft, slightly sweet rolls.
Setup & Equipment

Gather these tools before you begin. The process moves quickly and you don’t want to be searching for pans while the yeast proofs.
- Stand mixer with dough hook — makes the mixing and short knead quick and consistent. You can do this by hand, but expect more elbow work.
- 9×13-inch baking dish — the recipe is portioned to fit this pan so the rolls rise into each other just right.
- Kitchen thermometer — helpful to confirm your water is between 100–110°F, which ensures the yeast activates but isn’t killed.
- Bench scraper or knife — for dividing the dough into 12 even pieces.
- Clean kitchen towel or plastic wrap — to cover the dough during the short rest.
- Basting brush — for brushing the melted butter on top.
Frequent Missteps to Avoid
Proofing and Temperature
Water that’s too hot will kill the yeast. Use a thermometer or test the water; it should feel warm, not hot. If it’s safer to err, use slightly cooler water—activation may be slower, but the recipe still works.
Dough Consistency
Don’t overdo the flour additions. The directions allow up to 2 tablespoons extra if the dough is sticky. Add flour one tablespoon at a time. Too much flour yields dense rolls.
Rest Time
The recipe relies on short rests instead of a long rise. If you skip the 15-minute frothing or the 10-minute rest, the rolls won’t puff properly. Stick to the timing for best lift.
Adaptations for Special Diets
Use these notes if you need to modify the dough for dietary reasons. Keep in mind that texture and timing may change with substitutions.
- Vegan: The recipe is essentially already vegan except for the butter brushed on top. Use a plant-based butter or olive oil for brushing instead.
- Lower sodium: Reduce the salt to 1/4 teaspoon for a milder result. Flavor will be less pronounced, so consider a butter substitute with a touch of salt for finishing.
- Gluten-free: This dough relies on gluten for structure. For a gluten-free version you’ll need a tested blend and likely additional binders (xanthan gum) and a different hydration ratio. I don’t recommend swapping flour at a 1:1 ratio without a tested gluten-free recipe.
What Could Go Wrong
Here are predictable issues and how to fix them fast.
- Yeast won’t foam: If the mixture doesn’t become very frothy after 15 minutes, your yeast may be dead or the water was too cool. Discard and start with fresh yeast and water in the correct temperature range.
- Dense rolls: Too much flour during mixing or overworking the dough can cause tight crumb. Keep extra flour minimal and stop kneading when the dough is smooth and cohesive.
- Pale tops after baking: Make sure you brush with the melted butter before baking; it promotes browning. If you skipped the butter, brush immediately after and return to the oven for 1–2 minutes if needed.
- Uneven rise: If one roll puffs more than the others, check that pieces were divided evenly and rolled tightly. Consistent shaping yields consistent rises.
Storing Tips & Timelines
These rolls are best the day they are baked. If you need to store:
- Room temperature (short-term): Keep in an airtight container or sealed plastic bag for up to 24 hours; they stay soft.
- Refrigeration: Refrigeration dries bread. If you must, wrap tightly and refrigerate up to 3 days, then refresh in a 350°F oven for 5–7 minutes before serving.
- Freezing: Cool completely, then freeze in an airtight bag for up to 3 months. Thaw at room temperature and warm at 350°F for 8–10 minutes to revive softness.
Quick Q&A
Q: Can I make these ahead? A: You can prepare the dough and refrigerate it after shaping for a slower overnight proof. However, the timing in the original method relies on short room-temperature rests, so refrigeration will require an extended rise and different handling.
Q: Can I use instant yeast? A: Yes. Instant yeast can be used; mix it with the flour instead of blooming in the water. You might see a slightly different timing for the froth stage, but the rest of the method holds.
Q: Will the rolls be sweet? A: No. The 2 tablespoons of granulated sugar are minimal—just enough to feed the yeast and assist browning. These are savory dinner rolls by nature.
Q: Can I double the recipe? A: Yes. Use two 9×13 pans or a larger baking surface and keep the same process. Ensure even spacing so the rolls rise into each other properly.
See You at the Table
These 45-minute dinner rolls are a practical, dependable solution when you want fresh bread without the wait. Keep your thermometer handy, measure the flour, and follow the short rests. You’ll get a warm pan of soft rolls that complement any weeknight meal.
Make them once and you’ll see where to tighten the shaping and where to experiment with finishes. Let me know how you finish them—garlic butter, Parmesan, or straight-from-the-oven plain are all winners. Enjoy.
45 Minute Quick Dinner Rolls
Ingredients
Equipment
Method
- Preheat oven to 400°F (200°C). Spray a 9×13-inch baking dish with nonstick cooking spray or lightly oil it.
- In the bowl of a stand mixer fitted with the dough hook, combine 1 cup (237 ml) warm water (100–110°F — see ingredient note), 1/3 cup (79 ml) olive oil, 2 tablespoons (25 g) granulated sugar, and 2 tablespoons (17 g) active dry yeast. Stir briefly to combine.
- Let the mixture rest, uncovered, for 15 minutes until very frothy.
- Add 1/2 teaspoon salt and 3 cups (372 g) all-purpose flour to the mixer. Start the mixer on low (or “stir”) for a few seconds until the flour begins to incorporate, then increase to medium speed until the dough comes together into a ball and mostly pulls away from the sides of the bowl (about 1–2 minutes). If the dough is too sticky, add 1 tablespoon of flour at a time, up to 2 tablespoons.
- Turn the dough out onto a lightly floured cutting board and knead lightly by hand just until the dough is smooth and cohesive (about 30 seconds).
- Divide the dough into 12 equal pieces. Roll each piece into a tight ball and place the 12 rolls in the prepared 9×13-inch pan, spaced evenly.
- Cover the pan loosely with a clean kitchen towel or plastic wrap and let the rolls rest at room temperature for 10 minutes, until slightly puffed.
- Brush the tops of the rolls with 1 tablespoon (14 g) melted unsalted butter.
- Bake in the preheated 400°F oven for about 10 minutes, until the tops are golden. Remove from the oven and serve.
Notes
It’s easiest to do this with astand mixer fitted with the dough hook– it will knead it all for you!If you don’t have a mixeryou can stir the dough until you can’t anymore (once it’s become a shaggy dough). Turn it out onto a lightly floured surface and knead until the dough comes together.
I love brushing the tops of my rolls with melted butter before baking.
You know dinner rolls are done when the tops of your rolls become golden.
Start making these rolls before the rest of your dinner, so you can cook while they rise.