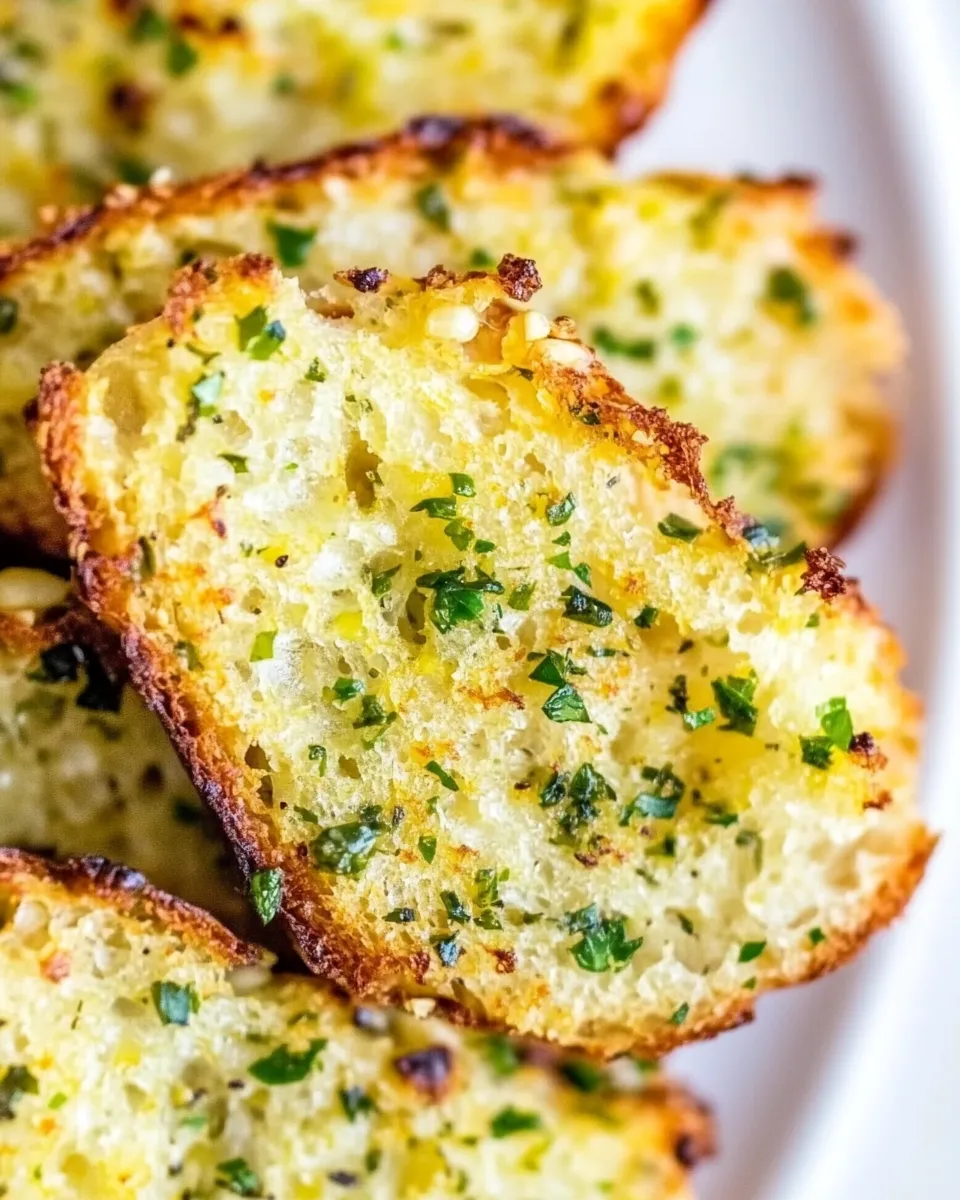
Air Fryer Garlic Bread
There’s something undeniably comforting about a warm, buttery slice of garlic bread, isn’t there? Especially when it’s made in an air fryer, which gives it that perfect crispy exterior while keeping the inside soft and delicious. Whether you’re pairing it with pasta, enjoying it alongside a soup, or just snacking on it by itself, Air Fryer Garlic Bread is a delightful treat that is sure to please everyone at your table. Plus, it’s quick and easy to whip up, making it a go-to recipe for any occasion.
Why It’s Crowd-Pleasing
Air Fryer Garlic Bread is the epitome of simplicity and flavor. Who can resist the allure of garlic and butter? This recipe transforms ordinary bread into something extraordinary in just a few minutes. The beauty of this dish lies in its versatility; it fits seamlessly into any meal scenario. Whether it’s a cozy family dinner or a lively gathering with friends, garlic bread has a way of bringing everyone together.
What Goes Into Air Fryer Garlic Bread
To create this mouthwatering dish, you’ll need just a handful of simple ingredients:
- 12 slices of baguette or bread of choice
- 3 tbsp softened butter
- 2 tbsp grated Parmesan cheese
- 1 tbsp fresh parsley, chopped
- 2 medium garlic cloves, minced
- 1/2 tsp sea salt
- 1/2 tsp red pepper flakes (optional, to taste)
This combination results in a flavor profile that’s rich, garlicky, and just a touch spicy if you choose to add the red pepper flakes.
What’s in the Gear List
Before you start cooking, make sure you have the right tools at your disposal:
- Air Fryer: The star of the show! Ensures even cooking and that coveted crispiness.
- Mixing Bowl: For combining all your flavorful ingredients.
- Butter Knife: To spread that delicious garlic butter mixture.
- Measuring Spoons: For precise ingredient measurements.
Having these tools ready will streamline your cooking process, letting you focus on the fun part—making your Air Fryer Garlic Bread!
Mastering Air Fryer Garlic Bread: How-To

Now, let’s dive into the step-by-step process of creating this scrumptious garlic bread.
Step 1: Prepare the Garlic Butter Mixture
In a mixing bowl, combine the softened butter, minced garlic, grated Parmesan cheese, chopped parsley, sea salt, and red pepper flakes. Mix everything together until it’s well combined. The aroma of garlic will fill your kitchen, and trust me, you’ll want to taste it!
Step 2: Spread the Mixture
Take your slices of baguette or whatever bread you’ve chosen, and generously spread the garlic butter mixture on one side of each slice. Make sure to cover the bread evenly so that every bite is bursting with flavor.
Step 3: Preheat the Air Fryer
Preheat your air fryer to 350°F (175°C). This step is crucial for achieving that perfect crispiness.
Step 4: Air Fry the Bread
Place the buttered slices of bread in the air fryer basket in a single layer. You may need to do this in batches depending on the size of your air fryer. Air fry for about 5-6 minutes, checking halfway through to ensure they don’t burn. You want them golden brown and crispy!
Step 5: Serve and Enjoy
Once done, carefully remove the garlic bread from the air fryer. Let it cool for just a minute, then serve it warm. Your guests will be lining up for seconds!
Variations by Season

Air Fryer Garlic Bread can be customized to suit the season or your personal taste preferences. Here are some delightful variations:
- Herbed Garlic Bread: Add dried oregano or basil for an herbaceous twist.
- Cheesy Garlic Bread: Top with extra mozzarella or cheddar cheese before air frying.
- Sun-Dried Tomato Garlic Bread: Mix in finely chopped sun-dried tomatoes for a Mediterranean flair.
- Pesto Garlic Bread: Substitute pesto for half of the butter for a fresh, vibrant flavor.
These variations will keep your garlic bread exciting and adaptable for any season or occasion!
What Not to Do
To ensure success with your Air Fryer Garlic Bread, keep these tips in mind:
- Don’t Overload the Air Fryer: Air needs to circulate for even cooking, so avoid stacking the bread.
- Don’t Skip the Butter: The butter is crucial for flavor and achieving that golden crisp.
- Don’t Rush the Process: Allow the garlic to infuse into the butter properly for the best flavor.
- Don’t Forget to Preheat: Skipping this step can result in uneven cooking.
Following these guidelines will help you create the most delicious Air Fryer Garlic Bread every time!
Storing, Freezing & Reheating
If you find yourself with leftover garlic bread (which is rare!), you can store it for later:
- Storing: Keep leftover garlic bread in an airtight container in the refrigerator for up to 3 days.
- Freezing: To freeze, wrap slices tightly in plastic wrap and place them in a freezer bag. They will last up to 3 months.
- Reheating: Reheat in the air fryer at 350°F (175°C) for about 3-4 minutes, or until warm and crispy again.
This way, you can enjoy your Air Fryer Garlic Bread on multiple occasions without compromising on taste!
Quick Q&A
Can I use frozen garlic bread in the air fryer?
Yes! Just follow the same cooking time as fresh bread, checking for doneness to avoid burning.
What type of bread works best for garlic bread?
Baguette, French bread, or Italian bread are all excellent choices due to their sturdy texture and ability to hold the garlic butter.
Can I make this recipe vegan?
Absolutely! Substitute the butter with a plant-based alternative and use vegan Parmesan cheese to keep it dairy-free.
How can I adjust the garlic flavor?
If you love garlic, feel free to increase the amount of minced garlic. You can also add garlic powder for an extra kick!
If you enjoyed this Air Fryer Garlic Bread, here are some other recipes you might love:
That’s a Wrap
Air Fryer Garlic Bread is not just a side dish; it’s a star player in the culinary world. Its crispy edges and savory garlic flavor make it an irresistible addition to any meal. With just a few simple ingredients and steps, you can create a dish that is sure to impress family and friends alike. So the next time you’re in need of a quick and delicious appetizer or side, remember this recipe. Your taste buds will thank you!

Air Fryer Garlic Bread
Ingredients
Equipment
Method
- In a mixing bowl, combine the softened butter, minced garlic, grated Parmesan cheese, chopped parsley, sea salt, and red pepper flakes. Mix everything together until it’s well combined.
- Take your slices of baguette or whatever bread you've chosen, and generously spread the garlic butter mixture on one side of each slice.
- Preheat your air fryer to 350°F (175°C).
- Place the buttered slices of bread in the air fryer basket in a single layer. Air fry for about 5-6 minutes, checking halfway through.
- Once done, carefully remove the garlic bread from the air fryer and serve it warm.
Notes
- Store leftover garlic bread in an airtight container in the refrigerator for up to 3 days.
- To freeze, wrap slices tightly in plastic wrap and place in a freezer bag for up to 3 months.
- Reheat in the air fryer at 350°F (175°C) for about 3-4 minutes or until warm and crispy.