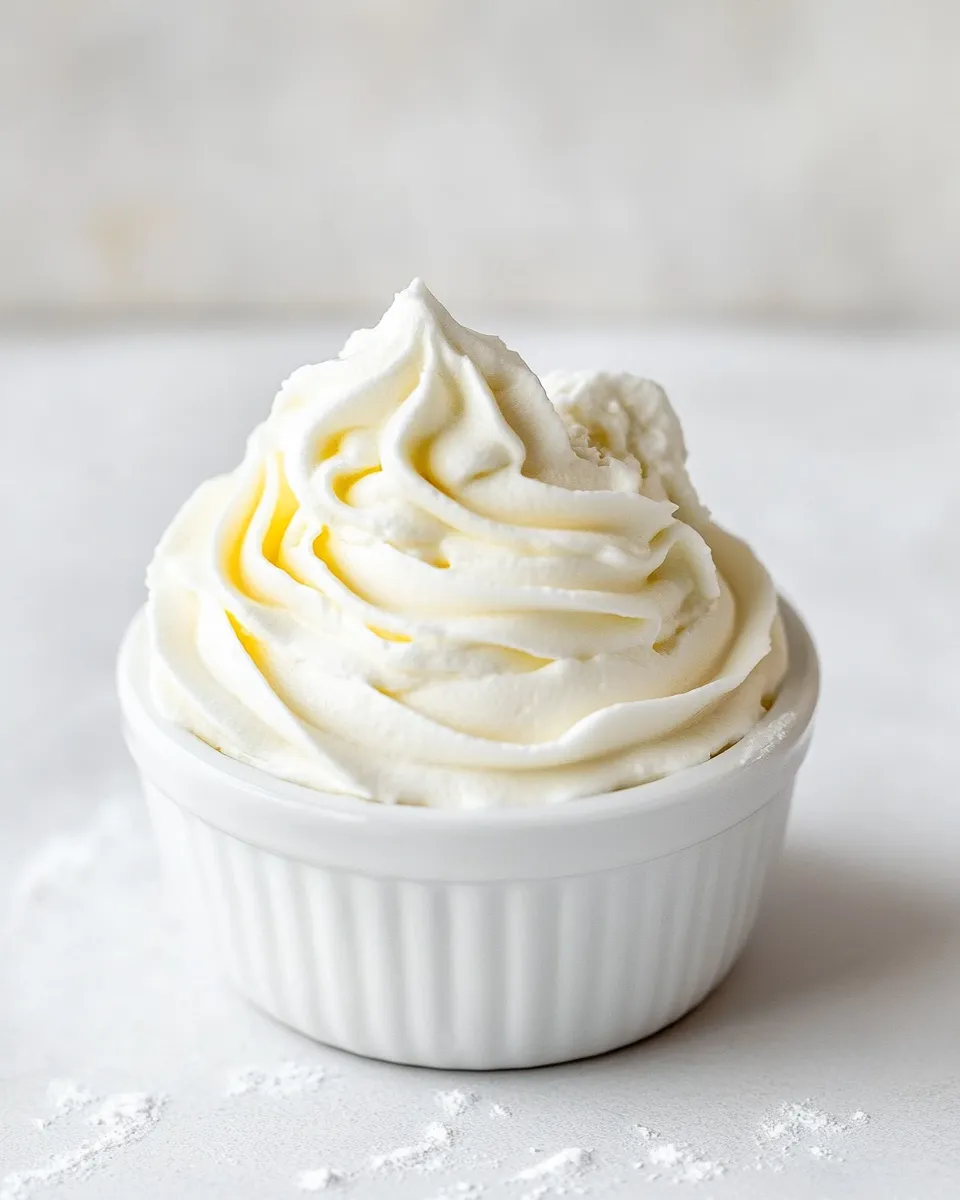
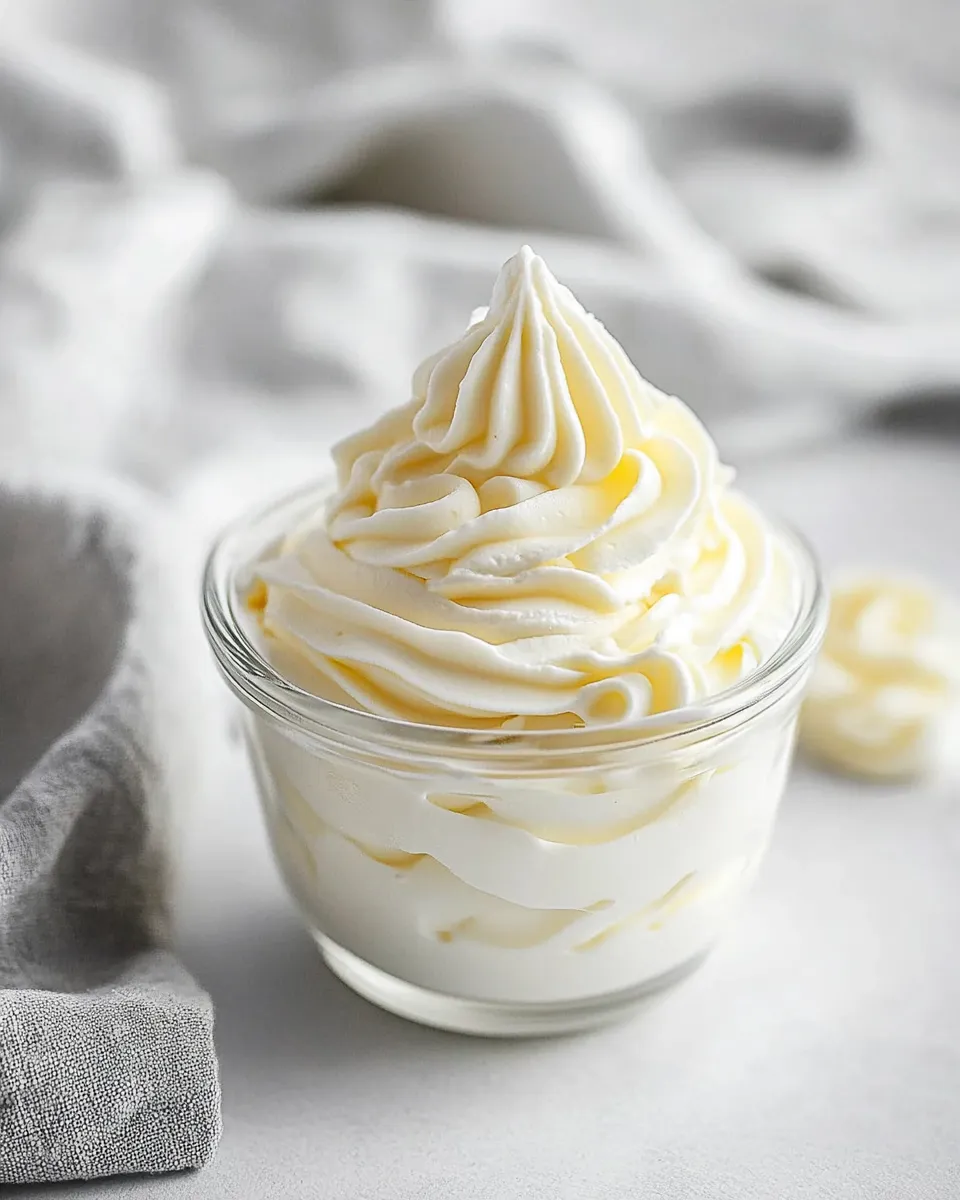
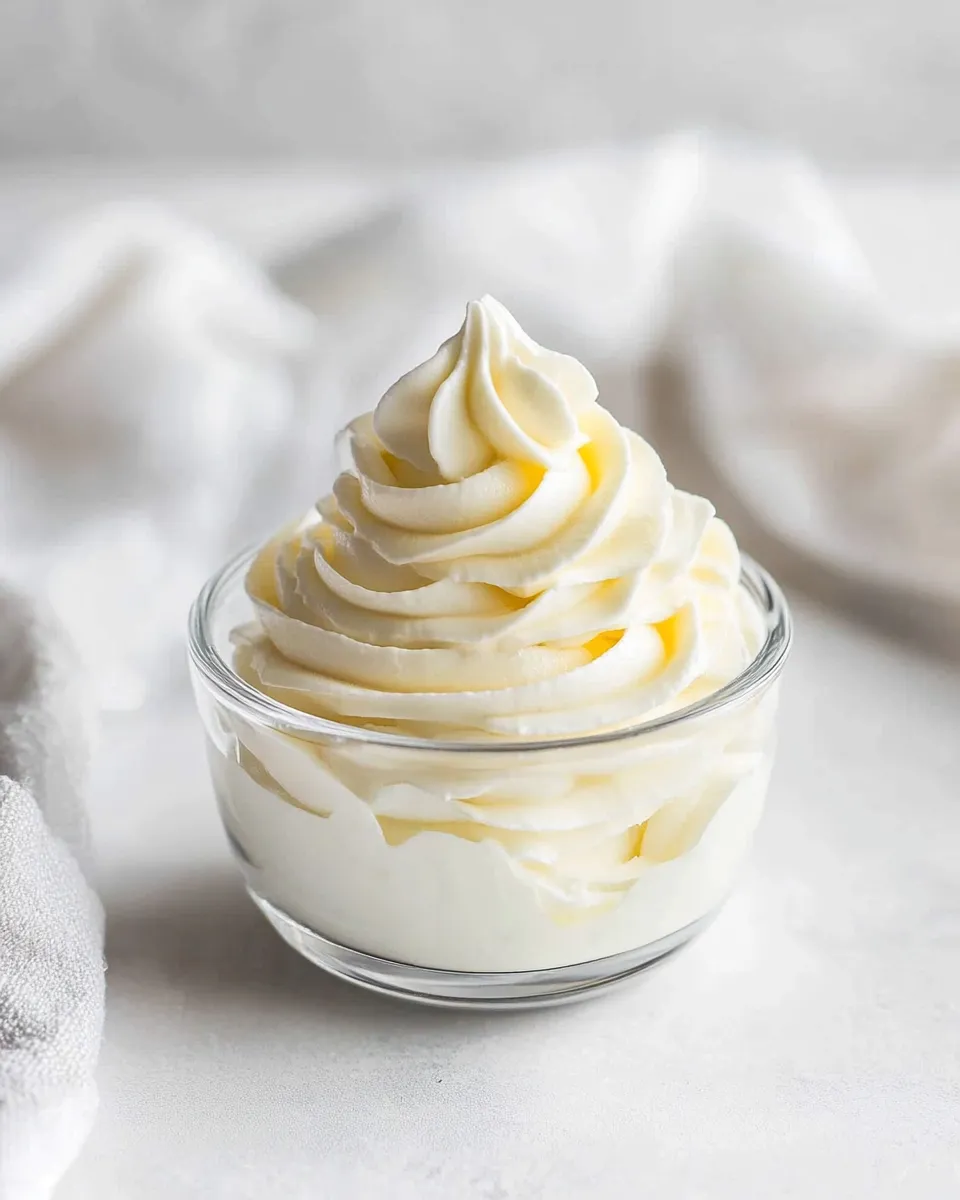
Stabilized Whipped Cream
If you’ve ever struggled with whipped cream that loses its fluffiness or turns into a sad, soupy mess, you’re not alone. Enter Stabilized Whipped Cream, the hero of desserts everywhere! This luscious topping not only holds its shape beautifully but also adds a delightful sweetness and rich flavor to your favorite treats. Whether you’re adorning a slice of pie, enhancing a cake, or simply enjoying it with fresh fruit, this recipe will become your go-to for whipped cream perfection.
Why It Deserves a Spot

Stabilized whipped cream is a game-changer for dessert lovers. Unlike regular whipped cream, which can deflate after just a few hours, stabilized whipped cream maintains its form, making it ideal for parties, potlucks, or any occasion where you want to impress. The addition of instant vanilla pudding powder helps to create a creamy texture that holds up beautifully over time. Plus, it’s incredibly versatile, so you can use it in a variety of desserts—from fluffy frostings to heavenly toppings. Trust me, once you try this recipe, you’ll wonder how you ever lived without it!
Ingredient Checklist
To make your own Stabilized Whipped Cream, gather the following ingredients:
- 1 cup heavy whipping cream, chilled
- 2 tablespoons instant vanilla pudding powder
- 2-3 tablespoons powdered sugar, if desired for sweetness
These simple ingredients come together to create a deliciously rich and stable whipped cream that can elevate any dessert.
Equipment at a Glance
Before diving into the recipe, make sure you have the following equipment handy:
- Mixing bowl: A medium-sized bowl works best for whipping cream.
- Electric mixer: A hand mixer or stand mixer will speed up the process.
- Spatula: Use this to gently fold in ingredients if necessary.
- Measuring cups and spoons: For precise measurements of your ingredients.
With these tools, you’ll be well on your way to creating your own perfect whipped cream.
Stabilized Whipped Cream: How It’s Done
Making Stabilized Whipped Cream is as easy as 1-2-3! Just follow these simple steps:
Step 1: Chill Your Equipment
To ensure the best whipped cream, start by chilling your mixing bowl and beaters in the fridge for about 10 minutes. Cold equipment helps the cream whip up quickly and retain its structure.
Step 2: Combine Dry Ingredients
In your chilled mixing bowl, combine the instant vanilla pudding powder and powdered sugar. If you prefer a sweeter cream, opt for the higher amount of powdered sugar. Whisk them together briefly to ensure they’re well mixed.
Step 3: Add Heavy Cream
Pour the chilled heavy whipping cream into the bowl with the dry ingredients.
Step 4: Whip Until Stiff Peaks Form
Using your electric mixer, beat the mixture on medium speed until soft peaks begin to form. This usually takes about 2-3 minutes. Then, increase the speed to high and continue whipping until stiff peaks form. Be careful not to overwhip, as the cream can become grainy.
Step 5: Taste and Adjust
Taste your stabilized whipped cream and adjust the sweetness if necessary by adding more powdered sugar. Gently fold it in with a spatula until evenly incorporated.
Step 6: Serve and Store
Your Stabilized Whipped Cream is now ready to be used! You can serve it immediately or store it in the refrigerator for up to 3-5 days. Just give it a quick whip before serving if it has been stored.
Vegan & Vegetarian Swaps
If you’re looking for vegan or vegetarian options, you can easily adapt this recipe:
- Coconut cream
- Plant-based pudding mix: Make sure to choose a vegan instant pudding mix when using coconut cream.
- Powdered sugar: Check that the powdered sugar is free from bone char for a fully vegan option.
These swaps will keep your whipped cream creamy and delicious while accommodating different dietary preferences.
Mistakes That Ruin Stabilized Whipped Cream
Even the best chefs make mistakes, and whipped cream is no exception! Here are a few common pitfalls to avoid:
- Using warm ingredients: Always start with chilled heavy cream and cold equipment to achieve the best volume and stability.
- Overwhipping: While you want stiff peaks, overwhipping can lead to a grainy texture or even butter. Stop whipping as soon as stiff peaks form.
- Skipping the pudding: The instant pudding powder is essential for stabilization. Don’t omit it or substitute it with other ingredients.
- Not tasting: Always taste your whipped cream before serving to ensure it’s sweet enough for your liking! Adjust if necessary.
Avoiding these mistakes will help you achieve perfect Stabilized Whipped Cream every time.
Leftovers & Meal Prep
If you find yourself with leftover Stabilized Whipped Cream, don’t worry! Here’s how to handle it:
Store any leftovers in an airtight container in the refrigerator for up to 3-5 days. Give it a gentle whip before using it again, as it may deflate slightly. This whipped cream is perfect for adding to coffee, topping pancakes, or using it in fruit salads.
- Meal prep: You can prepare this whipped cream a day in advance. Just make sure to keep it stored properly in the fridge.
- Freezing: While it’s best fresh, you can freeze stabilized whipped cream in dollops on a parchment-lined baking sheet. Once frozen, transfer to an airtight container for later use.
This way, you can always have a delicious topping ready at a moment’s notice!
Common Questions
Can I use regular sugar instead of powdered sugar?
While you can use regular sugar, powdered sugar dissolves more easily and creates a smoother texture in whipped cream. It’s best to stick with powdered sugar for the best results.
How long will stabilized whipped cream last?
Stabilized whipped cream can last in the refrigerator for about 3-5 days when stored properly in an airtight container. Just give it a quick whip before serving!
Can I flavor my stabilized whipped cream?
Absolutely! You can add extracts like almond or peppermint, cocoa powder for a chocolate version, or even a splash of coffee for a mocha flavor. Just be mindful of the total liquid you add to maintain stability.
Is this recipe suitable for frosting cakes?
Yes! Stabilized Whipped Cream works beautifully as a frosting for cakes, especially layered cakes. It holds its shape well and is a great alternative to traditional buttercream.
You Might Also Like
If you love this recipe, you might also enjoy:
Bring It to the Table
Now that you have the perfect recipe for Stabilized Whipped Cream, it’s time to bring it to the table! Whether you’re topping a decadent dessert, serving it with fresh berries, or using it as a cake frosting, this whipped cream is sure to impress. Its stability means you can prepare it ahead of time, leaving you free to enjoy the occasion with your friends and family.
Indulge in the creamy goodness of Stabilized Whipped Cream, and watch how it transforms your desserts into unforgettable culinary experiences. Happy whipping!
Stabilized Whipped Cream
Ingredients
Equipment
Method
- Chill your mixing bowl and beaters in the fridge for about 10 minutes.
- In your chilled mixing bowl, combine the instant vanilla pudding powder and powdered sugar. Whisk them together briefly.
- Pour the chilled heavy whipping cream into the bowl with the dry ingredients.
- Using your electric mixer, beat the mixture on medium speed until soft peaks form, then increase to high until stiff peaks form.
- Taste and adjust sweetness with more powdered sugar if needed.
- Serve immediately or store in the refrigerator for up to 3-5 days.
Notes
- Store leftovers in an airtight container in the fridge for up to 3-5 days.
- For vegan options, use coconut cream and plant-based pudding mix.
- Avoid overwhipping to maintain a smooth texture.