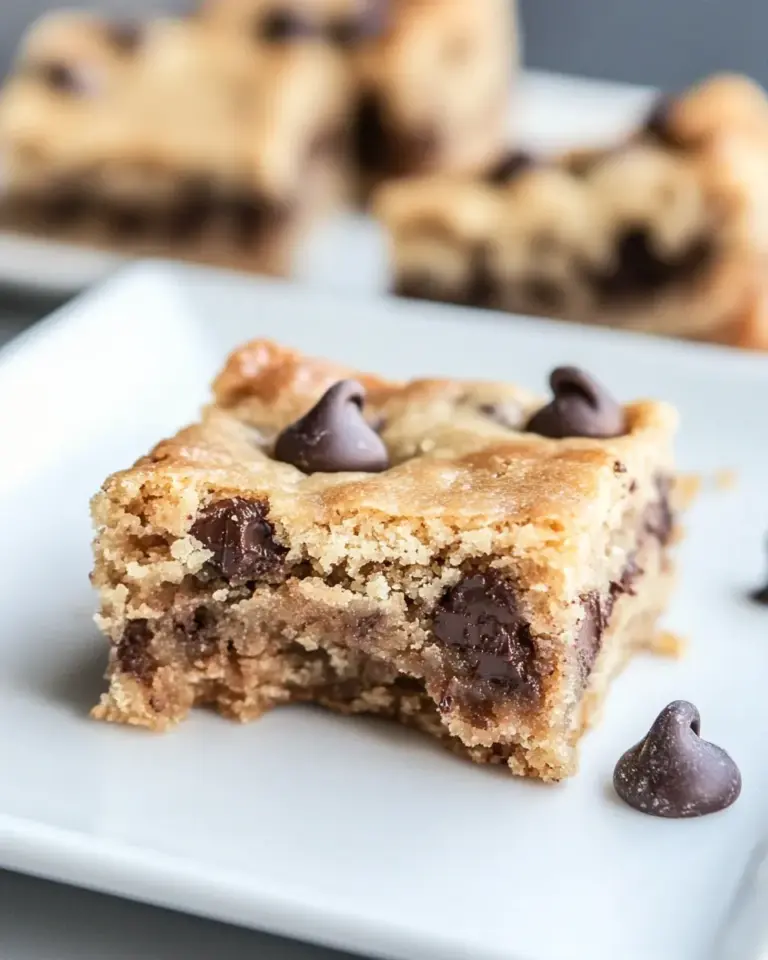
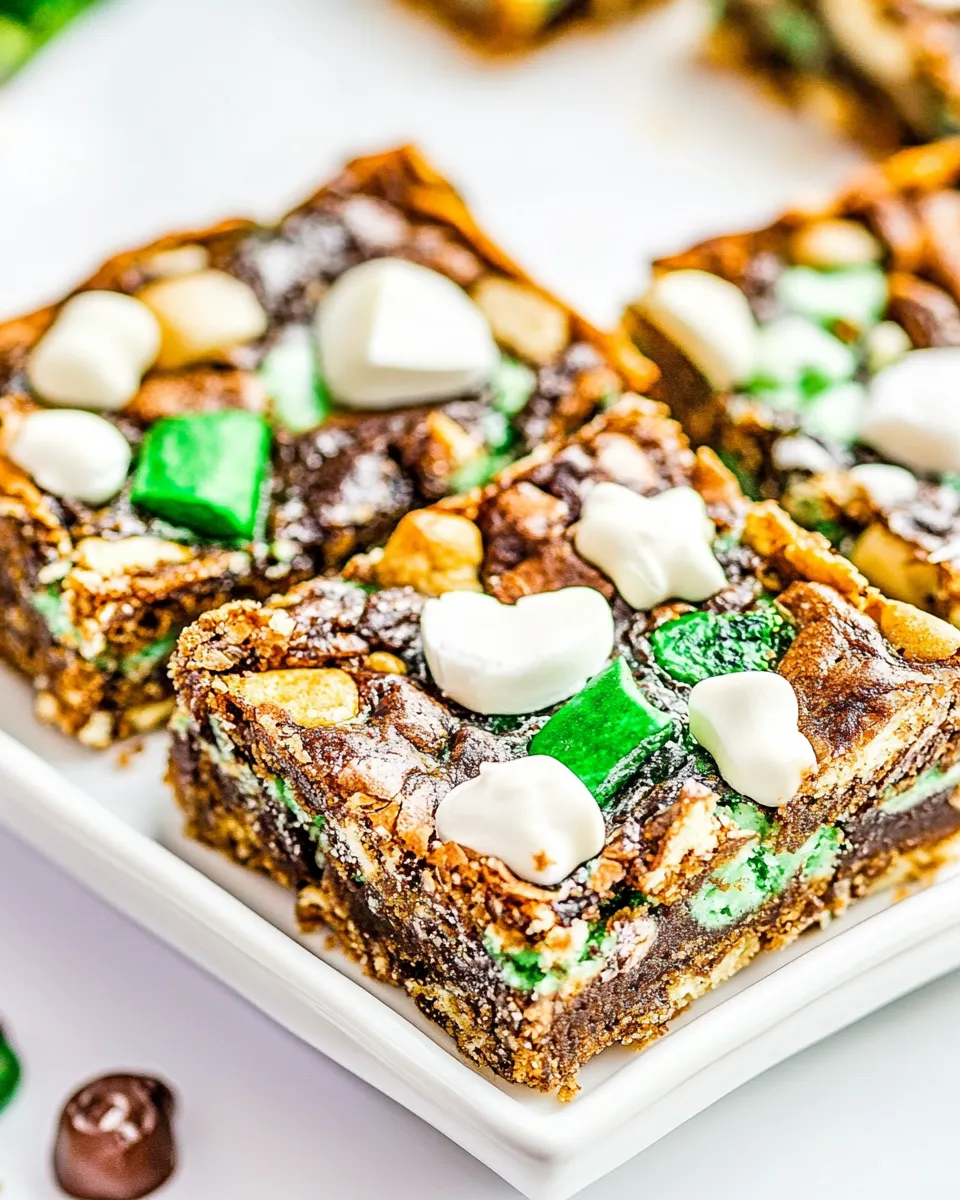
Mint Magic Bars
If you’re on the hunt for a dessert that combines the richness of chocolate with the refreshing twist of mint, then look no further! These Mint Magic Bars are the perfect treat to satisfy your sweet tooth and impress your family and friends. This recipe is a delightful blend of textures and flavors, featuring a luscious cookie base topped with creamy layers of chocolate and mint. Perfect for any occasion, these bars will have everyone reaching for seconds!
Reasons to Love Mint Magic Bars
There are countless reasons to adore these Mint Magic Bars. Here are just a few:
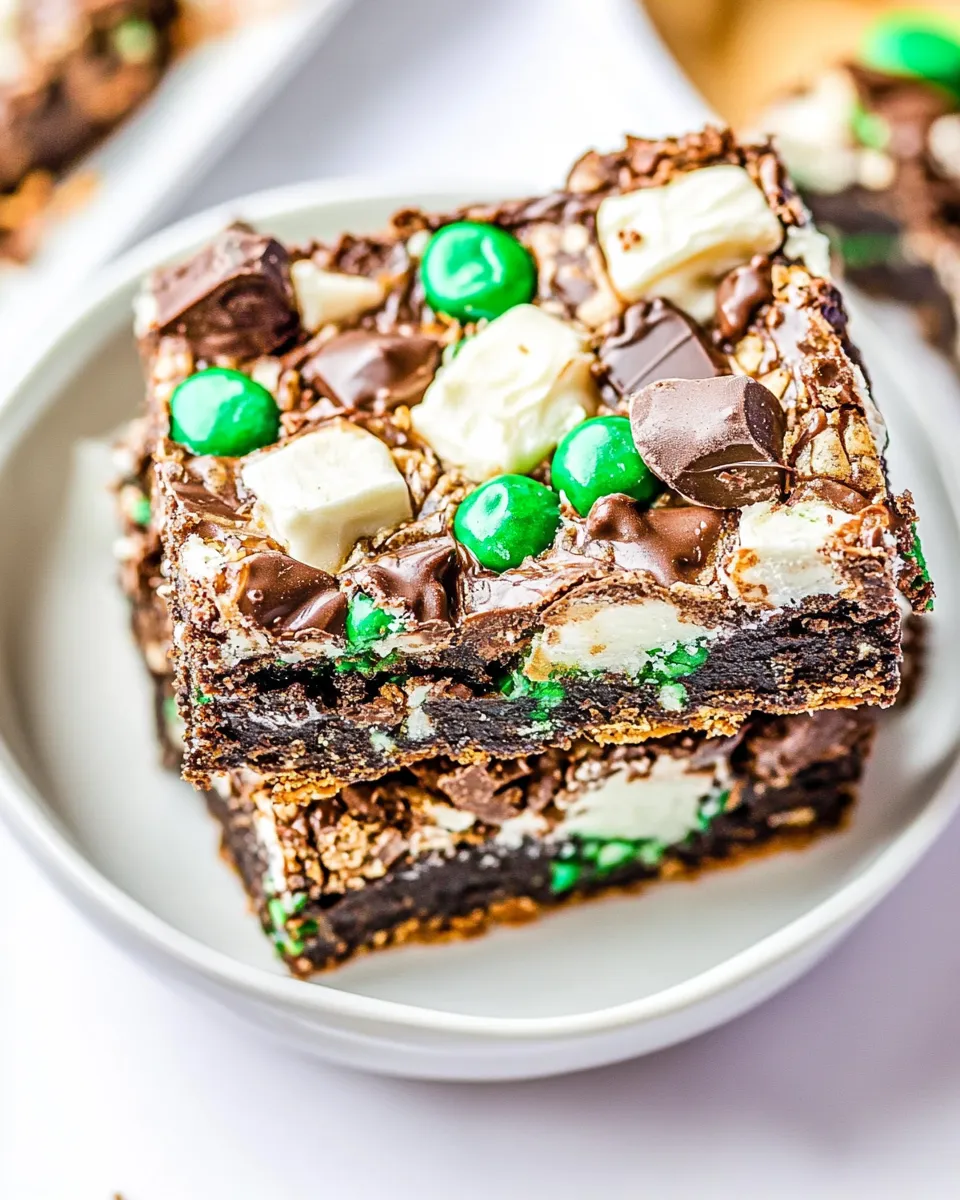
- Decadent Flavor: The combination of chocolate chip cookie dough, mint Oreos, and Andes mints creates a flavor explosion that you won’t forget.
- Easy to Make: With straightforward steps and minimal prep time, these bars are perfect for bakers of all skill levels.
- Versatile Treat: Whether you’re hosting a party, celebrating a holiday, or just indulging yourself, these bars fit any occasion.
- Make Ahead: These bars can easily be prepared in advance, making them a great option for busy days.
- Kid-Friendly: With their fun minty flavor and chocolatey goodness, kids will absolutely love them!
Gather These Ingredients
To create these delightful Mint Magic Bars, you will need the following ingredients:
- 16 ounces refrigerated chocolate chip cookie dough: This will serve as the delicious base for your bars.
- 16 Mint Oreos, divided and coarsely chopped: These add a delightful crunch and minty flavor.
- 1 cup chocolate chunks, divided: Rich chocolate chunks will enhance the overall chocolaty goodness.
- 14 Andes Mints, coarsely chopped: These provide an extra burst of mint flavor.
- 14 ounces sweetened condensed milk: This creates a creamy texture that ties everything together.
- 10 Ghirardelli Mint Chocolates: For drizzling and added decadence.
- 1 cup white chocolate chips: These add a nice contrast to the dark chocolate and mint flavors.
Tools of the Trade
Before you start baking, gather the necessary tools:
- 9×13 inch baking pan: This will be the home for your Mint Magic Bars.
- Parchment paper: To line the baking pan for easy removal.
- Mixing bowls: For combining ingredients smoothly.
- Spatula: For spreading the cookie dough evenly.
- Oven mitts: Safety first when handling hot pans!
- Measuring cups and spoons: To ensure accurate measurements.
From Start to Finish: Mint Magic Bars
Follow these steps to create your Mint Magic Bars:
Step 1: Preheat Your Oven
Begin by preheating your oven to 350°F (175°C). This ensures your bars bake evenly and achieve that perfect golden color.
Step 2: Prepare the Baking Pan
Line your 9×13 inch baking pan with parchment paper. Leave some overhang to easily lift the bars out once they are cooled.
Step 3: Press the Cookie Dough
Take your refrigerated chocolate chip cookie dough and press it evenly into the bottom of the prepared baking pan. Use your fingers or a spatula to make sure it covers the entire base.
Step 4: Add the Mint Oreos
Sprinkle half of the coarsely chopped Mint Oreos over the cookie dough layer. This will give your bars a delightful crunch.
Step 5: Layer the Chocolate Chunks
Next, sprinkle half of the chocolate chunks over the Oreos, followed by the chopped Andes mints.
Step 6: Pour on the Sweetened Condensed Milk
Drizzle the sweetened condensed milk evenly over the entire pan. This will help bind all the layers together and add creaminess.
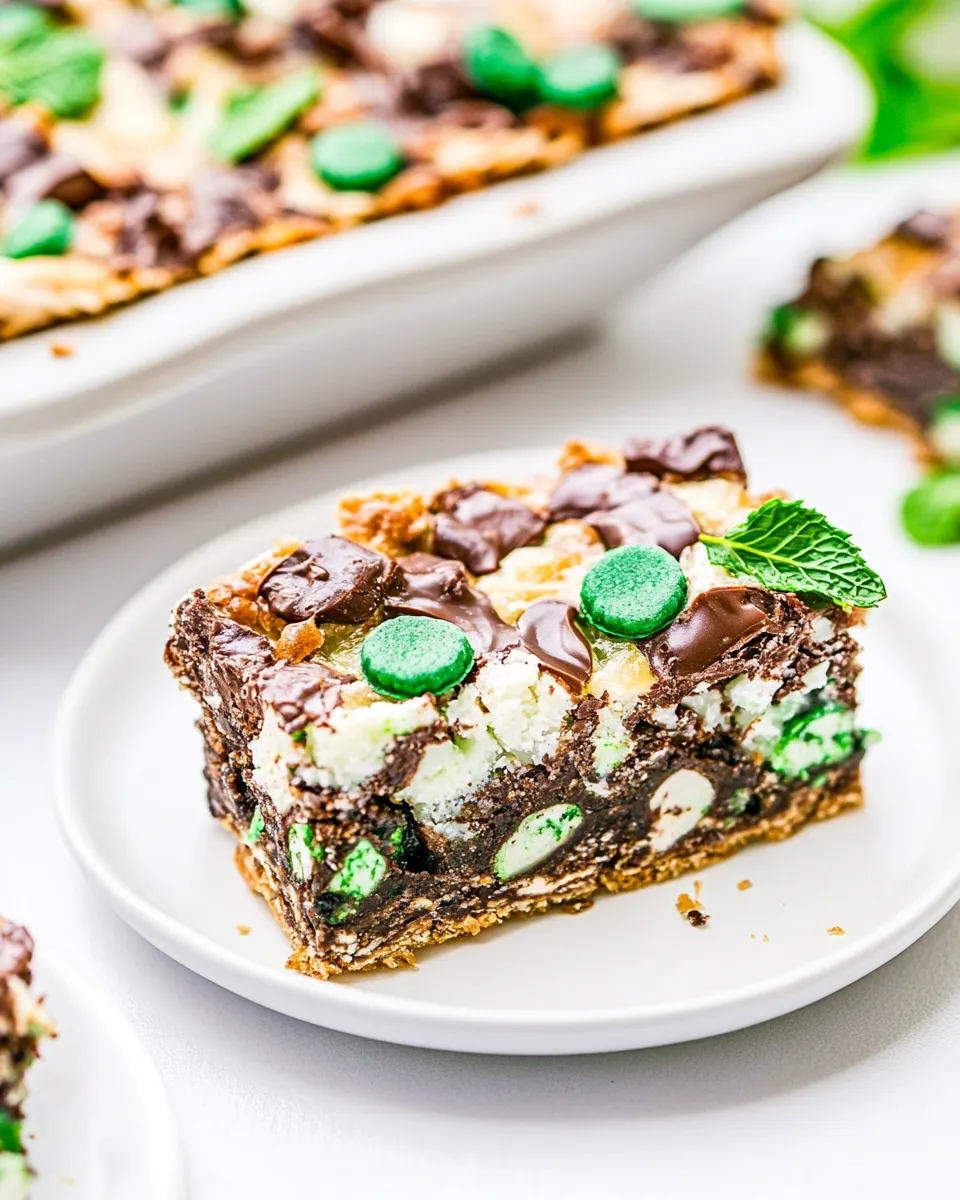
Step 7: Finish with More Chocolate and Oreos
Top the bars with the remaining chocolate chunks, chopped Mint Oreos, and Ghirardelli Mint Chocolates. Make sure to distribute them evenly for a balanced flavor in every bite.
Step 8: Bake to Perfection
Place the pan in the preheated oven and bake for 25-30 minutes or until the edges are golden brown. Keep an eye on them to avoid over-baking.
Step 9: Cool and Cut
Once baked, remove the pan from the oven and let it cool completely on a wire rack. Once cool, lift the bars out using the parchment overhang and cut them into squares.
Step 10: Drizzle with White Chocolate
Melt the white chocolate chips in a microwave-safe bowl, then drizzle over the cooled Mint Magic Bars for a beautiful finish.
Seasonal Spins
These Mint Magic Bars are fantastic as is, but you can also adapt them for different seasons or occasions:
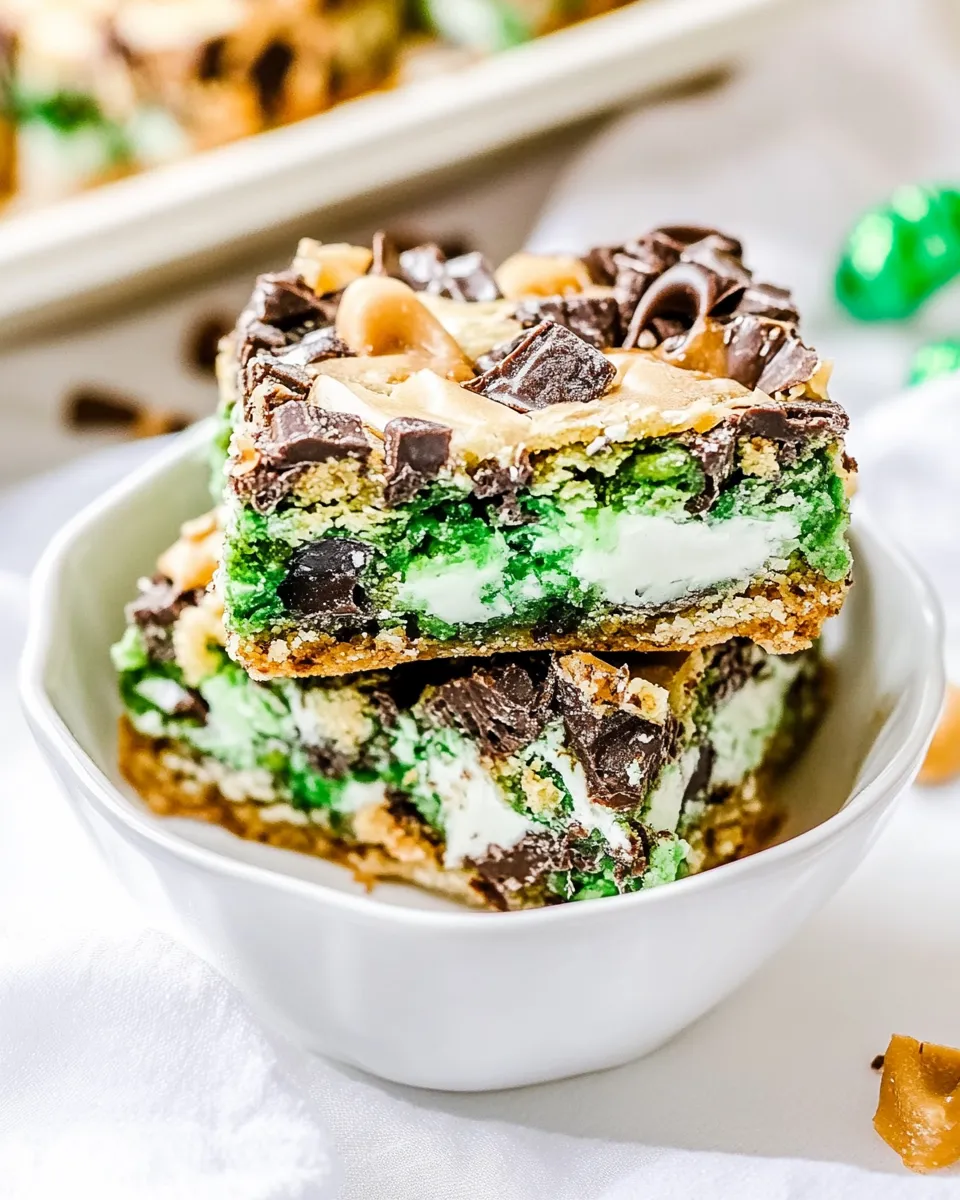
- St. Patrick’s Day: Add green food coloring to the white chocolate drizzle.
- Christmas: Include crushed candy canes on top for an extra festive touch.
- Birthdays: Customize with sprinkles in the birthday person’s favorite colors.
- Summer: Add a layer of fresh mint leaves for a refreshing twist.
Mistakes That Ruin Mint Magic Bars
To ensure your Mint Magic Bars turn out perfect, avoid these common mistakes:
- Overbaking: Keep an eye on the bars as they bake to prevent them from becoming dry.
- Not cooling completely: Cutting the bars too soon can lead to messy slices.
- Skipping the parchment paper: This can make it difficult to remove the bars from the pan without breaking them.
- Using regular Oreos: Stick to Mint Oreos for that essential mint flavor.
Cooling, Storing & Rewarming
To keep your Mint Magic Bars fresh and delicious, follow these tips:
Allow the bars to cool completely before storing. Cut into squares and store in an airtight container at room temperature for up to a week. If you need to keep them longer, you can refrigerate them for up to two weeks. To rewarm, simply microwave for a few seconds to achieve that warm, gooey texture once again.
Handy Q&A
Can I make these Mint Magic Bars gluten-free?
Yes! You can substitute the refrigerated chocolate chip cookie dough with a gluten-free version. Just be sure your Oreos and other ingredients are also gluten-free.
What can I use instead of sweetened condensed milk?
For a dairy-free alternative, you can use coconut cream or a homemade mixture of coconut milk and sugar to mimic the texture and sweetness of sweetened condensed milk.
Can I freeze Mint Magic Bars?
Absolutely! These bars freeze well. Wrap them tightly in plastic wrap and place them in an airtight container. They can be frozen for up to three months. Thaw in the refrigerator before serving.
How do I know when the bars are done baking?
The edges should be golden brown and the center should be set but slightly soft. A toothpick inserted in the center should come out with a few moist crumbs.
More Recipes You’ll Love
If you enjoyed these Mint Magic Bars, you’ll love these delicious recipes too:
- Classic Chocolate Chip Cookies
- Vegan Chocolate Chip Cookies
- 10-Minute Chocolate Chip Cookies
- Easy Brownies
The Last Word
Mint Magic Bars are the ultimate combination of rich, chocolatey goodness with a refreshing mint twist. Whether you’re making them for a special occasion or just to satisfy your sweet tooth, these bars are sure to be a hit. With their easy preparation and delightful flavors, they’re bound to become a favorite in your recipe repertoire. Don’t forget to share them with friends and family—if you can resist keeping them all to yourself! Happy baking!
Mint Magic Bars
Ingredients
Equipment
Method
- Step 1: Preheat your oven to 350°F (175°C).
- Step 2: Line your 9x13 inch baking pan with parchment paper.
- Step 3: Press the refrigerated chocolate chip cookie dough evenly into the bottom of the prepared baking pan.
- Step 4: Sprinkle half of the coarsely chopped Mint Oreos over the cookie dough layer.
- Step 5: Sprinkle half of the chocolate chunks over the Oreos, followed by the chopped Andes mints.
- Step 6: Drizzle the sweetened condensed milk evenly over the entire pan.
- Step 7: Top the bars with the remaining chocolate chunks, chopped Mint Oreos, and Ghirardelli Mint Chocolates.
- Step 8: Place the pan in the preheated oven and bake for 25-30 minutes or until the edges are golden brown.
- Step 9: Let the bars cool completely on a wire rack before cutting into squares.
- Step 10: Melt the white chocolate chips and drizzle over the cooled Mint Magic Bars.
Notes
- Allow the bars to cool completely before cutting for clean slices.
- Store in an airtight container at room temperature for up to a week.
- These bars freeze well; wrap tightly and freeze for up to three months.