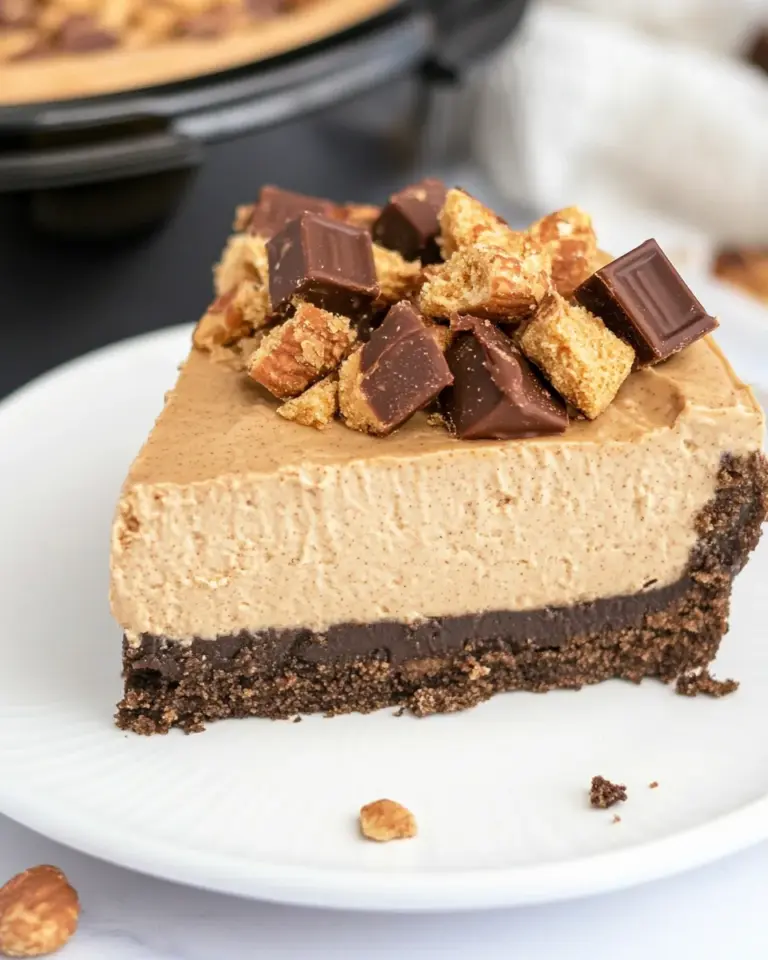
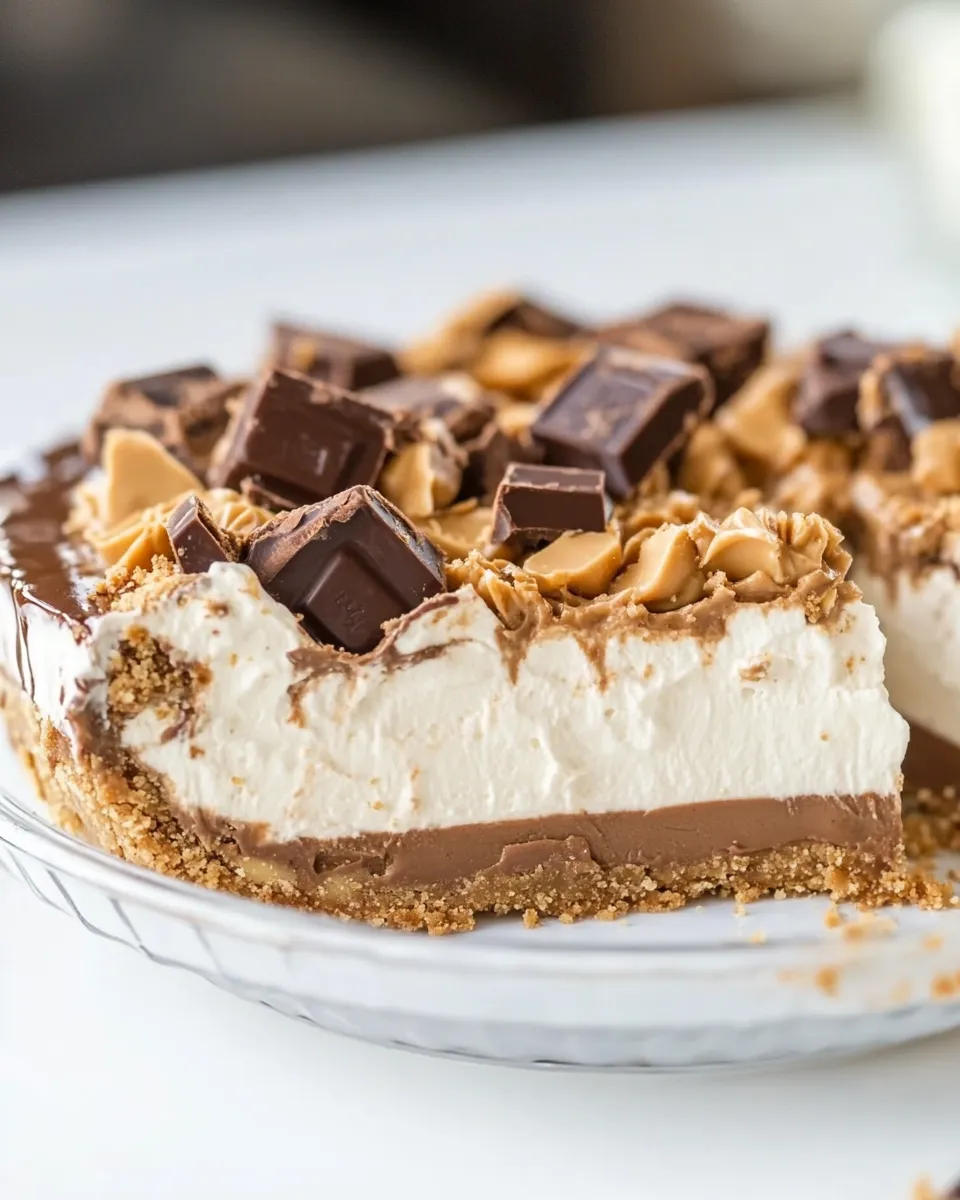
No-Bake Chocolate Peanut Butter Pie
Indulging in a slice of No-Bake Chocolate Peanut Butter Pie is like diving into a world of creamy decadence and rich flavors, without the hassle of turning on your oven. This dessert is perfect for any occasion, whether it’s a summer gathering, a holiday feast, or just a night in with your favorite movie. The combination of smooth peanut butter and luscious chocolate whipped together creates a dreamy filling that’s both satisfying and irresistible. And the best part? It comes together in a snap!
What Sets This Recipe Apart
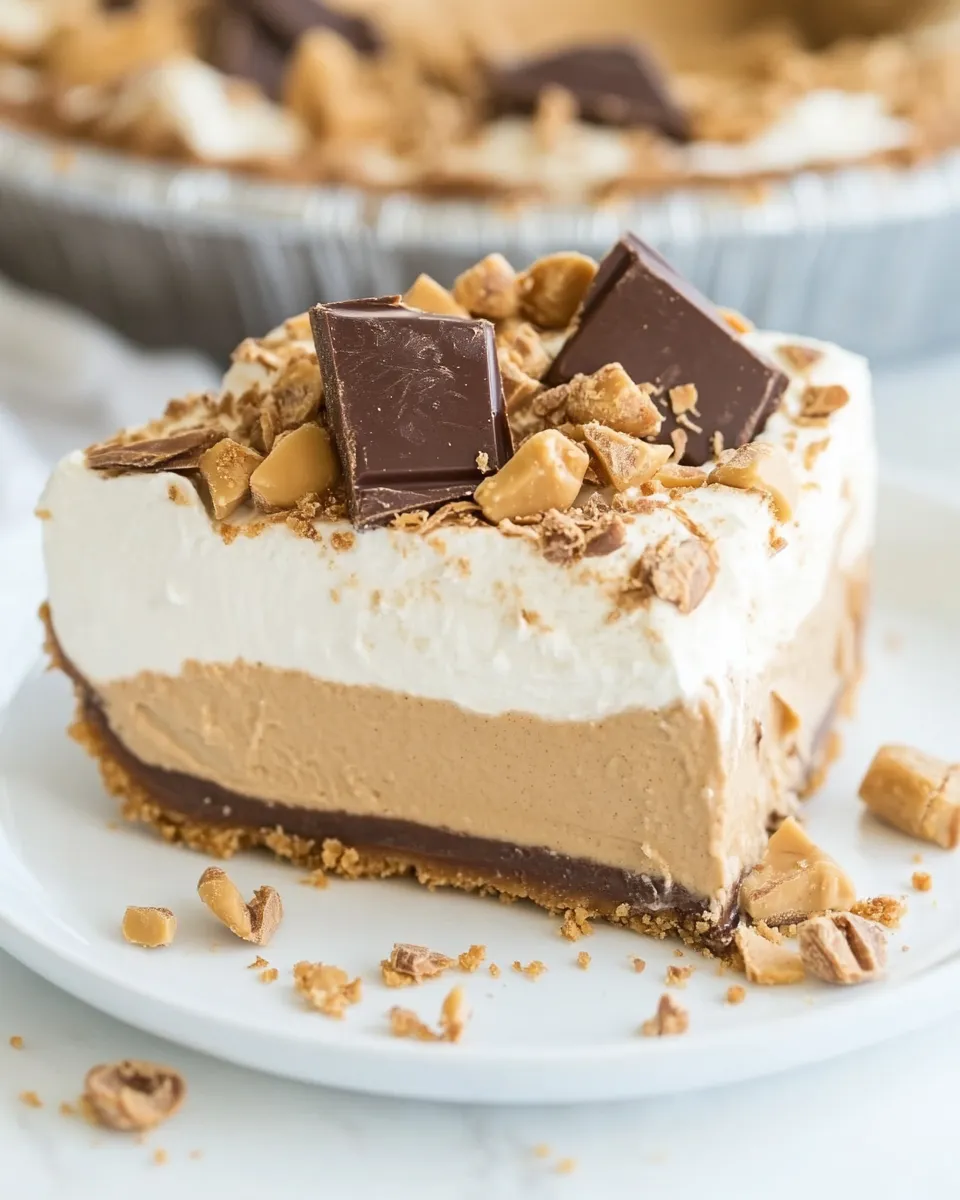
This No-Bake Chocolate Peanut Butter Pie stands out for its simplicity and flavor. The creamy texture from the cream cheese and Cool Whip contrasts beautifully with the crunchy chocolate crust, making each bite a delightful experience. Plus, there’s no baking involved! This pie is easy enough for even novice bakers to master, yet it’s elegant enough to impress your guests. It’s a straightforward recipe that can be made ahead of time, allowing the flavors to meld together beautifully.
What We’re Using
- 1 cup peanut butter – The star ingredient that provides that rich, nutty flavor.
- 4 ounces cream cheese – Adds creaminess and depth to the filling.
- 1 cup powdered sugar – Sweetens the pie perfectly without being overly sugary.
- 1/4 cup milk – Helps to achieve a smooth consistency in the filling.
- 1 premade chocolate crust – Saves time and enhances the chocolate flavor.
- 8 ounces Cool Whip – Provides that light, airy texture that makes this pie so delightful.
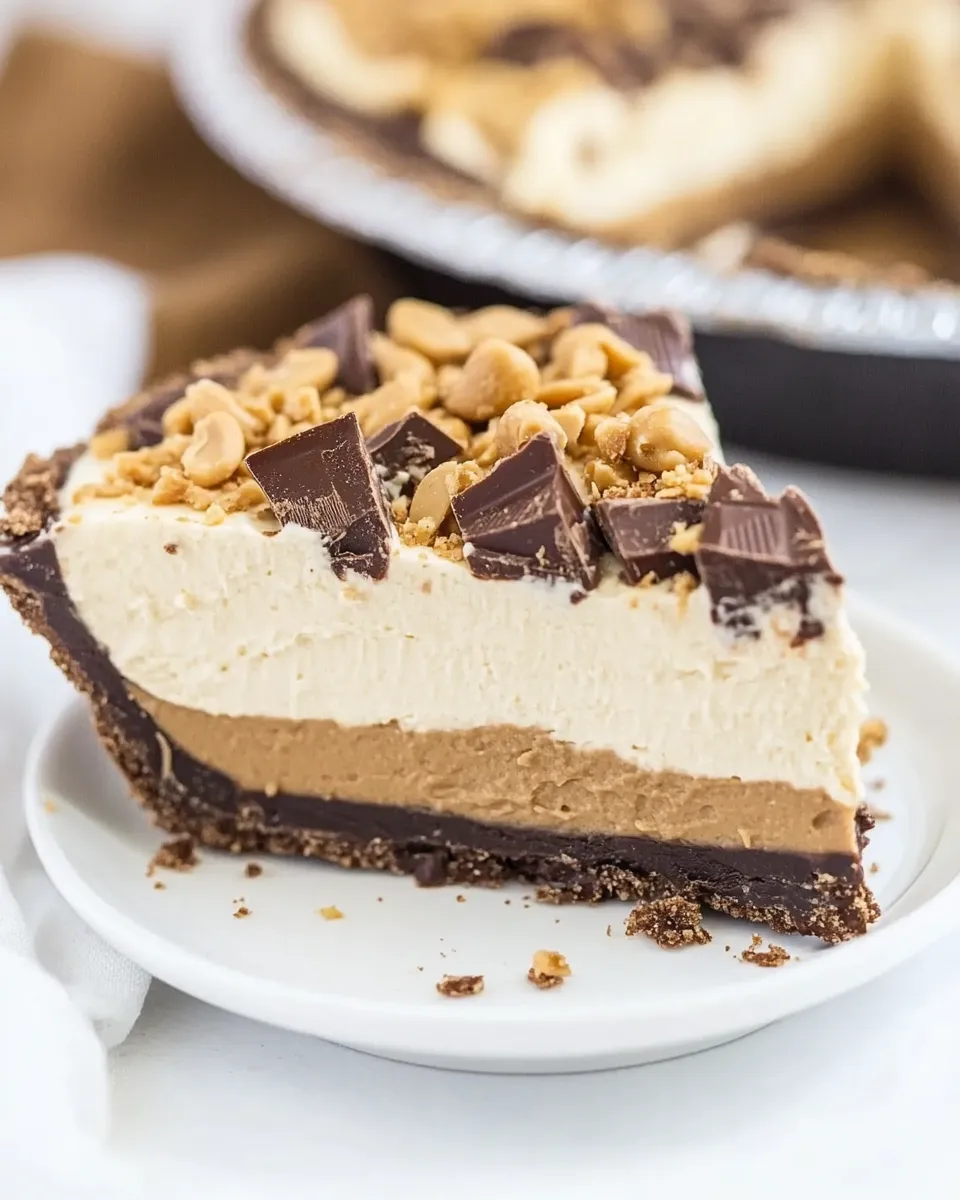
- Chopped peanut butter cups (optional garnish) – For those who want to add a bit of extra indulgence on top.
Hardware & Gadgets
- Mixing bowl – For combining the filling ingredients.
- Electric mixer – To whip the filling until light and fluffy.
- Spatula – For folding in the Cool Whip.
- 9-inch pie dish – To hold your delicious pie.
- Measuring cups and spoons – For accurate ingredient measurements.
Cooking No-Bake Chocolate Peanut Butter Pie: The Process
Step 1: Prepare the Filling
In a large mixing bowl, add 1 cup of peanut butter and 4 ounces of softened cream cheese. Using an electric mixer, beat them together until smooth and creamy.
Step 2: Sweeten It Up
Next, gradually add in 1 cup of powdered sugar while continuing to mix. The mixture should become thick and creamy.
Step 3: Add Milk
Pour in 1/4 cup of milk and mix until fully incorporated. The filling should be smooth and spreadable.
Step 4: Fold in the Cool Whip
Gently fold in 8 ounces of Cool Whip with a spatula until fully combined. Be careful not to deflate the mixture; you want it to remain light and airy.
Step 5: Assemble the Pie
Spoon the filling into the premade chocolate crust, spreading it evenly.
Step 6: Chill
Cover the pie with plastic wrap and refrigerate for at least 4 hours, or until set. This step is crucial for allowing the flavors to meld and the filling to firm up.
If You’re Out Of…
- Cream Cheese – You can substitute with mascarpone cheese for a different flavor profile.
- Cool Whip – Homemade whipped cream can be used instead; just whip heavy cream with some sugar until fluffy.
- Chocolate Crust – A graham cracker crust or a homemade Oreo crust works beautifully.
- Peanut Butter Cups – Use chocolate shavings or crushed cookies for garnish if you don’t have them on hand.
Method to the Madness
Creating this No-Bake Chocolate Peanut Butter Pie is all about the balance of flavors and textures. The creamy filling, complemented by the crunchy crust, makes for a delightful dessert. The addition of Cool Whip lightens up the filling, ensuring it doesn’t feel heavy despite the rich flavors. This pie is perfect for all occasions, from casual family dinners to festive gatherings, and it’s sure to be the star of the dessert table.
Keep It Fresh: Storage Guide
To maintain the freshness of your No-Bake Chocolate Peanut Butter Pie, store it in the refrigerator, covered with plastic wrap or in an airtight container. It’s best enjoyed within 4-5 days, but let’s be honest, it probably won’t last that long! If you’re planning to make it in advance, it can be frozen for up to 2 months. Just be sure to let it thaw in the refrigerator overnight before serving.
Ask the Chef
Can I make this pie ahead of time?
Absolutely! This pie is perfect for making ahead of time. It actually tastes better when it has had time to chill and the flavors can meld together. Just be sure to cover it well to prevent it from absorbing any odors from the fridge.
Can I use natural peanut butter?
Yes, you can use natural peanut butter, but keep in mind that it may alter the texture slightly. Natural peanut butter can be oilier, so make sure to stir it well before measuring to get a consistent mix.
How can I make this pie more chocolatey?
If you want to amp up the chocolate flavor, consider adding chocolate pudding mix to the filling or drizzling chocolate syrup over the top before serving. You could also use a chocolate ganache as a layer under the filling.
Is it possible to make this pie vegan?
Yes! To make a vegan version, use a dairy-free cream cheese, coconut cream instead of Cool Whip, and ensure that your chocolate crust is vegan-friendly. There are plenty of options available that will still deliver on flavor.
Serve with These
- Vanilla Ice Cream – A classic pairing that balances the richness of the pie.
- Fresh Whipped Cream – For an extra touch of sweetness and texture.
- Coffee – A cup of coffee pairs beautifully with the chocolate and peanut butter flavors.
- Chocolate Syrup – Drizzle some on top for an added chocolatey kick.
That’s a Wrap
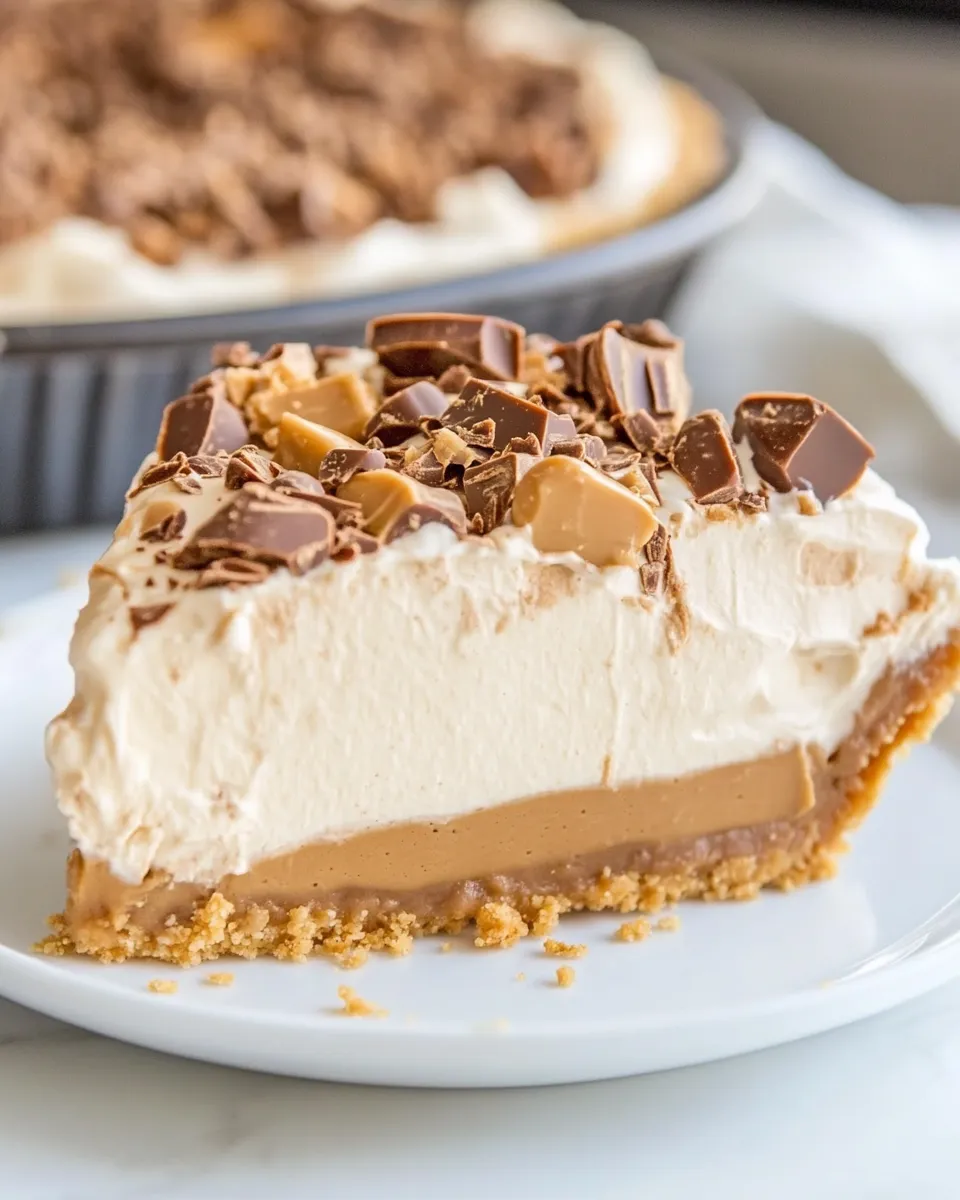
This No-Bake Chocolate Peanut Butter Pie is not just a dessert; it’s a celebration of flavors that everyone will love. With its creamy peanut butter filling and crunchy chocolate crust, it’s a treat that satisfies both the sweet tooth and the cravings for a classic flavor combination. The best part? You can whip it up in no time, making it an ideal choice for any occasion. So, gather your ingredients, roll up your sleeves, and get ready to impress your friends and family with this delightful dessert!
There’s something incredibly satisfying about a no-bake dessert, especially one that combines the beloved flavors of chocolate and peanut butter. This No-Bake Chocolate Peanut Butter Pie is a testament to how simple ingredients can come together to create something extraordinary. Whether you’re serving it at a gathering or enjoying it as a midnight snack, this pie is sure to bring smiles and joy to all who indulge. Enjoy every creamy, decadent bite!
No-Bake Chocolate Peanut Butter Pie
Ingredients
Equipment
Method
- In a large mixing bowl, add 1 cup of peanut butter and 4 ounces of softened cream cheese. Using an electric mixer, beat them together until smooth and creamy.
- Next, gradually add in 1 cup of powdered sugar while continuing to mix. The mixture should become thick and creamy.
- Pour in 1/4 cup of milk and mix until fully incorporated. The filling should be smooth and spreadable.
- Gently fold in 8 ounces of Cool Whip with a spatula until fully combined. Be careful not to deflate the mixture; you want it to remain light and airy.
- Spoon the filling into the premade chocolate crust, spreading it evenly.
- Cover the pie with plastic wrap and refrigerate for at least 4 hours, or until set. This step is crucial for allowing the flavors to meld and the filling to firm up.
Notes
- Store leftovers in the refrigerator for up to 4-5 days.
- Can be frozen for up to 2 months; thaw in the refrigerator overnight before serving.
- For a richer chocolate flavor, add chocolate pudding mix to the filling.