Chicken Nuggets
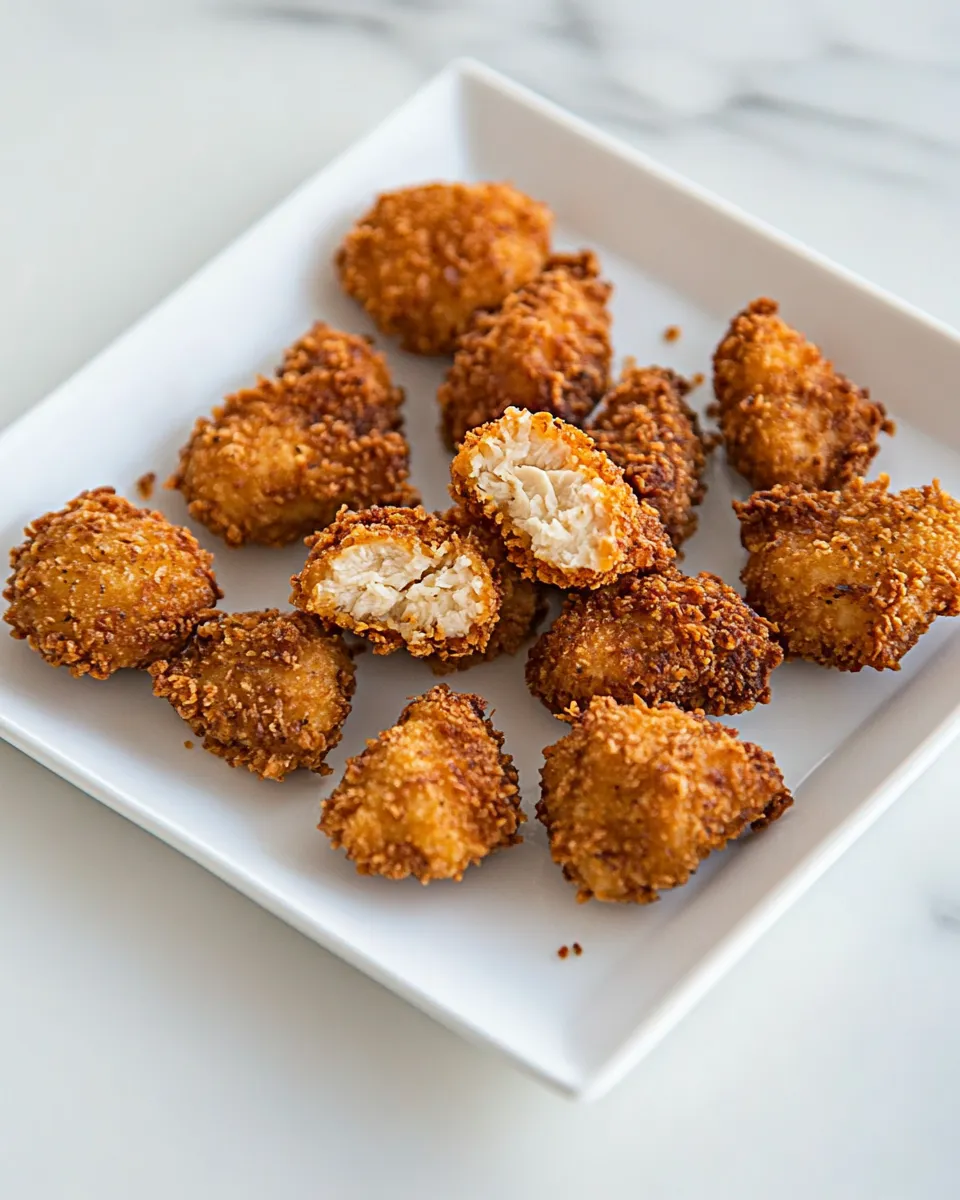
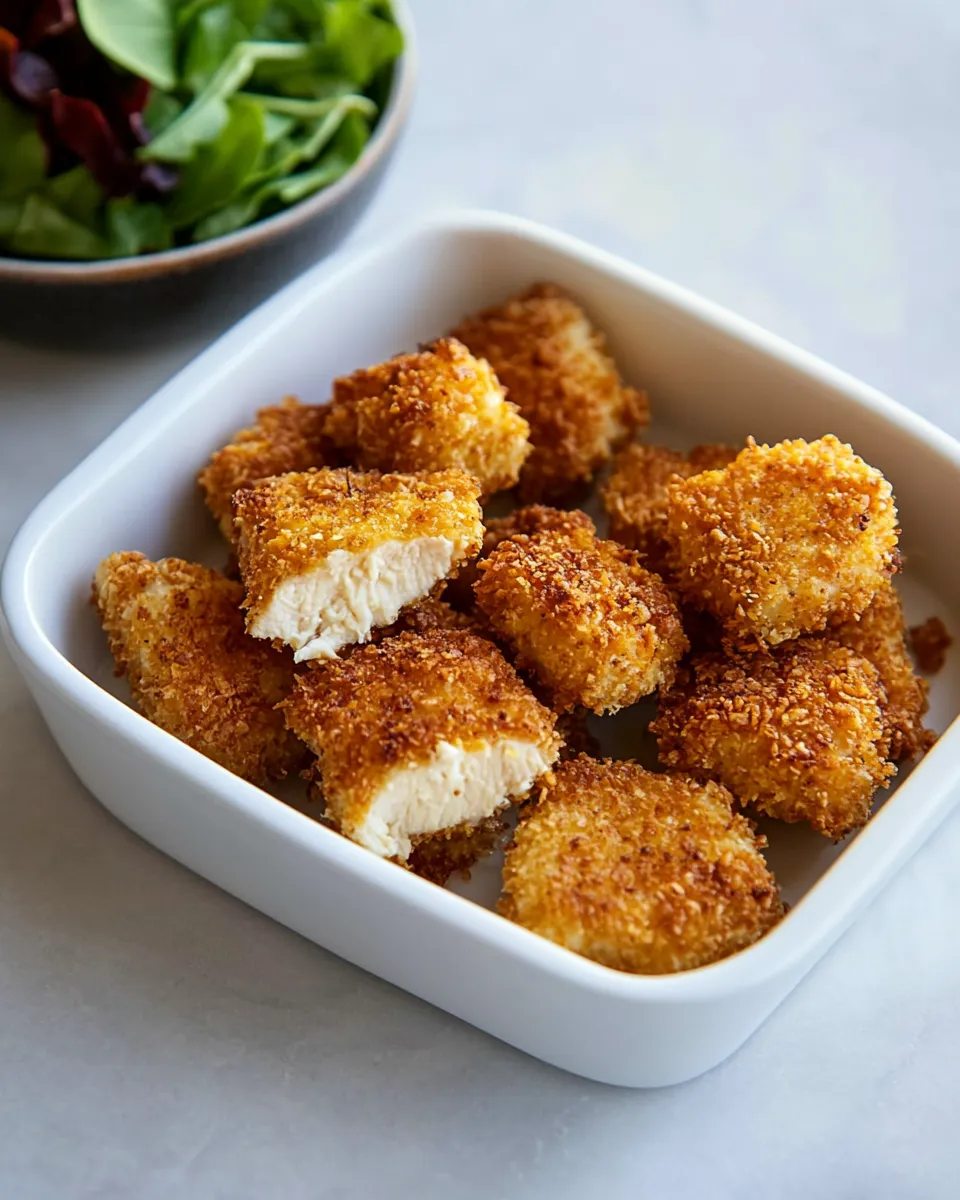
Nothing says comfort food quite like homemade Chicken Nuggets. These delicious bites of tender chicken, coated in crispy panko breadcrumbs, are perfect for dipping, snacking, or serving as a wholesome meal. Imagine the satisfying crunch and the savory flavor, all while knowing exactly what goes into them. With just a handful of ingredients, you can create a dish that will have everyone coming back for seconds. Let’s dive into this easy recipe and discover how to make the ultimate Chicken Nuggets!
The Upside of Chicken Nuggets
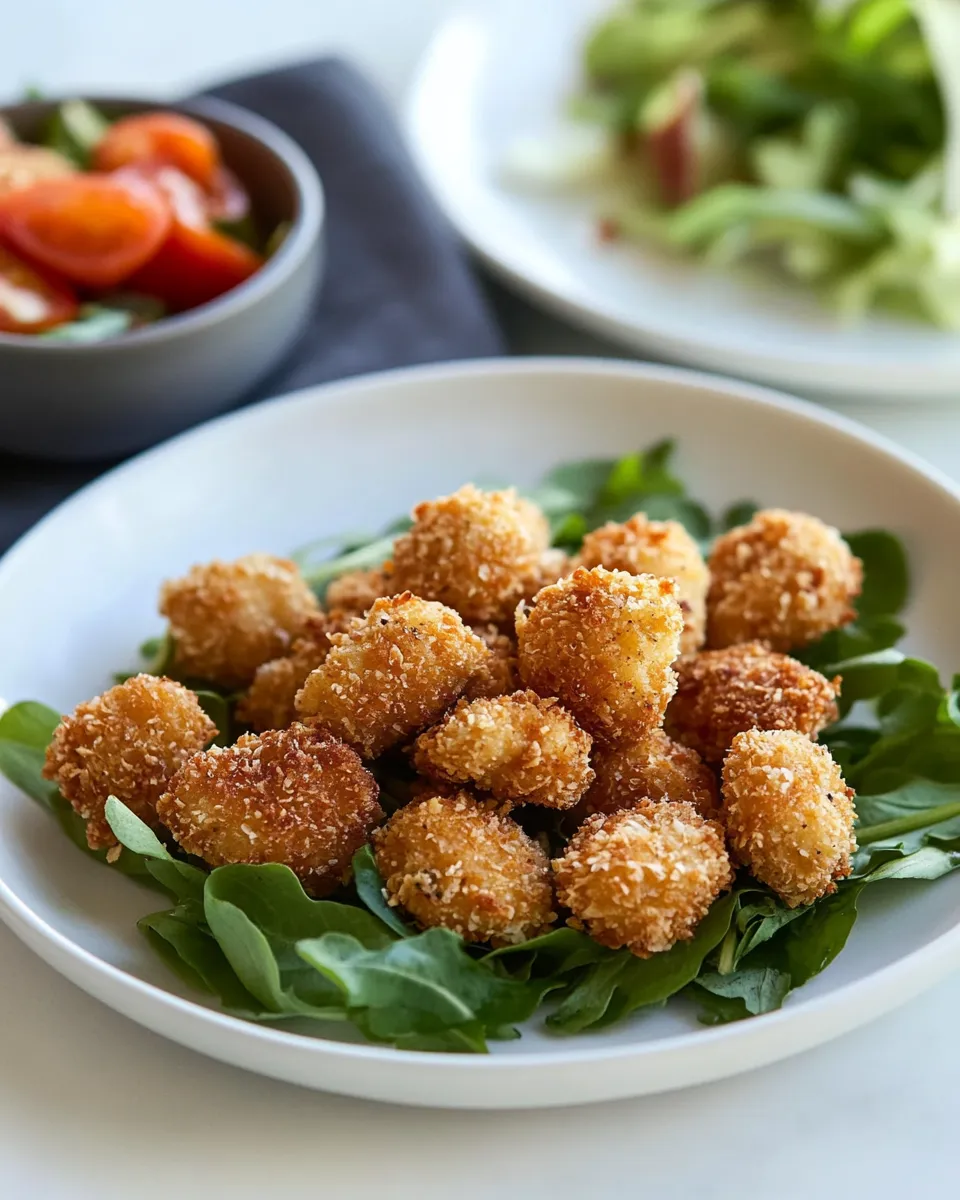
Chicken Nuggets are not only popular among kids but also beloved by adults for their versatility and ease of preparation. They can be served with a variety of sauces, paired with different sides, or even tossed into salads for an extra protein boost. The best part? You can customize them to suit your taste preferences and dietary needs. Whether you prefer a spicy kick or a classic flavor, Chicken Nuggets are endlessly adaptable.
What You’ll Need
- 1 1/2 lbs boneless skinless chicken breasts, cut into even 1-inch cubes
- 2 cups panko bread crumbs
- 2 Tbsp olive oil
- 1 tsp paprika
- 1 tsp garlic powder
- 3/4 tsp dried thyme
- 1/4 tsp cayenne pepper (optional)
- Salt and freshly ground black pepper, to taste
- 2 large eggs
Kitchen Gear Checklist
- Cutting board – For chopping the chicken into cubes.
- Knife – A sharp knife makes cutting easier.
- Baking sheet – To place the nuggets before baking.
- Mixing bowls – For combining ingredients.
- Whisk – To beat the eggs.
- Oven – Preheated for baking the nuggets.
Step-by-Step: Chicken Nuggets
Step 1: Preheat Your Oven
Begin by preheating your oven to 400°F (200°C). This ensures that your Chicken Nuggets will bake evenly and become perfectly crispy.
Step 2: Prepare the Chicken
Cut the boneless, skinless chicken breasts into even 1-inch cubes. This helps the chicken cook uniformly, ensuring that every bite is tender and juicy.
Step 3: Season the Chicken
In a large mixing bowl, combine the chicken cubes with salt, pepper, paprika, garlic powder, dried thyme, and cayenne pepper (if using). Toss the chicken pieces until they are evenly coated with the seasoning.
Step 4: Prep the Breading Station
In a separate bowl, beat the two large eggs until well mixed. In another bowl, place the panko breadcrumbs. This will be your breading station, allowing you to coat the chicken thoroughly.
Step 5: Bread the Chicken Nuggets
Take each seasoned chicken cube, dip it in the beaten eggs, allowing any excess to drip off, and then roll it in the panko breadcrumbs until fully coated. Ensure each piece is well covered for maximum crunch.
Step 6: Arrange on the Baking Sheet
Place the breaded chicken nuggets on a baking sheet lined with parchment paper, ensuring they are spaced out evenly. This allows hot air to circulate around them, which aids in achieving a crispy texture.
Step 7: Bake to Perfection
Drizzle the olive oil over the chicken nuggets to help them brown. Bake in the preheated oven for about 15-20 minutes, flipping halfway through, until golden brown and cooked through. The internal temperature should reach 165°F (75°C).
Step 8: Serve and Enjoy
Once baked, remove the Chicken Nuggets from the oven and let them cool slightly. Serve with your favorite dipping sauces, such as honey mustard, barbecue sauce, or ranch dressing. Enjoy the crunch and flavor in every bite!
Seasonal Ingredient Swaps
- Fresh Herbs: Swap dried thyme for fresh herbs like parsley or basil for a burst of freshness.
- Spice Variations: Experiment with different spices such as cumin or Italian seasoning for interesting flavor profiles.
- Breadcrumb Alternatives: Use crushed cornflakes or regular breadcrumbs if panko is not available.
- Chicken Variations: Substitute chicken with turkey or tofu for a different protein source.
Errors to Dodge
- Overcrowding the Baking Sheet: Make sure to leave enough space between the nuggets for even cooking.
- Skipping the Egg Wash: This step is crucial for the breadcrumbs to adhere properly to the chicken.
- Not Preheating the Oven: Always preheat your oven to ensure proper cooking times and textures.
- Ignoring Internal Temperature: Use a meat thermometer to check that your chicken nuggets reach 165°F (75°C) for safe consumption.
Freezer-Friendly Notes
These Chicken Nuggets are perfect for meal prep and can be frozen for later use. Once baked, let them cool completely, then place them in an airtight container or freezer bag. They can be stored in the freezer for up to 3 months. When you’re ready to enjoy them, simply reheat in the oven at 375°F (190°C) until warmed through, about 10-15 minutes. This way, you can always have a quick and tasty meal on hand!
Your Questions, Answered
Can I air fry these Chicken Nuggets instead of baking them?
Absolutely! To air fry, preheat your air fryer to 400°F (200°C) and cook the chicken nuggets for about 10-12 minutes, flipping halfway through. You’ll achieve a deliciously crispy texture without the extra oil.
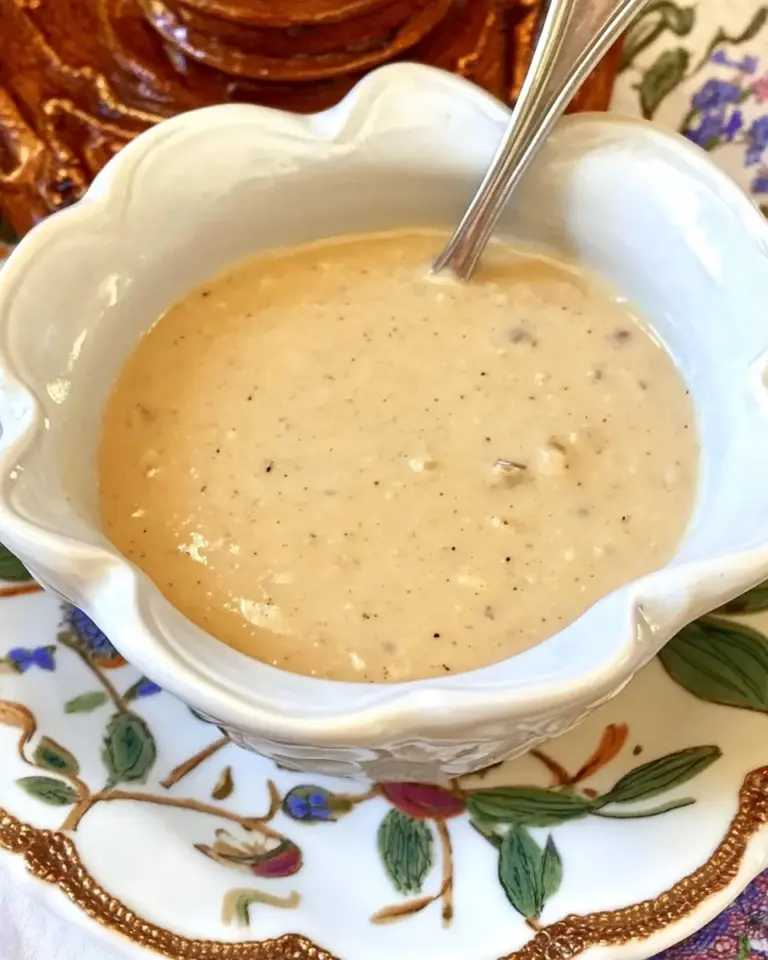
What dipping sauces pair best with Chicken Nuggets?
Some popular dipping sauces include honey mustard, buffalo sauce, barbecue sauce, ranch dressing, or even a zesty homemade yogurt dip. Feel free to get creative!
Can I make these nuggets gluten-free?
Yes! Simply replace the panko breadcrumbs with gluten-free breadcrumbs or crushed gluten-free crackers. Ensure that all other ingredients are also gluten-free.
How do I store leftover Chicken Nuggets?
Store leftover Chicken Nuggets in an airtight container in the refrigerator for up to 3 days. Reheat in the oven or air fryer for optimal crispiness.
Weekend Projects
- Creamy Chicken and Rice Casserole – A comforting, one-dish meal perfect for family gatherings.
- Baked Chicken Thighs – Juicy, flavorful chicken thighs that are easy to make and full of flavor.
- Simple Vegan Pasta Primavera – A vibrant, fresh pasta dish that complements any protein.
- Classic Chicken Pot Pie – A hearty meal that’s perfect for using up leftovers.
Final Thoughts
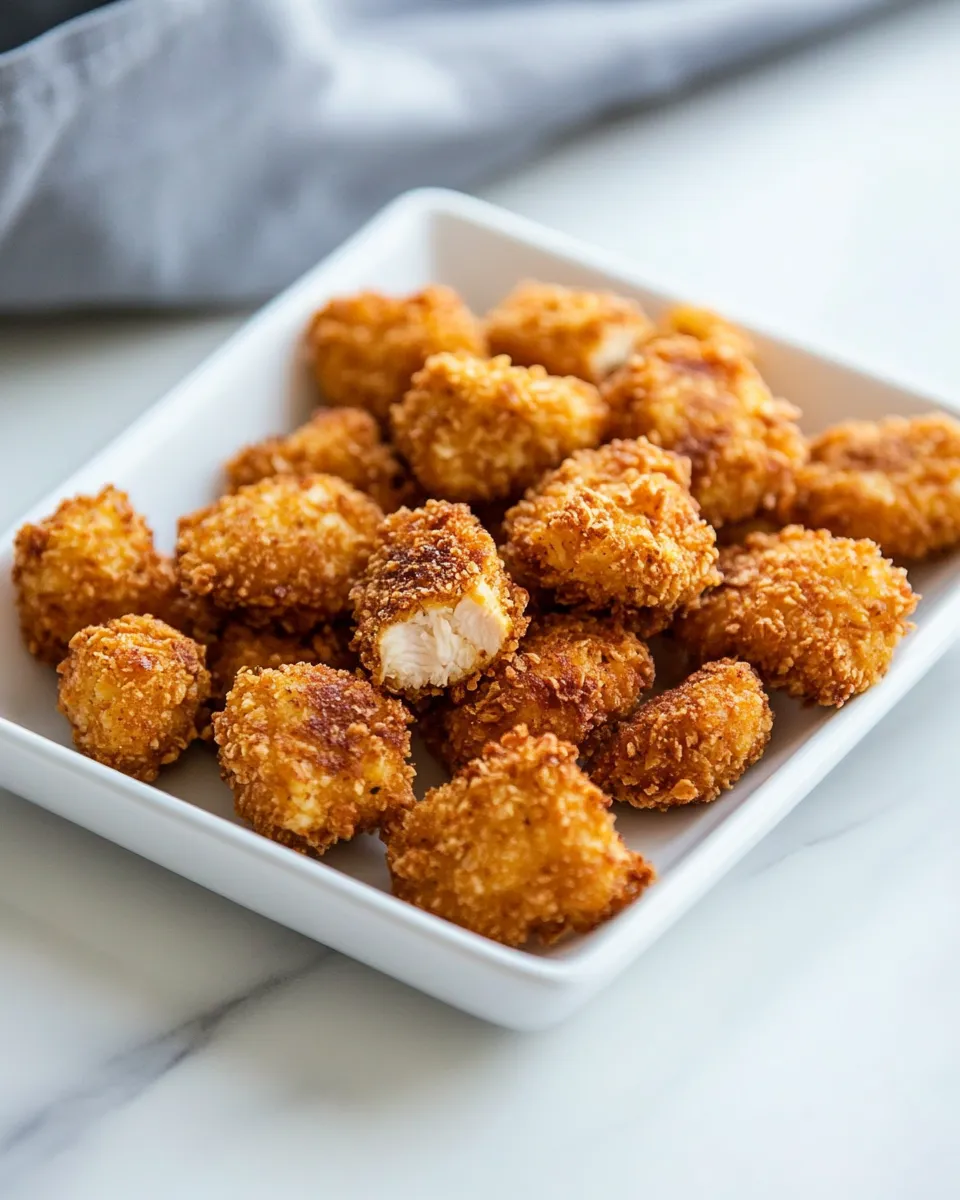
Homemade Chicken Nuggets are a delightful way to bring comfort food to your kitchen. With simple ingredients and straightforward steps, you can whip up a batch that’s far superior to store-bought options. The crispy exterior, juicy interior, and endless flavor possibilities make these nuggets a must-try for any meal. Whether you’re preparing them for a family dinner, a game day snack, or a fun cooking project with the kids, Chicken Nuggets are sure to be a hit. Enjoy making them, sharing them, and, most importantly, savoring every delicious bite!
Chicken Nuggets
Ingredients
Equipment
Method
- Step 1: Preheat your oven to 400°F (200°C).
- Step 2: Cut the boneless, skinless chicken breasts into even 1-inch cubes.
- Step 3: In a large mixing bowl, combine the chicken cubes with salt, pepper, paprika, garlic powder, dried thyme, and cayenne pepper (if using).
- Step 4: In a separate bowl, beat the two large eggs until well mixed. In another bowl, place the panko breadcrumbs.
- Step 5: Dip each seasoned chicken cube in the beaten eggs, then roll in the panko breadcrumbs until fully coated.
- Step 6: Place the breaded chicken nuggets on a baking sheet lined with parchment paper.
- Step 7: Drizzle olive oil over the nuggets and bake for about 15-20 minutes, flipping halfway through.
- Step 8: Remove from the oven, let cool slightly, and serve with your favorite dipping sauces.
Notes
- These nuggets freeze well; store in an airtight container for up to 3 months.
- For a spicy kick, add extra cayenne or hot sauce to the egg wash.
- Use crushed cornflakes for a gluten-free alternative to panko breadcrumbs.