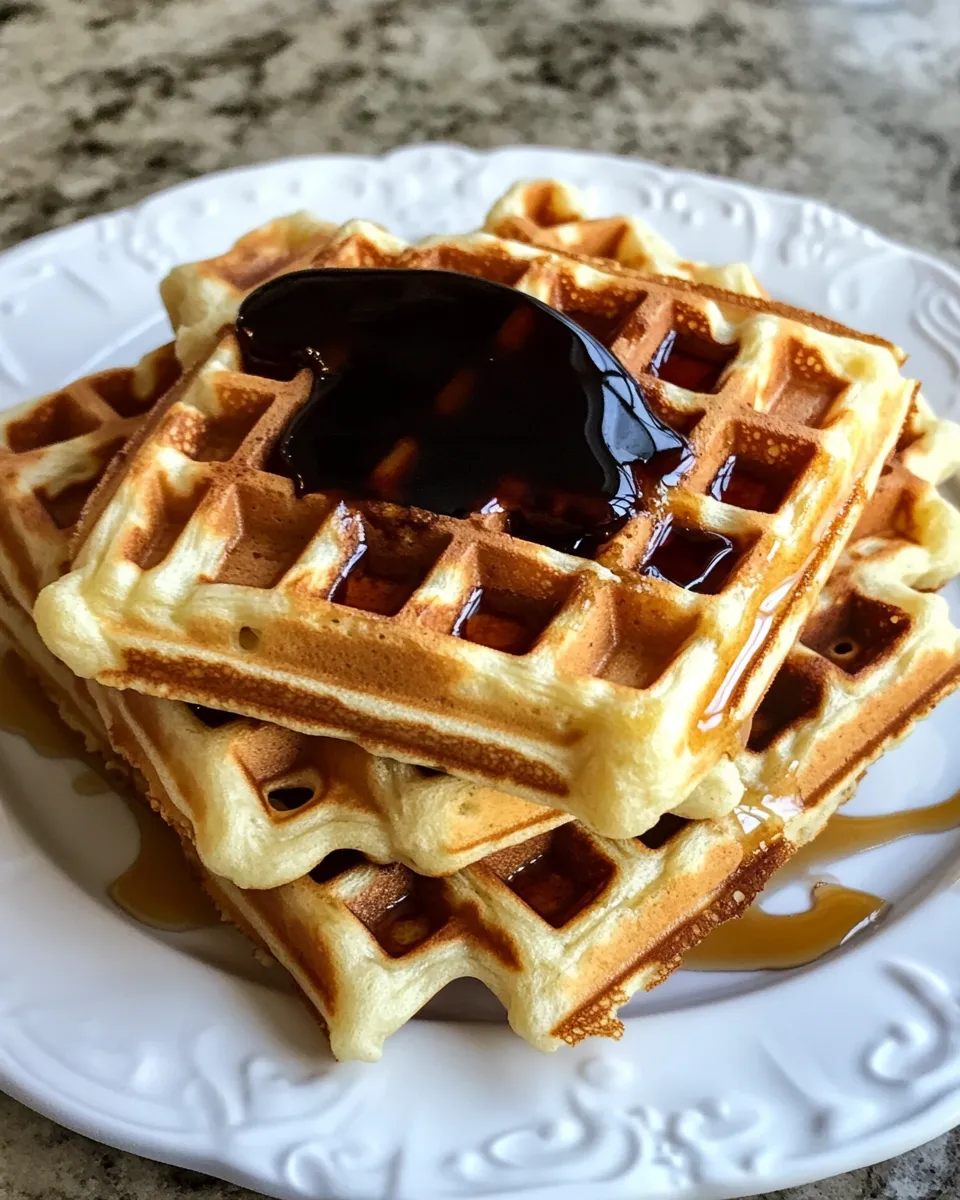
Our Favorite Buttermilk Waffles Recipe
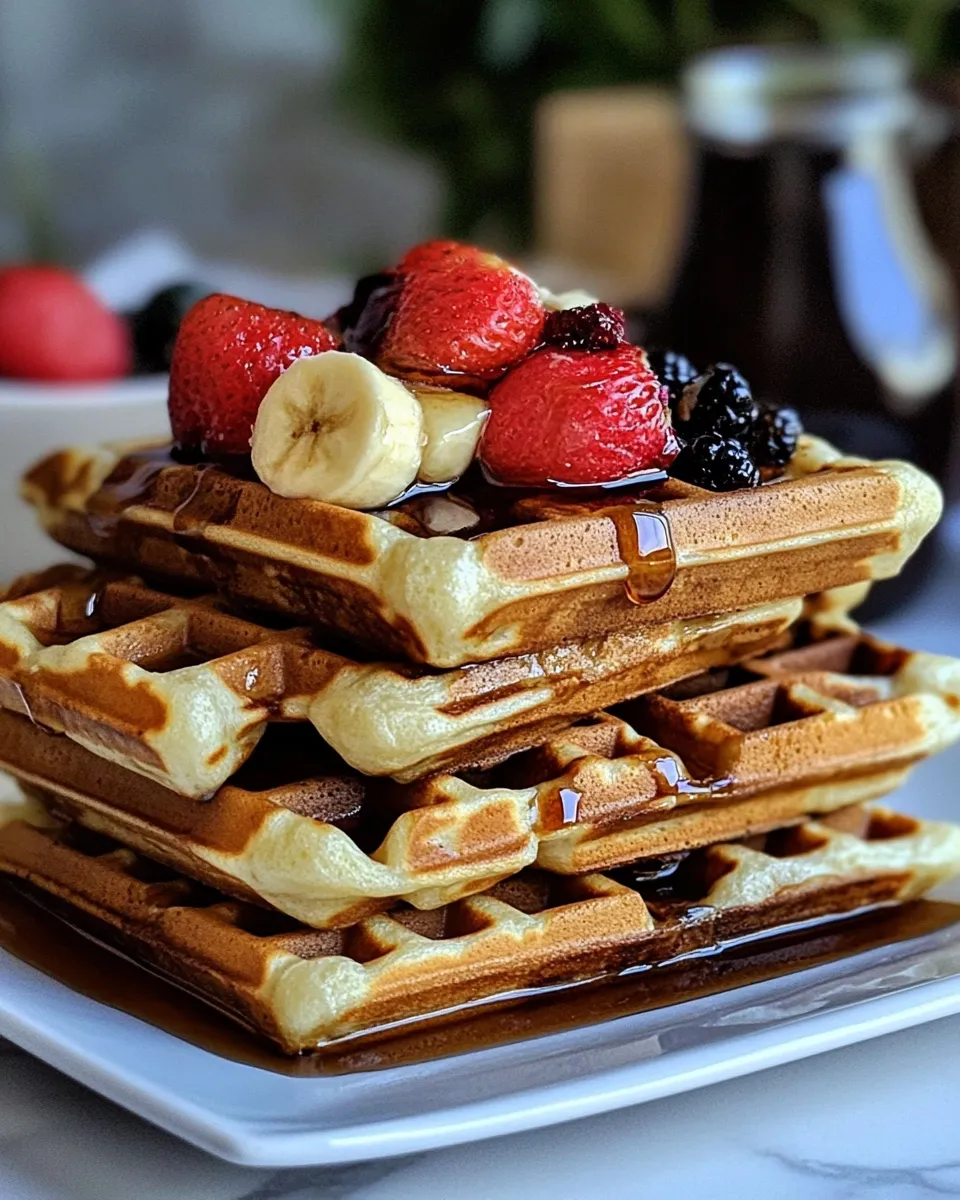
If there’s one breakfast treat that can make any morning feel special, it’s a stack of fluffy waffles drizzled with syrup and topped with fresh fruit. Our Favorite Buttermilk Waffles Recipe is not just any ordinary waffle; it’s a delightful combination of crispy edges and a light, airy interior that will have everyone coming back for seconds. These waffles are perfect for lazy weekend brunches, special occasions, or even a quick weekday breakfast when you want to indulge. Let’s dive into the details of this delightful recipe!
What Makes This Recipe Special
What sets our buttermilk waffles apart from the rest? The secret lies in the buttermilk. It adds a tangy flavor and tender texture that elevates the taste of the waffles. The addition of baking soda and baking powder ensures that they rise beautifully, creating those perfect fluffy pockets that hold syrup and toppings. Plus, with a hint of vanilla and melted butter, these waffles are not just a treat for the stomach but also for the senses. You’ll love how easy they are to whip up, making them a go-to recipe for any breakfast lover.
Shopping List
- 1 cup (120g) all-purpose flour
- 1/4 teaspoon (0.65g) kosher salt
- 1 tablespoon (12g) sugar
- 1 teaspoon (4g) baking powder
- 1/2 teaspoon (2g) baking soda
- 1 cup (245g) buttermilk
- 1 large (50g) egg
- 3 tablespoons (42g) butter, melted
- 1 teaspoon (5g) vanilla extract
Hardware & Gadgets
- Waffle maker: Essential for creating those beautiful waffle shapes.
- Mixing bowls: A medium bowl for dry ingredients and a larger one for wet ingredients.
- Whisk: Perfect for combining ingredients thoroughly.
- Measuring cups and spoons: To ensure accuracy in your measurements.
- Spatula: To help transfer the batter and flip the waffles if needed.
Cooking Our Favorite Buttermilk Waffles Recipe: The Process
Step 1: Prepare the Waffle Maker
Start by preheating your waffle maker according to the manufacturer’s instructions. This step is crucial as it ensures that your waffles cook evenly and develop a lovely golden-brown color.
Step 2: Mix Dry Ingredients
In a medium mixing bowl, whisk together the all-purpose flour, kosher salt, sugar, baking powder, and baking soda. This ensures that all the leavening agents are evenly distributed throughout the flour.
Step 3: Combine Wet Ingredients
In a large mixing bowl, combine the buttermilk, egg, melted butter, and vanilla extract. Whisk them together until smooth. The melted butter should be slightly cooled so it doesn’t cook the egg.
Step 4: Combine Wet and Dry Ingredients
Gradually add the dry ingredients to the wet ingredients, stirring gently. Be careful not to overmix; a few lumps are okay. Overmixing can lead to dense waffles, and we want them to be light and fluffy.
Step 5: Cook the Waffles
Once your batter is ready, pour the appropriate amount into your preheated waffle maker (usually about 1/2 to 3/4 cup, depending on the size of your waffle maker). Close the lid and cook according to the manufacturer’s instructions until the waffles are golden brown and crisp.
Step 6: Serve Warm
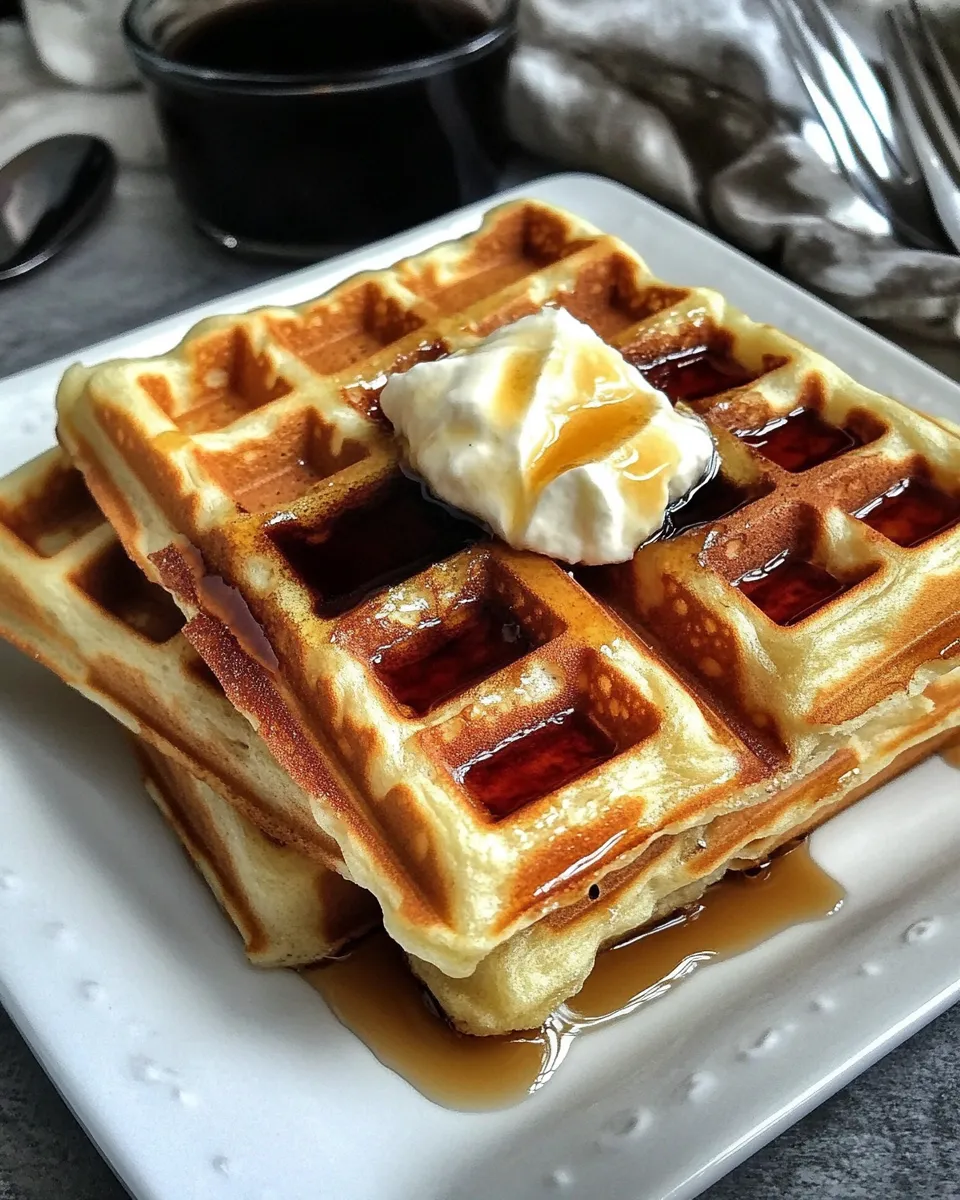
Once cooked, carefully remove the waffles and serve immediately while they’re warm. Top with your favorite syrup, fresh fruit, or even whipped cream for a decadent treat.
Seasonal Serving Ideas
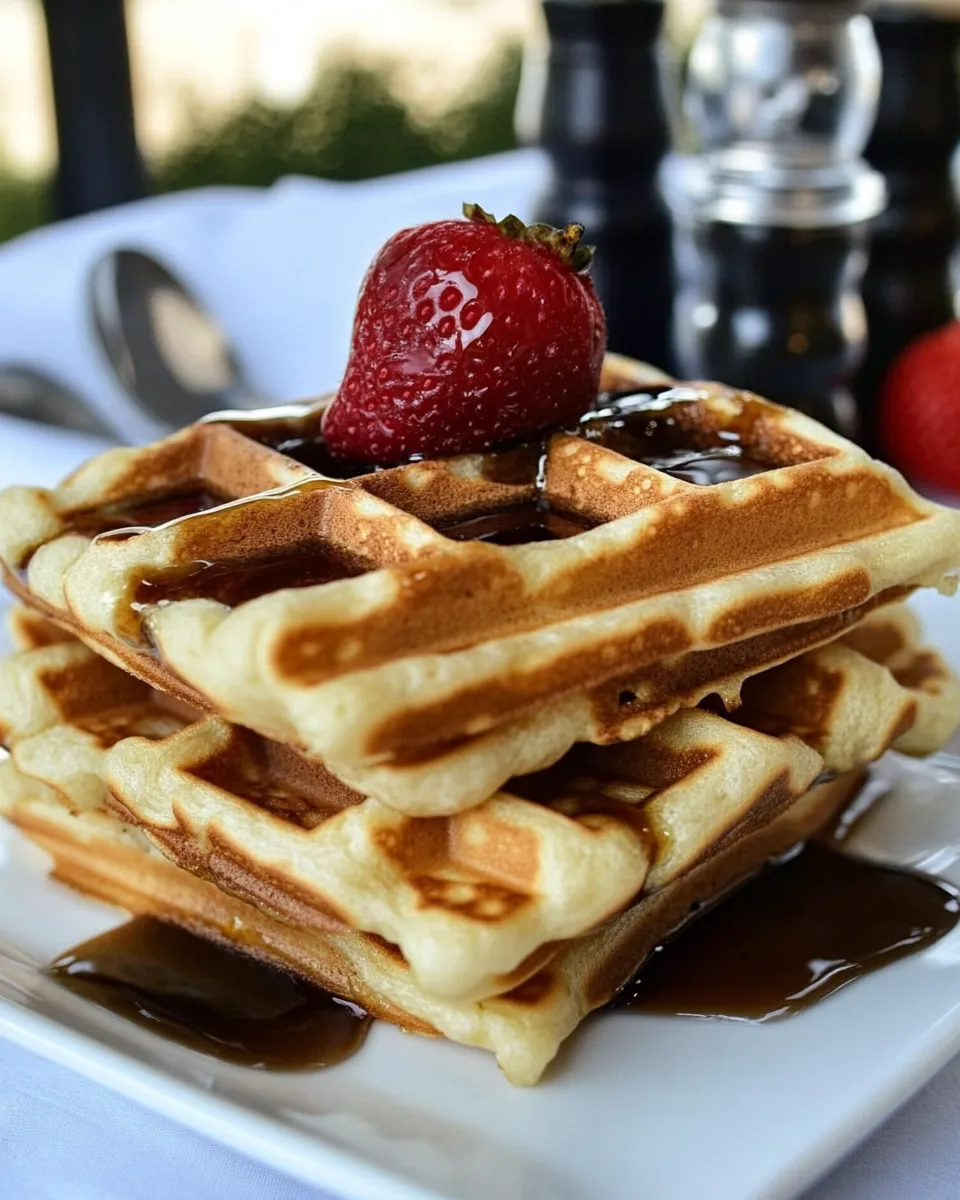
- Spring: Top with strawberries and a dusting of powdered sugar.
- Summer: Serve with fresh peaches and a scoop of vanilla ice cream.
- Fall: Add spiced apples and a drizzle of caramel sauce.
- Winter: Top with cranberry compote and a sprinkle of cinnamon.
Behind the Recipe
This recipe was inspired by the classic diner-style waffles that bring back fond memories of family breakfasts and cozy brunch outings. Using buttermilk was a game changer, as it not only enhances the flavor but also adds to the overall texture of the waffles. We’ve tested this recipe multiple times to ensure it yields the perfect balance of crispness and fluffiness, making it a staple in our home. The beauty of this recipe is how versatile it is; you can easily adapt it to your taste preferences or what you have on hand.
Refrigerate, Freeze, Reheat
If you have leftovers (although they rarely last long), you can refrigerate them in an airtight container for up to 3 days. For longer storage, freeze the waffles in a single layer on a baking sheet until solid, then transfer them to a freezer bag for up to 2 months. To reheat, simply pop them in a toaster or an oven until warm and crispy again. This makes for a quick breakfast option on busy mornings!
Common Questions
Can I use whole wheat flour instead of all-purpose flour?
Yes, you can substitute whole wheat flour for all-purpose flour, but it may alter the texture slightly. You might want to mix half whole wheat flour and half all-purpose flour for the best results.
What can I use instead of buttermilk?
If you don’t have buttermilk on hand, you can easily make a substitute by adding 1 tablespoon of vinegar or lemon juice to 1 cup of milk. Let it sit for about 5 minutes until it thickens slightly.
How can I make these waffles dairy-free?
To make dairy-free buttermilk waffles, substitute buttermilk with a non-dairy milk (like almond or oat milk) mixed with a tablespoon of vinegar. Use dairy-free butter as a replacement for melted butter in the recipe.
Can I add mix-ins to the waffle batter?
Absolutely! Feel free to fold in chocolate chips, blueberries, or nuts into the batter before cooking for added flavor and texture. Just be cautious not to add too many, as it may affect the cooking time.
Cook This Next
- Banana Pancakes: Fluffy, banana-infused pancakes perfect for a weekend brunch.
- Chocolate Chip Muffins: A delightful treat for breakfast or a sweet snack.
- Avocado Toast: A simple yet delicious breakfast option with endless topping possibilities.
Bring It to the Table
There’s something special about gathering around the table for a meal, and our Favorite Buttermilk Waffles Recipe is the perfect centerpiece for any breakfast spread. Whether you’re sharing them with family, hosting friends, or enjoying a quiet morning alone, these waffles will bring joy to your table. Don’t forget to set out a variety of toppings, from maple syrup and fresh berries to whipped cream and nuts, so everyone can customize their stack just the way they like it.
Our Favorite Buttermilk Waffles Recipe is not only a delicious way to start your day, but it also creates beautiful moments that can be shared with loved ones. So go ahead, whip up a batch, and enjoy the delightful taste of homemade waffles that are sure to impress!
Our Favorite Buttermilk Waffles Recipe
Ingredients
Equipment
Method
- Step 1: Prepare the Waffle Maker - Start by preheating your waffle maker according to the manufacturer’s instructions.
- Step 2: Mix Dry Ingredients - In a medium mixing bowl, whisk together the all-purpose flour, kosher salt, sugar, baking powder, and baking soda.
- Step 3: Combine Wet Ingredients - In a large mixing bowl, combine the buttermilk, egg, melted butter, and vanilla extract. Whisk until smooth.
- Step 4: Combine Wet and Dry Ingredients - Gradually add the dry ingredients to the wet ingredients, stirring gently. A few lumps are okay.
- Step 5: Cook the Waffles - Pour the batter into your preheated waffle maker and cook until golden brown and crisp.
- Step 6: Serve Warm - Carefully remove the waffles and serve immediately while warm with your favorite toppings.
Notes
- For a dairy-free option, substitute buttermilk with non-dairy milk and vinegar.
- Leftover waffles can be refrigerated for up to 3 days.
- Freeze waffles in a single layer, then transfer to a freezer bag for up to 2 months.