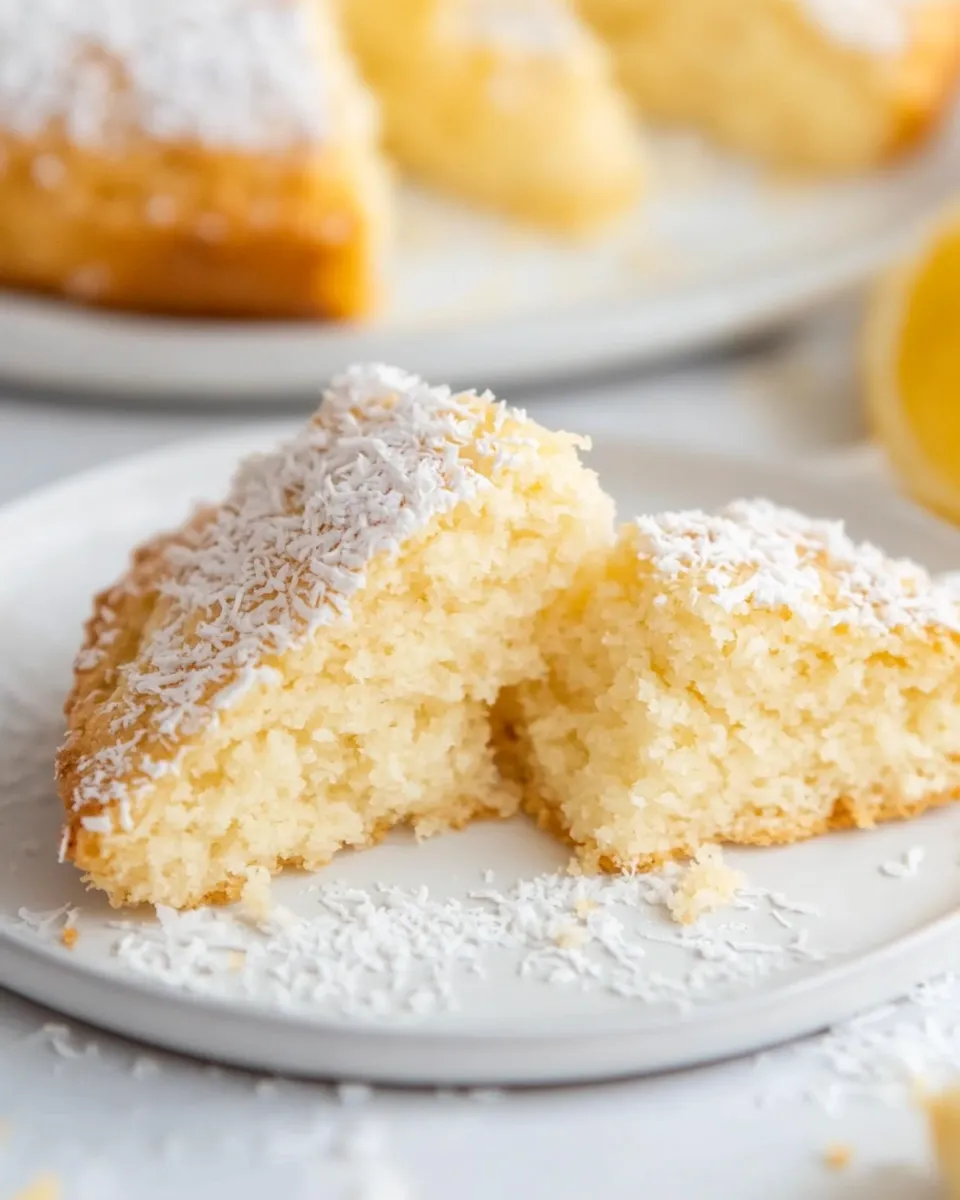
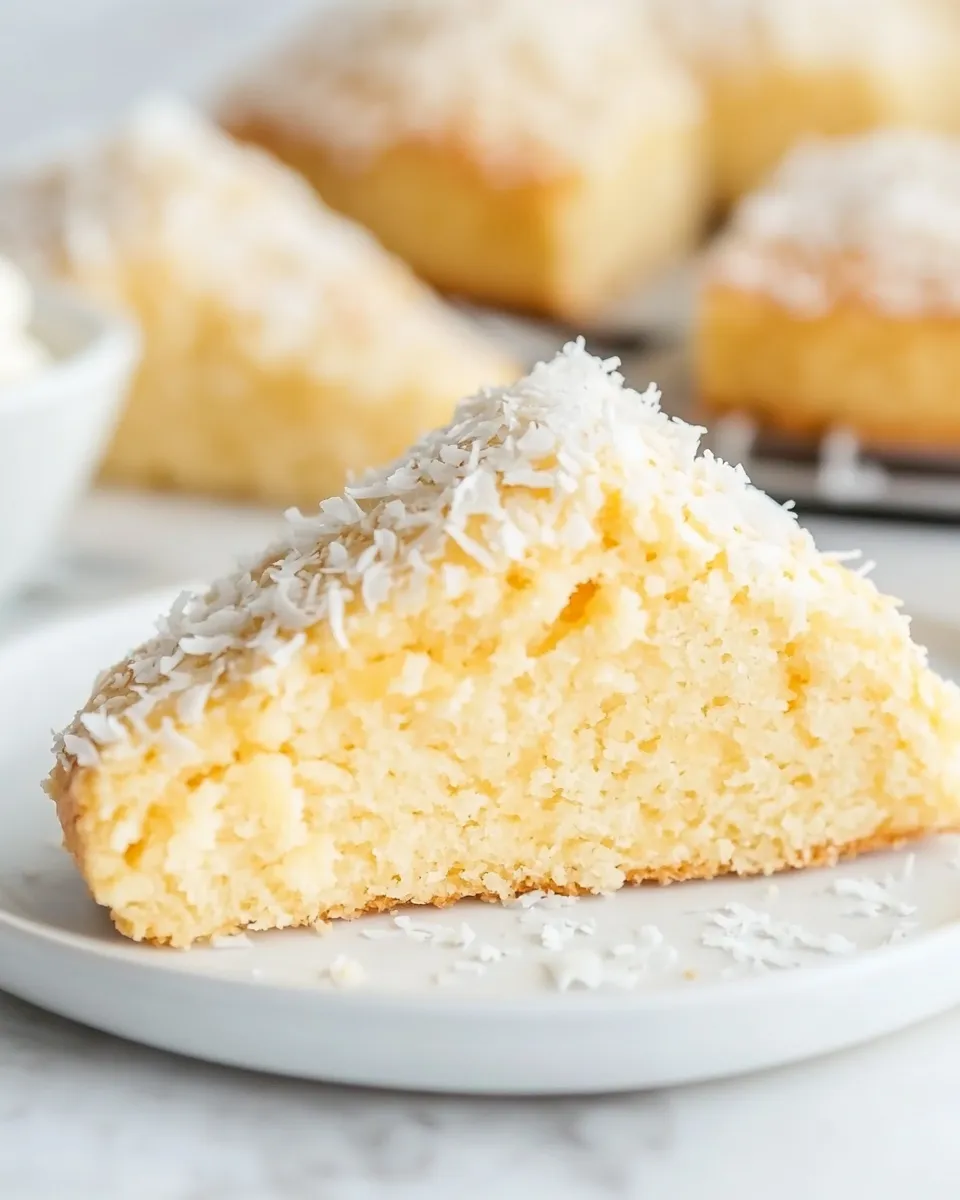
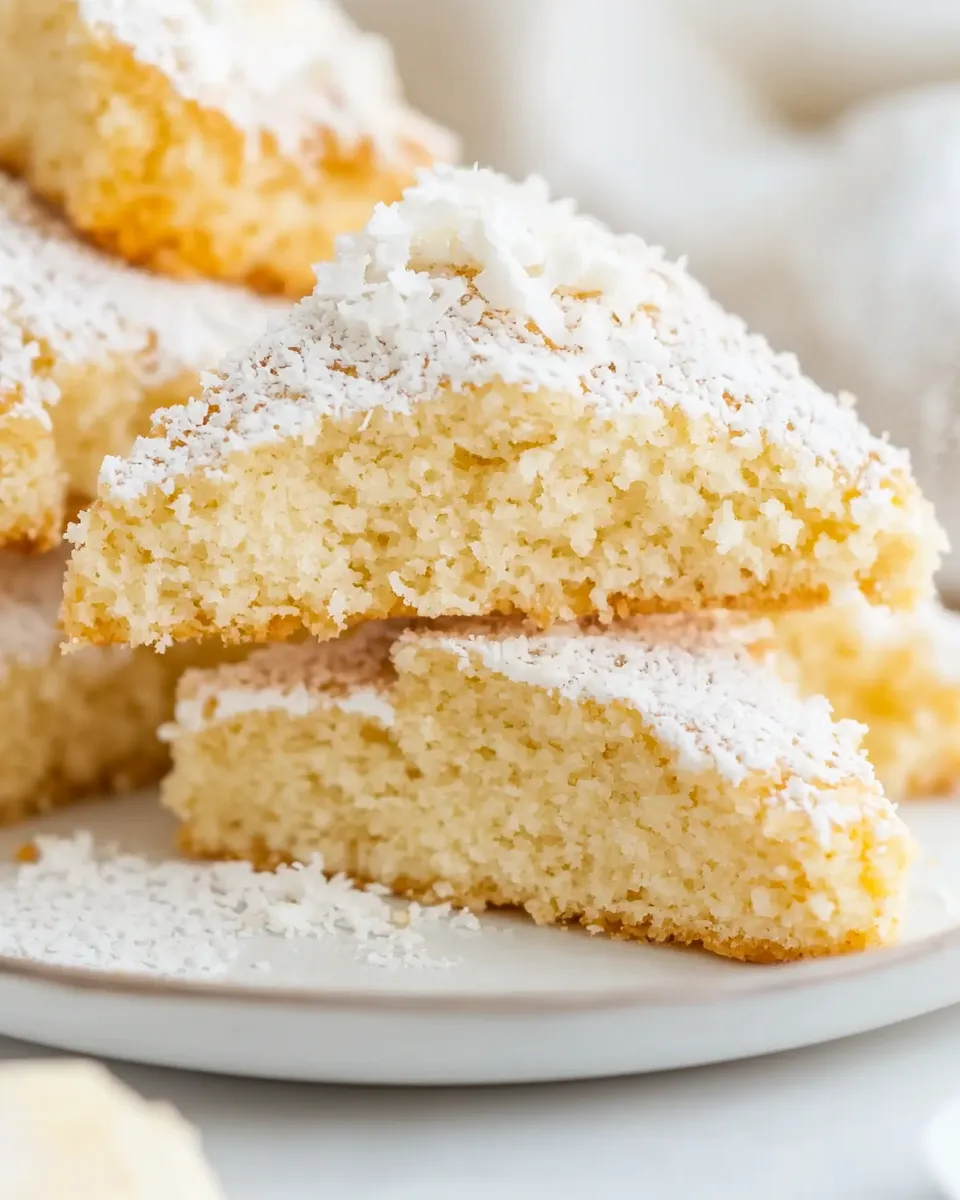
The BEST Coconut Flour Scones
If you’re on the hunt for a delightful, gluten-free treat that perfectly balances flavor and texture, look no further than these BEST Coconut Flour Scones. With a golden crust and a tender, fluffy interior, these scones are a wonderful addition to your breakfast table or afternoon tea. Made with wholesome ingredients, they’re not only easy to whip up but also packed with coconut goodness that will transport your taste buds to a tropical paradise.
Why This The BEST Coconut Flour Scones Stands Out
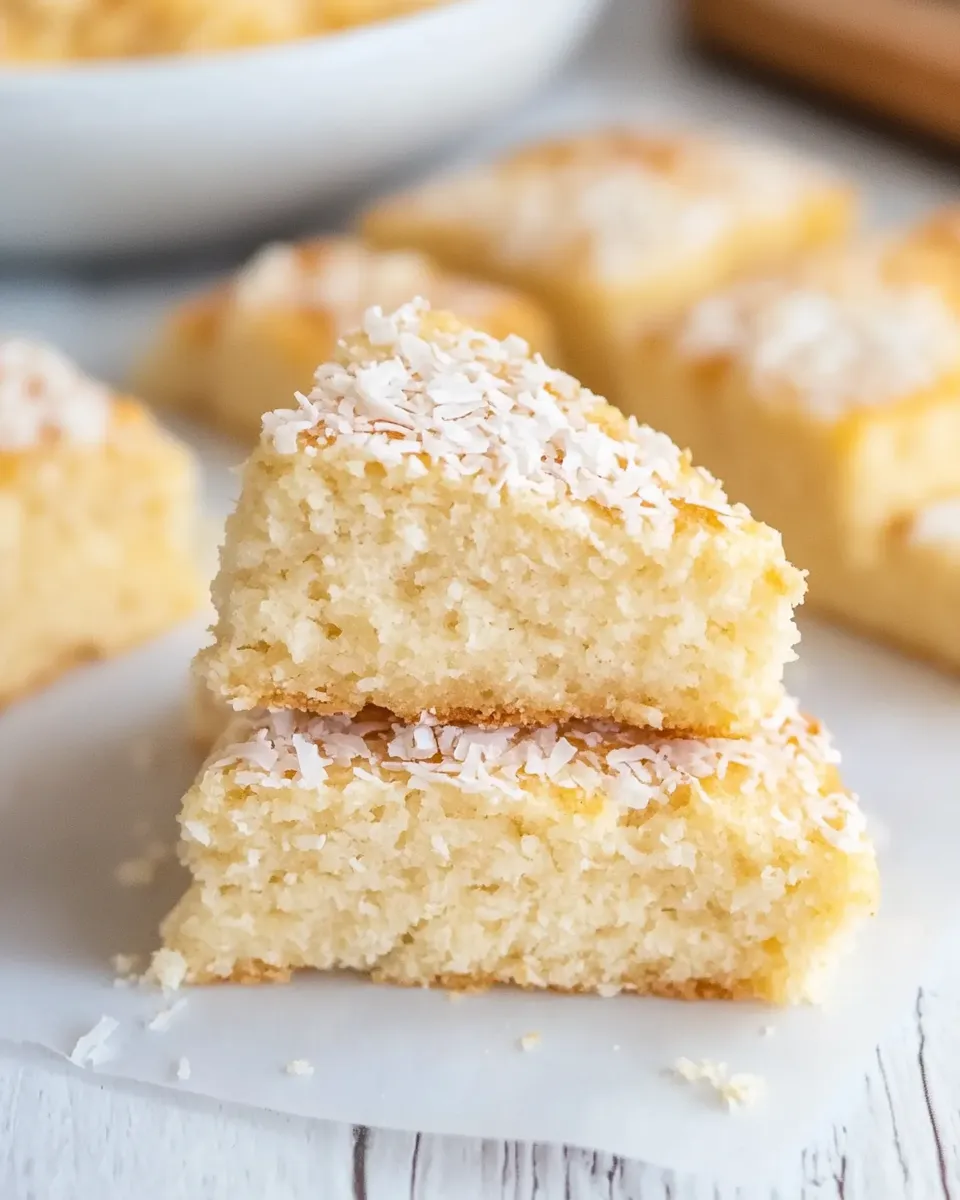
These scones stand out because of their unique combination of coconut flour and desiccated coconut, creating a rich and satisfying flavor. Unlike traditional scones that can be dense, the use of coconut flour gives them a light, airy texture while still being incredibly filling. The hint of sweetness from the granulated sweetener balances perfectly with the natural flavors of coconut. Whether enjoyed plain or with a dollop of jam, these scones will surely become a favorite in your baking repertoire.
What We’re Using
- 1 cup coconut flour (60g): A gluten-free alternative that adds a subtle coconut flavor and a light texture.
- 1 cup desiccated coconut (75g): Provides a chewy texture and enhances the coconut flavor.
- 1 cup granulated sweetener (50g): Sweetens the scones without the calories of traditional sugar. Choose your favorite sweetener.
- 2 large eggs (room temperature): Acts as a binding agent and helps the scones rise.
- 1/2 cup butter (76g, melted and cooled): Adds richness and moisture to the scones.
- 1 teaspoon vanilla extract: Enhances the overall flavor profile.
- 1.5 teaspoon baking powder: Ensures the scones rise perfectly.
- 1 egg yolk (beaten): For brushing on top of the scones before baking, adding a beautiful golden color.
- Shredded coconut for sprinkling: Optional, but it gives a lovely texture and a visual appeal.
Hardware & Gadgets
- Mixing bowls: For combining your dry and wet ingredients.
- Whisk: To ensure all ingredients are well blended.
- Baking sheet: A flat surface for baking the scones.
- Parchment paper: Prevents sticking and makes for easy cleanup.
- Measuring cups and spoons: For accurate ingredient measurements.
- Pastry brush: To apply the beaten egg yolk on top of the scones.
The BEST Coconut Flour Scones: Step-by-Step Guide
Step 1: Preheat the Oven
Begin by preheating your oven to 350°F (175°C). This ensures that your scones bake evenly and achieve that perfect golden brown color.
Step 2: Prepare Your Baking Sheet
Line a baking sheet with parchment paper. This will help prevent the scones from sticking and make cleanup a breeze.
Step 3: Mix Dry Ingredients
In a large mixing bowl, whisk together the coconut flour, desiccated coconut, granulated sweetener, and baking powder. Ensure there are no lumps, and everything is well combined.
Step 4: Combine Wet Ingredients
In another bowl, beat the eggs and then add the melted butter and vanilla extract. Whisk until the mixture is smooth and well blended.
Step 5: Combine Wet and Dry Ingredients
Pour the wet mixture into the dry ingredients. Stir gently until everything is just combined. Be careful not to overmix, as this can lead to denser scones.
Step 6: Shape the Dough
Using your hands, form the dough into a ball and then flatten it into a circle about 1 inch thick on a lightly floured surface. Cut the dough into wedges or use a round cutter to shape your scones.
Step 7: Brush with Egg Yolk
Place the shaped scones onto the prepared baking sheet. Brush the tops with the beaten egg yolk for that beautiful golden finish.
Step 8: Sprinkle with Shredded Coconut
If desired, sprinkle a bit of shredded coconut on top of each scone for an extra touch of flavor and texture.
Step 9: Bake
Bake the scones in the preheated oven for 15-20 minutes, or until they are golden brown and a toothpick inserted into the center comes out clean.
Step 10: Cool and Enjoy
Remove the scones from the oven and let them cool on a wire rack. Enjoy them warm or at room temperature, plain or with your favorite spread.
Substitutions by Category
- Sweetener: You can substitute granulated sweetener with honey or maple syrup for a more natural sweetness. Just adjust the wet ingredients to maintain the dough consistency.
- Butter: Coconut oil can be used in place of butter for a dairy-free version.
- Eggs: For a vegan option, use flax eggs (1 tablespoon ground flaxseed mixed with 3 tablespoons water for each egg).
- Desiccated Coconut: If you can’t find desiccated coconut, finely shredded coconut can work as a substitute, but be mindful of moisture content.
What I Learned Testing
- Using room temperature eggs helps create a smoother batter and better texture in the final scones.
- Measuring coconut flour accurately is crucial; too much can lead to a dry scone.
- Letting the batter rest for a few minutes allows the coconut flour to absorb moisture, resulting in tender scones.
- Experimenting with different add-ins like chocolate chips or dried fruits can elevate the flavor profile.
Keep-It-Fresh Plan
To keep your BEST Coconut Flour Scones fresh, store them in an airtight container at room temperature for up to 3 days. For longer storage, freeze them in a single layer on a baking sheet before transferring to a freezer-safe bag. They can be frozen for up to 2 months. Reheat them in the oven for a few minutes to restore their fresh-baked texture.
Popular Questions
Can I make these scones ahead of time?
Absolutely! You can prepare the dough ahead of time, shape the scones, and refrigerate them. Bake them fresh in the morning for a delightful treat.
Can I add flavors or mix-ins to the scones?
Yes! Feel free to add chocolate chips, nuts, or dried fruits to customize your scones. Just be mindful of the additional moisture from fruits.
What can I serve with these scones?
These scones are delicious on their own, but they pair wonderfully with clotted cream, jam, or even a drizzle of honey for added sweetness.
Are these scones suitable for a gluten-free diet?
Yes! The BEST Coconut Flour Scones are naturally gluten-free due to the use of coconut flour and desiccated coconut.
Try These Next
Bring It Home
With just a handful of simple ingredients, these BEST Coconut Flour Scones are a breeze to make and are perfect for any occasion. Whether you’re enjoying a quiet morning at home or entertaining guests, these scones are sure to impress. So gather your ingredients, preheat that oven, and get ready to indulge in the delightful taste of coconut goodness. Happy baking!
The BEST Coconut Flour Scones
Ingredients
Equipment
Method
- Step 1: Preheat the Oven: Begin by preheating your oven to 350°F (175°C) to ensure even baking.
- Step 2: Prepare Your Baking Sheet: Line a baking sheet with parchment paper to prevent sticking.
- Step 3: Mix Dry Ingredients: In a bowl, whisk together coconut flour, desiccated coconut, granulated sweetener, and baking powder until well combined.
- Step 4: Combine Wet Ingredients: In another bowl, beat the eggs, then add melted butter and vanilla. Whisk until smooth.
- Step 5: Combine Wet and Dry Ingredients: Pour wet mixture into dry ingredients and stir gently until just combined.
- Step 6: Shape the Dough: Form the dough into a ball and flatten into a 1-inch thick circle. Cut into wedges or use a round cutter.
- Step 7: Brush with Egg Yolk: Place scones on the baking sheet and brush tops with beaten egg yolk for a golden finish.
- Step 8: Sprinkle with Shredded Coconut: If desired, sprinkle shredded coconut on top for added texture.
- Step 9: Bake: Bake for 15-20 minutes until golden brown and a toothpick comes out clean.
- Step 10: Cool and Enjoy: Let cool on a wire rack and enjoy warm or at room temperature.
Notes
- Store scones in an airtight container for up to 3 days.
- Freeze for up to 2 months; reheat in the oven for freshness.
- Experiment with different sweeteners or mix-ins like chocolate chips.