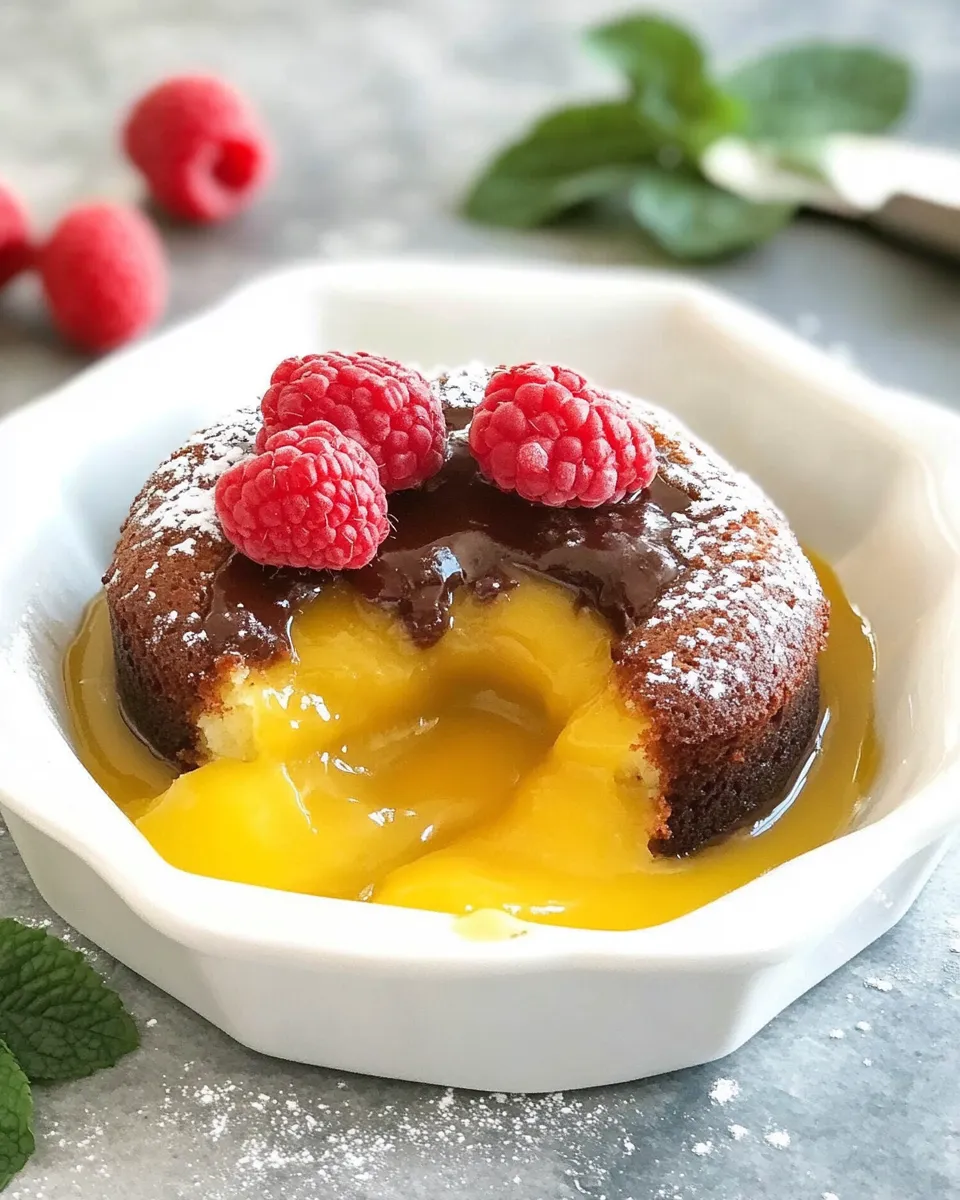
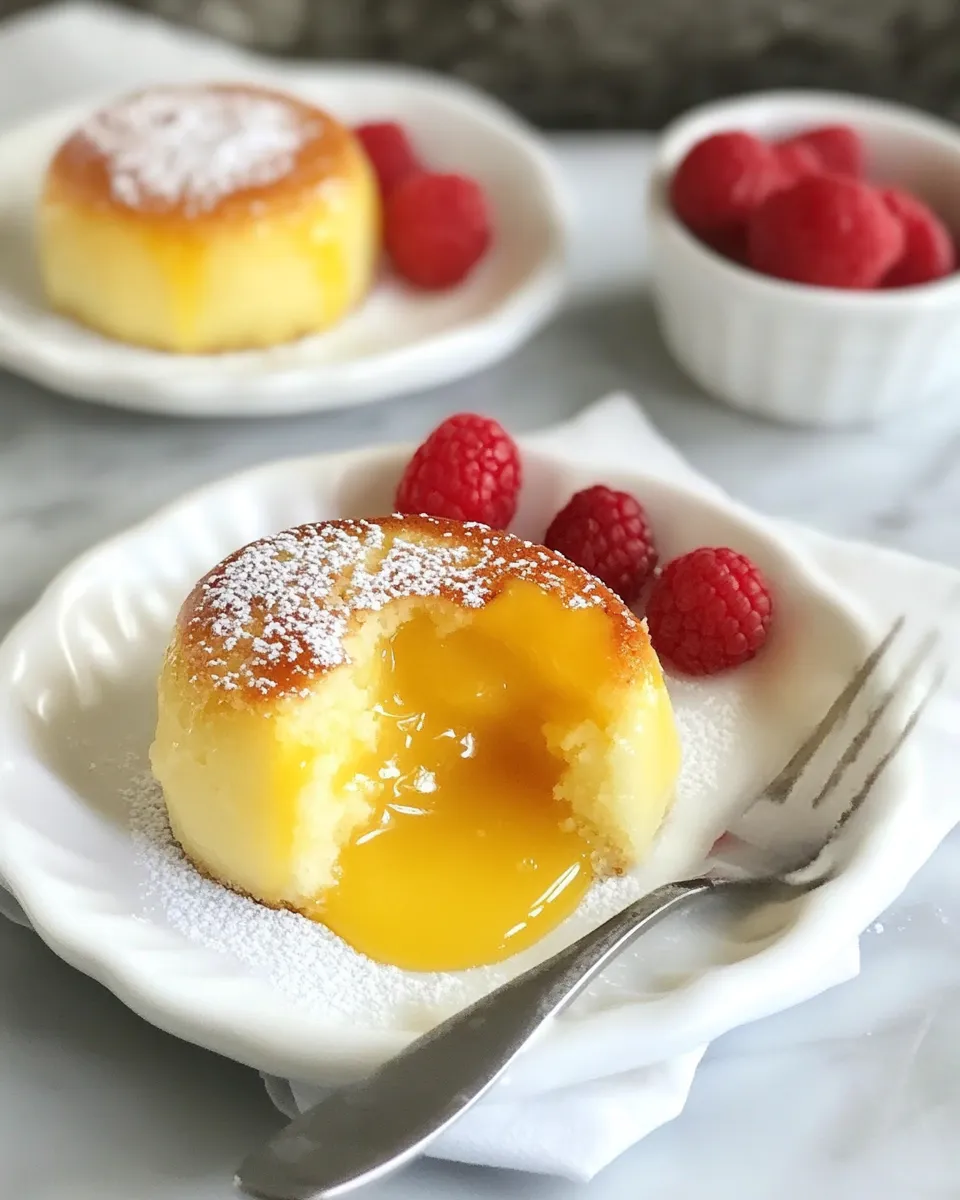
White Chocolate Molten Lava Cakes
Indulging in decadent desserts is one of life’s little pleasures, and there’s something extraordinarily enchanting about the experience of sinking a spoon into a warm, gooey dessert. Today, we’re diving into the world of White Chocolate Molten Lava Cakes. These delicate cakes are a delightful blend of creamy white chocolate and rich, molten centers that will leave you and your loved ones swooning with delight. Perfect for special occasions or just a cozy night in, this recipe is sure to impress.
Why This White Chocolate Molten Lava Cakes Stands Out
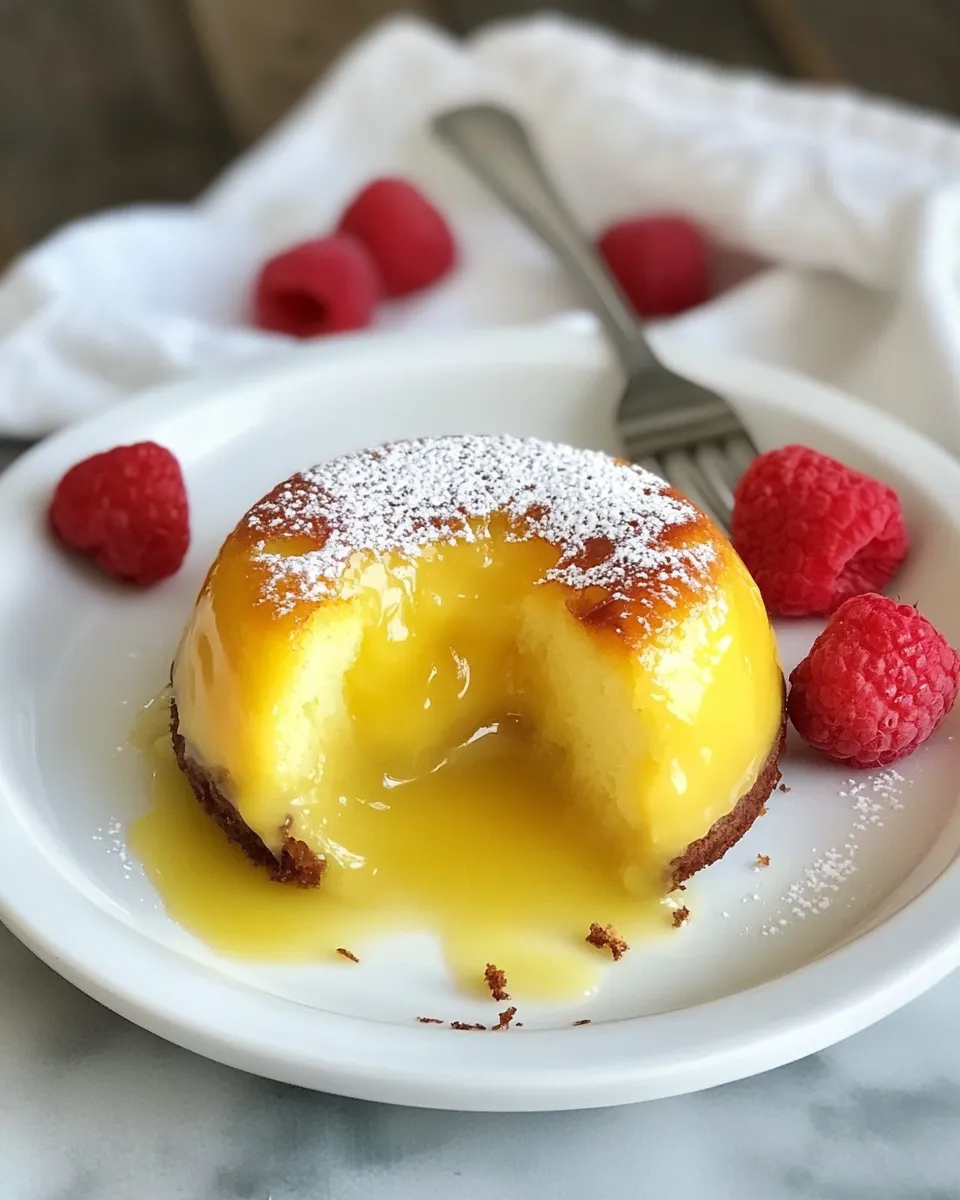
These White Chocolate Molten Lava Cakes stand out for several reasons. Firstly, the combination of white chocolate provides a sweet, creamy base that is beautifully complemented by the molten center. Unlike traditional chocolate lava cakes, the white chocolate version offers a unique flavor profile that is both luxurious and comforting. The cakes bake to perfection, creating a delicate exterior that encases a warm, flowing center that can only be described as pure bliss. And let’s not forget the garnishes—fresh raspberries, whipped cream, or a scoop of vanilla ice cream elevate this dessert to a whole new level.
Ingredient Breakdown
To create these luscious cakes, gather the following ingredients:
- 1 stick butter, plus more for greasing the ramekins
- 4 ounces white chocolate, chopped (may substitute with bittersweet chocolate for a richer flavor)
- 2 large eggs
- 2 egg yolks
- 1/2 cup sugar
- 2 teaspoons all-purpose flour, plus more for dusting the ramekins
- Garnish: Fresh raspberries, fresh mint, whipped cream, or vanilla ice cream (optional)
Each ingredient plays a crucial role in achieving the perfect texture and flavor, making each bite of these White Chocolate Molten Lava Cakes a delightful experience.
Gear Checklist
Before you start, make sure you have the following equipment:
- Ramekins: 4-ounce ramekins work best for individual servings.
- Mixing Bowls: Use one for melting chocolate and another for combining all ingredients.
- Whisk: A whisk is essential for combining the eggs and sugar smoothly.
- Double Boiler: You can create a makeshift double boiler using a heatproof bowl over a pot of simmering water for melting chocolate.
- Oven: Preheat your oven to ensure even baking.
Once you have everything ready, you can start crafting your own White Chocolate Molten Lava Cakes!
Build White Chocolate Molten Lava Cakes Step by Step
Step 1: Prepare the Ramekins
Begin by preheating your oven to 425°F (220°C). Generously grease each ramekin with butter and dust with flour, ensuring that the entire interior is coated. This will help the cakes release easily after baking.
Step 2: Melt the Chocolate and Butter
In a double boiler, combine the chopped white chocolate and 1 stick of butter. Stir occasionally until both ingredients are melted and smooth. Remove from heat and let cool slightly.
Step 3: Whisk the Eggs
In a separate mixing bowl, whisk together the eggs, egg yolks, and sugar until the mixture is pale and slightly thickened. This should take about 2-3 minutes.
Step 4: Combine Mixtures
Gently fold the melted chocolate mixture into the egg mixture, being careful not to deflate the eggs.
Step 5: Add Flour
Sift the flour into the mixture and fold it in until just combined. Do not overmix; you want to maintain the light, airy texture.
Step 6: Fill Ramekins
Evenly distribute the batter among the prepared ramekins, filling each about 3/4 full.
Step 7: Bake the Cakes
Place the ramekins on a baking sheet and bake in the preheated oven for 12-14 minutes. The edges should be set, but the center should still jiggle slightly.
Step 8: Let Them Rest
Remove the cakes from the oven and let them sit for about 1 minute. This allows the cakes to firm up just enough to be inverted without breaking.
Step 9: Serve and Enjoy
Carefully run a knife around the edges of each ramekin to loosen the cakes. Invert onto a plate and serve immediately. Top with fresh raspberries, mint, whipped cream, or a scoop of vanilla ice cream for an extra special touch.
Seasonal Twists
Want to mix things up? Here are some seasonal twists you can try with your White Chocolate Molten Lava Cakes:
- Fall: Add a pinch of cinnamon or nutmeg to the batter for a warm, spiced flavor.
- Winter: Incorporate peppermint extract into the chocolate mixture for a festive touch.
- Spring: Add lemon zest to brighten up the flavor and pair beautifully with fresh berries.
- Summer: Serve with a berry compote or fresh peaches for a refreshing twist.
If You’re Curious
Molten lava cakes are believed to have originated in the United States in the early 1980s. Their popularity skyrocketed in restaurants across the country, and they have since become a beloved dessert worldwide. The concept of a cake with a gooey center has led to many variations, but the classic white chocolate version remains a favorite for its creamy sweetness.
Keep-It-Fresh Plan
If you have leftover White Chocolate Molten Lava Cakes, store them in an airtight container in the refrigerator for up to 2 days. To reheat, place them in the microwave for about 20-30 seconds, or warm them in a preheated oven at 350°F (175°C) for 5-7 minutes. This will bring back that delightful molten center.
Your Top Questions
Can I make these lava cakes in advance?
Yes! You can prepare the batter and fill the ramekins ahead of time. Cover them tightly and store them in the refrigerator. Bake them just before serving, adding an extra minute or two to the baking time if they are cold.
What can I substitute for white chocolate?
If you prefer a richer flavor, you can substitute bittersweet or semisweet chocolate. Keep in mind that this will change the flavor profile from sweet to more intense chocolatey goodness.
How can I tell if the cakes are done baking?
The edges should be set and firm, while the center will still have a slight jiggle. It’s crucial not to overbake, as this will result in a cake that is not molten in the center.
Can I freeze these molten lava cakes?
Yes, you can freeze the unbaked batter in the ramekins. Just be sure to wrap them tightly in plastic wrap. When you’re ready to bake, there’s no need to thaw; simply bake them directly from the freezer, adding a couple of extra minutes to the baking time.
More from the Kitchen
- Sally’s Baking Addiction – A treasure trove of baking recipes and tips.
- Pinch of Yum – Delicious recipes that are easy to follow.
- Minimalist Baker – Simple, quick recipes for busy home cooks.
The Takeaway
Creating the perfect White Chocolate Molten Lava Cakes is a journey worth taking. With simple ingredients and easy steps, you can craft an indulgent dessert that will impress anyone fortunate enough to share it with you. Whether for a dinner party or a quiet night at home, these cakes promise a delightful experience with every luscious bite. So, gather your ingredients, preheat that oven, and prepare to indulge in the sweet, molten magic that is white chocolate lava cake!

White Chocolate Molten Lava Cakes
Ingredients
Equipment
Method
- Step 1: Prepare the Ramekins. Preheat your oven to 425°F (220°C). Generously grease each ramekin with butter and dust with flour.
- Step 2: Melt the Chocolate and Butter. In a double boiler, combine the chopped white chocolate and 1 stick of butter. Stir until melted and smooth.
- Step 3: Whisk the Eggs. In a separate bowl, whisk together the eggs, egg yolks, and sugar until pale and slightly thickened (about 2-3 minutes).
- Step 4: Combine Mixtures. Gently fold the melted chocolate mixture into the egg mixture.
- Step 5: Add Flour. Sift the flour into the mixture and fold it in until just combined. Do not overmix.
- Step 6: Fill Ramekins. Evenly distribute the batter among the prepared ramekins, filling each about 3/4 full.
- Step 7: Bake the Cakes. Bake in the preheated oven for 12-14 minutes. The edges should be set, but the center should jiggle slightly.
- Step 8: Let Them Rest. Remove from the oven and let sit for about 1 minute.
- Step 9: Serve and Enjoy. Carefully run a knife around the edges, invert onto a plate, and serve immediately with garnishes.
Notes
- For a richer flavor, substitute white chocolate with bittersweet chocolate.
- Store leftovers in an airtight container in the fridge for up to 2 days.
- To reheat, microwave for 20-30 seconds or warm in a preheated oven for 5-7 minutes.