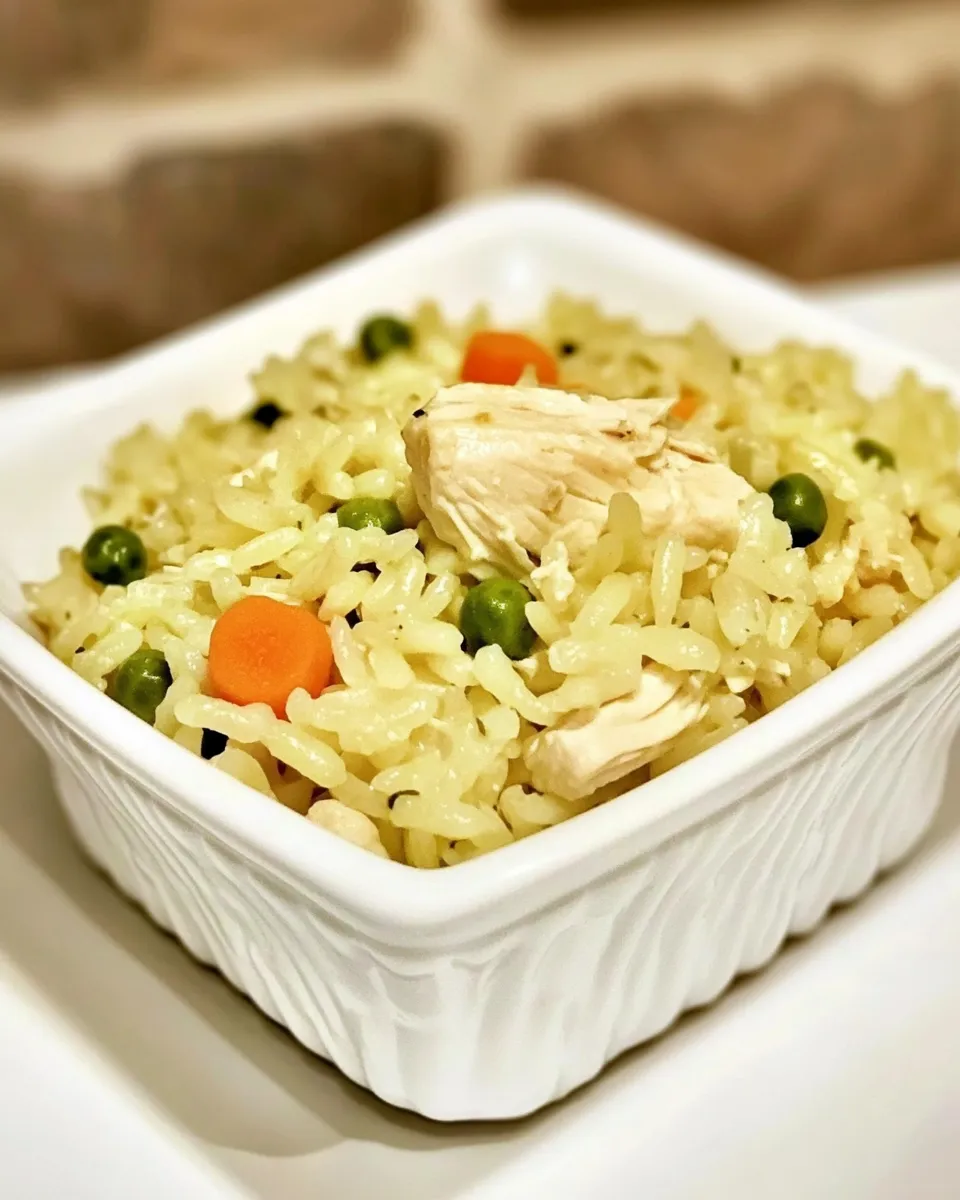
Homemade Chicken Rice-A-Roni
When it comes to comfort food, few dishes are as nostalgic as a steaming bowl of Chicken Rice-A-Roni. This homemade version not only captures the essence of the beloved boxed meal, but it also elevates it with fresh ingredients and a depth of flavor that can’t be matched by store-bought options. With just a handful of simple ingredients, you can create a delicious side dish or a satisfying main course that the whole family will adore.
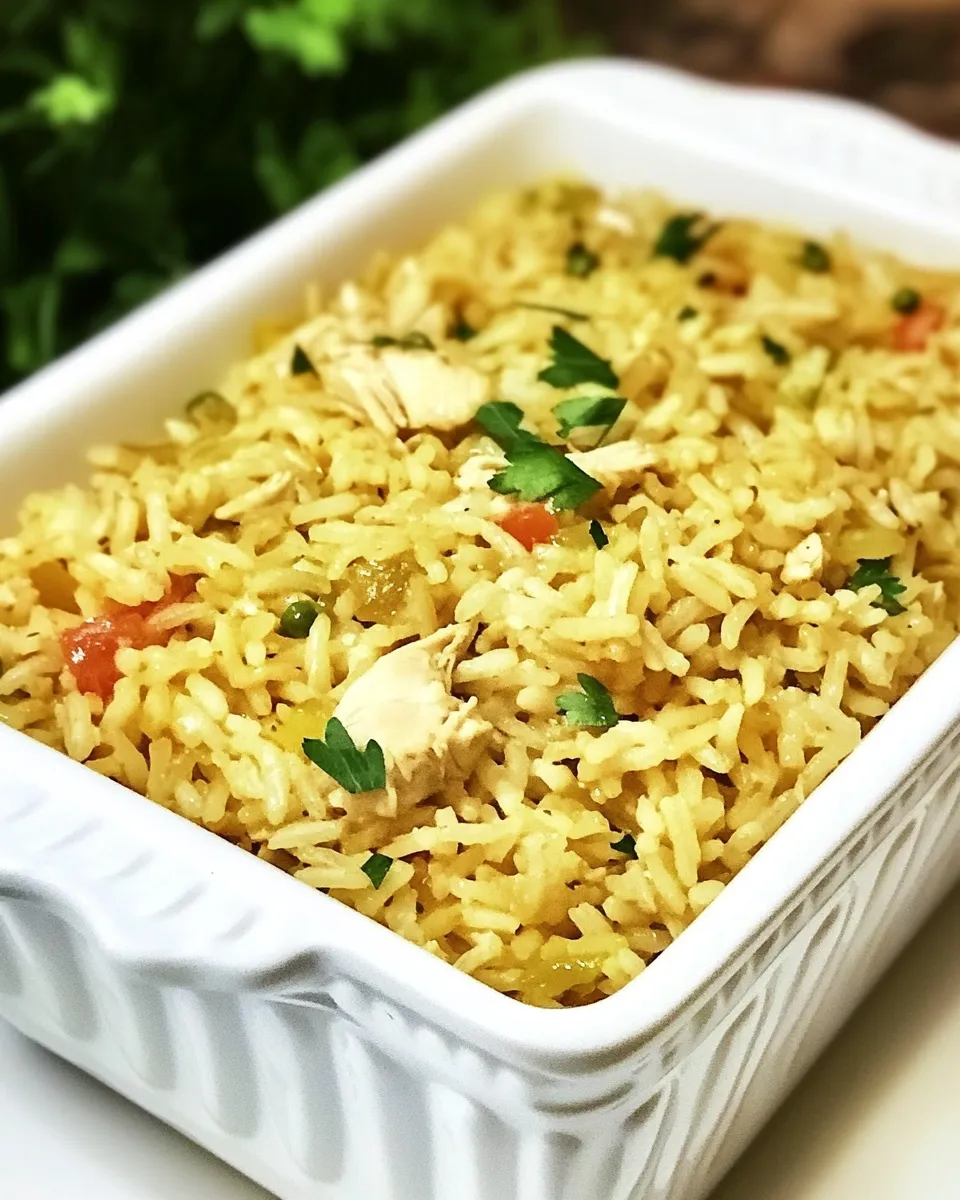
Imagine fluffy rice enveloped in a savory chicken broth, complemented by the delightful crunch of toasted vermicelli. This Homemade Chicken Rice-A-Roni is perfect for busy weeknights or as a cozy side for your favorite protein. Let’s dive into the details of what makes this dish so special and how you can whip it up in no time.
What Makes This Recipe Special
This Homemade Chicken Rice-A-Roni stands out for several reasons:
– **Flavorful Base**: The combination of chicken bouillon, Italian seasoning, and garlic powder creates a richly flavored broth.
– **Toasted Vermicelli**: Toasting the vermicelli adds a nutty depth that elevates the dish beyond your typical rice.
– **Customizable**: It’s easy to add your favorite vegetables or proteins, making it versatile for any meal.
– **Simple Ingredients**: With just a few pantry staples, you can create a comforting dish without the need for artificial additives or preservatives.
The Ingredient Lineup
To make this delicious Homemade Chicken Rice-A-Roni, you will need the following ingredients:
- 2 oz vermicelli, broken into half-inch pieces (about 1/2 cup)
- 1 cup long-grain rice, not instant
- 4 tsp chicken bouillon
- 1 tsp Italian seasoning
- 1 tsp dried parsley
- 1/2 tsp garlic powder
- 2 cups water
- 2 tbsp butter
Recommended Tools
Before you start cooking, make sure you have these tools on hand:
- Large skillet or saucepan: For cooking the rice and vermicelli together.
- Wooden spoon: For stirring the ingredients and preventing sticking.
- Measuring cups and spoons: To ensure accurate ingredient measurements.
- Cutting board and knife: If you plan to add fresh vegetables or proteins.
Cooking Homemade Chicken Rice-A-Roni: The Process
Follow these steps to create your Homemade Chicken Rice-A-Roni:
Step 1: Toast the Vermicelli
In a large skillet or saucepan, melt 1 tablespoon of butter over medium heat. Add the broken vermicelli and sauté, stirring frequently, until it is golden brown. This should take about 3-5 minutes. Keep an eye on it to prevent burning.
Step 2: Add the Rice
Once the vermicelli is toasted, add the long-grain rice to the skillet. Stir well to combine with the toasted vermicelli and cook for an additional 1-2 minutes, allowing the rice to absorb the flavors.
Step 3: Incorporate the Seasonings
Sprinkle in the chicken bouillon, Italian seasoning, dried parsley, and garlic powder. Stir thoroughly to ensure that the rice and vermicelli are evenly coated with the seasonings.
Step 4: Add the Water
Pour in the 2 cups of water and bring the mixture to a boil. Once boiling, reduce the heat to low, cover the skillet, and let it simmer for about 15-20 minutes, or until the rice is tender and the liquid has been absorbed.
Step 5: Finish with Butter
Remove the skillet from heat and add the remaining tablespoon of butter. Fluff the rice with a fork, mixing the melted butter throughout for a rich, creamy texture.
Make It Your Way
This Homemade Chicken Rice-A-Roni recipe is a fantastic base that you can customize to suit your taste. Here are some suggestions:
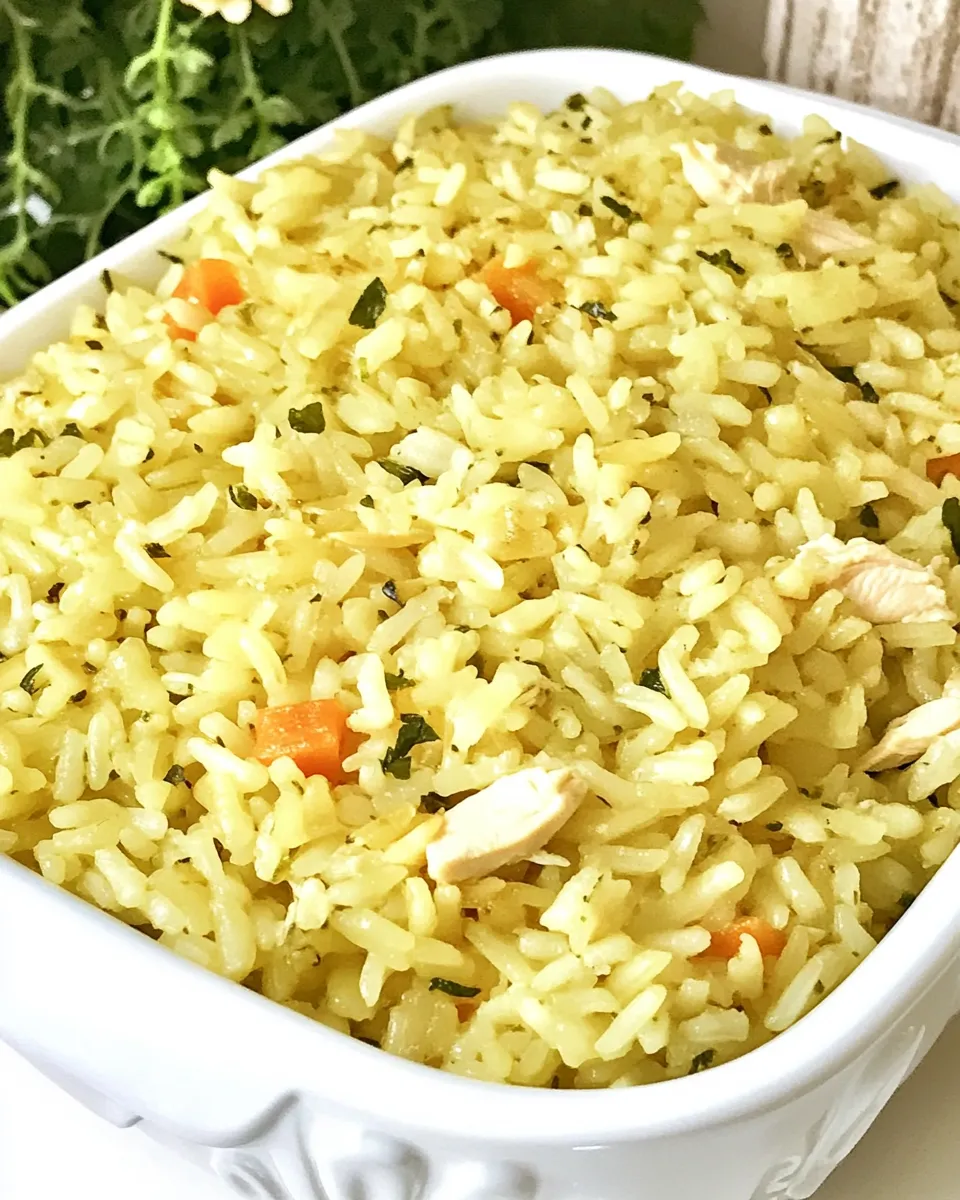
- Add Vegetables: Stir in some frozen peas, carrots, or bell peppers for a pop of color and nutrition.
- Include Protein: For a heartier meal, add cooked chicken, shrimp, or tofu.
- Spice It Up: If you enjoy heat, consider adding red pepper flakes or a splash of hot sauce.
- Herb Variations: Experiment with different herbs such as thyme or oregano for a unique flavor profile.
Recipe Notes & Chef’s Commentary
This Homemade Chicken Rice-A-Roni is best enjoyed fresh, but it can be stored in an airtight container in the refrigerator for up to 3 days. When reheating, simply add a splash of water to loosen the rice and prevent drying out.
- For a more intense flavor, consider using homemade chicken stock instead of water.
- Feel free to adjust the seasonings to your personal preference; taste as you go!
- If you prefer a creamier consistency, stir in a splash of cream or a dollop of sour cream just before serving.
Make Ahead Like a Pro
This recipe is perfect for meal prep! You can prepare the rice and vermicelli mixture ahead of time, store it in the refrigerator, and simply reheat it when you’re ready to eat. Alternatively, it can also be frozen for up to 2 months. Just remember to let it cool completely before transferring to freezer-safe containers.
Troubleshooting Q&A
What if my rice is still crunchy after cooking?
If your rice is still crunchy, it may need more liquid or time to cook. Add a bit more water (1/4 cup at a time) and cover, cooking for an additional 5-10 minutes until tender.
Can I use different types of rice?
Yes! While long-grain rice works best for this recipe, you can experiment with jasmine or basmati rice. Just adjust the cooking time as needed, as different types of rice may require varying amounts of water and cooking time.
How do I store leftovers?
Store leftovers in an airtight container in the refrigerator for up to 3 days. For longer storage, freeze the rice in portions and reheat as needed.
Can I make this dish vegetarian?
Absolutely! Simply replace the chicken bouillon with vegetable bouillon and use olive oil or a plant-based butter alternative instead of regular butter.
What to Make After This
Once you’ve mastered this Homemade Chicken Rice-A-Roni, consider trying these delicious recipes:
- Creamy Garlic Parmesan Orzo
- Lemon Herb Quinoa Salad
- Savory Mushroom Risotto
- One-Pot Cheesy Broccoli Rice
The Last Word
This Homemade Chicken Rice-A-Roni is more than just a dish; it’s a delightful experience that brings comfort and satisfaction to your dining table. With its simple preparation and delicious flavor, it’s bound to become a staple in your kitchen. Whether you enjoy it as a side dish or a main meal, this recipe is sure to impress your family and friends alike. So gather your ingredients, roll up your sleeves, and get ready to indulge in a homemade version of a classic comfort food that you can feel good about serving. Enjoy every comforting bite!
Homemade Chicken Rice-A-Roni
Ingredients
Equipment
Method
- Step 1: Toast the Vermicelli - In a large skillet or saucepan, melt 1 tablespoon of butter over medium heat. Add the broken vermicelli and sauté, stirring frequently, until it is golden brown. This should take about 3-5 minutes. Keep an eye on it to prevent burning.
- Step 2: Add the Rice - Once the vermicelli is toasted, add the long-grain rice to the skillet. Stir well to combine with the toasted vermicelli and cook for an additional 1-2 minutes, allowing the rice to absorb the flavors.
- Step 3: Incorporate the Seasonings - Sprinkle in the chicken bouillon, Italian seasoning, dried parsley, and garlic powder. Stir thoroughly to ensure that the rice and vermicelli are evenly coated with the seasonings.
- Step 4: Add the Water - Pour in the 2 cups of water and bring the mixture to a boil. Once boiling, reduce the heat to low, cover the skillet, and let it simmer for about 15-20 minutes, or until the rice is tender and the liquid has been absorbed.
- Step 5: Finish with Butter - Remove the skillet from heat and add the remaining tablespoon of butter. Fluff the rice with a fork, mixing the melted butter throughout for a rich, creamy texture.
Notes
- For a more intense flavor, consider using homemade chicken stock instead of water.
- Feel free to adjust the seasonings to your personal preference; taste as you go!
- If you prefer a creamier consistency, stir in a splash of cream or a dollop of sour cream just before serving.