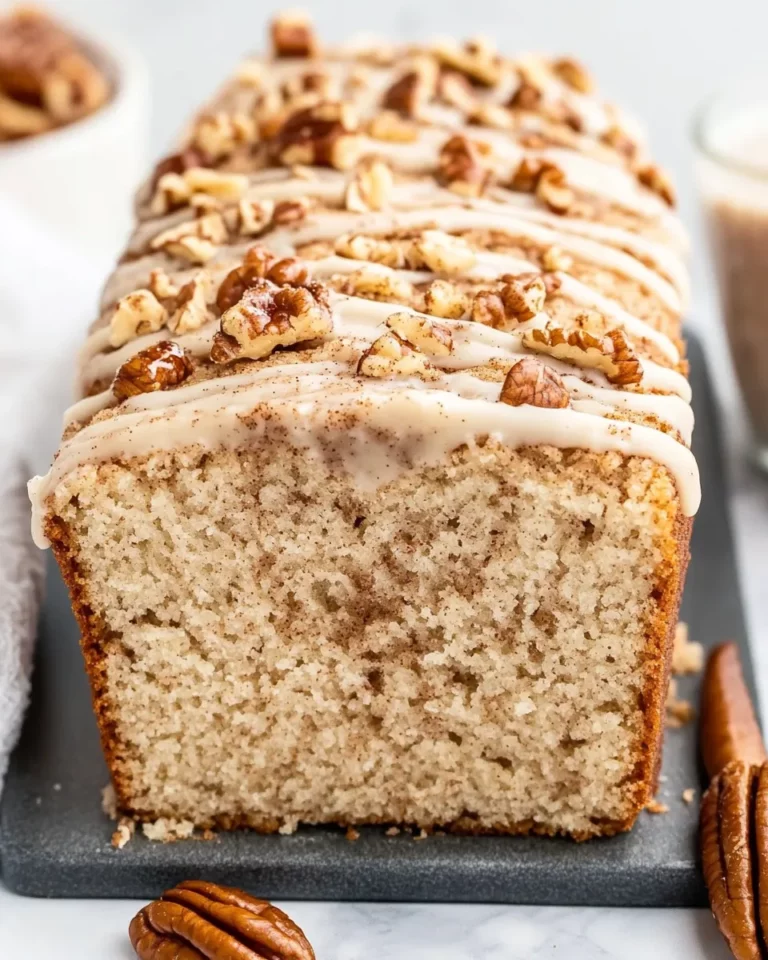
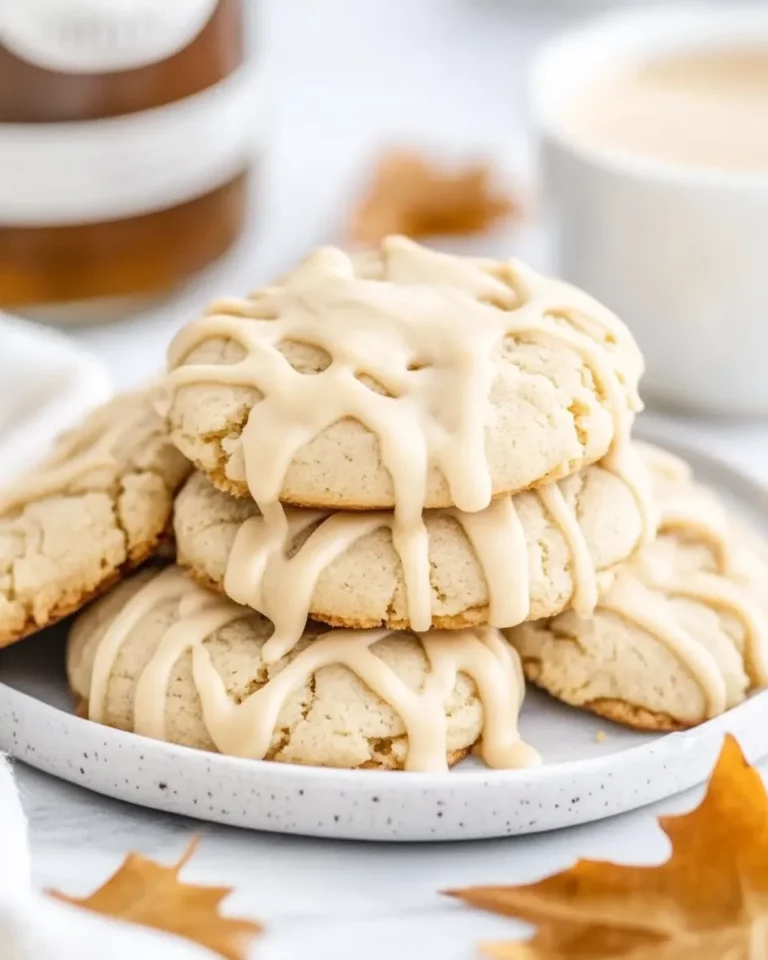
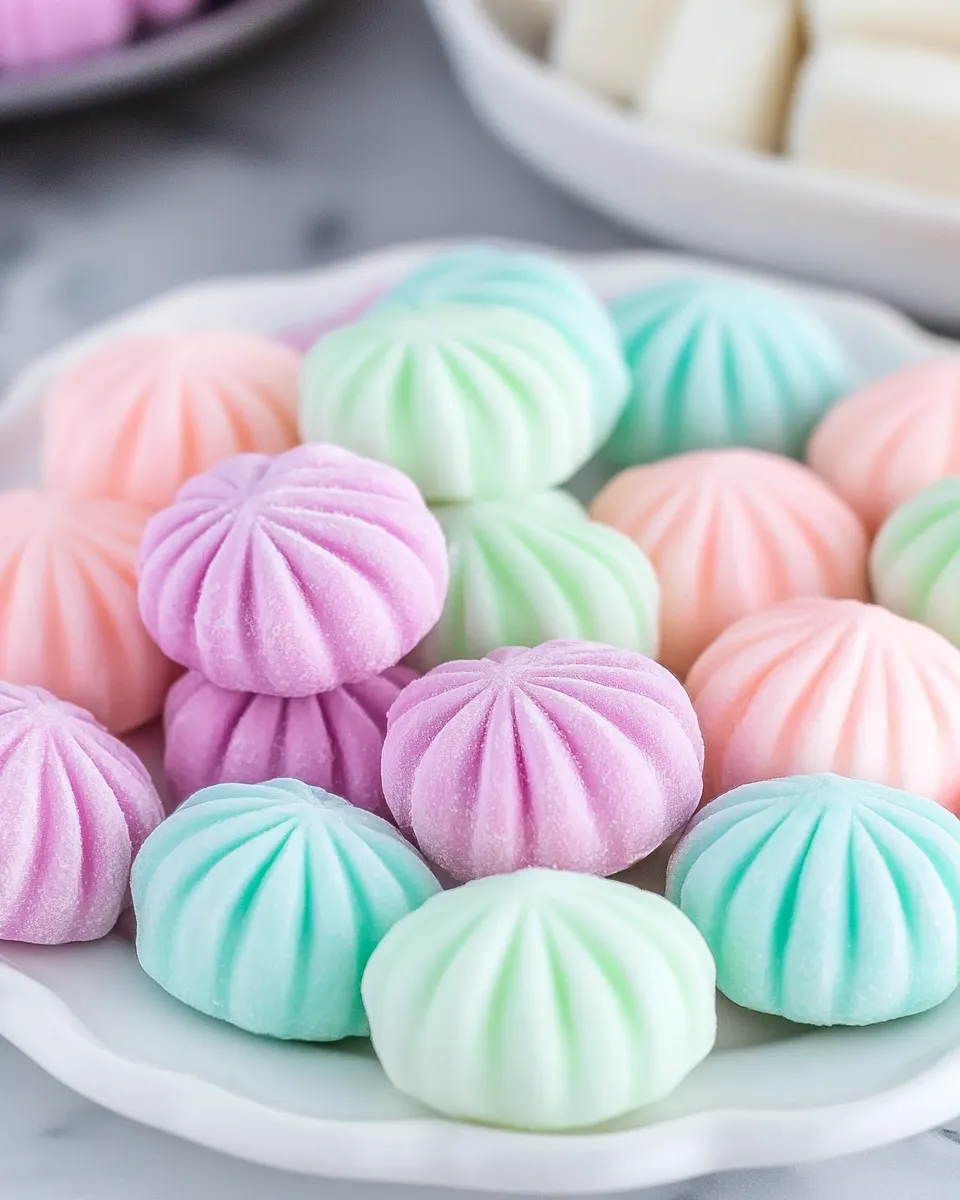
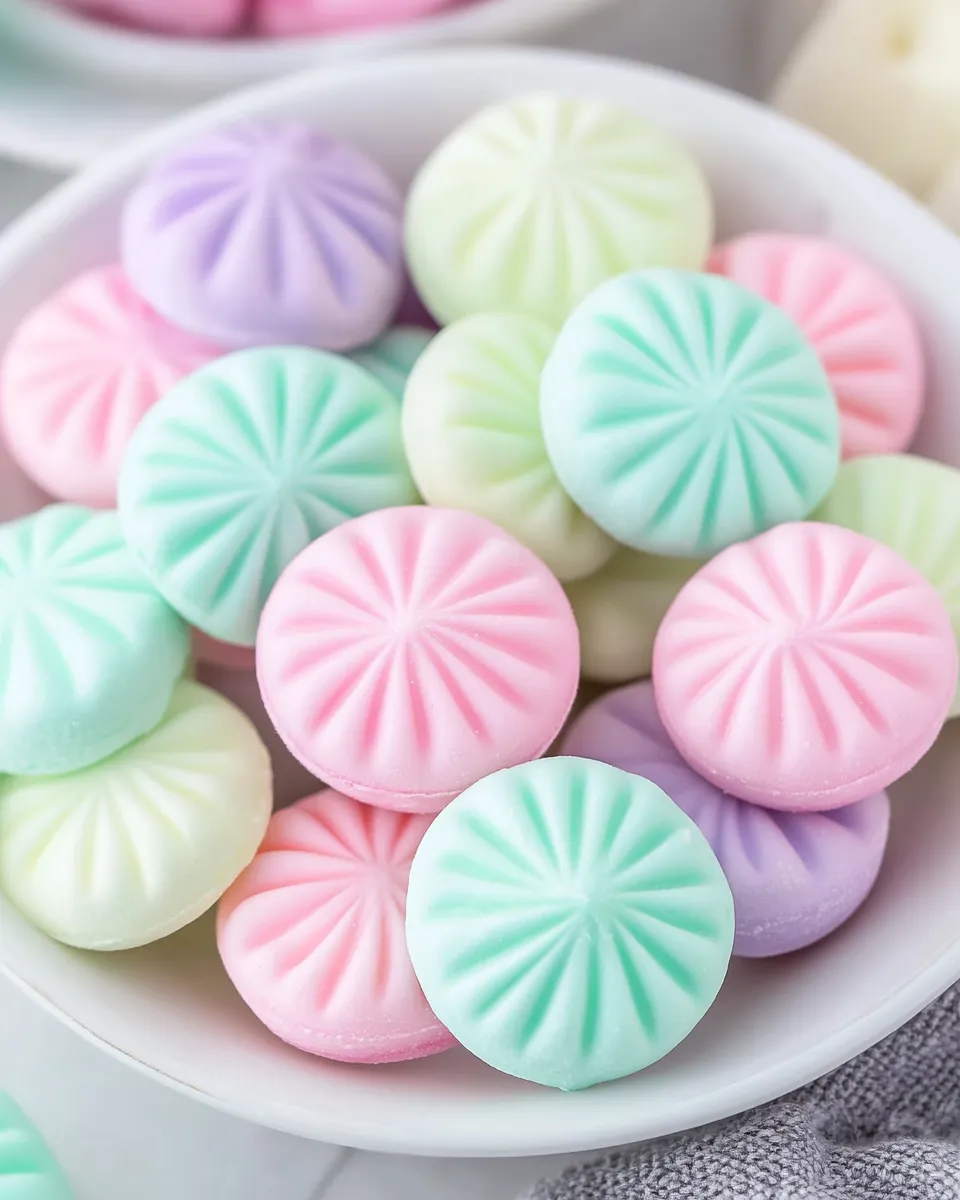
Cream Cheese Mints
Cream cheese mints are the perfect little treats for any occasion, adding a delightful touch of sweetness and flavor to your gatherings. These soft and creamy mints are not only delicious but also incredibly easy to make. Their refreshing peppermint flavor makes them a popular choice during holidays, weddings, and celebrations. Plus, you can customize them with vibrant colors to suit your theme or personal taste!
The beautiful thing about making cream cheese mints is how versatile they are. You can create various flavors and shapes, perfect for any event. Let’s dive into why this recipe is an absolute must-try and how you can whip these delightful treats in no time.
Why This Recipe Is a Must-Try

These cream cheese mints are a crowd-pleaser—it’s like getting two treats in one! The creamy texture from the cream cheese pairs perfectly with the sweet powdered sugar, while the peppermint oil brings a refreshing aftertaste. Here are a few more reasons to try this recipe:
- Easy to Make: With a straightforward mix and mold process, anyone can create these delightful mints, no expert baking skills required!
- Customizable: Change the flavor, color, and shape to perfectly match your event or personal preference.
- Great for Gifting: These mints make an excellent gift for friends and family, especially around the holidays. Package them in decorative boxes for an extra special touch.
- Perfect for Any Occasion: Whether it’s a wedding, baby shower, birthday party, or festive gathering, these mints will fit right in and please your guests.
Ingredients
To create these delightful cream cheese mints, you will need the following ingredients:
- 8 ounces cream cheese at room temperature
- 1 ½ tablespoons unsalted butter at room temperature
- 8-9 cups powdered sugar (32-36 ounces)
- 4 drops peppermint oil (adjust to taste)
- Food coloring (optional, adjust as desired)
Make sure your cream cheese and butter are at room temperature for easy mixing and a smooth texture!
How To Make Cream Cheese Mints
Step 1: Prepare Your Workspace
Start by gathering all your ingredients and tools. You will need mixing bowls, a spatula, a cookie sheet, parchment paper, and a small cookie scoop or your hands for shaping. Clean your workspace to ensure a seamless preparation process.
Step 2: Mix the Base Ingredients
In a large mixing bowl, combine the softened cream cheese and unsalted butter. Using an electric mixer or a spatula, cream them together until they are smooth and well blended. The goal is to achieve a creamy, fluffy consistency without any lumps.
Step 3: Add the Sugar and Flavoring
Gradually add in 8 cups of powdered sugar, mixing well after each addition until fully incorporated. Remember, the mixture will become quite thick, so it may be easier to switch to a spatula towards the end. Next, add the peppermint oil. Start with 4 drops; you can always add more for a stronger mint flavor. Mix until the peppermint is fully combined.
Step 4: Adjust Consistency
Check the consistency of your mint mixture. It should be pliable but not too sticky. If it’s too soft, add more powdered sugar one cup at a time until you reach the desired consistency.
Step 5: Add Food Coloring (Optional)
If you want to add color to your mints, now is the time. Divide your mixture into separate bowls if using multiple colors. Add a few drops of food coloring to each bowl and mix until you achieve your desired hue.
Step 6: Shape the Mints
Use a small cookie scoop or your hands to take a portion of the mixture and roll it into small balls or shape it into small discs. Place the shaped mints onto a cookie sheet lined with parchment paper. Ensure they are about an inch apart as they won’t spread.
Step 7: Chill the Mints
Once all your mints are shaped, place the cookie sheet in the refrigerator for at least 30-60 minutes. This will help them firm up, making them easier to handle and giving them that perfect minty texture.
Step 8: Serve and Enjoy!
After chilling, your creamy mints are ready to be served. You can store them in an airtight container in the refrigerator for a week. Enjoy these delightful minty treats at your next gathering or share them with friends!
Expert Tips

To ensure your cream cheese mints turn out perfect every time, consider these expert tips:
- Let the cream cheese and butter soften at room temperature for easier blending.
- Keep a clean workspace; it helps maintain a good flow and makes cleaning up easier.
- Add food coloring in small increments to avoid over-saturating the mixture.
- Store mints in a cool place as heat can cause them to soften and lose shape.
Variations and Customizations
Feel free to get creative with these cream cheese mints by experimenting with different variations:
- Flavor Variations: Instead of peppermint, try using other extracts like vanilla, almond, or even orange.
- Different Colors: Customize the appearance by mixing food colors or even using edible glitter for sparkle.
- Shaped Mints: Use molds to create fun shapes for holidays or special occasions.
- Add-ins: Consider folding in crushed candies, like candy canes or chocolate chips, for added texture.
How to Store Leftovers
To keep your cream cheese mints fresh, store them in an airtight container in the refrigerator. They will last for about one week. You can also freeze the mints for longer storage. Place them in a freezer-safe container or bag, and they can be kept for up to three months. When ready to enjoy, simply thaw them in the fridge overnight before serving.
FAQ
Can I use cream cheese alternative for this recipe?
Yes, you can use a cream cheese alternative or cream cheese spread for a dairy-free version, but be sure to choose one that suits your dietary restrictions.
What can I do if my mints are too soft?
If your mints are too soft, gradually add more powdered sugar until the desired consistency is achieved. Chilling them in the refrigerator can also help firm them up.
Can I use different flavors instead of peppermint?
Absolutely! Feel free to substitute the peppermint oil with your favorite extract, like vanilla, almond, or lemon, for a unique twist.
Can I make these mints ahead of time?
Yes, you can make these mints a few days in advance. Just be sure to store them properly in the fridge in an airtight container.
Conclusion
Cream cheese mints are a delightful treat that brings a sweet touch to any occasion. With minimal effort and the ability to customize flavors and colors, these creamy delights are sure to impress your guests. Whether you’re making them for a special event or just for fun, they will surely bring smiles to everyone’s faces. So gather your ingredients and get started on these tasty mints—happy baking!

Cream Cheese Mints
Equipment
- Mixing Bowl
- Electric Mixer
- Cookie Sheet
- Parchment Paper
- Small Cookie Scoop
Ingredients
Base Ingredients
- 8 ounces Cream Cheese at room temperature
- 1.5 tablespoons Unsalted Butter at room temperature
- 8-9 cups Powdered Sugar (32-36 ounces)
- 4 drops Peppermint Oil adjust to taste
- Food Coloring optional, adjust as desired
Instructions
- Step 1: Prepare Your Workspace. Gather all your ingredients and tools. Clean your workspace to ensure a seamless preparation process.
- Step 2: Mix the Base Ingredients. In a large mixing bowl, combine the softened cream cheese and unsalted butter. Cream them together until smooth and well blended.
- Step 3: Add the Sugar and Flavoring. Gradually add in 8 cups of powdered sugar, mixing well after each addition. Add the peppermint oil and mix until fully combined.
- Step 4: Adjust Consistency. Check the consistency of your mint mixture. If it’s too soft, add more powdered sugar one cup at a time.
- Step 5: Add Food Coloring (Optional). If desired, divide your mixture and add food coloring to achieve your desired hue.
- Step 6: Shape the Mints. Use a small cookie scoop or your hands to roll the mixture into small balls or discs. Place them on a cookie sheet lined with parchment paper.
- Step 7: Chill the Mints. Refrigerate the cookie sheet for at least 30-60 minutes to firm up the mints.
- Step 8: Serve and Enjoy! After chilling, serve the mints. Store in an airtight container in the refrigerator for up to a week.