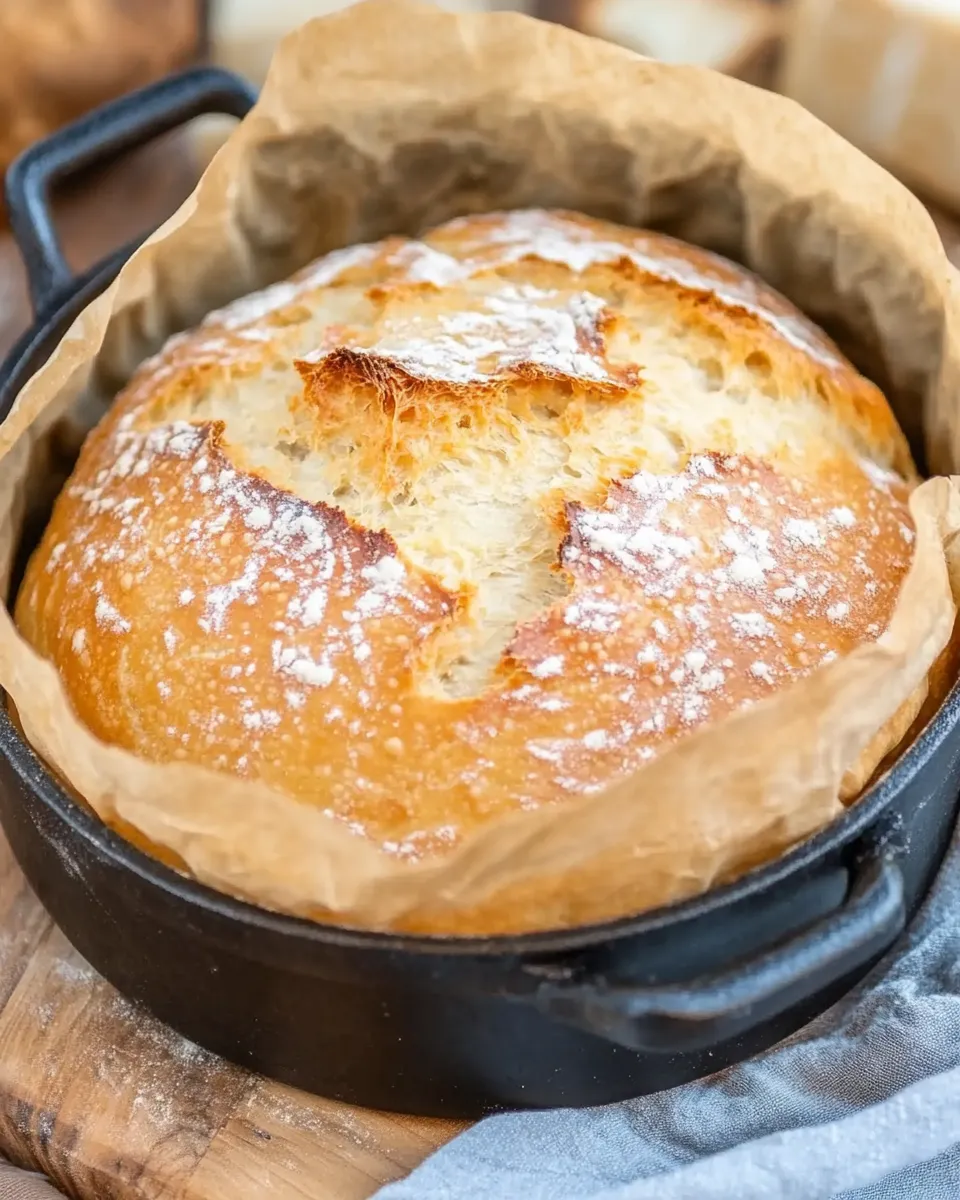
Dutch Oven Bread
There’s something magical about baking your own bread at home. The smell wafting through your kitchen, the satisfaction of watching dough transform into golden crusty goodness, and the delightful taste of warm, fresh bread straight from the oven—it’s an experience like no other. Today, I’m excited to share with you my go-to recipe for Dutch Oven Bread. Simple, rustic, and oh-so-delicious, this bread is perfect for any meal or simply enjoyed with a pat of butter for a snack.
Why This Recipe Is a Must-Try
This Dutch Oven Bread recipe is a game changer for home bakers. It requires minimal ingredients and effort, yet yields bakery-quality bread. The beauty of this recipe lies in its no-knead approach, allowing for a light and airy crumb without the workout. The Dutch oven creates a steamy environment that mimics a professional bread oven, resulting in that coveted crispy crust. Whether you’re a novice or an experienced baker, this bread will impress everyone at your table.
Ingredients
To get started on this delicious dough, here’s what you’ll need:
- 4 ½ cups all-purpose flour
- 2 cups lukewarm water
- 1 ½ teaspoons salt
- 2 teaspoons active dry yeast
It’s crucial to measure your flour accurately for the best results. Too much flour can lead to a dense loaf, while too little can make your bread overly sticky.
How To Make Dutch Oven Bread
Step 1: Prepare the Dough
In a large mixing bowl, combine the lukewarm water and active dry yeast. Let it sit for about 5 minutes, or until the yeast is frothy. This step is important as it activates the yeast and ensures your bread will rise beautifully.
Next, add the salt and 4 ½ cups of all-purpose flour to the bowl. Using a wooden spoon or spatula, mix the ingredients until they form a shaggy, sticky dough. Don’t worry about perfect incorporation; a few lumps are perfectly fine!
Step 2: First Rise
Cover the bowl with plastic wrap or a clean kitchen towel and let it rest at room temperature for 12 to 18 hours. The long fermentation process develops flavor and improves the texture of your bread. You’ll know it’s ready when the dough has doubled in size and is bubbly on the surface.
Step 3: Shape the Dough
After the first rise, gently flour a clean surface and turn the dough onto it. With floured hands, fold the dough over onto itself a couple of times to form a rough ball. Be careful not to deflate it too much; you want to keep those airy bubbles.
Step 4: Second Rise
Place the dough seam-side down on a piece of parchment paper. Cover the dough with a kitchen towel and let it rise for another 30 minutes. While it rises, preheat your oven to 450°F (232°C) and place the Dutch oven (with its lid) inside to heat up.
Step 5: Bake the Bread
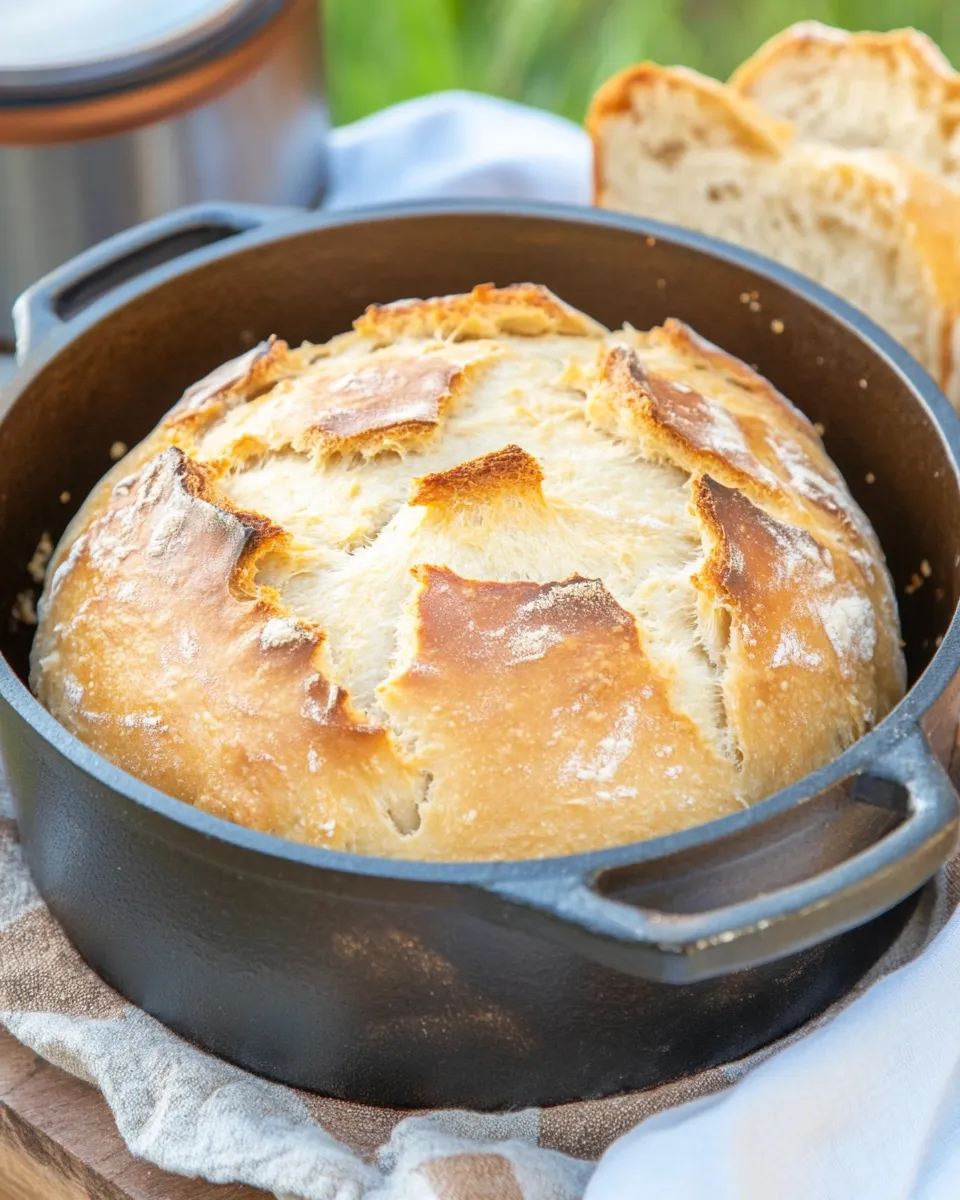
Once the dough has finished its second rise and the oven is hot, carefully remove the Dutch oven using oven mitts. Remove the lid and lift the parchment paper with the dough and place it inside the hot Dutch oven. This ensures the bread maintains its shape and doesn’t stick.
Cover the Dutch oven with the lid and bake for 30 minutes. After that, remove the lid and bake for an additional 15-20 minutes until the bread is a rich golden brown and sounds hollow when tapped on the bottom.
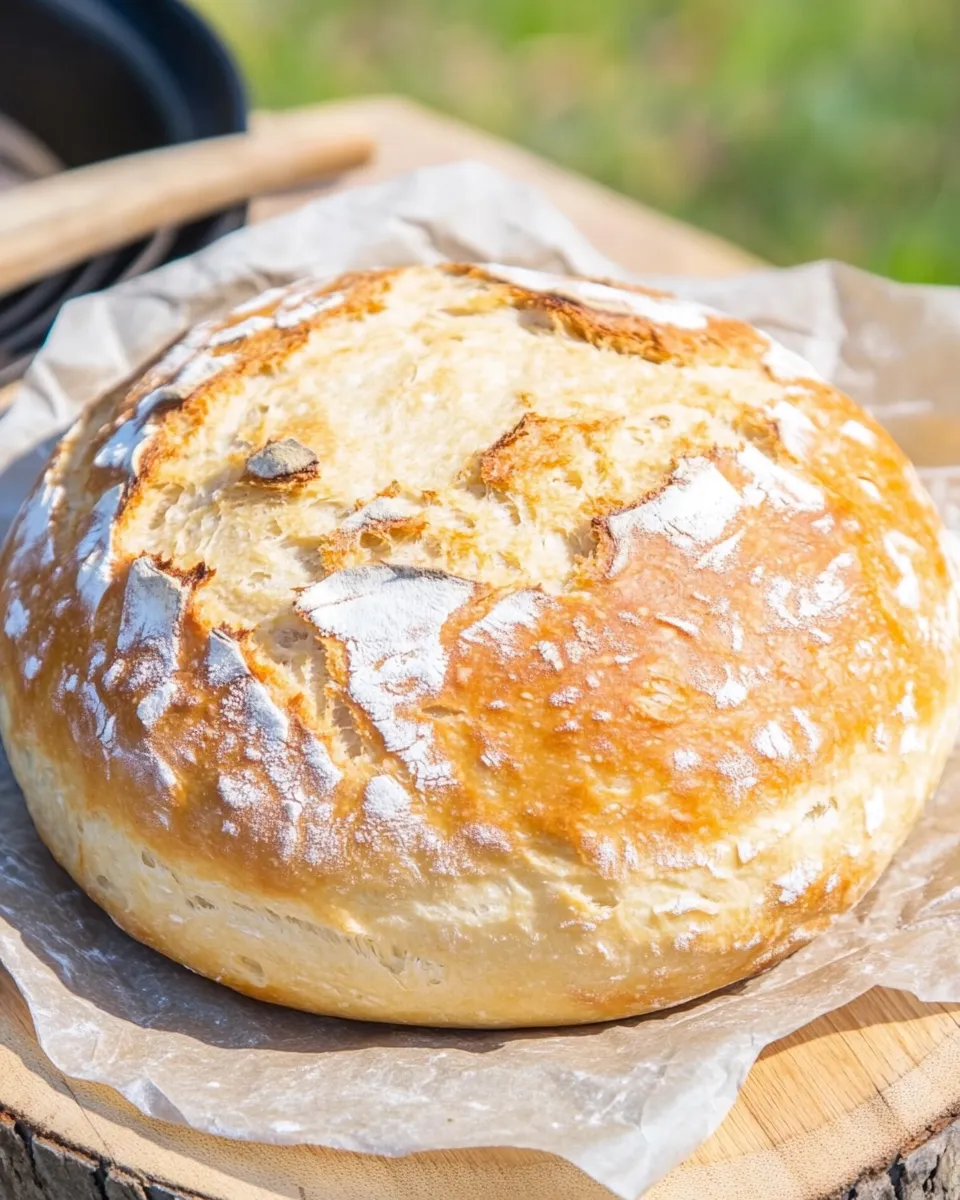
Step 6: Cool the Bread
Once baked, carefully remove the bread from the Dutch oven using the parchment paper and let it cool on a wire rack for at least 30 minutes before slicing. This cooling time allows the interior to set properly and will give you those perfect slices.
Expert Tips
- For better flavor, try adding herbs or spices to the flour mixture, such as rosemary or garlic powder.
- If you want a more pronounced crust, spritz water into the oven when you place the bread inside, or place a pan of water on the bottom rack while it bakes.
- Experiment with different flours! You can mix in whole wheat flour or even rye flour for a different taste and texture.
- Make sure your yeast is fresh. Expired yeast may lead to poor rising and dense bread.
Variations and Customizations
- Add freshly chopped herbs such as thyme or parsley for an extra flavor boost.
- For a cheesy twist, mix in shredded cheese such as cheddar or parmesan before the first rise.
- Swap out some of the all-purpose flour for bread flour to create a chewier texture.
- Incorporate dried fruits like cranberries or nuts for a delicious, wholesome loaf perfect for breakfast!
How to Store Leftovers
To keep your Dutch Oven Bread fresh, store it at room temperature in a bread bag or wrapped in a clean kitchen towel. This will help maintain its crusty exterior while keeping the inside soft. For longer storage, you can freeze slices of bread. Place them in an airtight container or freezer bag, and they’ll be good for up to 3 months. When ready to enjoy, simply thaw at room temperature or pop slices in the toaster.
FAQ
Can I use instant yeast instead of active dry yeast?
Yes, you can substitute instant yeast for active dry yeast in this recipe. Use the same amount and mix it directly with the flour for convenience.
What should I do if my dough doesn’t rise?
If your dough does not rise, it could be due to expired yeast or too cold of an environment. Ensure your yeast is fresh and try placing your dough in a warm spot, such as the oven with the light on.
Can I add other ingredients to the dough?
Absolutely! You can personalize your bread by adding herbs, spices, cheese, or even seeds. Just ensure that the overall moisture content remains balanced.
Why is my bread dense?
A dense loaf may result from too much flour, inadequate rising time, or using old yeast. Make sure to measure your ingredients accurately and allow sufficient time for the dough to rise.
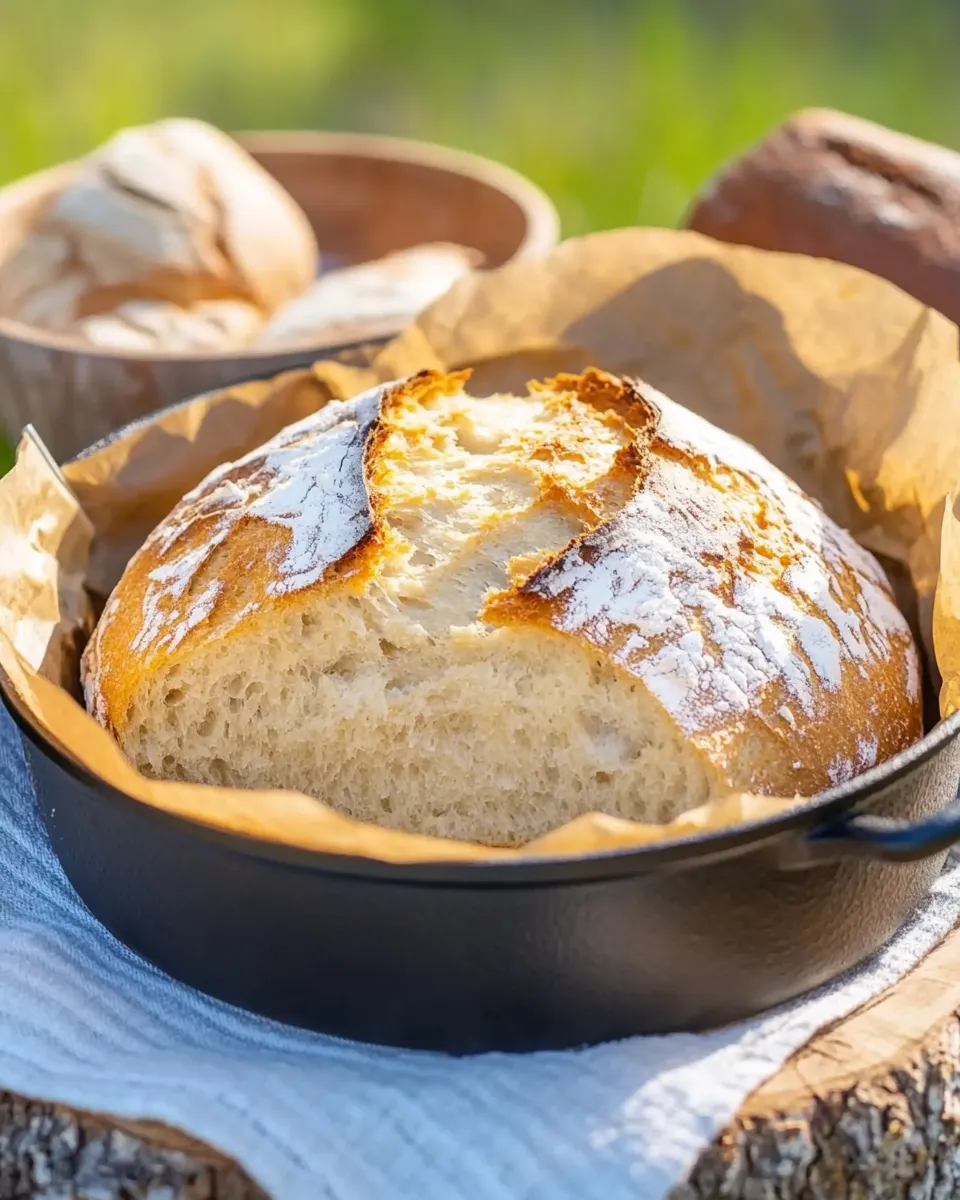
Conclusion
Baking Dutch Oven Bread is a straightforward process that yields delicious results, perfect for any occasion. As you master this recipe, you’ll feel more confident in your baking skills and be tempted to mix in your unique twists. Whether you’re enjoying a hearty slice with dinner, slathered in butter, or toasted for breakfast, this bread is sure to become a staple in your kitchen. Happy baking!
Dutch Oven Bread
Equipment
- Dutch Oven
- Mixing Bowl
- Wooden Spoon
- Parchment Paper
Ingredients
Dry Ingredients
- 4.5 cups All-Purpose Flour Measure accurately for best results.
- 1.5 teaspoons Salt
Wet Ingredients
- 2 cups Lukewarm Water
- 2 teaspoons Active Dry Yeast Ensure yeast is fresh.
Instructions
- Step 1: In a large mixing bowl, combine the lukewarm water and active dry yeast. Let it sit for about 5 minutes until frothy.
- Step 2: Add salt and flour to the bowl. Mix until a shaggy dough forms.
- Step 3: Cover the bowl and let it rest at room temperature for 12 to 18 hours.
- Step 4: Turn the dough onto a floured surface and shape it into a ball. Let it rise for another 30 minutes.
- Step 5: Preheat the oven to 450°F (232°C) and place the Dutch oven inside to heat up.
- Step 6: Place the dough in the hot Dutch oven and bake covered for 30 minutes, then uncovered for an additional 15-20 minutes.
- Step 7: Remove the bread and let it cool on a wire rack for at least 30 minutes before slicing.