Banana Cream Delight
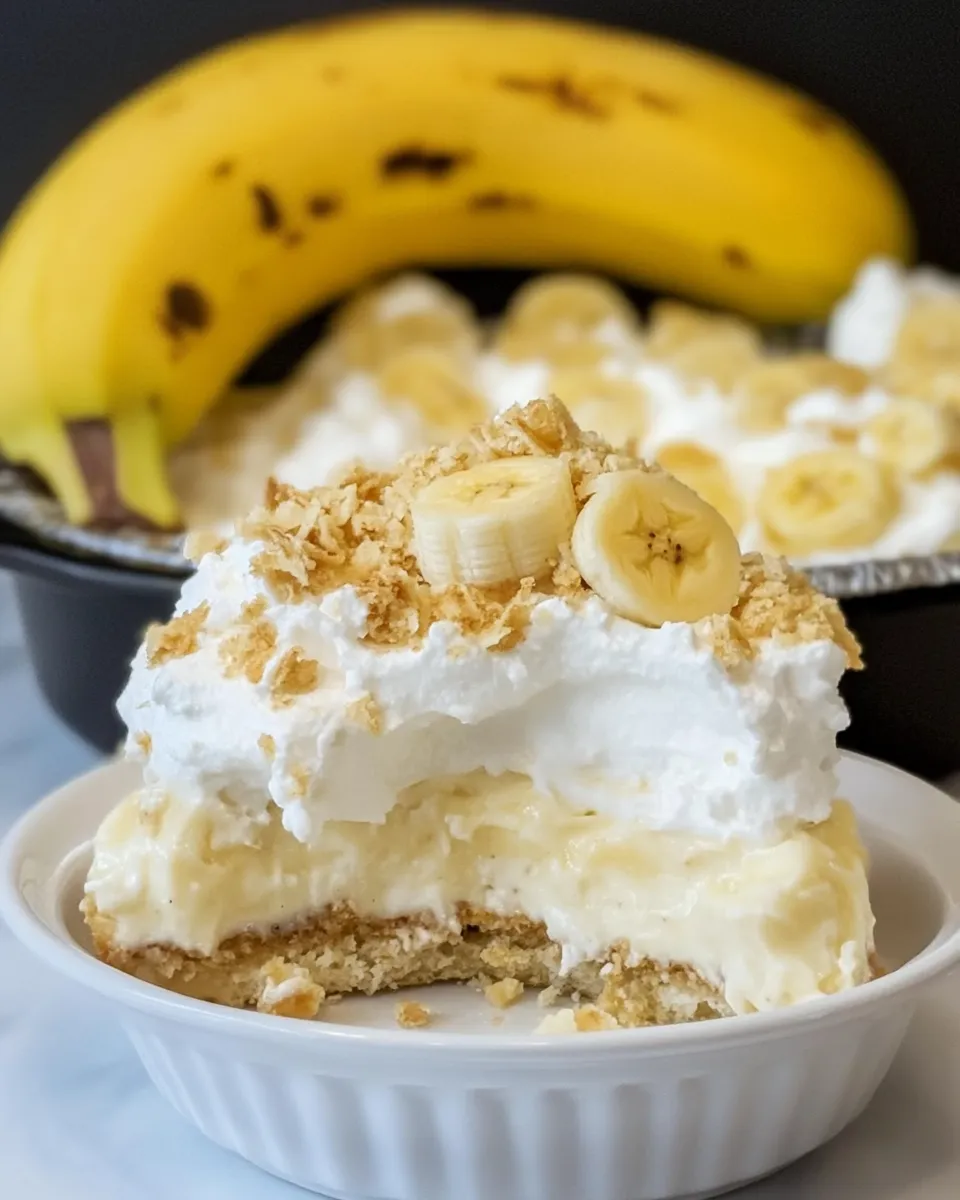
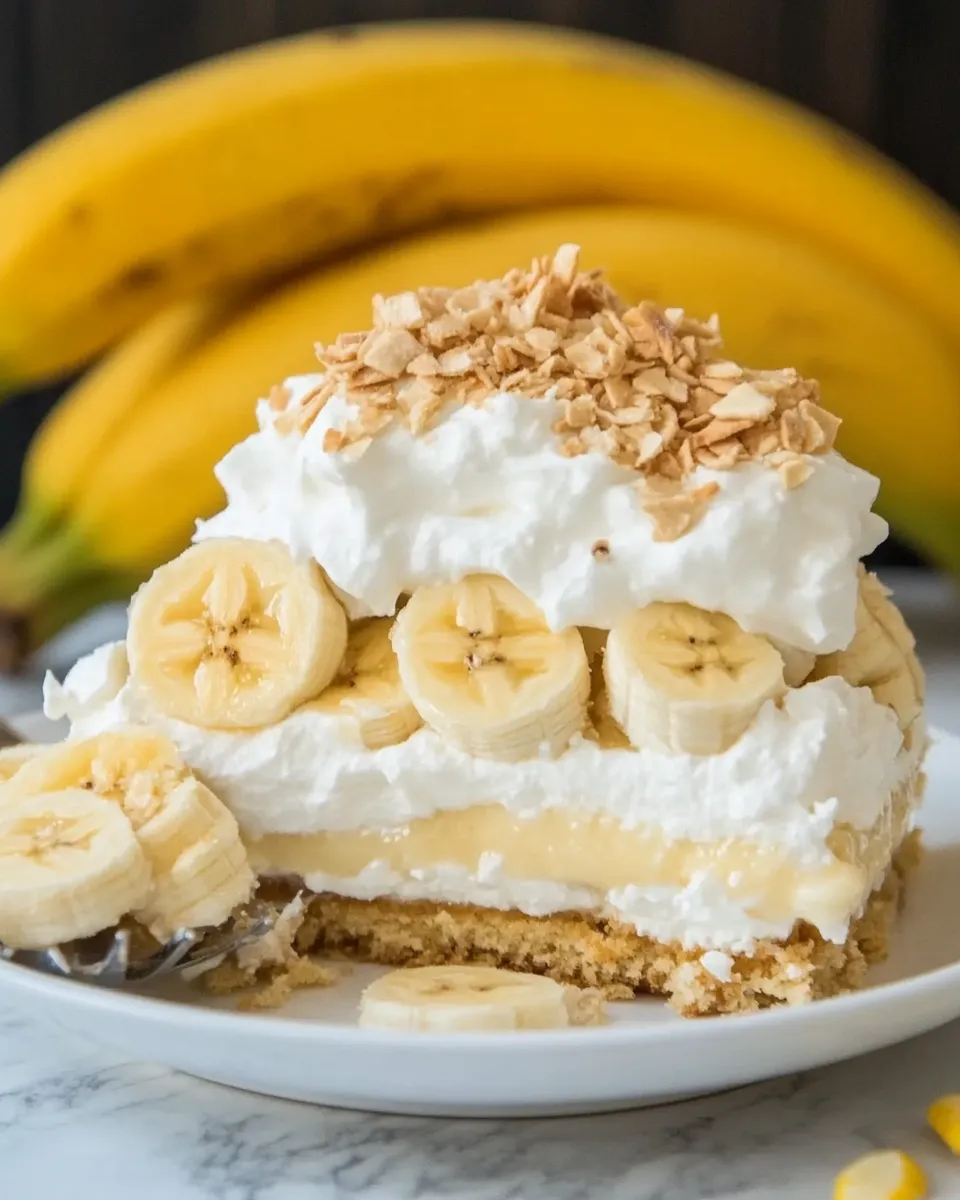
This is a straightforward, crowd-pleasing layered banana cream bar that I reach for when I want something that looks special but doesn’t demand all day. It builds from a buttery vanilla-wafers crust, moves through a tangy cream cheese layer, then a pillowy pudding and whipped cream finish. The contrast of textures — crisp crust, creamy layers, soft bananas, and a crunchy coconut-pecan sprinkle — is what makes it memorable.
I like this for potlucks because you can make most of it ahead and finish with the topping the same day. The recipe uses instant pudding for speed and stabilizes the dessert with a cream cheese layer so the bars hold together when you slice them. It’s forgiving, too: if a banana slices a little thicker or you over-whip the cream a touch, you still get a great dessert.
Below you’ll find the ingredient notes, the exact step-by-step directions, and practical tips I learned while testing. Read the gotchas before you start so nothing surprises you midway through. Then, bring this to a gathering and enjoy the easy applause.
Ingredient Rundown
Ingredients
- 75 Vanilla wafers — The base of the crust. Crush them very fine for a compact, even layer.
- 1/4 cup granulated sugar — Sweetens the crust and helps it brown slightly while baking.
- 1/2 cup butter, melted — Binds the wafer crumbs and firms up the crust as it cools.
- 8 ounces cream cheese, room temperature — Adds tang and structure to the first creamy layer; soften it fully for a smooth filling.
- 1 cup heavy cream — Whipped into the cream cheese mixture to lighten texture and add richness.
- 1 cup powdered sugar — Sweetens the cream cheese mixture without graininess; sift if lumpy.
- 1 (5.1-ounce) box instant vanilla pudding mix — Sets quickly and gives the dessert a silky, stable middle layer.
- 2 cups milk — Liquid for the instant pudding; whole milk gives the best flavor and body.
- 3 ripe bananas — Sliced and layered for flavor and moisture. Use ripe but not overripe bananas to avoid excess browning.
- 2 cups heavy cream — Whipped with powdered sugar to top the dessert; provides a light, airy finish.
- 1/2 cup powdered sugar — Sweetens the whipped cream. Adjust slightly to taste if you prefer less sweet.
- 1/3 cup chopped toasted pecans — Adds crunch and a toasty note. Toast separately to intensify flavor.
- 1/3 cup toasted sweetened shredded coconut — Offers chew and sweetness; toasting deepens the aroma and prevents sogginess.
Directions: Banana Cream Delight
- Preheat the oven to 350°F.
- Crush 75 vanilla wafers into fine crumbs (use a food processor or place wafers in a sealed plastic bag and crush with a rolling pin). In a medium bowl, combine the wafer crumbs, 1/4 cup granulated sugar, and 1/2 cup melted butter. Press the mixture evenly into the bottom of a 9×13-inch pan.
- Bake the crust for 10 minutes. Remove from the oven and let it cool completely in the pan.
- In a large bowl, use an electric mixer to beat 8 ounces cream cheese (room temperature) and 1 cup heavy cream together until smooth. Add 1 cup powdered sugar and beat until the mixture is smooth and creamy.
- Spread the cream cheese filling evenly over the cooled crust.
- In a medium bowl, whisk 1 (5.1-ounce) box instant vanilla pudding mix with 2 cups milk until the pudding starts to thicken (about 1–2 minutes). Pour the pudding evenly over the cream cheese layer and spread gently.
- Thinly slice 3 ripe bananas and arrange the slices in a single layer over the pudding.
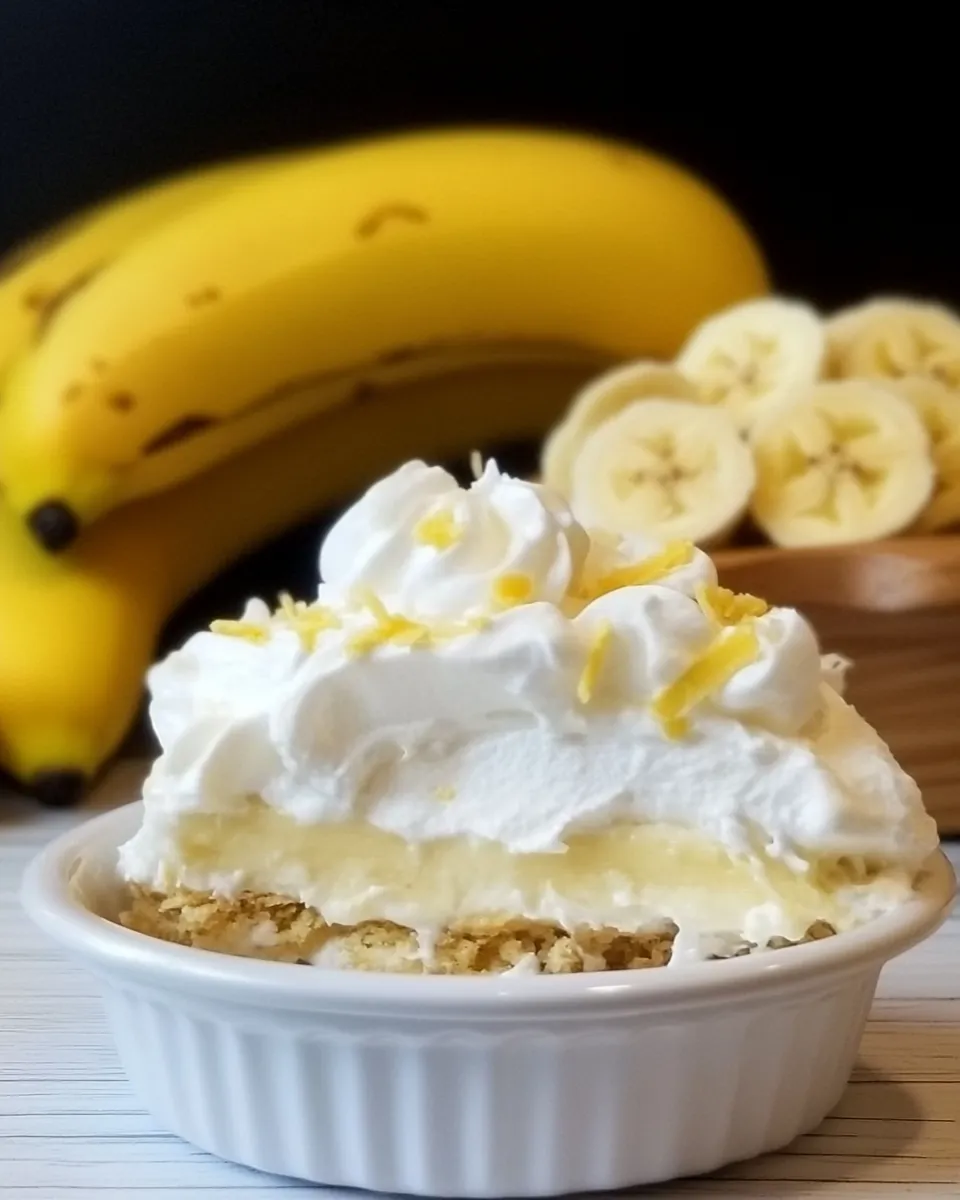
- In a clean bowl, beat 2 cups heavy cream with 1/2 cup powdered sugar using an electric mixer until stiff peaks form. Spread the whipped cream over the banana layer.
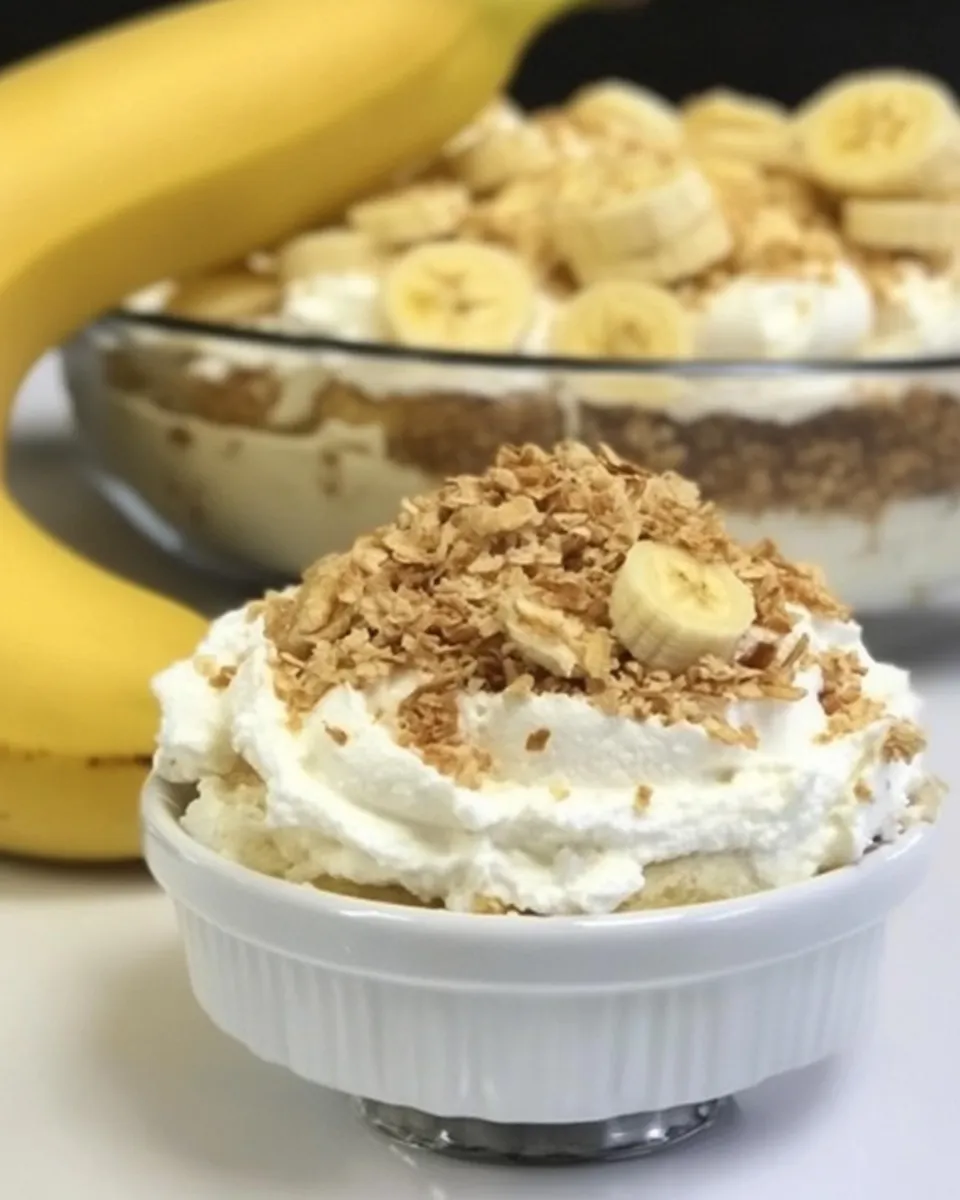
- Sprinkle 1/3 cup chopped toasted pecans and 1/3 cup toasted sweetened shredded coconut evenly over the whipped cream.
- Refrigerate for at least 1 hour before serving.
What You’ll Love About This Recipe
It’s layered, not complicated. Each component is simple on its own, but combined they read as an elevated dessert. The crust is quick to make and holds the bars together, the cream cheese layer adds a subtle tang that cuts through the sweetness, and the instant pudding gives you a silky set without a double-boiler or custard technique.
Texture is the standout. You get a buttery crunch, a dense creamy layer, a custard-like pudding, soft banana, and a light whipped cream cap with crunchy toasted pecans and coconut. It looks like effort and tastes like a bakery treat, but it’s doable for a weeknight prep or a weekend potluck.
Allergy-Friendly Substitutes
- For gluten-free: swap the vanilla wafers for a certified gluten-free vanilla cookie and use the same amount of crumbs.
- For dairy-free/vegan: use dairy-free cream cheese and coconut or oat-based “heavy” creams designed for whipping; use a vegan pudding mix (check labels) and vegan butter for the crust. Note: texture will differ slightly.
- Nut allergy: omit the pecans entirely or replace them with toasted pumpkin seeds for crunch.
- Sugar-free: look for sugar-free instant vanilla pudding and a powdered sugar substitute that whips and measures similarly. Sweetness balance may need a taste check.
Tools of the Trade
- 9×13-inch baking pan — the exact size the recipe expects for portion and set.
- Food processor or sealed bag and rolling pin — to crush the vanilla wafers finely.
- Electric mixer — speeds up beating cream cheese and whipping heavy cream to the right texture.
- Mixing bowls (medium and large) — keep a clean bowl for whipping cream; residual grease or crumbs will prevent proper peaks.
- Measuring cups and spoons — accurate amounts matter for texture and set.
- Spatula and offset or straight-edge knife — to spread layers cleanly and get tidy slices.
Easy-to-Miss Gotchas
Cool the crust completely before spreading the cream cheese layer. Warm crusts soften the filling and make the bars runny. I learned this the hard way — a warm pan will collapse your neat layers.
Room-temperature cream cheese matters. If it’s even slightly cold, you’ll see lumps and the mixer will work much harder. Leave it out for 30–60 minutes before starting.
When making the instant pudding, whisk until it begins to thicken (about 1–2 minutes). It will keep thickening as it rests. Don’t over-whisk the pudding — aggressive mixing can make it loose and bubbly rather than silky.
Whip the final 2 cups of heavy cream to stiff peaks, but stop as soon as the peaks stand. Over-whipping leads to grainy texture and can separate if left too long. Use a clean, cold bowl for best results.
Make It Diet-Friendly
You can trim calories and fat with a few compromises. Use reduced-fat cream cheese and reduce the whipped cream amount or swap it for a stabilized whipped topping (lower fat, but less fresh flavor). Lower-fat milk will work for the pudding mix, though the custard texture will be lighter.
Another option is to cut the portion sizes and serve smaller squares with fresh berries on the side to add volume and fiber. Reducing the powdered sugar in the cream cheese layer by a couple of tablespoons will marginally lower sweetness without sacrificing structure.
What I Learned Testing
Testing this recipe taught me to respect chilling time. The dessert sets much better if it chills an hour or more, and it slices cleaner when chilled. If your bananas brown slightly after assembly, that’s normal; they’ll still taste great. For the cleanest presentation, slice right before serving.
I also learned toasting the coconut and pecans separately is worth the tiny extra step. The increased aroma and crunch elevate the last layer from “nice” to “memorable.” Another small but useful detail: pressing the crust evenly and compactly prevents flaking when you cut bars.
Save It for Later
Store covered in the refrigerator for up to 2 days for best texture. After that, the bananas will begin to soften and the crust may lose some crispness. If you need to make parts ahead, you can bake and cool the crust a day early and keep it wrapped. The cream cheese and pudding layers assemble well the day before; add whipped cream and the toasted topping just before serving to keep things fresh.
Avoid freezing the finished bars. Freezing changes the texture of the whipped cream and bananas. If you must freeze, prepare and freeze the crust alone or the cream cheese layer separately; thaw in the fridge and assemble with freshly whipped cream and bananas.
Popular Questions
- Can I make this ahead? Yes. Assemble through the pudding layer a day ahead, refrigerate, and add bananas, whipped cream, and toppings the day you serve.
- How do I prevent banana browning? Use ripe but firm bananas and assemble close to serving. A light brush of lemon juice on banana slices helps, but it will slightly alter the flavor.
- Can I use cook-and-serve pudding instead? Yes, but adjust cooling time. Cooked pudding may be thicker and require cooling before layering to avoid melting the underlying filling.
- What if my whipped cream doesn’t form stiff peaks? Chill the bowl and beaters, then continue whipping. If it still won’t set, your cream may be too low in fat — use heavy cream labeled at least 36% fat.
Wrap-Up
Banana Cream Delight is one of those desserts that looks more complicated than it is. With a few staple tools and a little planning, you can produce a layered dessert that holds up for serving and tastes like a small indulgence. Follow the directions as written for the cleanest results: cool the crust, work with softened cream cheese, and chill before slicing. Make the topping fresh and your guests will notice the difference.
Give it a try this week. The steps are practical, the payoff is large, and the leftovers (if there are any) are excellent with coffee the next morning.
Banana Cream Delight
Ingredients
Equipment
Method
- Preheat the oven to 350°F.
- Crush 75 vanilla wafers into fine crumbs (use a food processor or place wafers in a sealed plastic bag and crush with a rolling pin). In a medium bowl, combine the wafer crumbs, 1/4 cup granulated sugar, and 1/2 cup melted butter. Press the mixture evenly into the bottom of a 9x13-inch pan.
- Bake the crust for 10 minutes. Remove from the oven and let it cool completely in the pan.
- In a large bowl, use an electric mixer to beat 8 ounces cream cheese (room temperature) and 1 cup heavy cream together until smooth. Add 1 cup powdered sugar and beat until the mixture is smooth and creamy.
- Spread the cream cheese filling evenly over the cooled crust.
- In a medium bowl, whisk 1 (5.1-ounce) box instant vanilla pudding mix with 2 cups milk until the pudding starts to thicken (about 1–2 minutes). Pour the pudding evenly over the cream cheese layer and spread gently.
- Thinly slice 3 ripe bananas and arrange the slices in a single layer over the pudding.
- In a clean bowl, beat 2 cups heavy cream with 1/2 cup powdered sugar using an electric mixer until stiff peaks form. Spread the whipped cream over the banana layer.
- Sprinkle 1/3 cup chopped toasted pecans and 1/3 cup toasted sweetened shredded coconut evenly over the whipped cream.
- Refrigerate for at least 1 hour before serving.
Notes
You can use a small tub of Cool Whip for the topping instead of making fresh whipped cream.