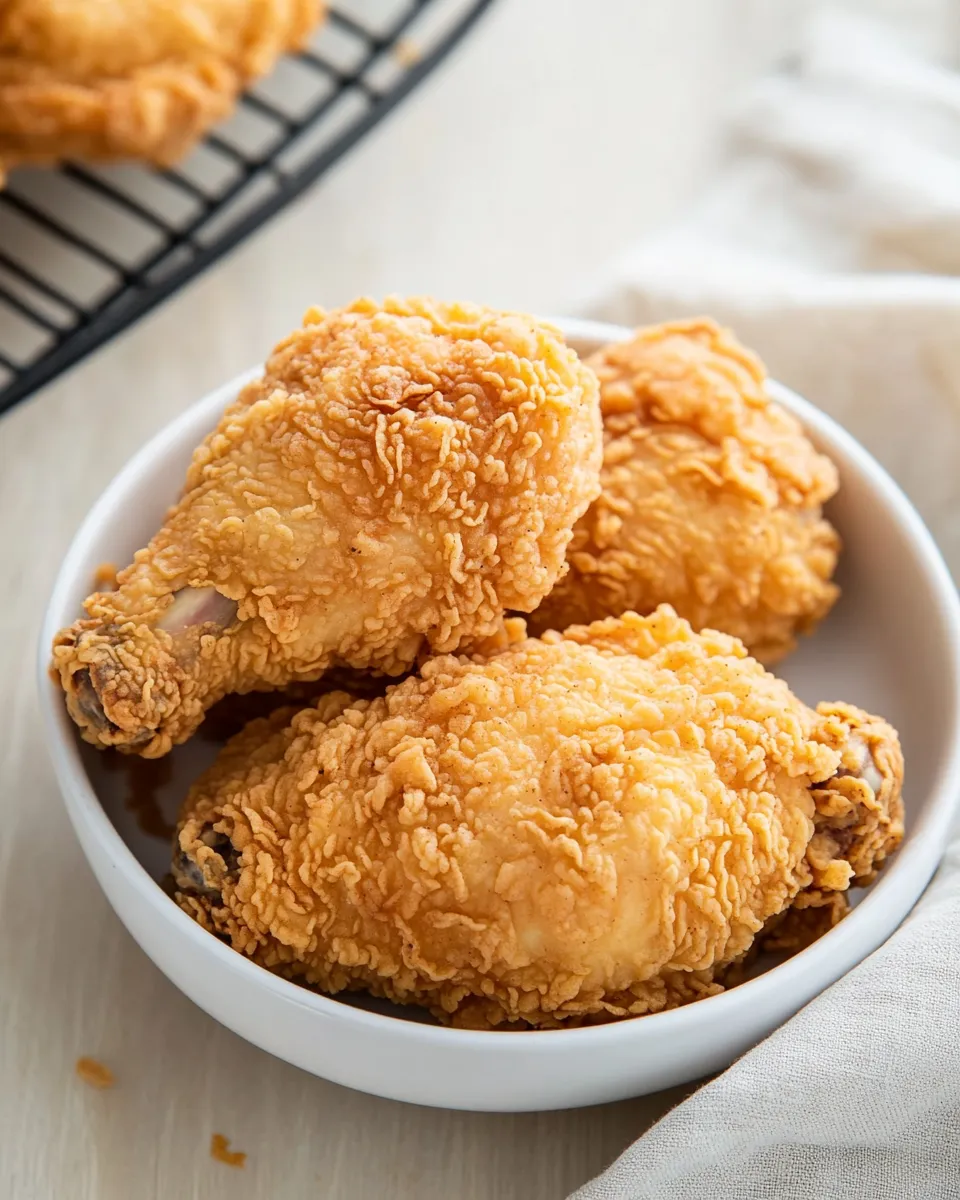
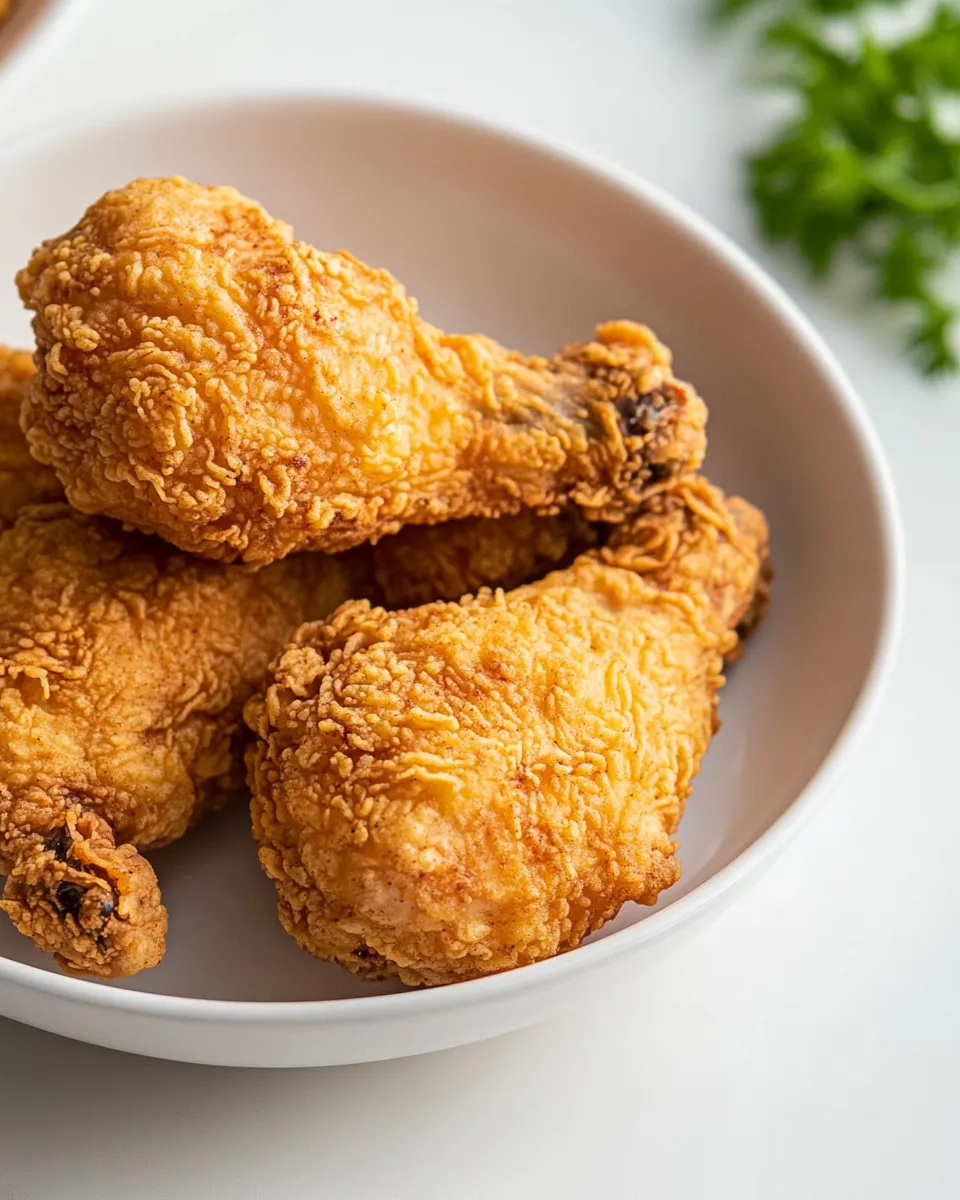
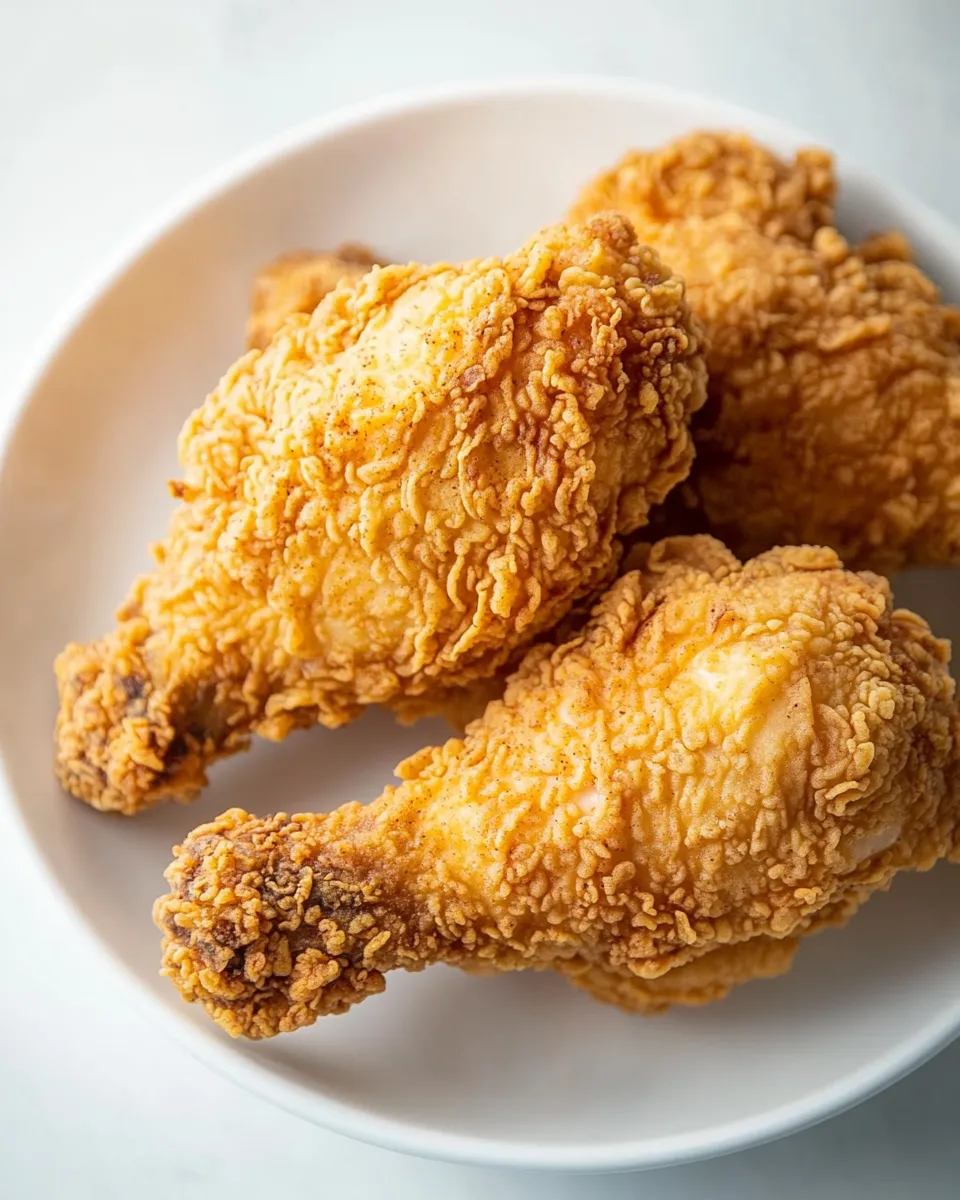
Best Fried Chicken Recipe (Tavern Style!)
This is my favorite tavern-style fried chicken: crisp, deeply seasoned, and reliably juicy. No gimmicks — just a brine, a dry coating with cornstarch for that shatter-crisp crust, egg whites for adhesion, and steady oil temperature. If you want classic pub-level fried chicken that holds up on a platter and stays crisp in the oven while you finish the rest, this method is it.
It’s practical to execute at home even if you’ve only fried chicken a couple of times. The key moments are the brine, thoroughly drying the pieces, and maintaining oil temperature while you flip and finish. Follow the steps in order and you’ll get consistent results.
I’ll walk you through the ingredient roles, every step in plain language, the equipment I rely on, common mistakes to avoid, and options if you want a vegetarian alternative or seasonal variations. Let’s get to it.
Ingredient List
- 4 pounds chicken legs and bone-in thighs (about 16 pieces) — the mix of legs and bone-in thighs gives the classic tavern texture and stays juicy under long frying times.
- 1/4 cup salt + 2 teaspoons, divided — 1/4 cup is for the brine; the extra 2 teaspoons are used in the dry mix to season the crust.
- 1 1/2 cups cornstarch — creates the super-crisp, light crust tavern-style chicken is known for.
- 1 cup all-purpose flour (could be gluten-free baking mix) — adds body to the coating; you can swap for a gluten-free mix one-for-one if needed.
- 1 teaspoon paprika (I always use smoked paprika) — adds color and a hint of smoky warmth to the crust.
- 1 teaspoon garlic powder — savory backbone in the coating.
- 1 teaspoon onion powder — rounds the flavor with sweet, aromatic depth.
- 1/2 teaspoon ground black pepper — fresh bite; complements the salt and spices.
- 1/4–1/2 teaspoon cayenne pepper — optional heat range; use more for a noticeable kick or less for mild warmth.
- 10 egg whites — a lean binder that helps the dry mix adhere and keeps the crust light compared with whole eggs.
- 48 ounce peanut oil (or another high-heat oil) — you need a large amount for deep frying; peanut oil tolerates high heat and gives clean frying flavor.
Cooking (Fried Chicken (Tavern Style!)): The Process
- Measure 1/4 cup salt into a large bowl (big enough to hold all the chicken). Add 1 cup hot tap water and stir until the salt dissolves. Add cold water to the bowl until it is about one-third full, then add the chicken pieces so they are fully submerged. Add additional cold water as needed to cover the chicken. Cover and refrigerate for 1–2 hours.
- After brining, set a wire rack over a large rimmed baking sheet. Remove the chicken from the brine and transfer the pieces to the rack. Pat the chicken very dry with paper towels and leave on the rack to air-dry for 30–60 minutes until the surface is very dry.
- While the chicken is drying, set out two large clean bowls. In the first bowl, whisk together 1 1/2 cups cornstarch, 1 cup all-purpose flour, 2 teaspoons salt, 1 teaspoon paprika, 1 teaspoon garlic powder, 1 teaspoon onion powder, 1/2 teaspoon ground black pepper, and 1/4–1/2 teaspoon cayenne pepper.
- In the second bowl, pour in the 10 egg whites and whisk briefly just to break them up and make them uniform.
- Preheat the oven to 250°F and prepare a clean wire rack set over a rimmed baking sheet (or a tray lined with paper towels) to hold fried chicken and keep it crisp in the warm oven.
- When the chicken is very dry, roll each piece in the cornstarch-flour mixture so it is evenly coated. Place the coated pieces back on the wire rack and let them rest while you heat the oil.
- Place a large Dutch oven or a wide, deep sauté pan (large enough to safely hold 48 ounces of oil) over medium-high heat. Attach a cooking thermometer to the side of the pan and pour in 48 ounces peanut oil (or another high-heat oil).
- Heat the oil to 360°F. Monitor the temperature and be prepared to adjust the burner to keep the oil between 350°F and 360°F during frying.
- Working one piece at a time, dunk a coated chicken piece into the egg whites, let excess egg drip back into the bowl, then carefully place the piece into the hot oil using tongs. Repeat with additional pieces, but do not overcrowd the pan—fry in batches so pieces have space to cook evenly.
- Fry each batch for 14–15 minutes, flipping every 2 minutes with tongs so the chicken browns evenly on all sides. Keep an eye on the oil temperature and adjust heat if it falls below 350°F or rises above 360°F.
- As pieces finish, transfer them to the prepared wire rack over the rimmed baking sheet (or the paper-towel-lined tray). Place the rack/tray in the 250°F oven to keep the chicken warm and crisp while you finish the remaining batches.
- Repeat steps 9–11 with the remaining chicken in one or two more batches until all pieces are cooked.
- Once all chicken is cooked and warmed in the oven, serve immediately.
The Upside of Fried Chicken (Tavern Style!)
This method produces a very crisp, light crust that shatters when you bite into it, while the meat stays moist from the brine. The cornstarch-plus-flour blend makes the coating both crunchy and airy — different from dense, heavy breading.
Keeping finished pieces in a low oven prevents the crust from becoming soggy as you finish frying all batches. The egg-white dip gives adhesion without weighing the crust down with extra fat or eggy flavor, so the spices and smoky paprika come through cleanly.
The process scales: you can double or halve the recipe, but keep in mind oil volume and pan space. The technique also plays well with different spice blends if you want to shift flavor profiles — more on that in Seasonal Twists.
Vegan & Vegetarian Swaps
You can’t replicate bone-in chicken exactly, but you can mimic the texture and crispness with a few swaps.
- Tofu: Press extra-firm tofu, cut into thick slabs, brine briefly (skip long brines for tofu), dust with the cornstarch-flour mix, dip in a plant-based “egg” wash (aquafaba works well), and fry. Treat it gently and cut into large rectangles so the interior stays creamy.
- Cauliflower: Use large florets or halved steaks. Par-cook briefly (steam or roast) so the inside is tender, then follow coating and frying steps. Watch timing — smaller pieces cook fast.
- Seitan or commercially prepared meatless cutlets: Use the same dry mix and plant-based wash and fry as directed. These hold up better to extended frying times than some softer vegan proteins.
- Oil and binders: Swap egg whites for aquafaba (chickpea brine) or a thin batter of non-dairy milk plus a bit of cornstarch to create a sticky coating.
Setup & Equipment
Investing in a few pieces of equipment makes this recipe forgiving and repeatable.
Essentials
- Large Dutch oven or wide, deep sauté pan — big enough for 48 ounces of oil and for the chicken to have space while frying.
- Instant-read or clip-on thermometer — vital to monitor oil temperature and to keep it between 350°F–360°F.
- Wire racks and rimmed baking sheets — for drying after brine and for holding fried chicken while keeping it crisp in the oven.
- Tongs and slotted tools — for safe handling and quick oil drainage when moving pieces.
- Paper towels and a tray — used if you prefer not to use racks for holding finished chicken.
Helpful extras
- Kitchen timer for flipping every 2 minutes.
- Thermometer probe for checking chicken internal temperature if you prefer confirming doneness (not required by the recipe text but useful).
Errors to Dodge
- Don’t skip the brine. It seasons the meat through and keeps the thighs and legs juicy during the long fry time.
- Pat the chicken very dry and let it air-dry. Wet skin causes oil sputtering and prevents the crust from adhering properly.
- Do not overcrowd the pan. Overcrowding drops the oil temperature and yields greasy, unevenly cooked pieces.
- Avoid frying at the wrong temperature. Too low and the crust soaks oil; too high and the exterior burns before the inside cooks.
- Don’t skip the oven step. Holding fried pieces on paper towels at room temperature invites steam and soggy crusts.
Seasonal Twists
Adjust spices to reflect the season without changing the method or quantities:
- Spring: Add a teaspoon of lemon zest to the dry mix and serve with a herby green sauce (parsley, lemon, olive oil).
- Summer: Fold 1 teaspoon ground sumac into the dry mix for a bright, tart note; serve with pickles or a tangy slaw.
- Autumn: Increase the smoked paprika and add a pinch of ground allspice for warmth; pair with roasted root vegetables.
- Winter: Add 1/2 teaspoon of ground mustard and a touch more cayenne for depth and heat; serve with mashed potatoes and gravy.
If You’re Curious
Why egg whites? They bind the cornstarch-flour coating without introducing extra fat or heavy egg flavor. The result is a crisp crust that won’t flake off and a cleaner fried texture.
Why cornstarch? Cornstarch breaks the gluten-y chew of flour, producing a very light, crisp shell. Mixing it with flour gives structure so the crust doesn’t shatter apart on the first bite.
How do I know it’s cooked? The directions rely on time and consistent temperature — 14–15 minutes per batch at the specified oil temp. If you like, check the internal temperature — dark meat is safe at 165°F, but many cooks pull it at 175°F–185°F for tender thighs.
Freezer-Friendly Notes
If you want to prepare ahead, here are reliable options:
- Freeze before frying: Brine and dry the chicken, dredge in the dry mix, then freeze on a tray until firm. Transfer to freezer bags. When ready to cook, fry from frozen but add a few minutes to cooking time and watch the oil temperature carefully.
- Freeze after frying: Cool completely, then flash-freeze on a tray before bagging. Reheat from frozen in a 350°F oven on a rack until hot through to keep the crust crisp.
- Do not store fried chicken in a sealed container at room temperature — condensation will soften the crust. Use the oven trick to keep pieces crisp if holding for service.
Ask the Chef
Q: Can I use skinless chicken? A: You can, but skin-on gives the best crisp and juiciness. Skinless pieces cook faster and can dry out if left too long in the oil.
Q: What if my oil smokes? A: Your oil temperature is too high. Reduce heat, and if the oil begins to smell acrid or smoke heavily, discard and start fresh. Clean oil gives the best flavor and color.
Q: Can I use a different oil? A: Yes — any neutral, high smoke-point oil works (canola, vegetable, sunflower). Peanut oil is traditional here for its stability and clean taste.
Q: How much should I flip each piece? A: Flip every 2 minutes as instructed; frequent flipping promotes even color and prevents one side from getting too dark while the interior finishes cooking.
That’s a Wrap
This tavern-style fried chicken is dependable, straightforward, and built on three pillars: brine, a cornstarch-forward dry mix, and rigorous temperature control. If you follow the order of steps here, you’ll end up with crisp, well-seasoned pieces that hold up on a platter and keep their crunch until serving.
Make a big batch for a crowd, keep the oven ready at 250°F to hold finished pieces, and don’t rush the brine or drying stages. Serve hot, with pickles or a simple slaw, and enjoy the payoff — true tavern-style crunch and juicy dark meat every time.
Best Fried Chicken Recipe (Tavern Style!)
Ingredients
Equipment
Method
- Measure 1/4 cup salt into a large bowl (big enough to hold all the chicken). Add 1 cup hot tap water and stir until the salt dissolves. Add cold water to the bowl until it is about one-third full, then add the chicken pieces so they are fully submerged. Add additional cold water as needed to cover the chicken. Cover and refrigerate for 1–2 hours.
- After brining, set a wire rack over a large rimmed baking sheet. Remove the chicken from the brine and transfer the pieces to the rack. Pat the chicken very dry with paper towels and leave on the rack to air-dry for 30–60 minutes until the surface is very dry.
- While the chicken is drying, set out two large clean bowls. In the first bowl, whisk together 1 1/2 cups cornstarch, 1 cup all-purpose flour, 2 teaspoons salt, 1 teaspoon paprika, 1 teaspoon garlic powder, 1 teaspoon onion powder, 1/2 teaspoon ground black pepper, and 1/4–1/2 teaspoon cayenne pepper.
- In the second bowl, pour in the 10 egg whites and whisk briefly just to break them up and make them uniform.
- Preheat the oven to 250°F and prepare a clean wire rack set over a rimmed baking sheet (or a tray lined with paper towels) to hold fried chicken and keep it crisp in the warm oven.
- When the chicken is very dry, roll each piece in the cornstarch-flour mixture so it is evenly coated. Place the coated pieces back on the wire rack and let them rest while you heat the oil.
- Place a large Dutch oven or a wide, deep sauté pan (large enough to safely hold 48 ounces of oil) over medium-high heat. Attach a cooking thermometer to the side of the pan and pour in 48 ounces peanut oil (or another high-heat oil).
- Heat the oil to 360°F. Monitor the temperature and be prepared to adjust the burner to keep the oil between 350°F and 360°F during frying.
- Working one piece at a time, dunk a coated chicken piece into the egg whites, let excess egg drip back into the bowl, then carefully place the piece into the hot oil using tongs. Repeat with additional pieces, but do not overcrowd the pan—fry in batches so pieces have space to cook evenly.
- Fry each batch for 14–15 minutes, flipping every 2 minutes with tongs so the chicken browns evenly on all sides. Keep an eye on the oil temperature and adjust heat if it falls below 350°F or rises above 360°F.
- As pieces finish, transfer them to the prepared wire rack over the rimmed baking sheet (or the paper-towel-lined tray). Place the rack/tray in the 250°F oven to keep the chicken warm and crisp while you finish the remaining batches.
- Repeat steps 9–11 with the remaining chicken in one or two more batches until all pieces are cooked.
- Once all chicken is cooked and warmed in the oven, serve immediately.
Notes
Gluten Free?
Yes, this recipe can be made GLUTEN FREE if you substitute Gluten Free 1-to-1 Baking Mix for the all-purpose flour.
If you do have leftovers, they can be stored in an airtight container and kept
in the fridge for up to 3 days
.
Reheat in the air fryer
or on a baking sheet in the oven for several minutes to slightly crisp up the skin; I do not recommend using a microwave to heat.