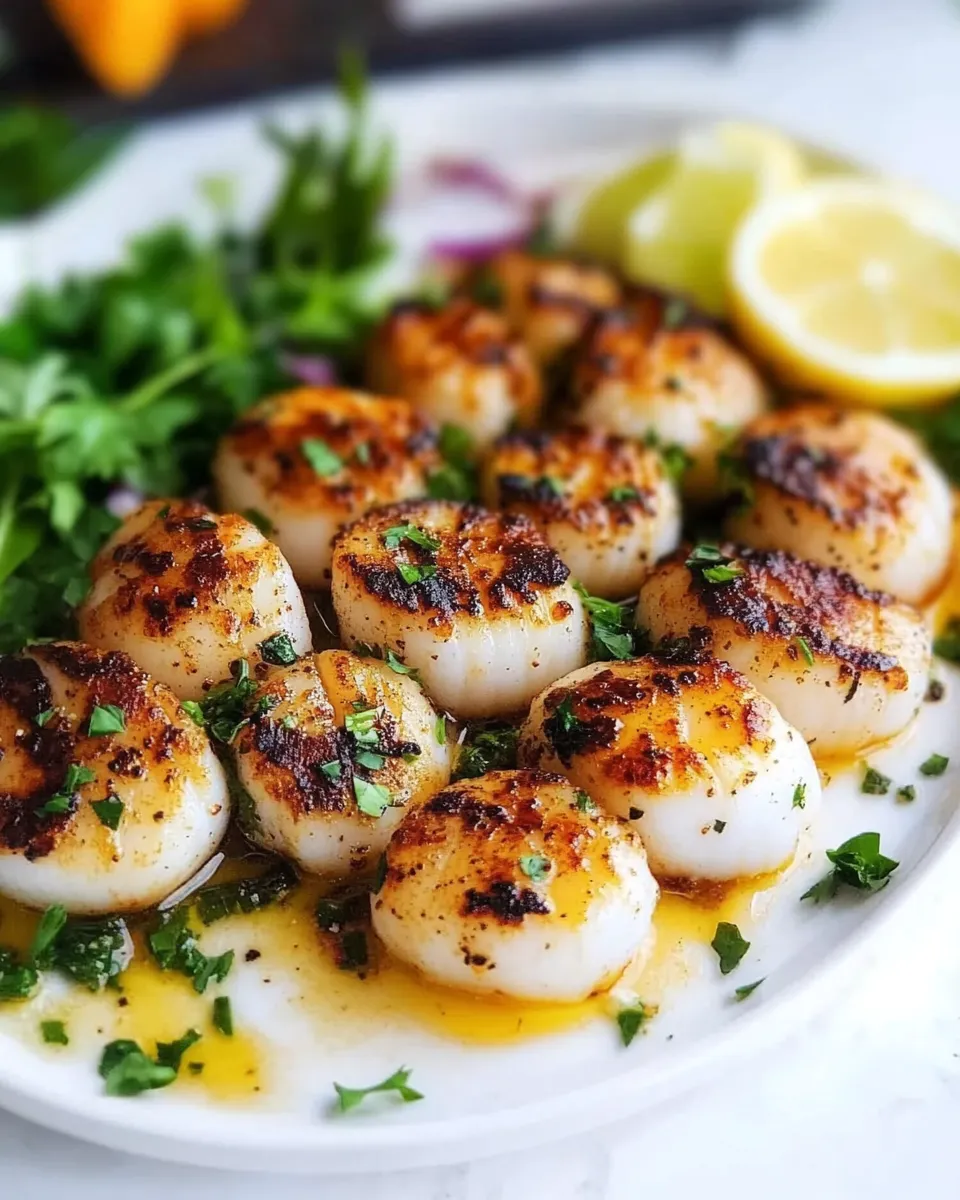
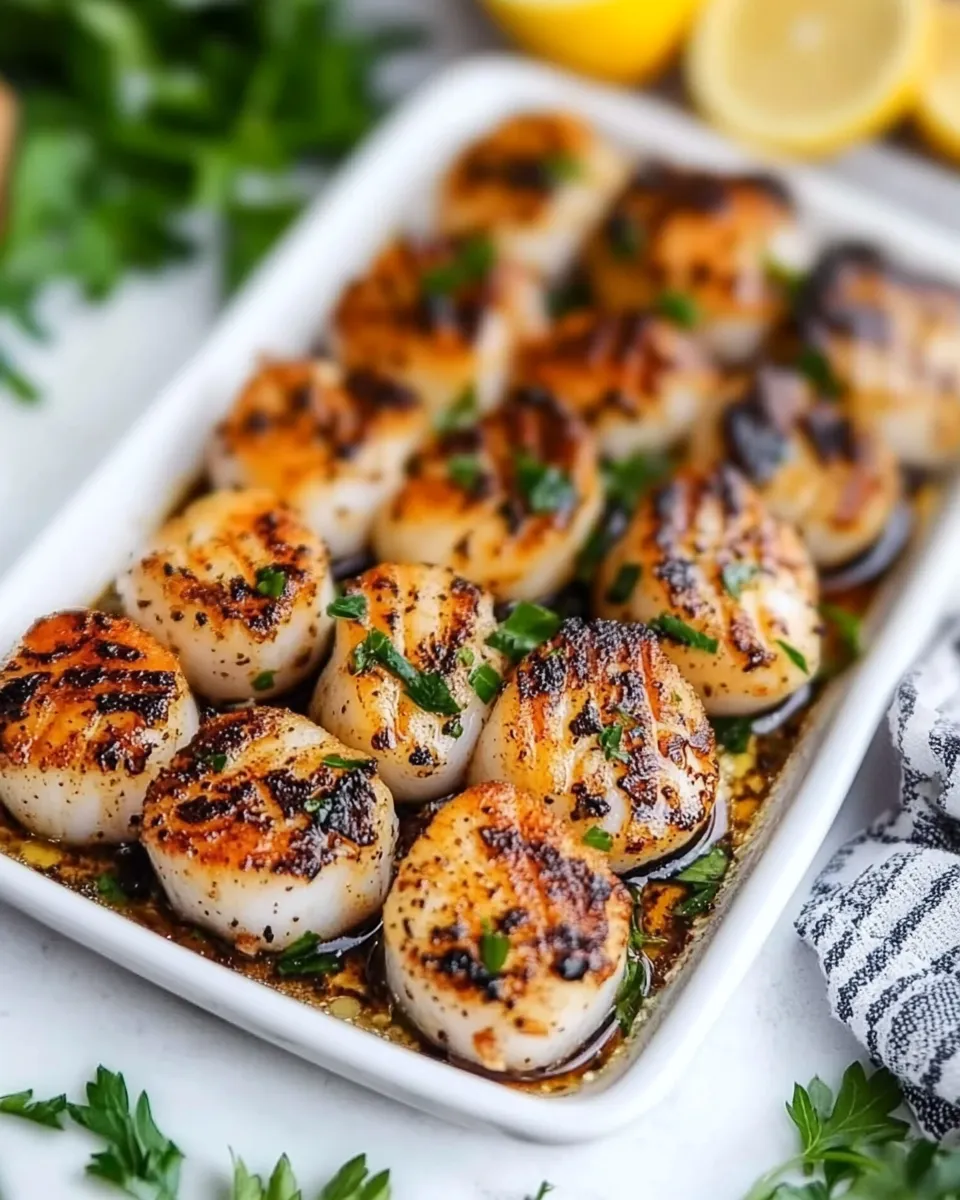
Broiled Scallops
Scallops are one of those ingredients that feel fancy without needing a complicated recipe. With a hot broiler, a little butter, garlic, and a handful of pantry spices you can get caramelized, tender scallops in less than ten minutes. This recipe leans on heat and timing rather than technique—perfect for weeknight dinner or a simple weekend celebration.
I write recipes for a living, but when it’s just me at the stove I want fast, reliable results. That’s exactly what this Broiled Scallops method delivers: clean flavors, quick cook time, and a reliable finish every time. Read through the tips below so you can avoid the small mistakes that ruin texture.
The Ingredient Lineup
- 1 lb Scallops — Large size, patted dry.
- 3 Tablespoons Butter — melted; carries flavor and encourages browning under the broiler.
- 2 garlic cloves — minced; adds aromatic depth.
- 1 Tablespoon Italian seasoning — herb mix for savory balance.
- 1/2 teaspoon paprika — gives color and a hint of warmth.
- 1/4 teaspoon salt and pepper — or to taste; seasons the scallops simply.
- 1 lemon — wedges for finishing; brightens the rich butter and seafood.
How to Prepare Broiled Scallops
- Remove the scallops from their packaging, check for and remove any side muscle, and pat the scallops dry with paper towels.
- Position an oven rack about 7–8 inches from the broiler element and preheat the broiler to high. Line a baking sheet with aluminum foil (do not use parchment).
- In a small bowl, mix 3 tablespoons melted butter, 2 minced garlic cloves, 1 tablespoon Italian seasoning, 1/2 teaspoon paprika, and the 1/4 teaspoon salt and pepper (or to taste).
- Place the scallops in a single layer on the prepared baking sheet. Spoon or brush the butter–seasoning mixture over each scallop so they are evenly coated.
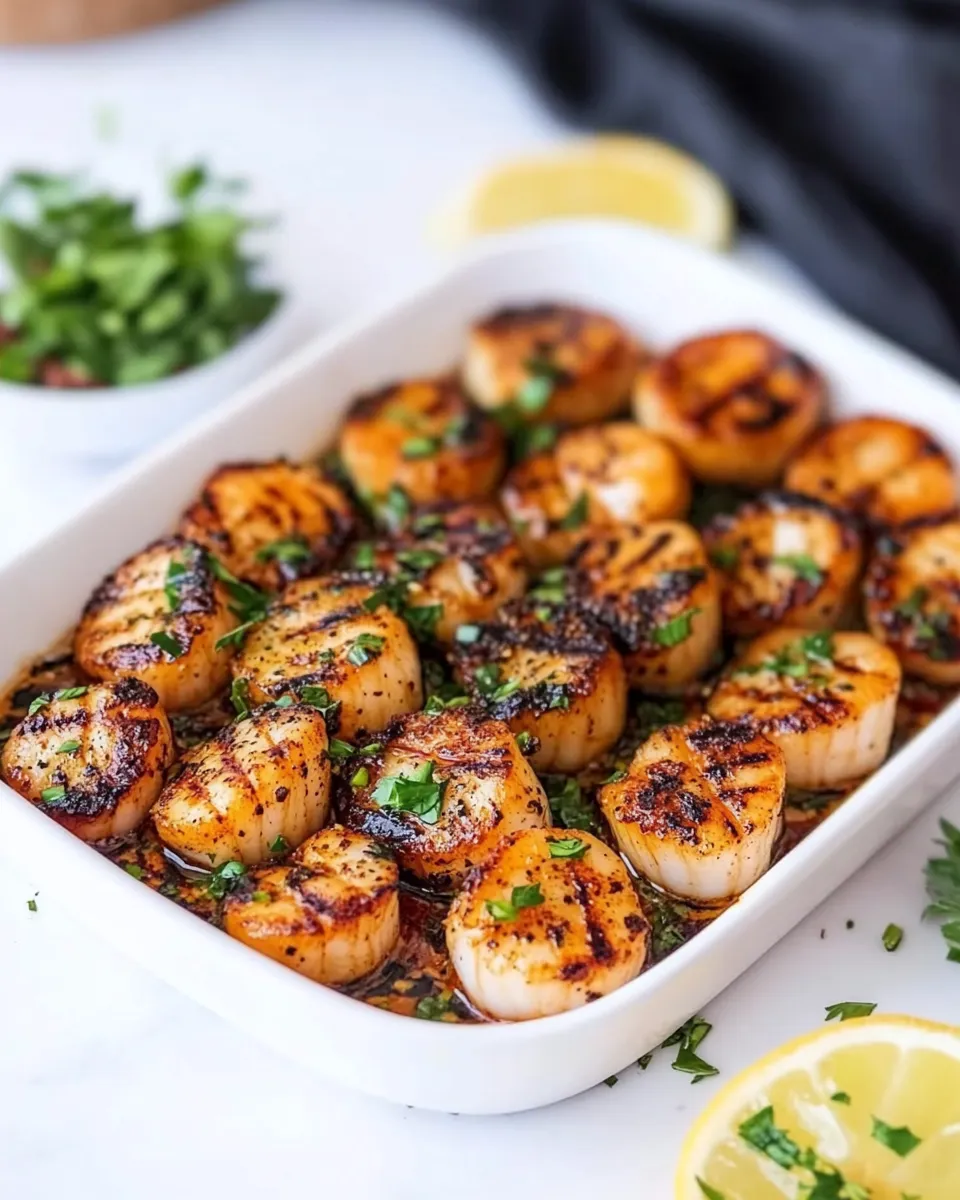
- Broil the scallops for 5–7 minutes, watching closely. They are done when the tops are lightly golden and the centers are just opaque.
- Remove the scallops from the broiler and serve immediately with the lemon wedges.
Why This Recipe Works
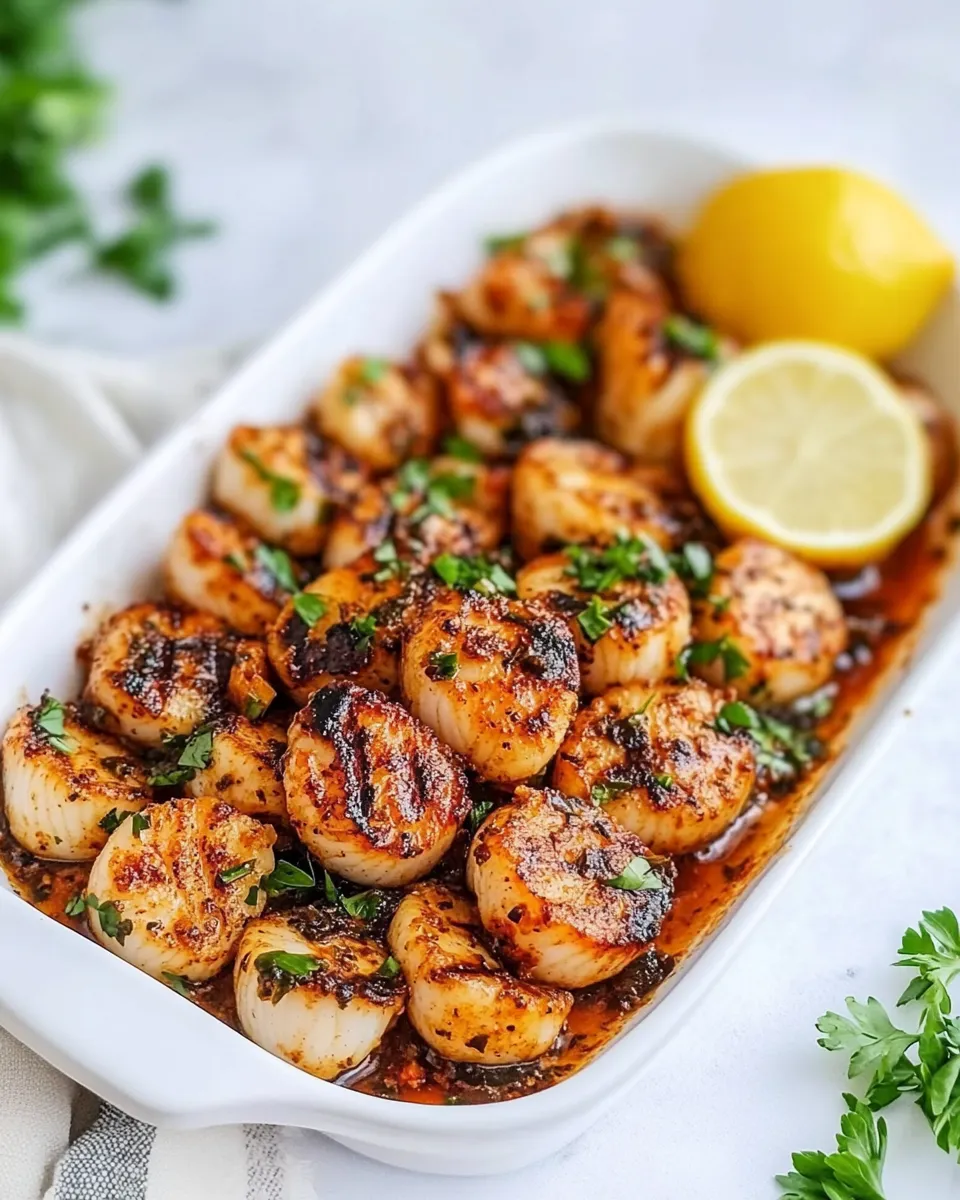
This recipe relies on two straightforward principles: high heat and minimal handling. The broiler gives you direct, intense heat that quickly browns the surface while the inside stays tender. That short exposure prevents the rubbery texture you get from overcooking.
Butter and garlic provide immediate flavor that complements the natural sweetness of scallops. The Italian seasoning adds a herb-forward backbone and the pinch of paprika gives subtle color and warmth without overpowering the delicate seafood. The single-layer arrangement ensures each scallop hits the heat evenly, so you don’t get unevenly cooked pieces.
Healthier Substitutions
If you want a lighter version, swap the melted butter for extra-virgin olive oil. Olive oil won’t brown quite the same as butter, but it still delivers flavor and helps the seasonings adhere. Use about the same volume—3 tablespoons—if you want a similar coating.
For lower sodium, reduce the salt to 1/8 teaspoon and rely on lemon juice at the table to brighten the scallops. You can also use a reduced-fat or plant-based spread that’s suitable for broiling, but check labels for smoke point and added water content; a higher water content can lead to steaming rather than browning.
Must-Have Equipment
- Oven with a broiler element — this method depends on direct top heat.
- Baking sheet — preferably rimmed to catch any juices.
- Aluminum foil — line the sheet for easy cleanup and even heat reflection.
- Small bowl and spoon or pastry brush — to mix and apply the butter-seasoning mixture.
- Paper towels — to pat the scallops dry before seasoning.
- Tongs or a thin spatula — to lift scallops off the sheet when serving.
- Oven mitts and a timer — safety and precision matter with broiling.
Avoid These Mistakes
- Not drying the scallops — moisture prevents proper browning. Pat them thoroughly before seasoning.
- Overcrowding the pan — scallops need space to sear; cook in a single layer with gaps between pieces.
- Using parchment under the broiler — the recipe warns against it because parchment can scorch or ignite under high heat. Use foil instead.
- Putting the rack too low — keep the scallops 7–8 inches from the broiler for even browning without burning.
- Walking away while broiling — broilers work fast. Watch closely in the last minute to prevent overcooking.
- Skipping the side muscle check — the small, tough side muscle should be removed before cooking for uniform texture.
Spring–Summer–Fall–Winter Ideas
Spring
Serve these scallops with blanched asparagus and a light pea purée. The bright, vegetal notes of spring vegetables play very well against the buttered scallop.
Summer
Keep things simple: a crisp green salad, grilled corn, and a citrus vinaigrette. Finish the scallops with a squeeze of lemon and a scatter of chopped fresh herbs like parsley or chives.
Fall
Pair with a creamy mushroom risotto or roasted root vegetables. The earthiness of late-season produce complements the sweet, caramelized scallops.
Winter
Turn this into an elegant starter: serve over a parsnip purée or alongside buttered Brussels sprouts. A warming grain like farro or barley also makes a nice winter accompaniment.
Pro Perspective
Buy dry-packed scallops when you can. They’re not treated with phosphates that make them retain water; dry scallops sear better and yield a superior texture. At the stove, the simplest adjustments make the biggest difference: check for the side muscle and remove it, pat the scallops dry, and preheat your broiler long enough that it’s genuinely hot.
Positioning matters. Seven to eight inches from the element is a sweet spot for most ovens—close enough to get quick browning, far enough to avoid charring. And don’t be shy with the lemon at the end; acidity balances the richness and lifts the whole dish.
Best Ways to Store
Raw scallops are best used within a day of buying. Keep them refrigerated on a plate covered with plastic wrap or in a shallow container over ice. Use within 24 hours for the best texture.
Cooked scallops will keep in the refrigerator for up to 2 days in an airtight container. Reheat gently: a quick turn under the broiler for 1–2 minutes or a brief flash in a hot skillet with a teaspoon of butter will warm them without overcooking. Avoid microwaving if you want to preserve texture.
Common Questions
Can I use frozen scallops? Yes. Thaw them in the refrigerator overnight and drain any excess liquid. Pat completely dry before seasoning. If they were previously treated with additives to retain moisture, expect less browning.
How do I know when scallops are done? They’re done when the tops are lightly golden and the centers are just opaque. Overcooked scallops turn rubbery, so pull them as soon as they lose translucence in the center.
Why is parchment verboten under the broiler? Parchment paper can scorch or catch fire under the intense, direct heat of a broiler. Aluminum foil reflects heat and can safely sit close to the element.
Can I add other spices? Yes—additions like smoked paprika, lemon zest, or a pinch of cayenne can shift the flavor profile. Keep additions light so they don’t overpower the scallops’ natural sweetness.
Make It Tonight
This is a do-it-now recipe. It’s straightforward, quick, and forgiving when you follow the main rules: dry scallops, single layer, hot broiler, and an eye on the clock. Plate them with lemon wedges, a simple side, and a glass of crisp white wine or a citrusy spritz. You’ll have a restaurant-worthy dish on the table in under 20 minutes—without the fuss.
Cook once, and you’ll remember how easy brilliant scallops can be. If you try it tonight, send a photo or a quick note about what you paired them with—I love seeing how readers make this recipe their own.
Broiled Scallops
Ingredients
Equipment
Method
- Remove the scallops from their packaging, check for and remove any side muscle, and pat the scallops dry with paper towels.
- Position an oven rack about 7–8 inches from the broiler element and preheat the broiler to high. Line a baking sheet with aluminum foil (do not use parchment).
- In a small bowl, mix 3 tablespoons melted butter, 2 minced garlic cloves, 1 tablespoon Italian seasoning, 1/2 teaspoon paprika, and the 1/4 teaspoon salt and pepper (or to taste).
- Place the scallops in a single layer on the prepared baking sheet. Spoon or brush the butter–seasoning mixture over each scallop so they are evenly coated.
- Broil the scallops for 5–7 minutes, watching closely. They are done when the tops are lightly golden and the centers are just opaque.
- Remove the scallops from the broiler and serve immediately with the lemon wedges.
Notes
Pat and dry them well. This helps the marinade and seasoning stick to the scallops. Most importantly, drying the scallops helps with the browning.
You ca use any size scallops you prefer, but just add the cooking time accordingly.
Arrange the scallops in a single layer always so they cook evenly.
Broilers are a very high source of heat, so always keep an eye on the scallops. They may cook faster than you expect.
Make sure to read the full tutorial onHow to Cook Scallops. This covers everything from Seared Scallops to baked Scallops and all the tips you need!
Yes! We did so right here, but make sure you thaw them fully in the fridge overnight. And keep in mind you need to pat them completely dry before broiling.
They should be opaque in the center and lightly golden on top. A perfectly cooked scallop is slightly springy to the touch.
No flipping needed—broiling cooks from the top down. Just make sure the tops are nicely browned.
You need to use either a heavy duty cast iron skillet, or baking sheet. If using a baking sheet, make sure you line it with FOIL and never with parchment paper. The parchment can burn so quickly under the broiler. Avoid glass bakeware as it can shatter under direct broiler heat.
Broiled: Cooks under high heat from above, often slightly more hands-off. Seared:Cooks in a hot pan with direct contact, needing more active attention.
Bay scallops are smaller and cook much faster. Reduce the broiling time to 2–3 minutes. We have used them in ourAir Fryer Scallops.
Pasta.Burrata Pasta,Lobster Pasta,Pasta Primavera,Pesto Pasta with Pistachio Pesto.
Rice.MakeLobster Risotto,Cilantro Lime Rice,Coconut Rice.
Veggies.Best Mashed Potatoes Recipe,Air Fryer Asparagus,Sautéed Green Beans.
Salad.Mexican Street Corn Salad,Easy Cucumber Salad,Ahi Tuna Salad.
Breads.Ultimate Garlic Bread.