Broiled Tilapia Oreganata
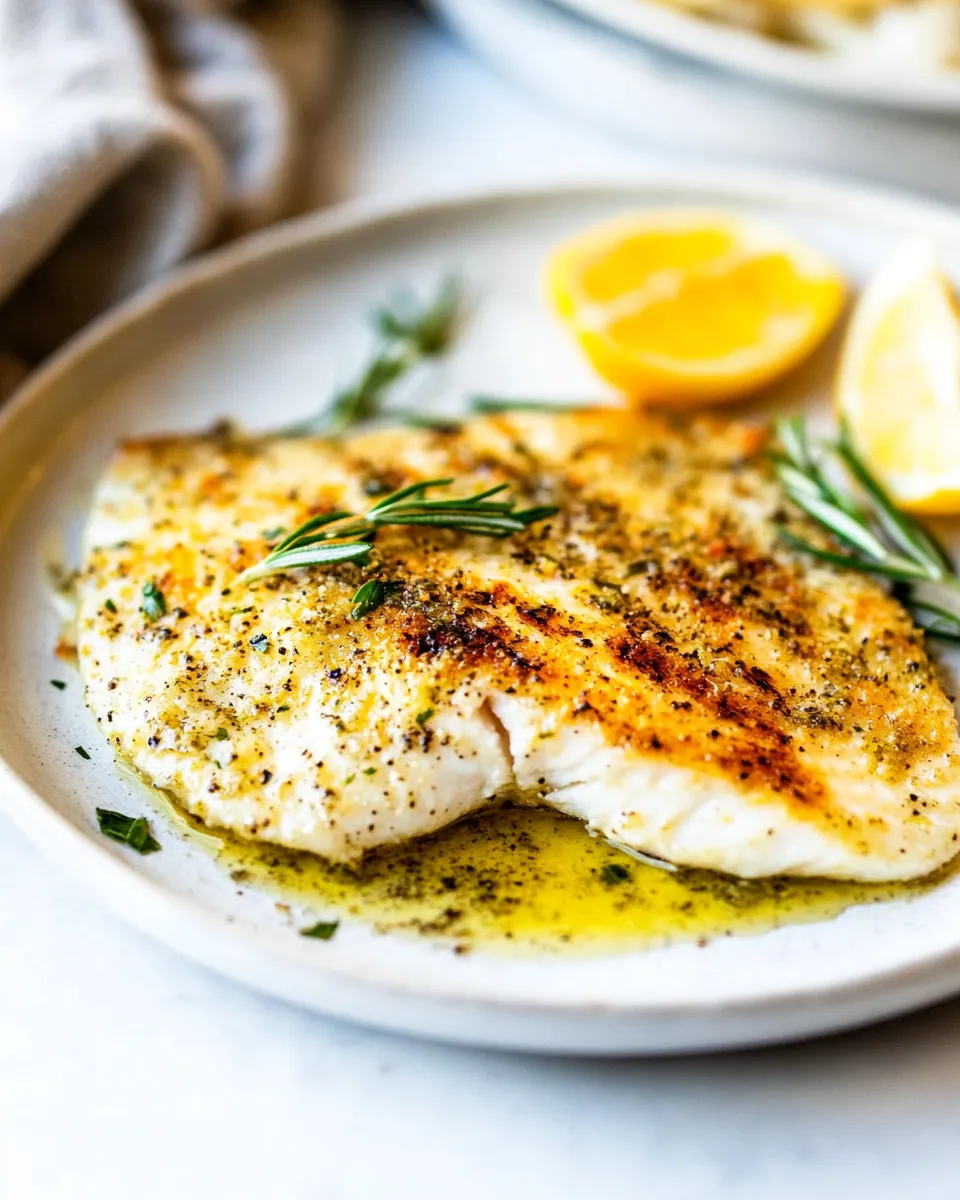
Tilapia Oreganata is one of those weeknight dishes that feels elevated but comes together faster than you think. Crispy breadcrumbs, a bright hit of oregano and garlic, and a quick broil make the fillets golden and flaky. I reach for this recipe whenever I want something light, satisfying, and reliably quick.
There’s no heavy sauce, no long marinating, and no complicated equipment. The flavor profile is simple — olive oil, garlic, lemon, and oregano — but the texture contrast between the tender fish and the crunchy topping turns a modest fillet into a moment worth savoring. It’s also forgiving: a few substitutions and you’re still in business.
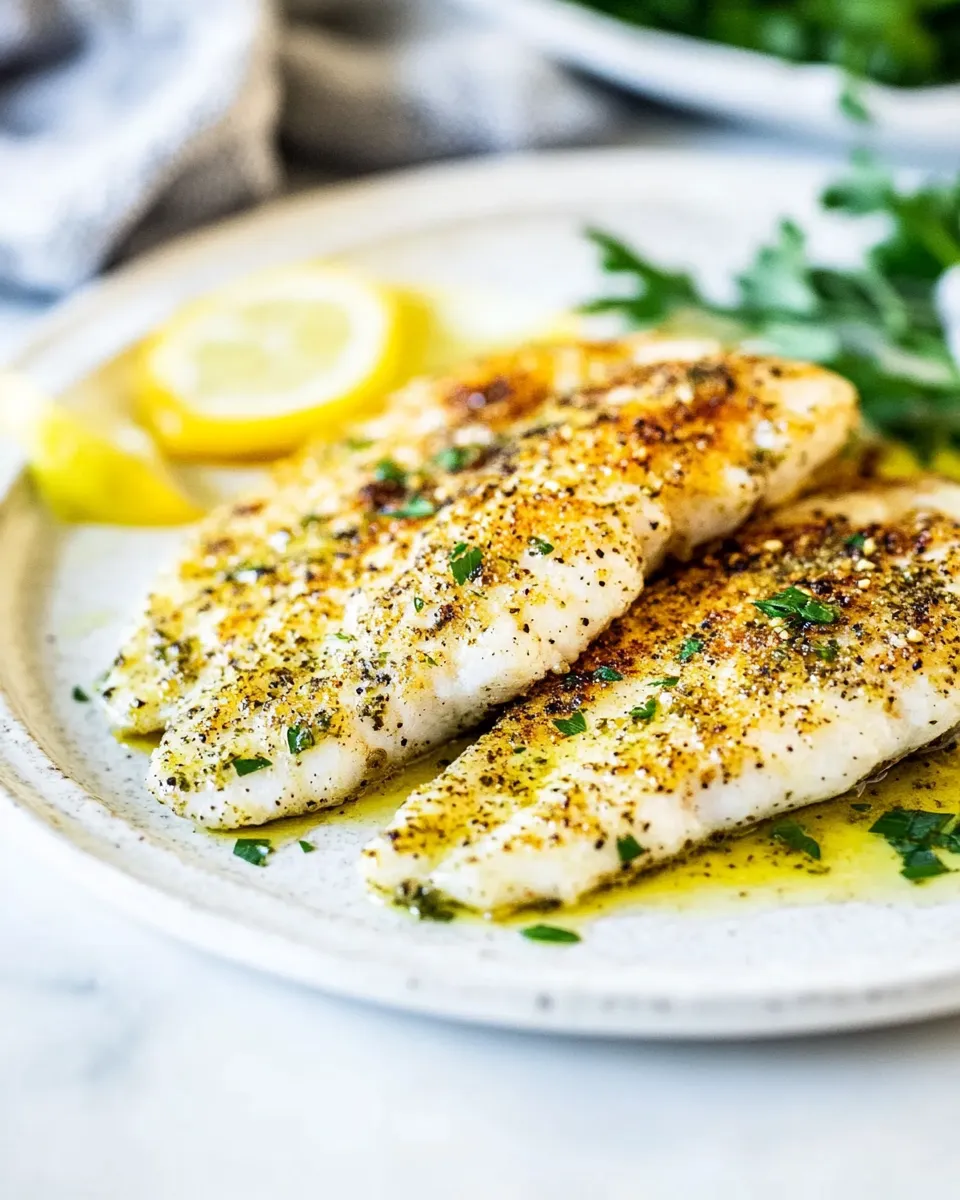
I like to serve this with a crisp salad or quick sautéed greens and steamed rice or potatoes. Plate it with lemon wedges and a drizzle of extra olive oil if you want to add a little gloss. Below you’ll find the ingredient list, the exact broiling steps I always follow, troubleshooting tips and sensible variations for special diets.
Gather These Ingredients
- 1 tablespoon finely chopped fresh oregano, or 1 teaspoon dried — adds herbal brightness; fresh is lively, dried concentrates the flavor.
- 4 tilapia fillets, about 6 ounces each — mild, quick-cooking fillets; look for even thickness for consistent doneness.
- 1/2 teaspoon kosher salt — seasons the fish simply; adjust if using fine table salt.
- 1/4 teaspoon fresh black pepper — a gentle heat to balance the herbs and lemon.
- 4 teaspoons olive oil — helps the crumbs brown and keeps the fish moist; use extra-virgin for flavor.
- 2 garlic cloves, minced — gives a sharp, savory note; press or finely mince for even distribution.
- 2 tablespoons whole wheat seasoned breadcrumbs, or gluten-free crumbs — provide the crunchy topping; use gluten-free if needed.
- lemon wedges, for serving — brightens and lifts the dish right before eating.
Method: (Broiled Tilapia Oreganata)
- Preheat the broiler and move the top oven rack to be about 6 to 8 inches from the heating element. Line a sheet pan with aluminum foil.
- Rinse the 4 tilapia fillets and pat them dry with paper towels.
- Season both sides of the fillets with 1/2 teaspoon kosher salt, 1/4 teaspoon fresh black pepper, and 1 tablespoon finely chopped fresh oregano, or 1 teaspoon dried.
- Arrange the seasoned fillets in a single layer on the prepared sheet pan.
- Evenly sprinkle the 2 garlic cloves, minced, over the fillets.
- Drizzle the 4 teaspoons olive oil evenly over the fillets.
- Evenly sprinkle the 2 tablespoons whole wheat seasoned breadcrumbs, or gluten-free crumbs, over the fillets.
- Set the broiler to low and place the sheet pan on the rack. Broil for about 6 to 8 minutes, watching closely, until the breadcrumbs are golden brown and the fish is cooked through and flakes easily with a fork. Be careful not to burn.
- Remove from the oven and serve immediately with lemon wedges.
Why You’ll Keep Making It
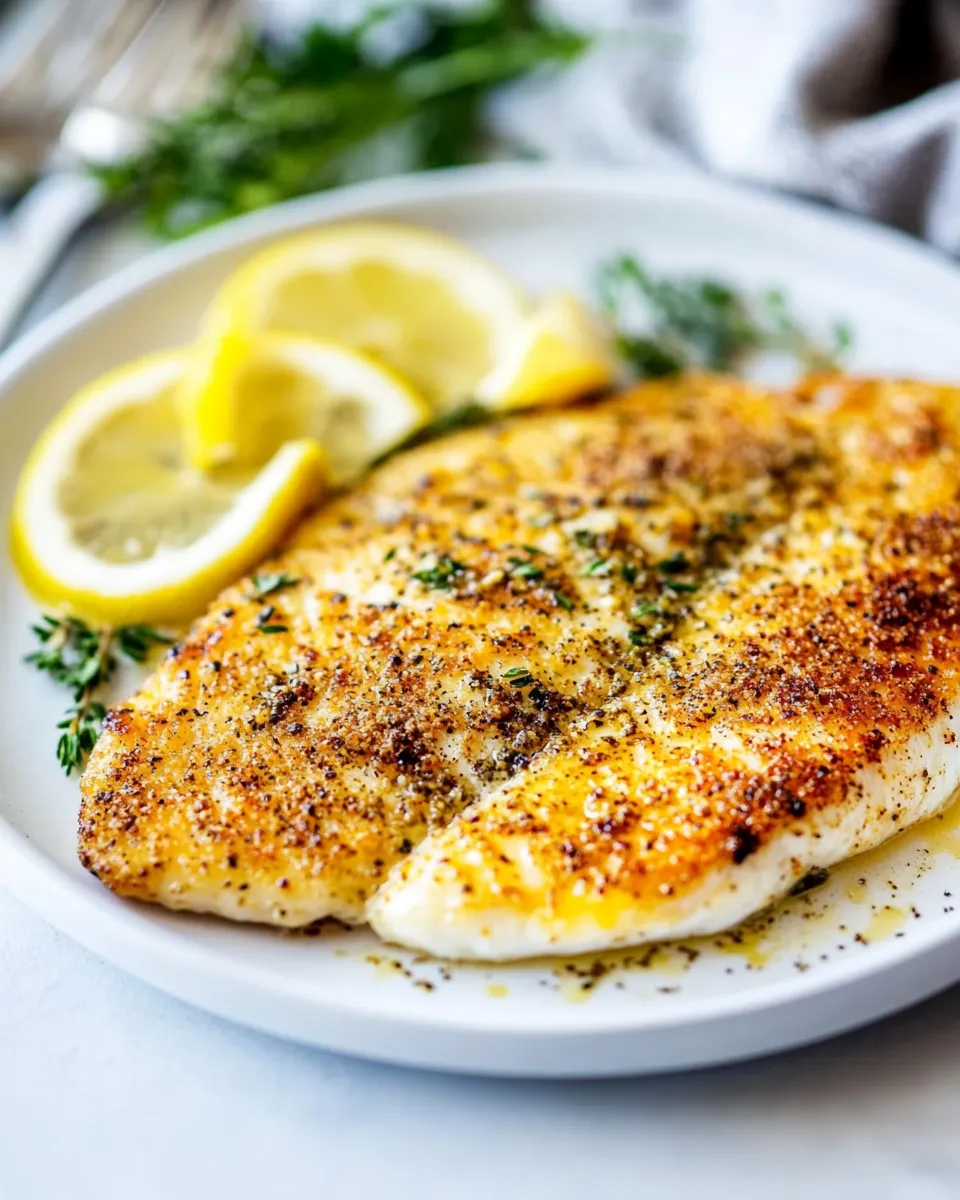
This recipe wins because it does exactly what you need on busy nights: quick cooking, minimal cleanup, and consistent results. The broiler gives instant color and crunch without deep frying or standing over a hot pan. That means you get texture and flavor with a fraction of the effort.
Flavor-wise, the oregano-garlic combo is simple but effective. The olive oil helps the breadcrumbs crisp up, while a squeeze of lemon at the end brightens everything. It’s a small list of ingredients that combine into something greater than the sum of its parts — comfort food with a fresh edge.
Finally, the method scales and adapts. Use different crumbs, add a sprinkle of Parmesan if you like, or swap herbs; the structure of the recipe supports changes without breaking. That reliability is why this ends up on my weekly rotation.
Easy Ingredient Swaps
- Tilapia fillets — substitute with cod, haddock, or sole for a similar mild flavor and texture.
- 1 tablespoon finely chopped fresh oregano, or 1 teaspoon dried — try chopped fresh parsley or basil if you want a different herb note.
- 2 tablespoons whole wheat seasoned breadcrumbs, or gluten-free crumbs — use panko for extra crunch, or crushed cornflakes for a different texture. For a nutty option, pulse almonds or walnuts and use sparingly.
- 4 teaspoons olive oil — you can use avocado oil for a higher smoke point; butter will brown faster and add richness.
Gear Checklist
- Sheet pan — large enough to hold fillets in a single layer.
- Aluminum foil — for easier cleanup and to prevent sticking.
- Sharp knife and cutting board — for trimming fillets and chopping oregano.
- Measuring spoons — to keep seasoning balanced.
- Small bowl or measuring cup — to mix or measure oil and crumbs.
- Oven mitts and a timer — broilers work fast; protect your hands and time closely.
Learn from These Mistakes
- Overcrowding the pan — placing fillets too close prevents even browning. Leave space between pieces so hot air circulates.
- Putting the rack too far from the broiler — if the fish is too low it won’t crisp; too close and the crumbs will burn. Aim for about 6–8 inches.
- Not drying the fillets — excess moisture steams the fish and prevents the crumbs from crisping. Pat dry with paper towels.
- Ignoring the broiler — this step requires attention. Watch the last few minutes so the crumbs turn golden but don’t char.
- Using fine table salt amounts incorrectly — kosher salt measures differently than table salt. Taste and adjust if needed.
Variations for Dietary Needs
- Gluten-free — use gluten-free breadcrumbs (the recipe already calls this option out). Panko-style gluten-free crumbs work well for crispness.
- Lower sodium — reduce the kosher salt to 1/4 teaspoon and rely on fresh lemon juice at the table to boost flavor.
- Dairy-free — the base recipe contains no dairy. Avoid adding cheese and stick with olive oil to keep it dairy-free.
- Whole-food option — use coarsely ground nuts or seeds mixed with herbs instead of crumbs for a grain-free crunch.
- Herb-forward — swap oregano for dill or a parsley-lemon-garlic mix if you prefer a brighter, greener profile.
Recipe Notes & Chef’s Commentary
Small decisions make a big difference here. Trim any thin tail ends from the fillets so everything cooks evenly. If your fillets are unevenly thick, briefly press them between parchment and a cutting board to level them slightly; this encourages even cooking without flattening the texture too much.
When measuring the oregano, remember dried herbs are more concentrated — the recipe gives both measures for a reason. Fresh oregano is aromatic and slightly peppery; dried will deliver a more subtle, longer-lasting flavor during cooking.
If you like a very crisp topping, lightly toast the breadcrumbs in a skillet with a teaspoon of olive oil before sprinkling them over the fish. That step adds time but increases crunch. However, the broiler will brown the crumbs well if you prefer to keep it simple.
Storage & Reheat Guide
Leftover broiled tilapia keeps in an airtight container in the refrigerator for up to 2 days. The topping will soften over time, so store fillets in a single layer if possible and place a piece of parchment between layers to protect the crumbs.
To reheat, preheat your oven to 350°F (175°C). Place the fillets on a sheet pan and warm for about 8–10 minutes, or until heated through. Finish under the broiler for 30–60 seconds if you want to re-crisp the topping—watch closely to avoid burning. Microwaving will warm the fish but will make the crumbs soggy, so use the oven for the best texture.
(Broiled Tilapia Oreganata) FAQs
How do I know when the fish is cooked?
Cooked tilapia should flake easily with a fork and appear opaque throughout. Depending on fillet thickness, broiling on low for 6–8 minutes is the guideline; check at 6 minutes and adjust as needed.
Can I broil on high instead of low?
You can, but broiling on high increases the risk of burning the breadcrumbs before the fish cooks through. If you prefer higher heat, move the rack slightly lower and watch closely, reducing cook time.
What if I don’t have fresh oregano?
Use the dried oregano measure provided (1 teaspoon) and distribute it over both sides when seasoning. Dried oregano works fine here and is an intended option in the recipe.
Can I prepare this ahead of time?
Assemble the fillets on the sheet pan up to the point of adding the olive oil and breadcrumbs, cover, and refrigerate for up to a few hours. Add the oil and crumbs right before broiling for best crispness.
Is tilapia the only fish that works?
No — other mild white fish like cod, haddock, or sole work well. Thicker fillets may need a minute or two more under the broiler.
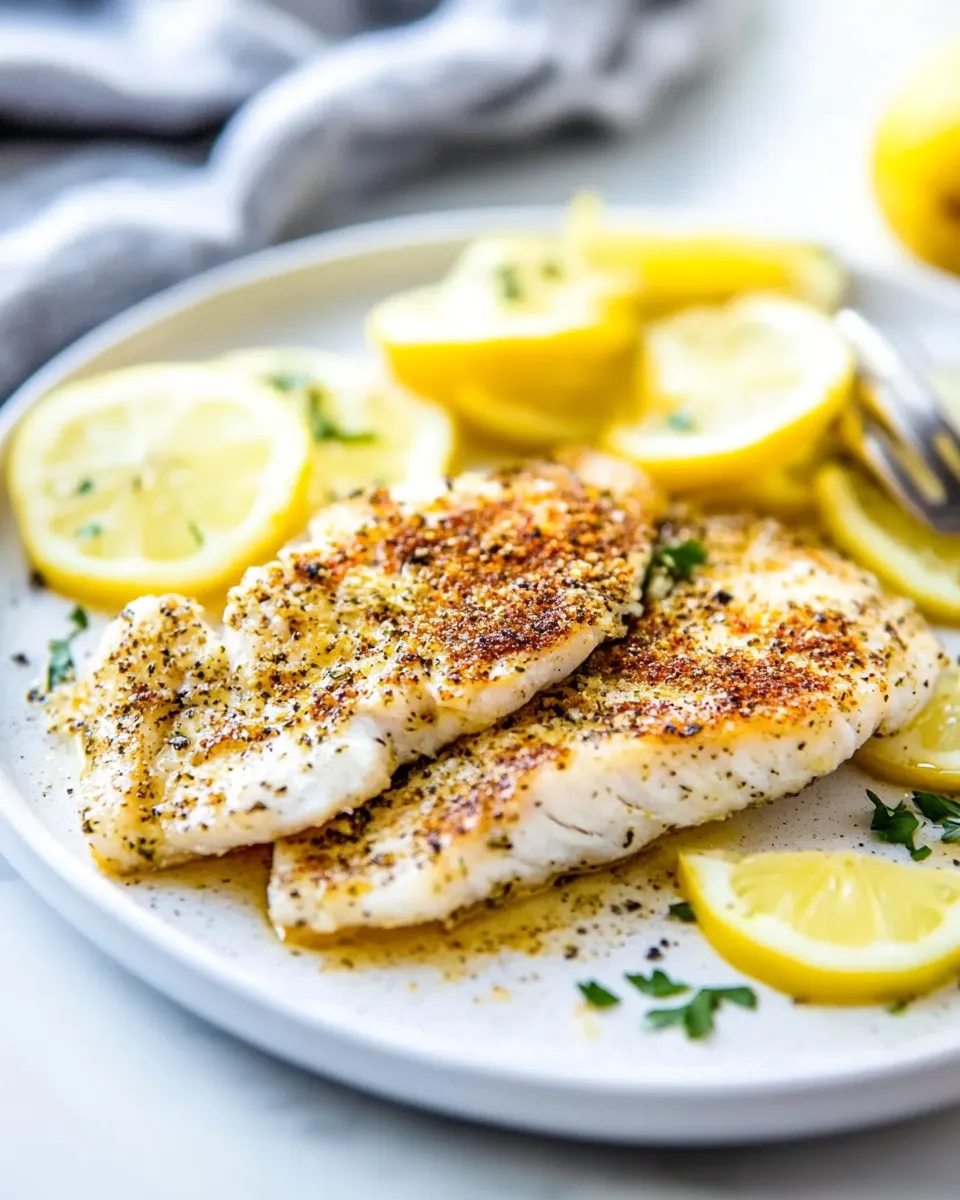
Final Bite
Broiled Tilapia Oreganata is one of those dependable recipes I keep coming back to because it’s fast, flavorful, and flexible. It’s approachable enough for a weekday dinner and pretty enough for guests. With a few pantry staples and ten minutes under the broiler, you get a fresh, satisfying plate that feels intentional without the stress. Serve with lemon wedges and whatever quick sides you love, and enjoy the balance of crisp topping and flaky fish every time.
Broiled Tilapia Oreganata
Ingredients
Equipment
Method
- Preheat the broiler and move the top oven rack to be about 6 to 8 inches from the heating element. Line a sheet pan with aluminum foil.
- Rinse the 4 tilapia fillets and pat them dry with paper towels.
- Season both sides of the fillets with 1/2 teaspoon kosher salt, 1/4 teaspoon fresh black pepper, and 1 tablespoon finely chopped fresh oregano, or 1 teaspoon dried.
- Arrange the seasoned fillets in a single layer on the prepared sheet pan.
- Evenly sprinkle the 2 garlic cloves, minced, over the fillets.
- Drizzle the 4 teaspoons olive oil evenly over the fillets.
- Evenly sprinkle the 2 tablespoons whole wheat seasoned breadcrumbs, or gluten-free crumbs, over the fillets.
- Set the broiler to low and place the sheet pan on the rack. Broil for about 6 to 8 minutes, watching closely, until the breadcrumbs are golden brown and the fish is cooked through and flakes easily with a fork. Be careful not to burn.
- Remove from the oven and serve immediately with lemon wedges.