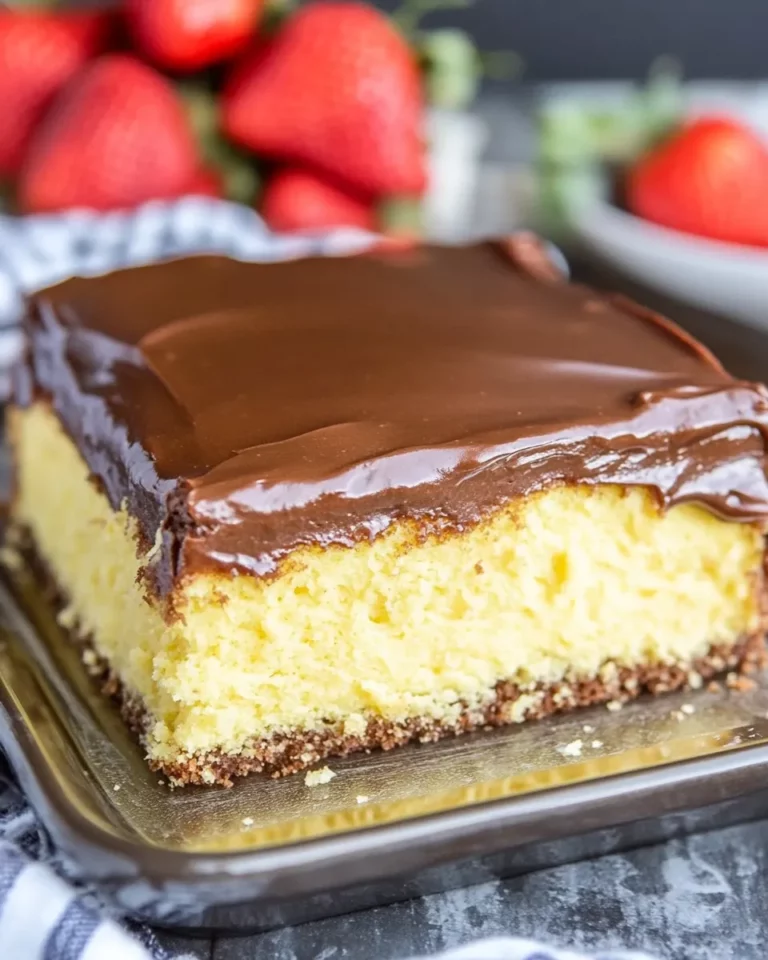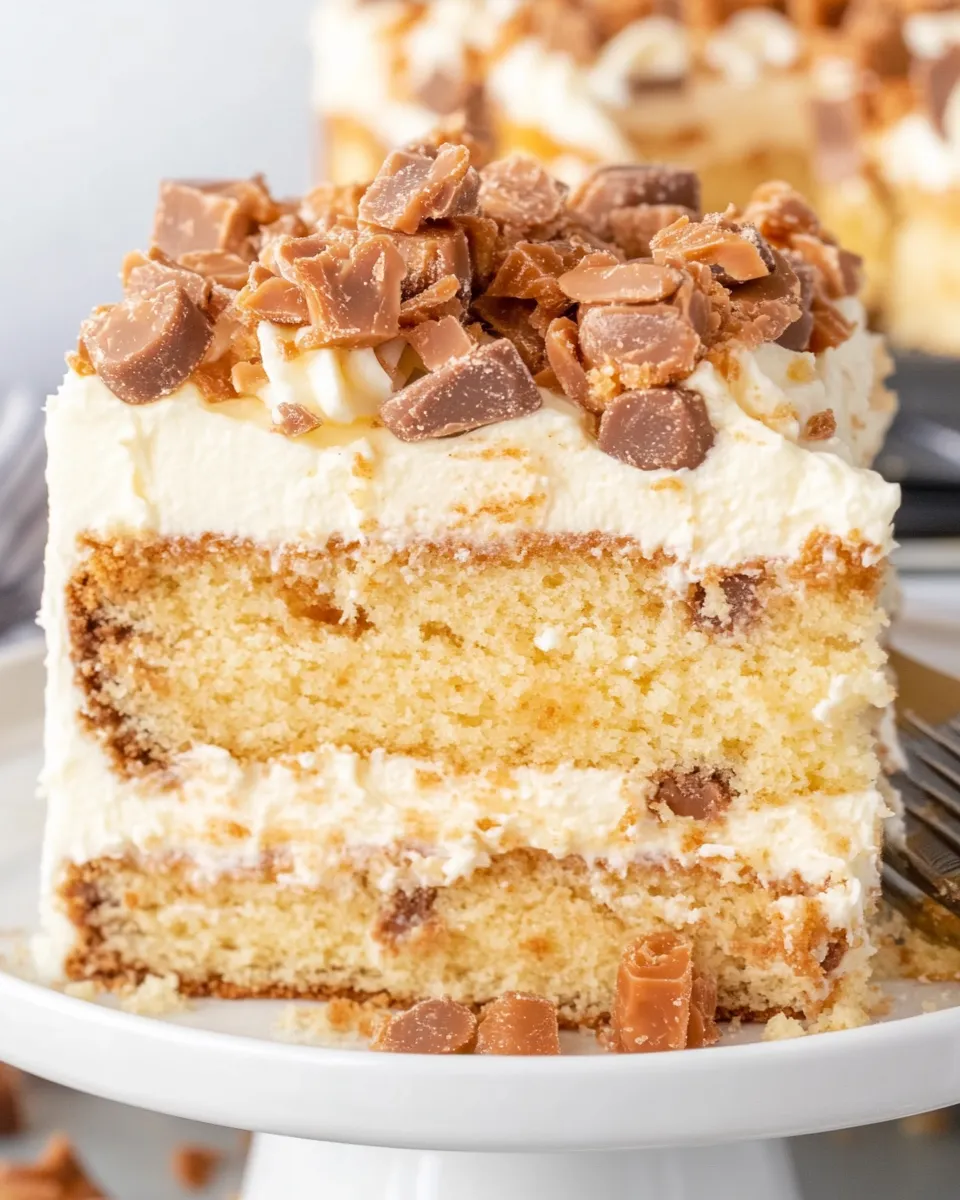
Butterfinger Cake
Indulging in a rich, decadent dessert is a universal pleasure, and few treats can match the delightful combination of chocolate, caramel, and peanut butter that the Butterfinger Cake offers. This no-bake dessert is super simple to whip up and requires just a few ingredients, making it perfect for a get-together or a cozy night in. It captures the nostalgic flavors of the well-loved Butterfinger candy bars, transforming them into a dreamy cake that everyone will love. Dive into the layers of flavor and texture with every bite, and you’ll see why this cake has gained its popularity.
Why This Recipe Is a Must-Try
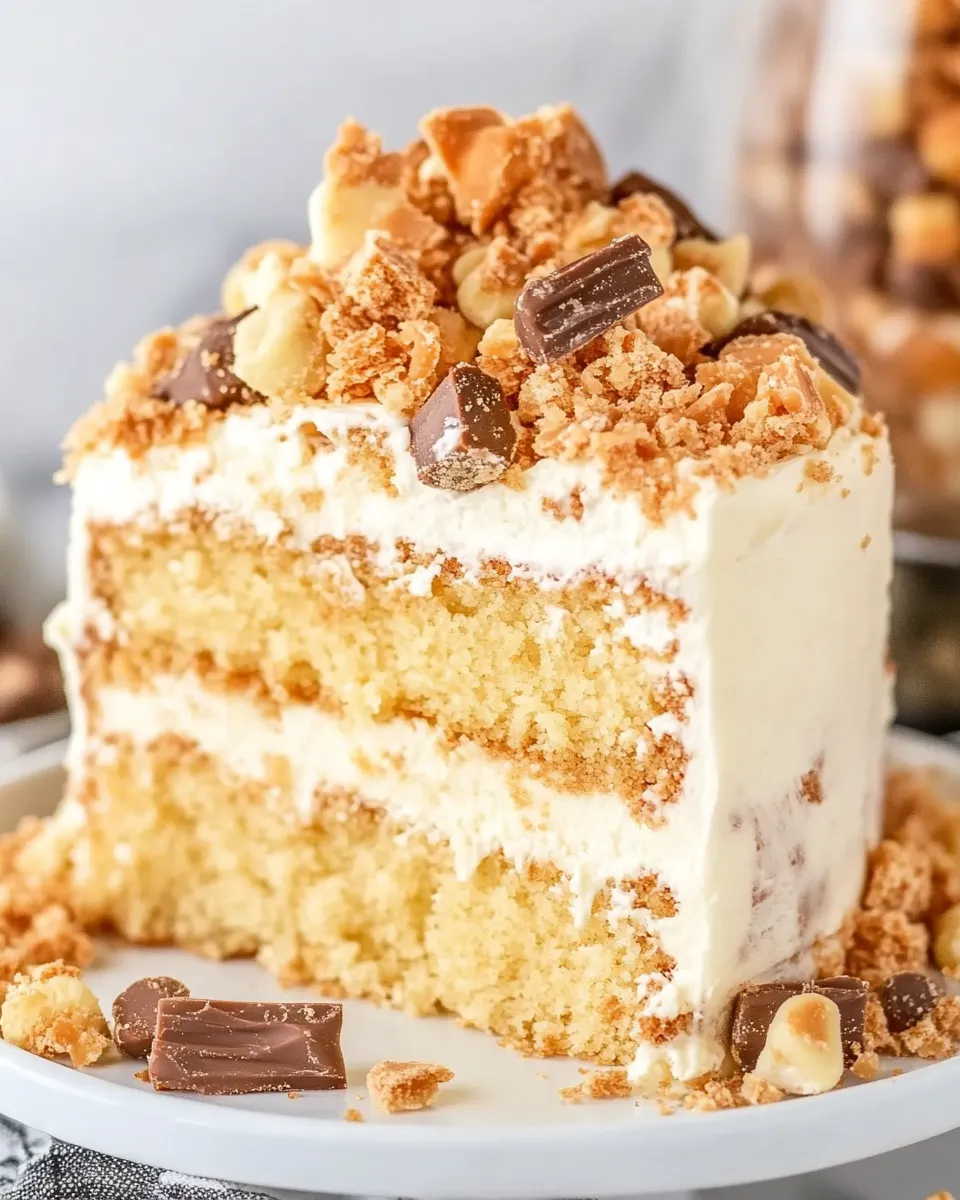
Butterfinger Cake is a delightful fusion of convenience and flavor. With its creamy Cool Whip top, rich caramel, and chunks of Butterfinger that add a satisfying crunch, this cake is not just a dessert; it’s a celebration of scrumptiousness. The combination of yellow cake mix, sweetened condensed milk, and caramel sauce creates a moist and irresistible cake that stays fresh for days. Perfect for potlucks, birthday parties, or casual family dinners, this treat is sure to impress and leave your guests coming back for seconds.
Ingredients
To make this delectable Butterfinger Cake, gather the following ingredients:
- 1 box (15.25 ounces) yellow cake mix
- 1 can (14 ounces) sweetened condensed milk
- 1 jar (12.25 ounces) caramel sauce
- 1 tub (8 ounces) Cool Whip, thawed (or 3 cups homemade whipped cream)
- 4 full-size Butterfinger candy bars
How To Make Butterfinger Cake

Step 1: Prepare the Cake
Begin by preheating your oven to 350°F (175°C). Grease and flour a 9×13 inch baking dish. In a large mixing bowl, prepare the yellow cake mix according to the package instructions, usually requiring eggs, oil, and water. Pour the prepared batter into the greased baking dish and spread it evenly.
Step 2: Bake the Cake
Bake your cake in the preheated oven for 25 to 30 minutes, or until a toothpick inserted into the center comes out clean. Once baked, remove it from the oven and allow it to cool for about 10 minutes.
Step 3: Poke Holes in the Cake
While your cake is still warm, take a fork and poke holes all over the surface. This will allow the sweetened condensed milk to soak into the cake for moisture and flavor.
Step 4: Add the Sweetened Condensed Milk
Slowly pour the sweetened condensed milk over the warm cake, ensuring that it seeps into the holes you’ve made. This step is critical for achieving that deliciously moist texture.
Step 5: Drizzle with Caramel Sauce
Next, drizzle the caramel sauce over the top of the cake, spreading it evenly. Allow the cake to absorb the flavors as it cools completely, approximately 30 minutes more.
Step 6: Spread on the Cool Whip
Once the cake has cooled, take your Cool Whip (or homemade whipped cream) and gently spread it over the top. This light and fluffy layer balances the rich cake and toppings perfectly.
Step 7: Add Butterfinger Topping
Chop the Butterfinger candy bars into small pieces and sprinkle them generously over the top of the Cool Whip layer. Ensure even distribution for that signature crunch in every bite!
Step 8: Chill and Serve
Refrigerate the Butterfinger Cake for at least 2 hours, allowing all the flavors to meld and the cake to set. When ready to serve, slice into squares and enjoy the blissful combination of flavors!
Expert Tips
- For an even richer flavor, use a chocolate cake mix instead of yellow if you prefer a deeper chocolate taste combined with the Butterfinger flavor.
- Don’t skip the chilling step; it helps the flavors to meld beautifully and makes the cake easier to slice.
- For extra decoration, drizzle some additional caramel sauce on top just before serving for a beautiful presentation.
- Make sure to use room-temperature eggs and dairy when preparing your cake for the best texture.
Variations and Customizations
- Add chopped peanuts or crushed peanuts for an extra crunch and a more intense peanut butter flavor.
- Incorporate some peanut butter into the Cool Whip to enhance the peanut butter flavor of the Butterfinger.
- Use different candy bars like Snickers or Reese’s for a fun twist on this classic dessert.
- For a more decadent option, drizzle some melted chocolate over the Cool Whip before adding the Butterfinger pieces.
How to Store Leftovers
Leftover Butterfinger Cake can be stored in an airtight container in the refrigerator for up to 3 days. The flavors continue to improve as the cake sits, allowing the moistness to soak in further. It’s best enjoyed chilled, so keeping it in the fridge will preserve its delicious texture. Just be sure to cover it well to keep it fresh!
FAQ
Can I use a different type of cake mix?
Absolutely! You can experiment with other cake mixes, such as chocolate or even red velvet, to put a unique twist on this delightful Butterfinger Cake.
Can I make this cake ahead of time?
Yes, you can prepare it a day ahead of time. Just ensure to cover it well and refrigerate it. The flavors will develop even more overnight!
What if I can’t find Butterfingers?
If Butterfingers are unavailable, you can substitute them with similar candy bars like Reese’s or Snickers, or even use crushed pretzels for a salty-sweet combination.
Can I freeze this cake?
While it is possible to freeze the cake, the whipped topping may not hold up as well after freezing and thawing. If you must freeze it, consider freezing without the Cool Whip topping and adding it fresh when you are ready to serve.
Conclusion
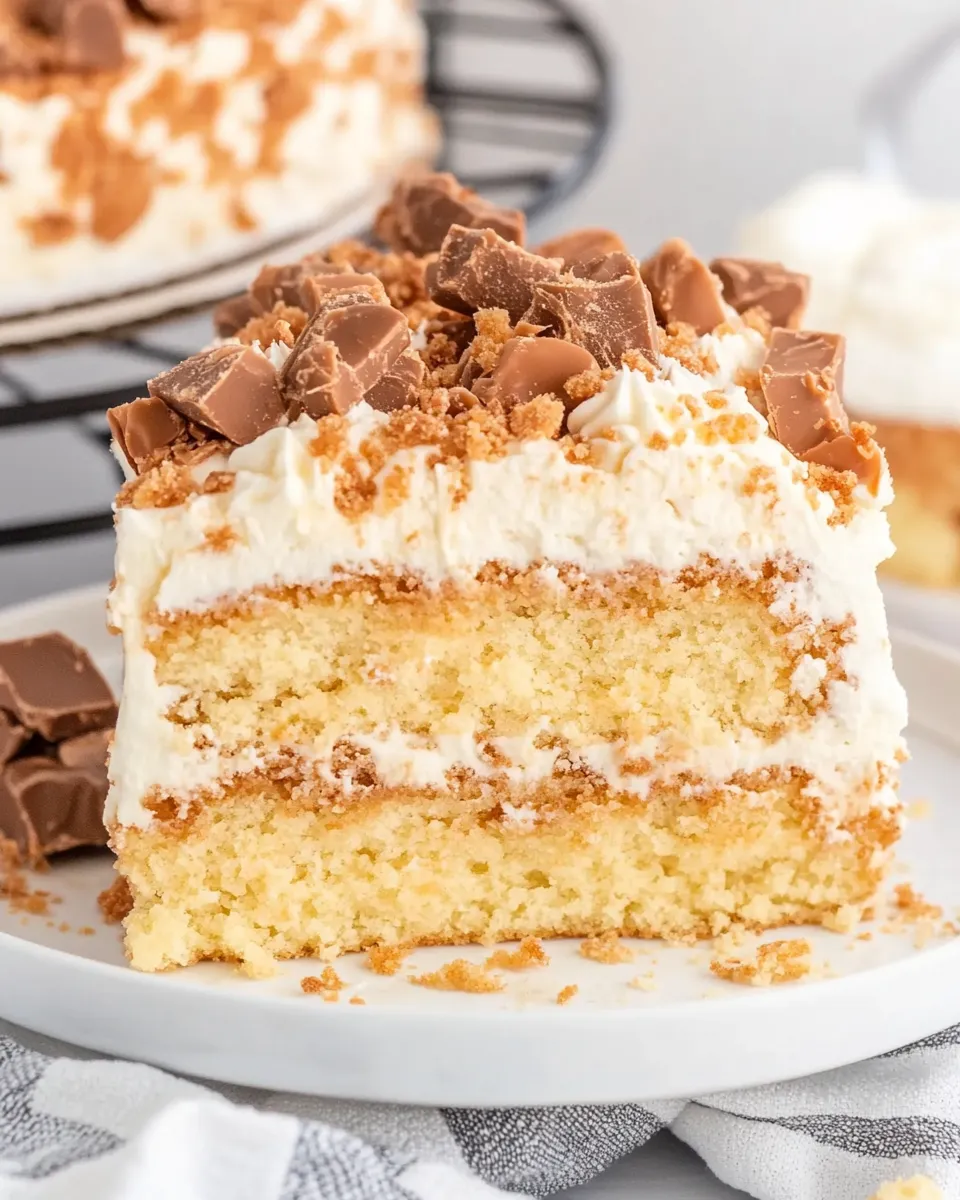
In conclusion, Butterfinger Cake is an indulgent dessert that brings together rich flavors and textures in a way that is sure to please any crowd. With its layers of moist cake, creamy topping, and crunchy Butterfinger pieces, it’s not just another dessert—it’s a celebration in itself. Whether you are enjoying it at a family gathering or treating yourself after a long day, this cake is sure to brighten your mood and satisfy your sweet tooth. So gather your ingredients, roll up your sleeves, and let the deliciousness begin!

Butterfinger Cake
Equipment
- Mixing Bowl
- 9x13 inch Baking Dish
- Fork
Ingredients
Cake Ingredients
- 1 box yellow cake mix 15.25 ounces
- 1 can sweetened condensed milk 14 ounces
- 1 jar caramel sauce 12.25 ounces
- 1 tub Cool Whip 8 ounces, thawed (or 3 cups homemade whipped cream)
- 4 bars Butterfinger candy bars full-size
Instructions
- Step 1: Preheat your oven to 350°F (175°C). Grease and flour a 9×13 inch baking dish. In a large mixing bowl, prepare the yellow cake mix according to the package instructions. Pour the prepared batter into the greased baking dish and spread it evenly.
- Step 2: Bake your cake in the preheated oven for 25 to 30 minutes, or until a toothpick inserted into the center comes out clean. Once baked, remove it from the oven and allow it to cool for about 10 minutes.
- Step 3: While your cake is still warm, take a fork and poke holes all over the surface.
- Step 4: Slowly pour the sweetened condensed milk over the warm cake, ensuring that it seeps into the holes you’ve made.
- Step 5: Drizzle the caramel sauce over the top of the cake, spreading it evenly. Allow the cake to absorb the flavors as it cools completely, approximately 30 minutes more.
- Step 6: Once the cake has cooled, take your Cool Whip and gently spread it over the top.
- Step 7: Chop the Butterfinger candy bars into small pieces and sprinkle them generously over the top of the Cool Whip layer.
- Step 8: Refrigerate the Butterfinger Cake for at least 2 hours before serving.