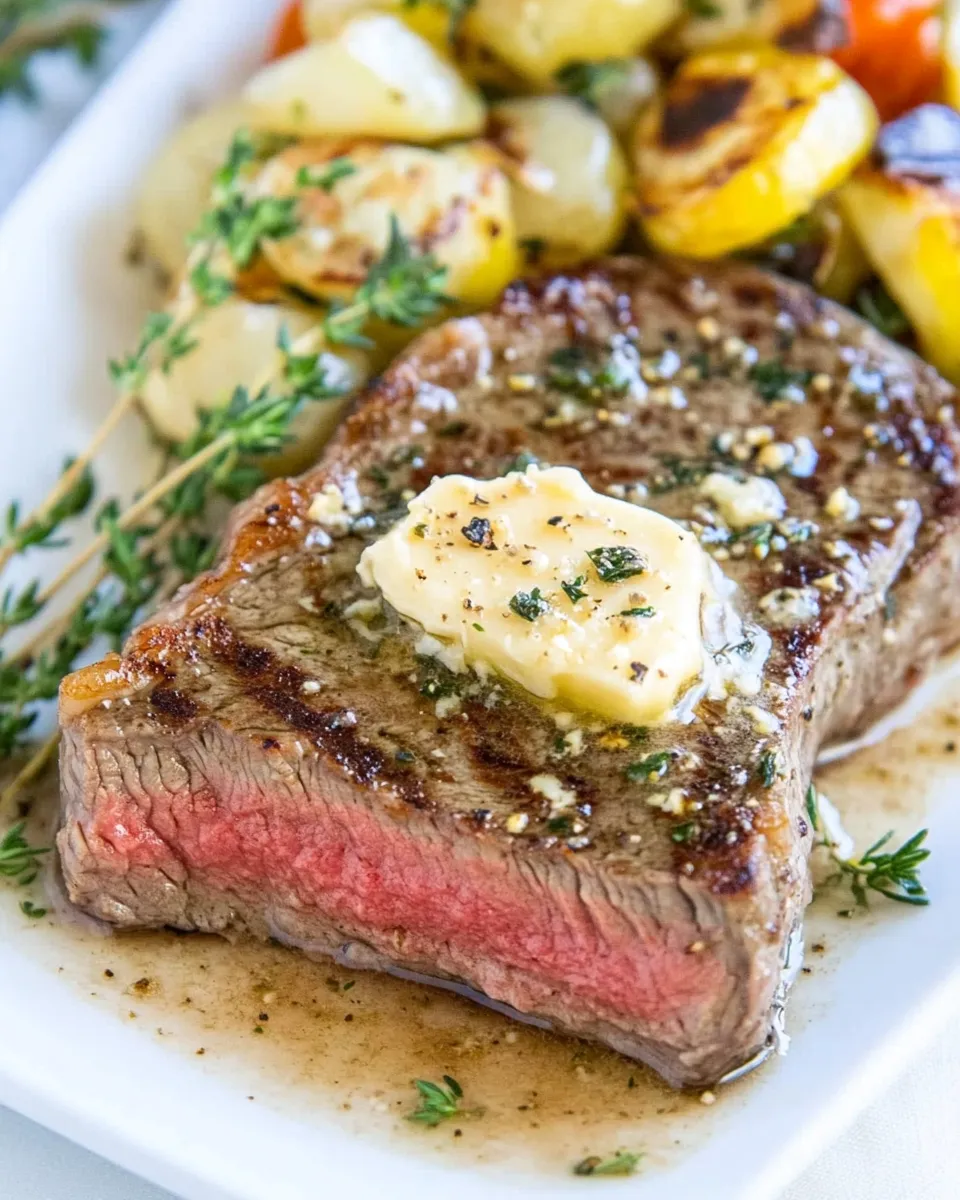
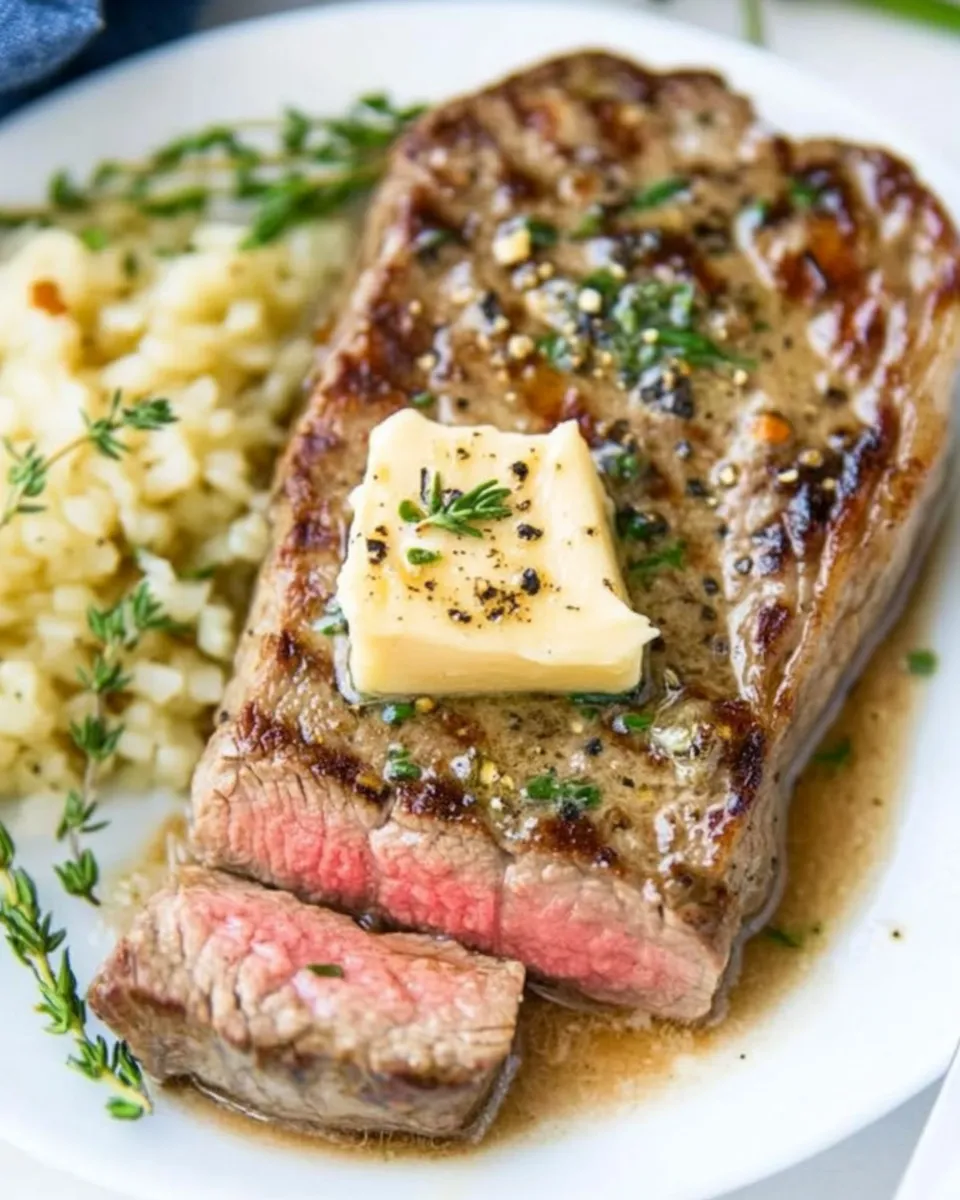
Cast Iron Strip Steak with Garlic Butter
I cook a lot of steak at home, and this cast iron strip steak with garlic butter is one I return to when I want something straightforward that still feels special. It uses a few pantry basics, a hot skillet, and a short resting period to deliver a tender, well-seasoned steak with a glossy garlic-butter finish. No flambé, no complicated steps; just muscle and technique.
This method leans on two simple ideas: salt early so the meat seasons evenly, and use contrast — a very hot pan to make a crust, then a gentler finish with butter and aromatics for flavor and tenderness. The finished steak carries a clean, meaty crust and an herb-butter note that doesn’t overpower the beef.
Below you’ll find the ingredient list exactly as provided, step-by-step directions copied in order from the source of truth, and practical notes so you can reproduce the results reliably at home. Read the prep steps through before you start; a little setup makes a big difference.
Ingredient List
- 4 strip steaks, cut 1-1.5 in thick — The star of the dish; pick steaks that are evenly thick so they cook uniformly.
- 3 tbsp olive oil, or more if using an extra large skillet — Oil raises the pan’s smoke point and helps form a crust without sticking.
- 2 tbsp butter — Added late to baste and finish the steaks with richness and shine.
- 2-3 tsp kosher salt — Used to season the steaks well in advance so the seasoning penetrates the meat.
- 2 tsp freshly ground pepper — Coarse pepper gives a fragrant, peppery top note; add before cooking as instructed.
- 1 tbsp fresh thyme — Fresh thyme is sprinkled over the steaks during the gentle finish for a bright herbal lift.
- 4 cloves fresh garlic — One clove per steak, crushed or lightly smashed, to flavor the butter and meat during the covered finish.
Cast Iron Strip Steak with Garlic Butter — Do This Next
- At least 40 minutes and up to 2 hours before cooking, season all sides of the 4 strip steaks evenly with 2–3 tsp kosher salt and 2 tsp freshly ground pepper. Place the steaks on a tray or plate and refrigerate uncovered until ready to cook.
- When ready to cook, remove the steaks from the refrigerator and pat both sides dry with paper towels.
- Heat a cast-iron skillet over medium-high to high heat until very hot. Add 3 tbsp olive oil (use more only if using an extra-large skillet) and heat until the oil shimmers.
- Add the steaks to the hot skillet, leaving space between them, and cook undisturbed for 3–4 minutes to form a crust.
- Flip each steak, immediately reduce the heat to low, and place one crushed or lightly smashed clove of the 4 cloves fresh garlic on top of each steak (on the cooked side).
- Divide the 2 tbsp butter into four portions and place one portion on top of each steak. Sprinkle the 1 tbsp fresh thyme leaves evenly over the steaks.
- Cover the skillet with a lid and cook 5–10 minutes more, until the steaks reach your desired level of doneness (use an instant-read thermometer if available). Before removing the pan from the heat, spoon the melted butter and pan juices over the tops of the steaks to baste.
- Transfer the steaks to a plate, loosely tent with foil, and let rest for 15 minutes before serving.
Why This Recipe Is Reliable
There are a few quietly effective choices built into this method. First, salting the steaks 40 minutes to 2 hours before cooking creates a short dry brine: the surface moisture is drawn out, dissolves the salt, and then reabsorbs, seasoning the meat more deeply than a last-minute sprinkle. It’s simple and dramatic in its effect.
Second, the two-stage heat — an initial blistering sear on high to build a crust, followed by a covered low-heat finish with butter and aromatics — balances texture and doneness. The crust locks in flavor and browning compounds, while the gentle covered finish brings the center of the steak up to temperature without burning the exterior.
Finally, finishing with butter, garlic, and thyme lets you flavor the surface without overpowering the beef. Basting concentrates flavor and leaves the steaks glossy and inviting.
Low-Carb/Keto Alternatives
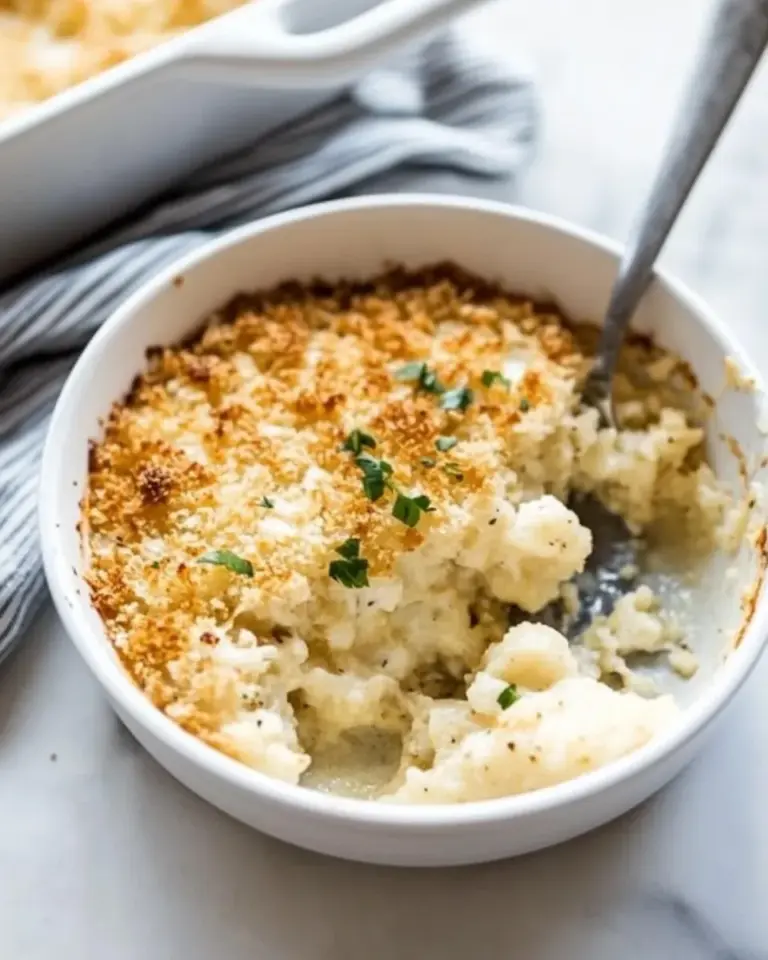
This recipe itself is inherently low-carb: the ingredients are proteins and fats. For a full low-carb meal, skip bread or starchy sides and pair the steak with non-starchy vegetables or a simple green salad. If you prefer a “potato” option without the carbs, cauliflower prepared simply — roasted or mashed — is a low-carb substitute that pairs well with the garlic-butter flavors in this dish.
Setup & Equipment
You don’t need a lot of specialized gear, but a few items make this run smoothly:
- Cast-iron skillet — Essential for even heat and a good crust.
- Tongs — For confident flipping without piercing the meat.
- Paper towels and a tray or plate — For patting steaks dry and resting them before cooking.
- Lid — For the covered finish called for in the recipe.
- Aluminum foil — To tent the steaks while they rest.
- Instant-read thermometer (optional but highly recommended) — The most reliable way to hit your preferred doneness.
Missteps & Fixes
Common problems are easy to diagnose and fix.
- No crust: Your pan wasn’t hot enough or the steaks were too wet. Always preheat the skillet until very hot and pat the steaks completely dry before they hit the pan.
- Too salty: If you over-salted at the start, try serving with a simple unsalted vegetable to balance the bite. Next time, use the lower end of the 2–3 tsp salt range.
- Burnt garlic or butter: Garlic and butter burn at high heat. The method reduces heat immediately after flipping and finishes covered; follow that timing and keep the burner low during the finish.
- Overcooked center: Reduce the covered finish time or check earlier with an instant-read thermometer. Tent and rest as instructed; carryover cooking will raise the temperature slightly.
Make It Your Way
This recipe is remarkably adaptable while staying simple. If you want a more assertive herb flavor, sprinkle a few extra thyme leaves over the steaks after you remove them from the pan. If you like a stronger garlic presence, press a little of the softened garlic into the butter portions before placing them on the steaks so the aromatics meld as they melt.
If you prefer a firmer sear with less carryover, finish the steaks in a preheated oven briefly after searing instead of the covered skillet method. That’s a technique shift rather than a change to ingredients — and it still benefits from the same early salting and resting steps.
Cook’s Notes
Timing and temperature matter more than theatrics. The recipe calls for a 15-minute rest after cooking: that resting window allows juices to redistribute so the steak stays juicy when you slice it. Resist cutting into the meat right away.
If you own an instant-read thermometer, aim for these pull temperatures before resting: roughly 120–125°F for rare, 130–135°F for medium-rare, and 140–145°F for medium, recognizing carryover will increase internal temperature while the steaks rest. Exact numbers vary by personal preference.
Use the recommended salt range the first few times, then adjust to your taste. Kosher salt brand and flake size affect how salty the meat turns out; if you use finer table salt, reduce the amount.
Freezer-Friendly Notes
Cooked steaks can be frozen, but texture changes slightly on thaw and reheat. If you plan to freeze, cool the steaks completely on a rack to minimize trapped steam, then wrap them tightly in plastic and place them in a freezer bag or airtight container. Reheat gently in a warm oven or in a skillet with a little olive oil to refresh the crust and melt the butter.
For longer-term planning, you can freeze raw, seasoned steaks. Wrap tightly and thaw in the refrigerator before bringing to room temperature and following the cooking method. Remember that freezing can slightly affect texture, so fresh is best when you can manage it.
Common Questions
Why does the recipe call for salting so far ahead? Salting 40 minutes to 2 hours before cooking gives a short dry-brine effect, seasoning the steak beyond the surface and improving texture. It’s an easy step that pays off.
Can I skip the lid during the finish? You can, but the lid traps gentle heat and melts the butter while infusing the steaks with garlic and thyme. Without it, you may need a touch more time and to baste more frequently.
How do I know when the steaks are done? An instant-read thermometer is the most reliable tool. Short of that, press the steak gently to compare firmness to known doneness levels or slice a small piece to check. Resting will raise the final temperature a few degrees, so account for that.
What if my garlic burns? If the garlic scorches, it will taste bitter. Remove any burnt pieces before basting and reduce the finish heat next time. Crushing the garlic lightly instead of mincing helps it release flavor without burning quickly.
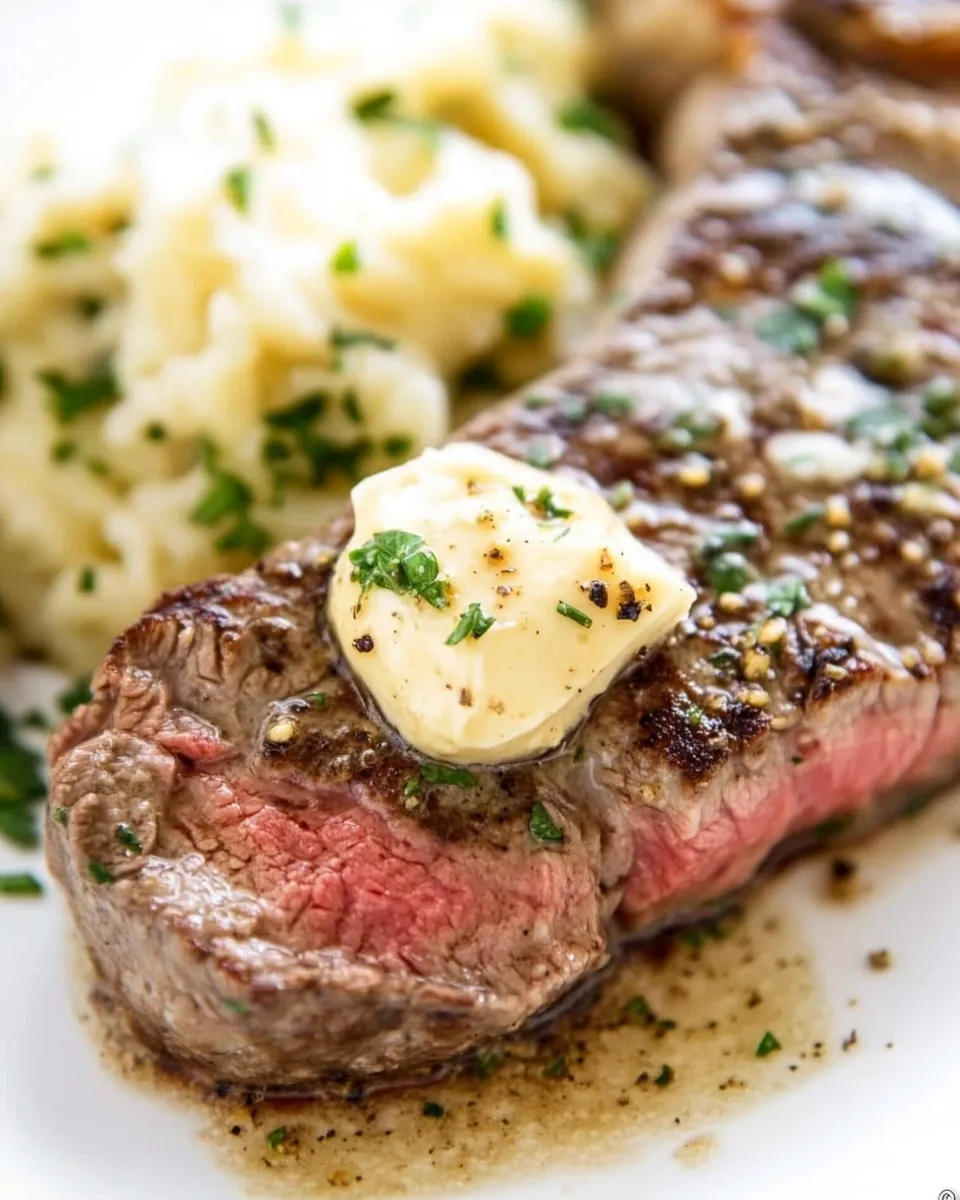
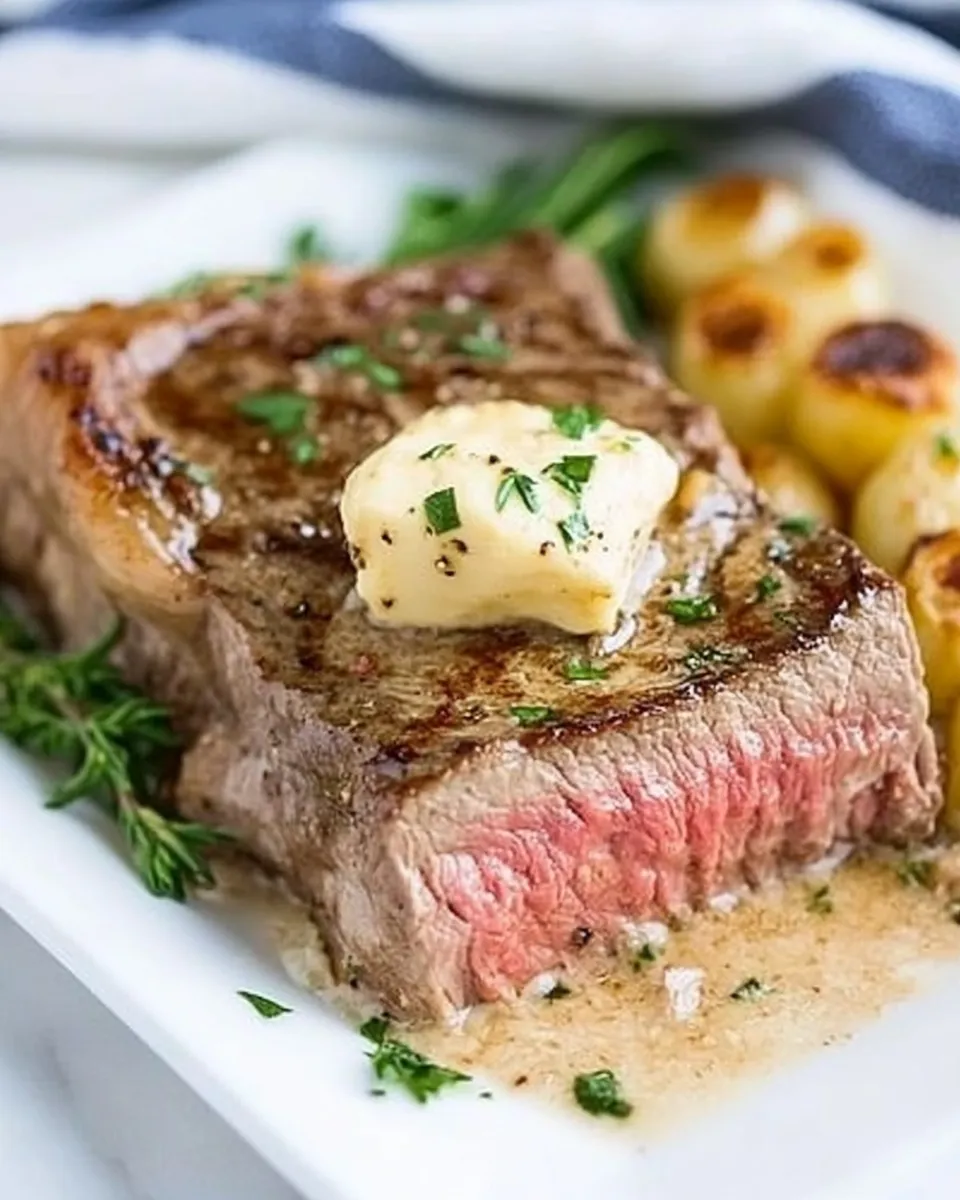
Bring It to the Table
When the steaks have rested, transfer them to a warm platter and spoon any reserved butter and pan juices over the top to echo the basting step. Slice against the grain and serve with a scattering of the remaining thyme leaves and the cooked garlic if you like a mellow roasted-garlic accent.
This steak is confident on its own. Keep sides simple and let the beef, butter, and thyme shine. A small drizzle of the pan juices at the table and a squeeze of fresh citrus is optional if you want brightness, but often I serve these plain and let each bite speak for itself.
Cook it once exactly as written. You’ll understand the trade-offs — crust, carryover, and the way butter softens the exterior — and then you can make small changes that reflect how you like your steak. That’s the point: predictable technique, room to personalize, and a reliably delicious result.
Cast Iron Strip Steak with Garlic Butter
Ingredients
Equipment
Method
- At least 40 minutes and up to 2 hours before cooking, season all sides of the 4 strip steaks evenly with 2–3 tsp kosher salt and 2 tsp freshly ground pepper. Place the steaks on a tray or plate and refrigerate uncovered until ready to cook.
- When ready to cook, remove the steaks from the refrigerator and pat both sides dry with paper towels.
- Heat a cast-iron skillet over medium-high to high heat until very hot. Add 3 tbsp olive oil (use more only if using an extra-large skillet) and heat until the oil shimmers.
- Add the steaks to the hot skillet, leaving space between them, and cook undisturbed for 3–4 minutes to form a crust.
- Flip each steak, immediately reduce the heat to low, and place one crushed or lightly smashed clove of the 4 cloves fresh garlic on top of each steak (on the cooked side).
- Divide the 2 tbsp butter into four portions and place one portion on top of each steak. Sprinkle the 1 tbsp fresh thyme leaves evenly over the steaks.
- Cover the skillet with a lid and cook 5–10 minutes more, until the steaks reach your desired level of doneness (use an instant-read thermometer if available). Before removing the pan from the heat, spoon the melted butter and pan juices over the tops of the steaks to baste.
- Transfer the steaks to a plate, loosely tent with foil, and let rest for 15 minutes before serving.
Notes
Doneness
Temperature
Center Color
Medium Rare
130-135 °
F
Pink
Medium
135-145 °
F
Some Pink
Well
145-155 °
F
Sliver of Light Pink
Well Done
155-165 °
F
Mostly Brown