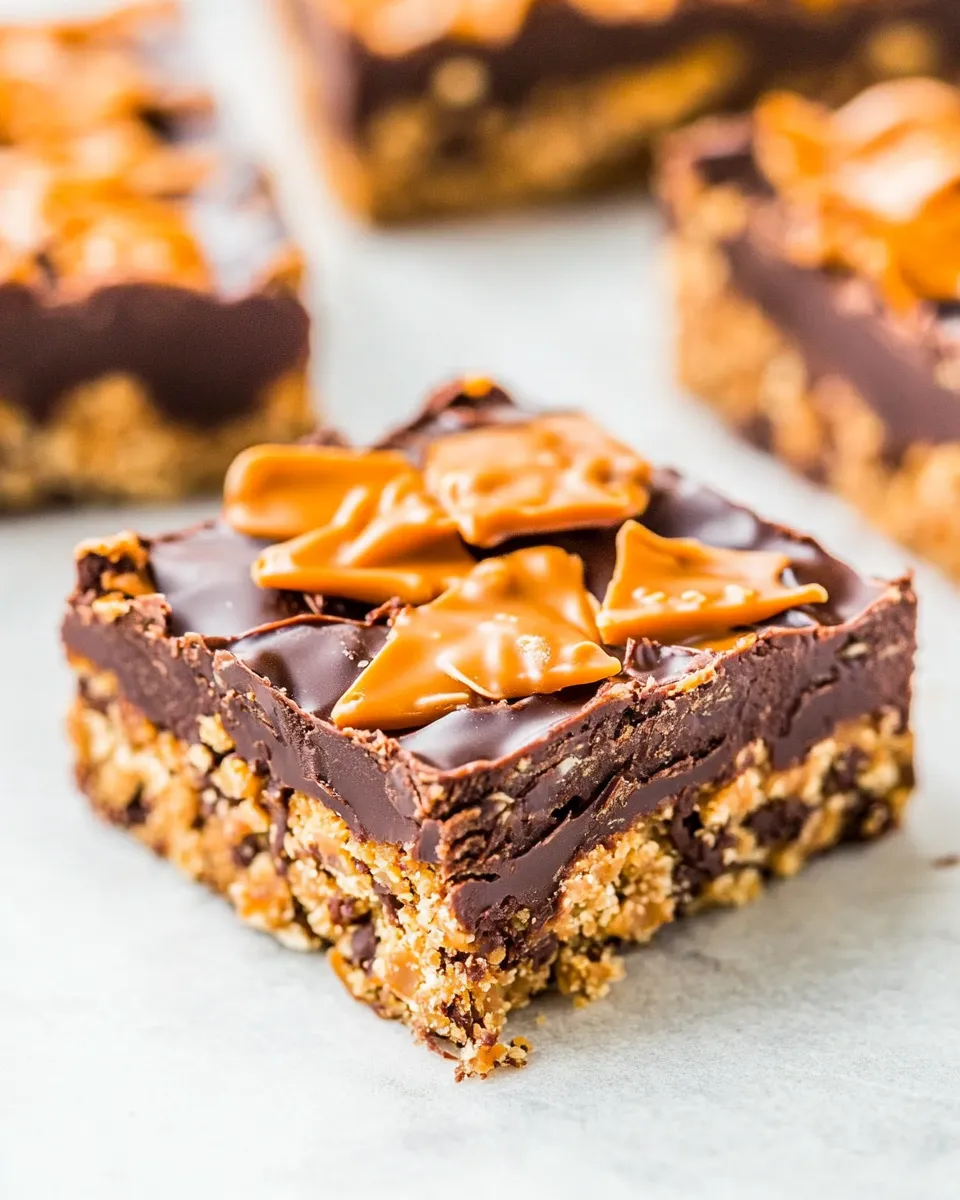
Chewy Chocolate Peanut Butter Butterfinger Bars
These bars are the kind of treat I make when I want something nostalgic, fast, and reliably crowd-pleasing. They snap between chewy and crunchy, with that familiar Butterfinger crunch riding a peanut-butter-chocolate wave. No baking, a short microwave dance, and a firm chill — that’s the rhythm.
I test this recipe on neighbors, after-school snack crowds, and anyone who stops by. It holds up: kids grab second helpings, adults take a box home. The method is straightforward, and I’ll walk you through the small steps that make clean slices and the best texture.
What You’ll Gather
Gather ingredients that are pantry-stable and reliable. You’ll want sturdy, creamy peanut butter (not natural), light corn syrup, sugars, Rice Krispies, chocolate, and a Butterfinger bar or two to crush. Equipment is simple: an 8-inch square pan, foil, microwave-safe bowls, and a good spatula.
Set everything on the counter before you start. Having measured ingredients and the pan prepped saves time and prevents overcooking chocolate in the microwave. This is a quick, linear process once you begin.
Chewy Chocolate Peanut Butter Butterfinger Bars, Made Easy
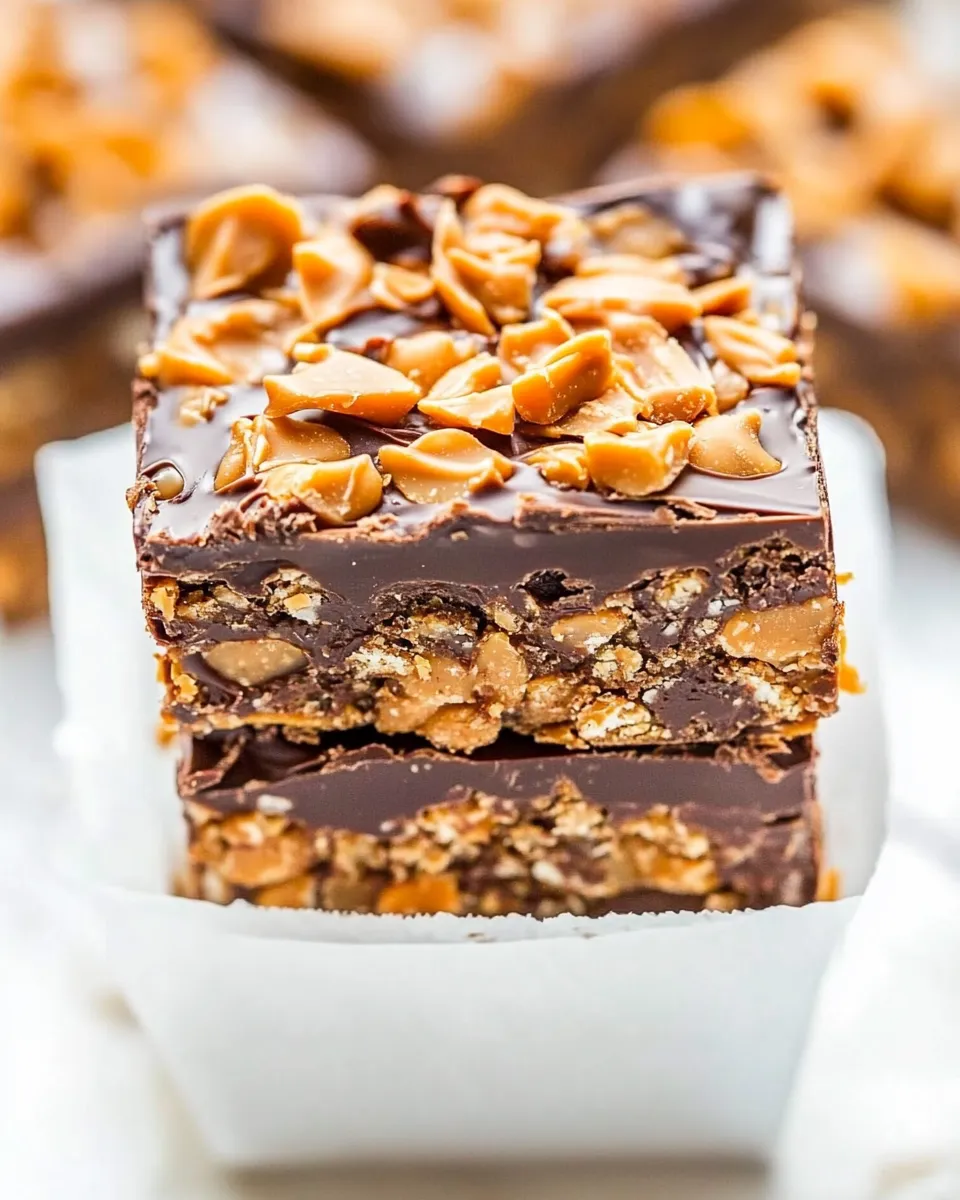
Think of this as an assembly recipe with two clear stages: the cereal base and the chocolate–peanut butter topping. The base comes together in the microwave and sets quickly once pressed into the pan. The topping melts and spreads, then the Butterfinger pieces and a drizzle finish the bars.
Hands-on time is minimal — about 15 to 20 minutes — but the bars need at least 3 hours in the fridge to firm up. Plan ahead: make them the night before, and you’ll have clean slices the next day.
Why This Recipe is a Keeper
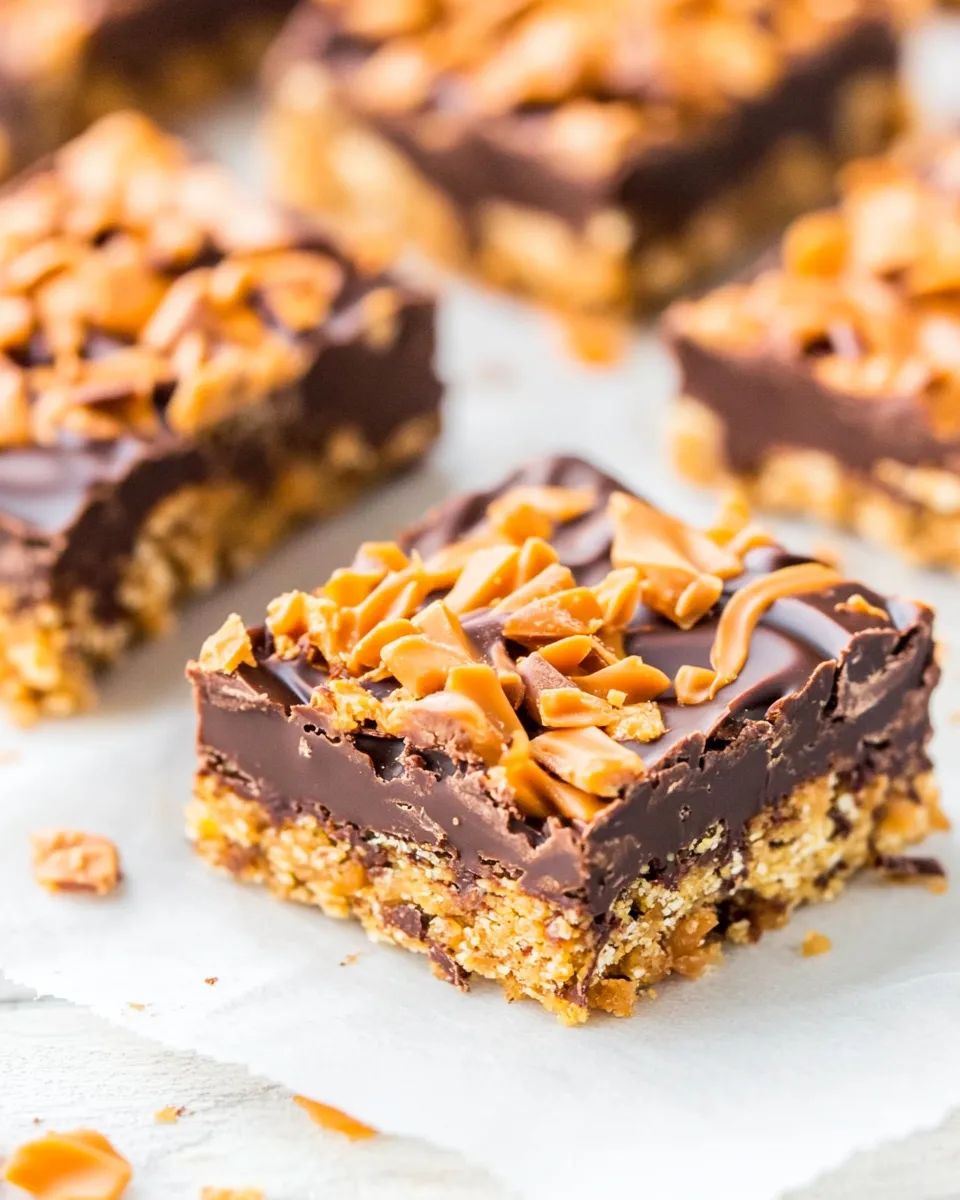
It balances texture and flavor without fuss. Creamy peanut butter and cocoa coat the cereal so every bite is chewy and chocolatey, while crushed Butterfinger adds crunch and that unmistakable honeycomb-like snap. The chocolate topping seals everything and gives it bakery-style presentation.
The recipe scales well (double it in a 9×13), travels, and is kid-friendly. It’s a great make-ahead dessert for gatherings, school lunches, or an after-dinner treat that feels special but didn’t require turning on the oven.
Smart Substitutions
Substitutions can work, but a few notes keep the texture right. Use light corn syrup as specified: it helps bind and keeps the bars pliable. If you prefer a different cereal, pick one with a similar crunch and shape to Rice Krispies so the coating distributes evenly.
If you swap cocoa: the recipe calls for unsweetened natural cocoa powder; Dutch-process can be substituted, but flavor and acidity may shift slightly. For chocolate chips, semi-sweet is written for balance — darker chips will make the bars less sweet, milk chocolate will make them sweeter and softer.
What’s in the Gear List
- 8-inch square pan — needed to form and chill the bars; an 8-inch gives the right thickness.
- Aluminum foil — lining the pan with an overhang makes lifting the set bars easy.
- Cooking spray — prevents sticking to the foil.
- Microwave-safe bowls (one large, one medium) — for melting and mixing.
- Spatula or offset spatula — for pressing the base and spreading the topping evenly.
- Measuring cups and spoons — accurate amounts keep texture consistent.
- Knife and cutting board — to chop Butterfinger and slice the finished bars.
Learn from These Mistakes
Don’t skip lining the pan with foil and an overhang. It looks like extra work, but it saves you from hacking bars out of the pan and crumbling edges. Spray the foil; otherwise the chocolate can stick.
Overheating the chocolate is another common error. Heat in short bursts, and stir thoroughly between bursts. Chocolate holds heat and will finish melting in the bowl; continuing to microwave risks seizing.
Also, pack the base firmly. If it’s loosely packed, the bars will crumble when cut. Use the bottom of a measuring cup or a spatula to press the mixture evenly into the pan.
Dietary Swaps & Alternatives
If you need gluten-free bars, use certified gluten-free Rice Krispies or a toasted rice cereal labeled gluten-free. For a nut-free version, this recipe is tricky because peanut butter is central to texture and flavor; consider substituting a seed butter if someone can tolerate sunflower-seed butter, but note the original instructions explicitly call for commercial creamy peanut butter brands and textures will differ.
For vegan adjustments, swap the chocolate chips for dairy-free chocolate and use a vegan Butterfinger-style candy if available. Keep in mind that corn syrup and sugars are generally vegan-friendly, but check product labels if strict adherence matters.
Method to the Madness
- Line an 8-inch square pan with aluminum foil, leaving an overhang for lifting the bars out later; spray the foil with cooking spray and set the pan aside.
- In a large microwave-safe bowl, combine 1 heaping cup creamy peanut butter, ½ cup light corn syrup, ½ cup granulated sugar, and ¼ cup packed light brown sugar. Microwave on high for 1 minute.
- Stir the mixture (it may be granular). Return to the microwave and heat on high for 1 more minute. Stir until as smooth as possible; if still lumpy, microwave in additional 10–15 second bursts, stirring between bursts, until smooth.
- Stir in 1 tablespoon vanilla extract and 3 tablespoons unsweetened natural cocoa powder until fully combined.
- Add 3 cups Rice Krispies and stir until the cereal is evenly coated with the chocolate–peanut butter mixture.
- Transfer the mixture to the prepared pan. Pack it down firmly and smooth the top with a spatula. Set the pan aside.
- Crush or dice about 1 cup Butterfinger and set the pieces aside.
- In a medium microwave-safe bowl, combine 1 cup semi-sweet chocolate chips and ¼ cup creamy peanut butter. Microwave on high for 1 minute, then stir. If the chips are not fully melted, microwave in 15-second bursts, stirring between each burst, until the mixture is smooth.
- Pour the chocolate–peanut butter topping over the cereal base and spread lightly and evenly with a spatula.
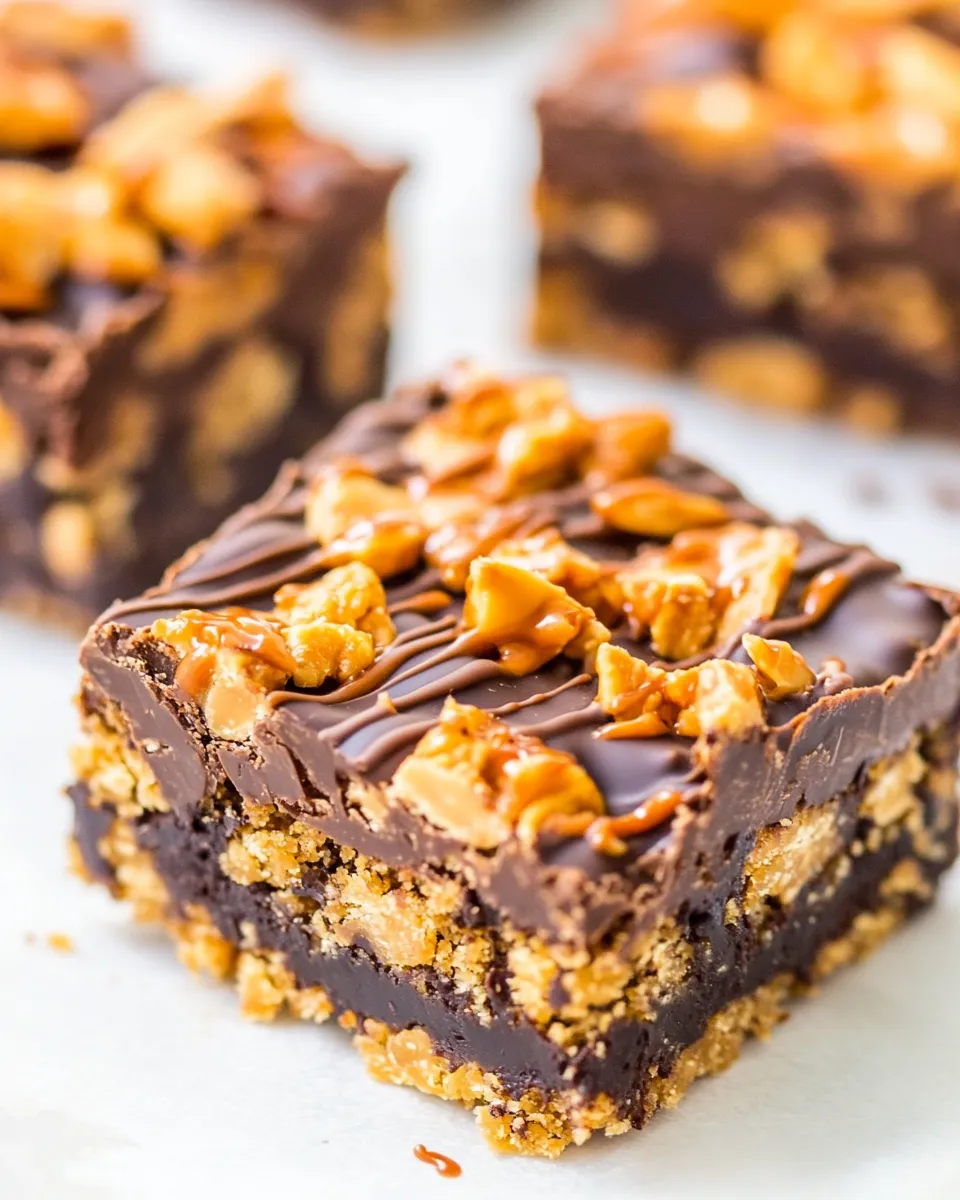
- While the topping is still warm, evenly sprinkle the crushed Butterfinger pieces over the top and press them in lightly so they adhere.
- In the same medium bowl, place the remaining ¼ cup semi-sweet chocolate chips. Microwave on high for 1 minute, stir, then heat in 15-second bursts as needed until smooth. Using a spoon, drizzle this melted chocolate over the top of the bars.
- Cover the pan with foil and refrigerate until completely set, at least 3 hours or overnight. For easier slicing, let the chilled bars sit at room temperature about 15 minutes before cutting.
- Use the foil overhang to lift the bars from the pan and slice. Store airtight at room temperature up to 1 week, in the refrigerator up to 2 weeks, or in the freezer up to 6 months.
Storage Pro Tips
Follow the recipe’s storage windows: room temperature up to a week, refrigerated up to two weeks, frozen up to six months. I usually wrap individual bars in parchment or plastic and then place them in a sealed container when freezing — this prevents freezer burn and makes grab-and-go portions.
When slicing from the fridge, let the pan sit at room temperature for 10–15 minutes to soften slightly. That brief rest gives cleaner cuts without the chocolate cracking. Use a sharp knife warmed under hot water and wiped dry between passes for the neatest slices.
Frequently Asked Questions
Can I use natural peanut butter instead of store-brand creamy? No. The recipe specifies commercial creamy peanut butter (Jif, Skippy, or similar) because natural peanut butter separates and is thinner, which changes the set and texture.
Can I make these without a microwave? You can melt the chocolate and warm the peanut-butter-syrup mixture over a double boiler on the stove. Watch the heat closely to avoid scorching sugar or seizing chocolate.
How do I get the Butterfinger pieces to stick? Sprinkle them while the chocolate–peanut butter topping is still warm, then press lightly. If you wait until it cools, the pieces won’t adhere and can fall off when slicing.
Can I halve or double the recipe? Yes. Halving works fine for a smaller pan; doubling works best in a 9×13 pan so thickness remains similar. Adjust chilling time if the pan size changes — a thinner layer will set faster.
The Takeaway
These bars are fast to assemble, reliably delicious, and perfect when you want a no-bake treat with a nostalgic crunch. Follow a few small tips — line the pan, pack the base firmly, and warm your knife — and you’ll get neat, chewy bars that disappear fast.
Make them for potlucks, lunchboxes, or a treat night when you want chocolate, peanut butter, and Butterfinger crunch all in one tidy bar. They travel well and store cleanly, so you can prepare ahead and enjoy the payoff later.
Ingredients
- 1 heaping cup creamy peanut butter — use Jif, Skippy, or similar; do not use natural or homemade peanut butter; provides binding and peanut flavor.
- ½ cup light corn syrup — light-colored, not lite; helps bind the sugars and keeps bars chewy.
- ½ cup granulated sugar — adds sweetness and structure to the base.
- ¼ cup packed light brown sugar — adds depth and a touch of molasses flavor.
- 1 tablespoon vanilla extract — rounds and lifts flavors.
- 3 tablespoons unsweetened natural cocoa powder — provides chocolate flavor; Dutch-process may be substituted.
- 3 cups Rice Krispies — the cereal backbone for crunch and chew.
- about 1 cup crushed or diced Butterfinger — adds crunch and the signature candy flavor.
- 1 cup semi-sweet chocolate chips — used in the main topping for a balanced chocolate layer.
- ¼ cup creamy peanut butter — use Jif, Skippy, or similar; do not use natural or homemade peanut butter; mixed with chocolate for the topping.
- ¼ cup semi-sweet chocolate chips — for drizzling and finishing the bars.
Chewy Chocolate Peanut Butter Butterfinger Bars
Ingredients
Method
- Line an 8-inch square pan with aluminum foil, leaving an overhang for lifting the bars out later; spray the foil with cooking spray and set the pan aside.
- In a large microwave-safe bowl, combine 1 heaping cup creamy peanut butter, ½ cup light corn syrup, ½ cup granulated sugar, and ¼ cup packed light brown sugar. Microwave on high for 1 minute.
- Stir the mixture (it may be granular). Return to the microwave and heat on high for 1 more minute. Stir until as smooth as possible; if still lumpy, microwave in additional 10–15 second bursts, stirring between bursts, until smooth.
- Stir in 1 tablespoon vanilla extract and 3 tablespoons unsweetened natural cocoa powder until fully combined.
- Add 3 cups Rice Krispies and stir until the cereal is evenly coated with the chocolate–peanut butter mixture.
- Transfer the mixture to the prepared pan. Pack it down firmly and smooth the top with a spatula. Set the pan aside.
- Crush or dice about 1 cup Butterfinger and set the pieces aside.
- In a medium microwave-safe bowl, combine 1 cup semi-sweet chocolate chips and ¼ cup creamy peanut butter. Microwave on high for 1 minute, then stir. If the chips are not fully melted, microwave in 15-second bursts, stirring between each burst, until the mixture is smooth.
- Pour the chocolate–peanut butter topping over the cereal base and spread lightly and evenly with a spatula.
- While the topping is still warm, evenly sprinkle the crushed Butterfinger pieces over the top and press them in lightly so they adhere.
- In the same medium bowl, place the remaining ¼ cup semi-sweet chocolate chips. Microwave on high for 1 minute, stir, then heat in 15-second bursts as needed until smooth. Using a spoon, drizzle this melted chocolate over the top of the bars.
- Cover the pan with foil and refrigerate until completely set, at least 3 hours or overnight. For easier slicing, let the chilled bars sit at room temperature about 15 minutes before cutting.
- Use the foil overhang to lift the bars from the pan and slice. Store airtight at room temperature up to 1 week, in the refrigerator up to 2 weeks, or in the freezer up to 6 months.