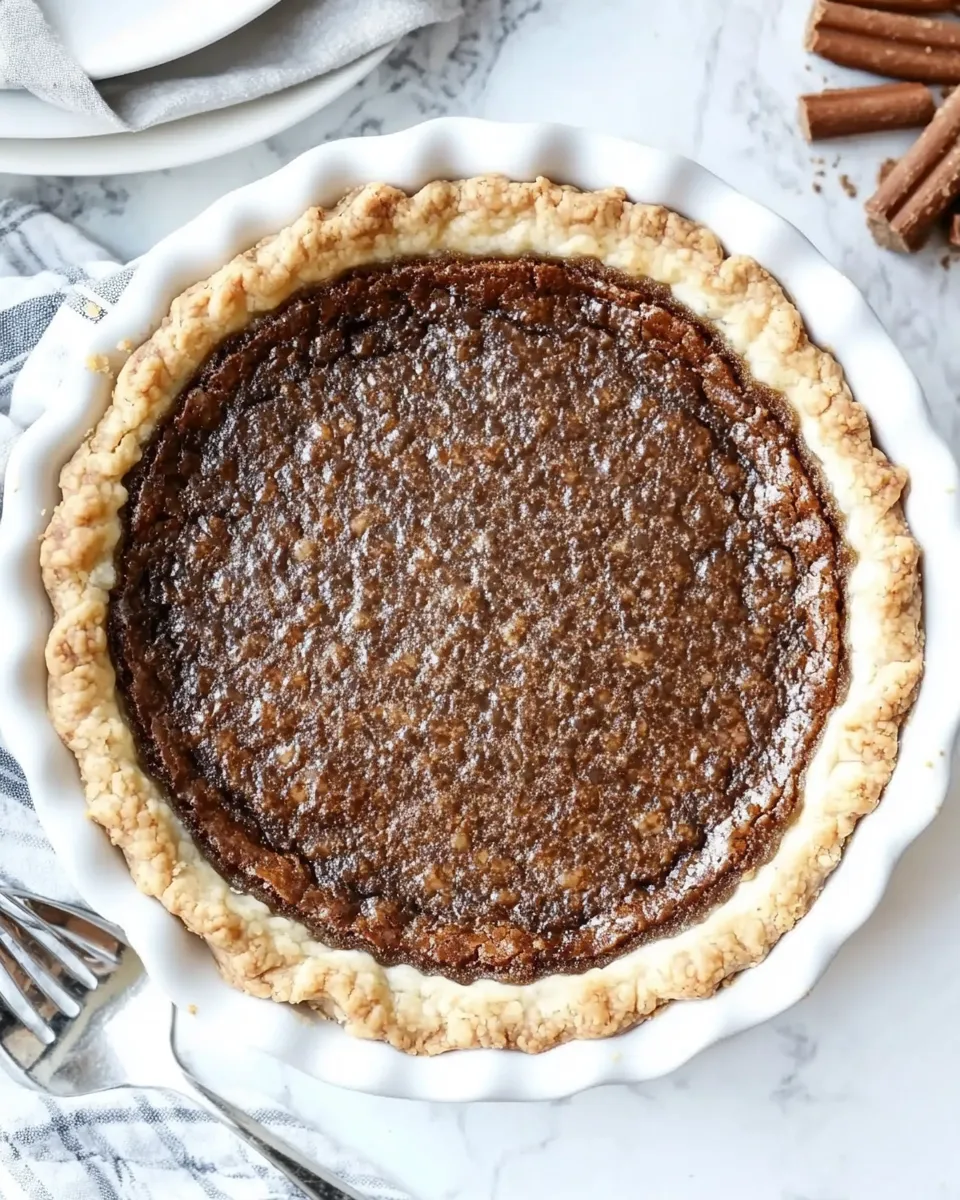
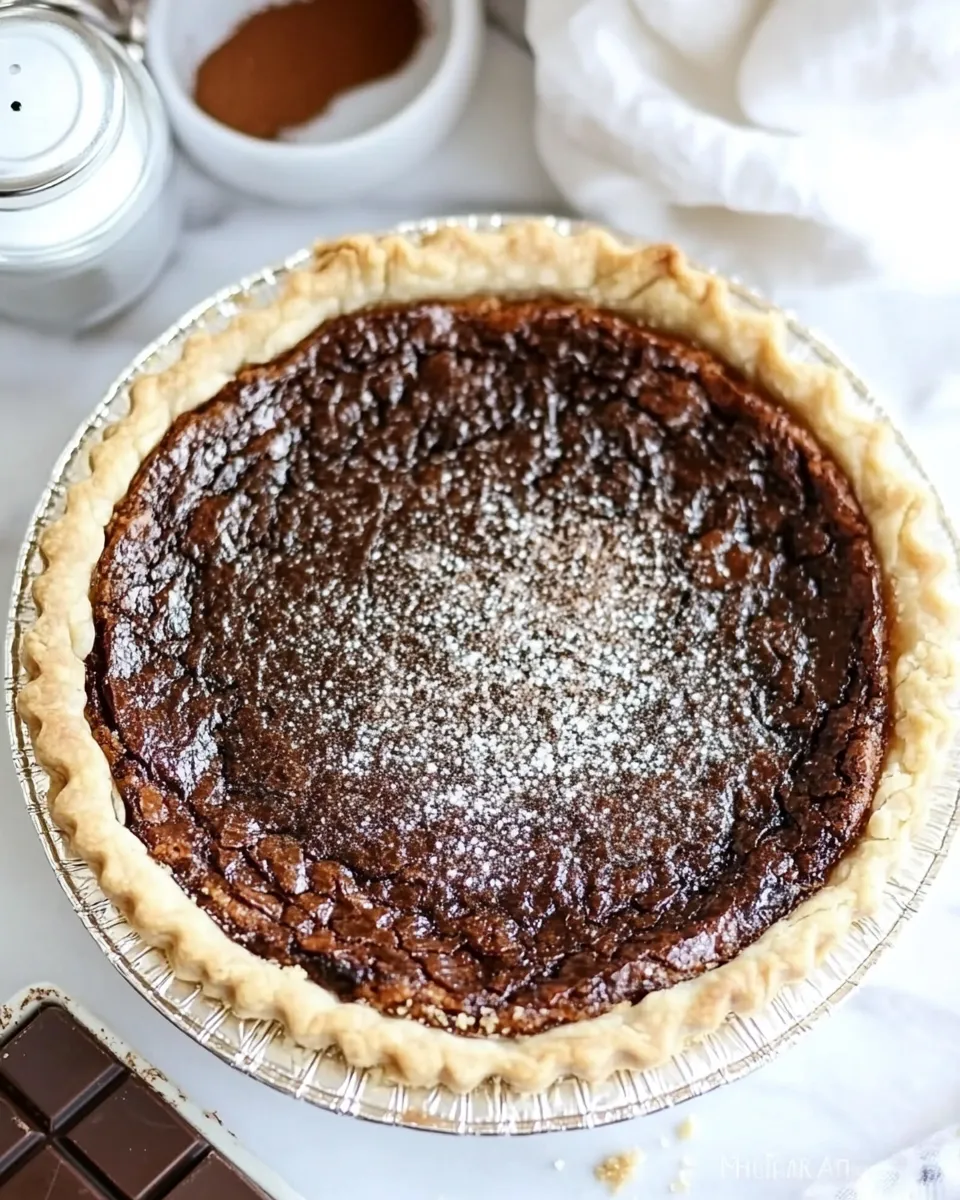
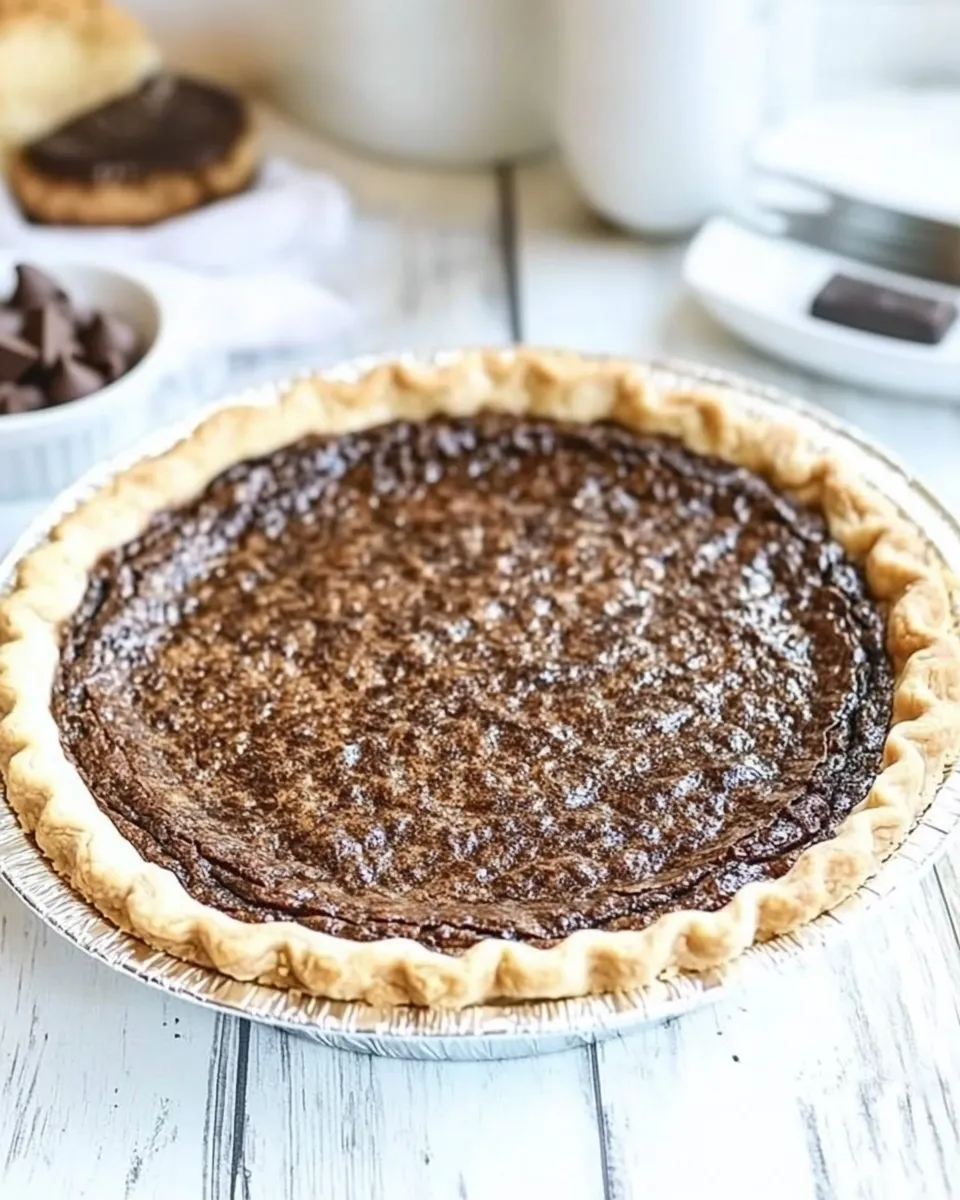
CHOCOLATE CHESS PIE
Chocolate chess pie is one of those quietly brilliant desserts: minimalist in ingredients, surprisingly rich in flavor, and forgiving enough for a weekday bake. The filling sets into a dense, custardy layer with a fine chocolate crust that isn’t fussy to assemble. It’s an excellent option when you want a showy dessert without an army of bowls and tools.
I like this recipe because it separates a sturdy, flaky crust from a compact, chocolate-forward filling. The technique is straightforward—measure, chill, blind-bake, then pour in the filling and wait for the top to form a thin crust. The payoff is a slice that holds its shape yet still gives a silky, slightly jiggle-center texture.
This post walks through every step you’ll actually use: ingredients with quick notes, the exact process I followed during testing, simple equipment, common mistakes to avoid, and realistic swaps when ingredients are tight. No gimmicks—just clear, practical guidance so your Chocolate Chess Pie comes out reliably.
What Goes Into Chocolate Chess Pie
The structure of this pie is twofold: a buttery baked crust and a dense, chocolate custard filling. The crust comes together with a food processor for speed, and the filling needs a brief tempering of wet into dry before baking. Everything here is pantry-friendly, but the technique (cold butter, chilled dough, blind-bake) is what makes the crust crisp and the filling set without weeping.
Ingredients
- 1 ¼ cups (163 g) all-purpose flour (divided) — divided for the crust: part is mixed with the fat, part is added later to adjust texture.
- ½ tsp salt — seasons the dough so the crust isn’t flat.
- ½ cup (112 g) cold unsalted butter, cut into 1/2-inch cubes — keep this very cold; it creates the flaky, sandy texture in the crust.
- 2-4 tablespoons very cold water — added sparingly to bring the dough together; add only as much as needed.
- 1 ¾ cups (362 g) sugar — sweetens and helps the filling set into that classic chess-like custard.
- 4 tablespoons (29 g) cocoa powder (sifted) — sift to avoid pockets of dry cocoa and to keep the filling smooth.
- 4 tablespoons (32 g) cornstarch — the primary thickener for the filling; it’s what gives the filling its firm, sliceable texture.
- 3 large eggs (beaten) — provide structure and richness; beat them before combining with other wet ingredients.
- 4 tablespoons (56 g) unsalted butter — melted, added to the wet mixture for flavor and silkiness.
- ⅔ cup (160 ml) whole milk — the liquid component; contributes to texture and mouthfeel.
- 1 teaspoon vanilla extract — lifts and rounds the chocolate flavor in the filling.
Cooking Chocolate Chess Pie: The Process
- Measure and divide the flour: set aside 3/4 cup (98 g) of the 1 1/4 cups (163 g) all-purpose flour and keep the remaining 1/2 cup (65 g) separate. Combine the 3/4 cup (98 g) flour and 1/2 teaspoon salt in a large food processor and pulse 2–3 times to mix.
- Scatter the 1/2-inch cubes of 1/2 cup (112 g) cold unsalted butter over the flour in the processor. Pulse and then process in short bursts (about 15 seconds total) until the mixture is crumbly and all the flour is coated. The texture should be sandy with no large dry pockets of flour.
- Add the remaining 1/2 cup (65 g) flour to the processor and pulse a few more times until the mixture looks evenly distributed and mostly sandy. A few slightly larger pieces are okay.
- Transfer the mixture to a medium mixing bowl. Add 2 tablespoons of very cold water and gently fold with a rubber spatula until the crumbs begin to clump. Pinch a small amount—if it holds together when pressed, stop; if it falls apart, add up to 1–2 more tablespoons of very cold water (total 3–4 tbsp) until the dough just holds together when squeezed.
- Turn the dough out onto a piece of parchment, work it just enough to form a single ball, then flatten into a disc. Wrap the disc tightly in plastic wrap and refrigerate for at least 1 hour or up to 2 days.
- When ready to bake, place the chilled dough disc between two sheets of parchment paper (lightly floured if you like) and roll it into a circle large enough to fit a standard pie plate. Peel off the top sheet of parchment, flip the dough into the pie plate using the remaining parchment to help, and gently press the dough into the plate. Trim and crimp the edges as desired.
- Put the shaped pie crust in the freezer for 10–15 minutes to firm up while you preheat the oven to 350°F (180°C).
- Remove the crust from the freezer. Line the crust with a piece of parchment paper pressed flush against the dough, then fill with pie weights, dried beans, or rice to weigh it down.
- Bake the crust (blind bake) at 350°F (180°C) for 20–25 minutes, or until the edges just begin to brown. Remove from the oven, carefully lift out the parchment and weights, and set the crust aside while you make the filling.
- In a large bowl, whisk together 1 3/4 cups (362 g) sugar, 4 tablespoons (29 g) sifted cocoa powder, and 4 tablespoons (32 g) cornstarch until evenly combined.
- In a small microwave-safe bowl, melt the 4 tablespoons (56 g) unsalted butter—heat in short bursts and watch closely so it does not burn. In a separate medium bowl, beat the 3 large eggs, then add the melted butter, 2/3 cup (160 ml) whole milk, and 1 teaspoon vanilla extract; whisk until smooth and well combined.
- Pour the wet mixture into the dry mixture and gently stir until smooth and fully combined.
- Pour the filling into the hot partially baked crust. Return the pie to the oven and bake at 350°F (180°C) for 50–60 minutes (about 55 minutes is typical), until a crust has formed on top and the filling is set—there may be a slight jiggle in the center but it should not be liquid. If the crust starts to brown too much, add a pie shield or foil around the edges about halfway through baking.
- Remove the pie from the oven and let it cool completely to room temperature on a wire rack. Serve at room temperature or refrigerate until ready to serve.
Reasons to Love Chocolate Chess Pie
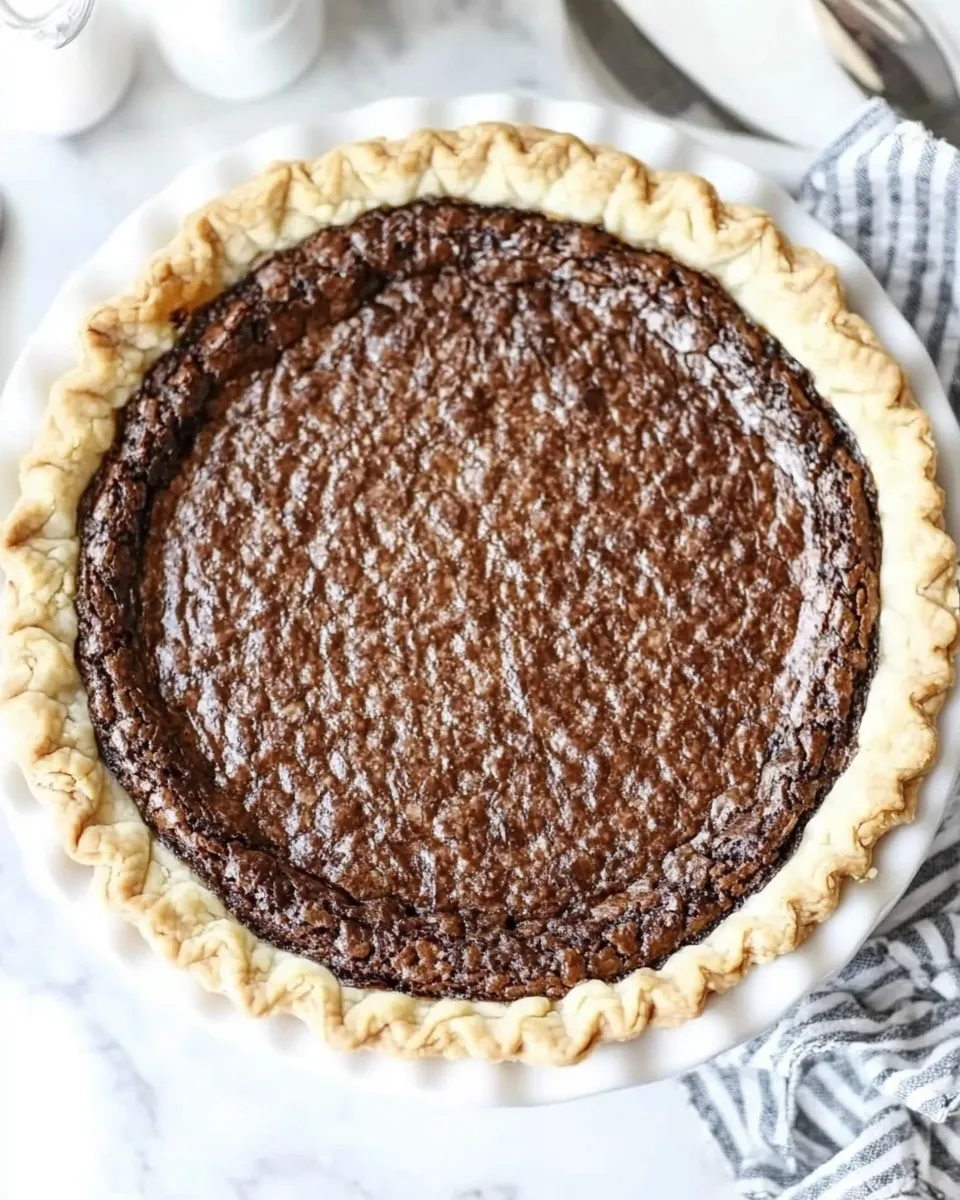
This pie marries deep chocolate flavor with a firm, custard-like texture that slices beautifully. It’s less sweet than many modern chocolate desserts, which makes it feel more adult and balanced. Because the filling sets up firmly, you can serve neat wedges that look elegant with only a dusting of cocoa or a spoonful of cream.
The method is also forgiving. The crust is tolerant of a little overworking if you keep the butter cold and give it a good chill. The filling tolerates a slight under-bake at the center; it continues to set as it cools. Finally, the ingredient list is short and pantry-minded, so you can often bake this with items already on hand.
Budget & Availability Swaps
If you don’t have every single item, you can make practical swaps: if you only have salted butter, reduce any added salt elsewhere and know the crust will be fine. If whole milk isn’t available, use the richest milk you have on hand—the texture will shift slightly but the filling still sets.
For the crust, if you don’t have a food processor, you can cut the cold butter into the flour with a pastry cutter or two knives until the texture is sandy. For weights during blind-baking, dried beans or rice work perfectly; you don’t need specialized pie weights.
Before You Start: Equipment
Have these ready: a large food processor (or pastry cutter if you don’t have one), a standard pie plate, parchment paper, rolling pin, pie weights (or dried beans/rice), a wire rack, microwave-safe bowl, mixing bowls, and a whisk or spatula. A digital scale is helpful for accuracy but the recipe’s cup measures are fine if you prefer them.
What Not to Do
Do not skip chilling the dough. A warm crust will shrink and lose its texture. Don’t overwork the dough during rolling—compact dough produces a tough crust. When blind-baking, don’t remove the weights and parchment until the edges have gained some color; the base needs that initial structure.
When mixing the filling, don’t pour cold wet ingredients directly into the dry without mixing them first—this recipe’s order keeps lumps from forming. And finally, don’t assume “set” means rock-hard right out of the oven; the filling finishes setting as it cools.
Customize for Your Needs
If you want a less intense chocolate flavor, reduce the cocoa powder slightly (do so sparingly) and add a small dollop of whipped cream when serving. For a richer mouthfeel, top each slice with a thin smear of crème fraîche or a sliver of salted butter melted on warm slices. To make it nutty, serve with toasted nut crumbs—add them as a garnish rather than into the filling so they don’t change the texture.
For dietary swaps, this recipe adapts best by swapping butter for a 1:1 plant-based stick butter and using a higher-fat non-dairy milk to maintain texture. I don’t recommend changing the cornstarch to a different thickener without testing, since it’s integral to the filling’s structure.
What I Learned Testing
During testing, the biggest difference came from small temperature and timing adjustments. Chilling the crust longer than an hour made it easier to handle and reduced shrinkage. Slightly under-baking by a few minutes produced a silkier center after cooling—a desirable texture. I also found that sifting the cocoa at the start prevents any unpleasant gritty pockets in the pie.
A gentle watch during the last 10–15 minutes of baking is useful: if the top is browning too quickly, shield the edges. The visual cue of a formed top, combined with a slight jiggle, is the most reliable indicator of doneness for this pie.
Save It for Later
Store the pie covered at room temperature for up to two days if you plan to serve it within that window. For longer storage, cover and refrigerate; it keeps well for up to 4 days. Bring slices back to room temperature before serving for the best texture and flavor.
Freezing is possible though not ideal for texture: wrap tightly and freeze for up to a month. Thaw slowly in the refrigerator, then bring slices to room temperature before serving. Avoid reheating in the oven—restoring the pie to room temperature is gentler and preserves the filling’s texture.
Top Questions & Answers
Q: Can I make the crust entirely by hand? A: Yes. Use a pastry cutter or two knives to cut the cold butter into the flour until it’s sandy, then add cold water as instructed. Handle it the same way after that.
Q: What does “slight jiggle” mean for doneness? A: The center should move a little when you gently shake the pan, but it shouldn’t look liquid. It firms as it cools, so err on the side of slightly under rather than over-baking.
Q: Can I use Dutch-process cocoa? A: You can, but it will change the acidity and flavor profile slightly. I recommend sticking with what you have, and always sift the cocoa to avoid lumps.
See You at the Table
This Chocolate Chess Pie is a dependable, old-school dessert that rewards attention to temperature and timing more than fancy ingredients. Follow the steps, keep the butter cold, and give the filling time to set. Serve simple slices with a cup of coffee or espresso and you’ll have a dessert that feels deliberate and satisfying without demanding a day in the kitchen.
If you bake it, tell me how it turned out—what you changed, what you liked, and whether you served it warm or at room temperature. I love hearing practical notes from people who try these recipes in real kitchens.
Chocolate Chess Pie
Ingredients
Equipment
Method
- Measure and divide the flour: set aside 3/4 cup (98 g) of the 1 1/4 cups (163 g) all-purpose flour and keep the remaining 1/2 cup (65 g) separate. Combine the 3/4 cup (98 g) flour and 1/2 teaspoon salt in a large food processor and pulse 2–3 times to mix.
- Scatter the 1/2-inch cubes of 1/2 cup (112 g) cold unsalted butter over the flour in the processor. Pulse and then process in short bursts (about 15 seconds total) until the mixture is crumbly and all the flour is coated. The texture should be sandy with no large dry pockets of flour.
- Add the remaining 1/2 cup (65 g) flour to the processor and pulse a few more times until the mixture looks evenly distributed and mostly sandy. A few slightly larger pieces are okay.
- Transfer the mixture to a medium mixing bowl. Add 2 tablespoons of very cold water and gently fold with a rubber spatula until the crumbs begin to clump. Pinch a small amount—if it holds together when pressed, stop; if it falls apart, add up to 1–2 more tablespoons of very cold water (total 3–4 tbsp) until the dough just holds together when squeezed.
- Turn the dough out onto a piece of parchment, work it just enough to form a single ball, then flatten into a disc. Wrap the disc tightly in plastic wrap and refrigerate for at least 1 hour or up to 2 days.
- When ready to bake, place the chilled dough disc between two sheets of parchment paper (lightly floured if you like) and roll it into a circle large enough to fit a standard pie plate. Peel off the top sheet of parchment, flip the dough into the pie plate using the remaining parchment to help, and gently press the dough into the plate. Trim and crimp the edges as desired.
- Put the shaped pie crust in the freezer for 10–15 minutes to firm up while you preheat the oven to 350°F (180°C).
- Remove the crust from the freezer. Line the crust with a piece of parchment paper pressed flush against the dough, then fill with pie weights, dried beans, or rice to weigh it down.
- Bake the crust (blind bake) at 350°F (180°C) for 20–25 minutes, or until the edges just begin to brown. Remove from the oven, carefully lift out the parchment and weights, and set the crust aside while you make the filling.
- In a large bowl, whisk together 1 3/4 cups (362 g) sugar, 4 tablespoons (29 g) sifted cocoa powder, and 4 tablespoons (32 g) cornstarch until evenly combined.
- In a small microwave-safe bowl, melt the 4 tablespoons (56 g) unsalted butter—heat in short bursts and watch closely so it does not burn. In a separate medium bowl, beat the 3 large eggs, then add the melted butter, 2/3 cup (160 ml) whole milk, and 1 teaspoon vanilla extract; whisk until smooth and well combined.
- Pour the wet mixture into the dry mixture and gently stir until smooth and fully combined.
- Pour the filling into the hot partially baked crust. Return the pie to the oven and bake at 350°F (180°C) for 50–60 minutes (about 55 minutes is typical), until a crust has formed on top and the filling is set—there may be a slight jiggle in the center but it should not be liquid. If the crust starts to brown too much, add a pie shield or foil around the edges about halfway through baking.
- Remove the pie from the oven and let it cool completely to room temperature on a wire rack. Serve at room temperature or refrigerate until ready to serve.
Notes
Use pie weights, dried beans, or rice for blind baking.