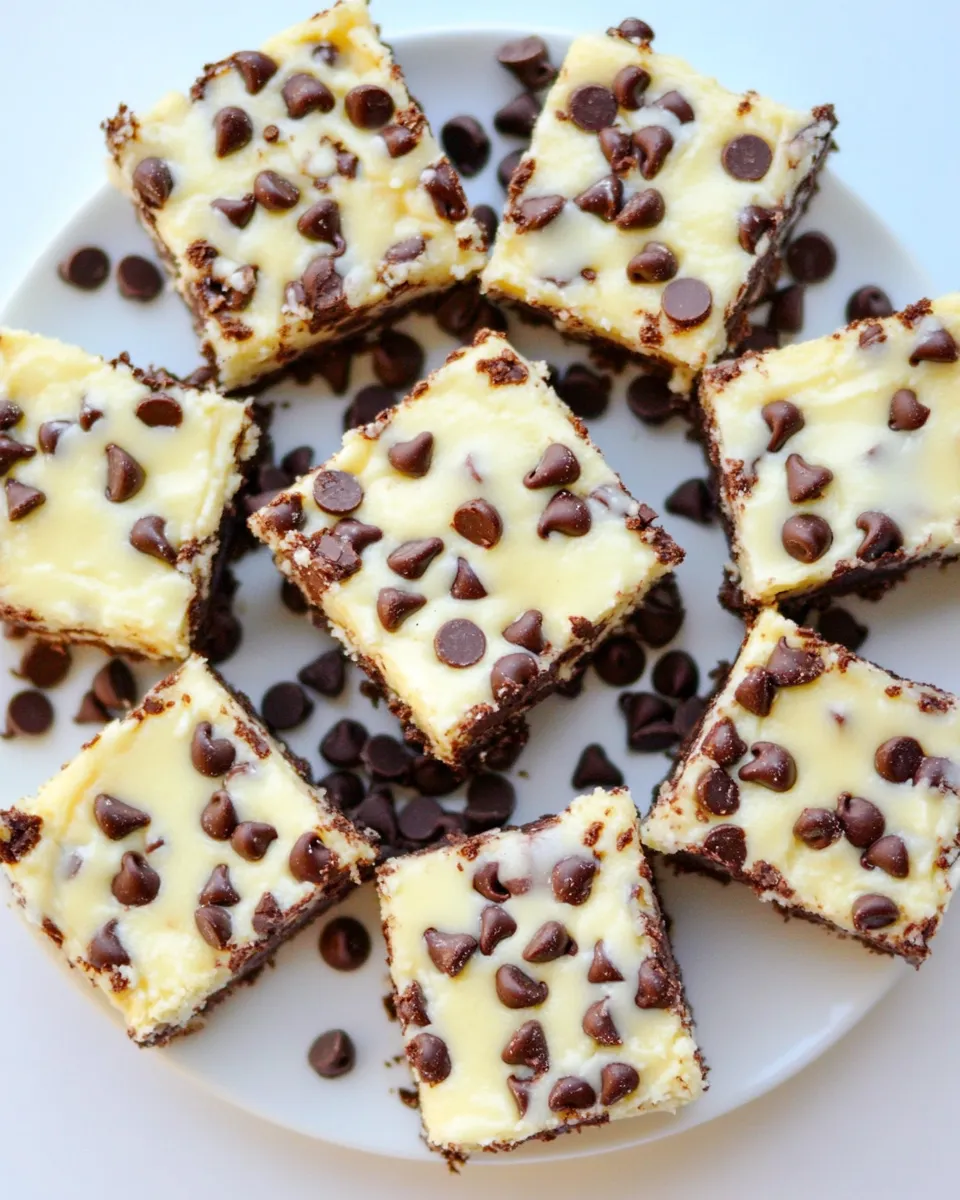
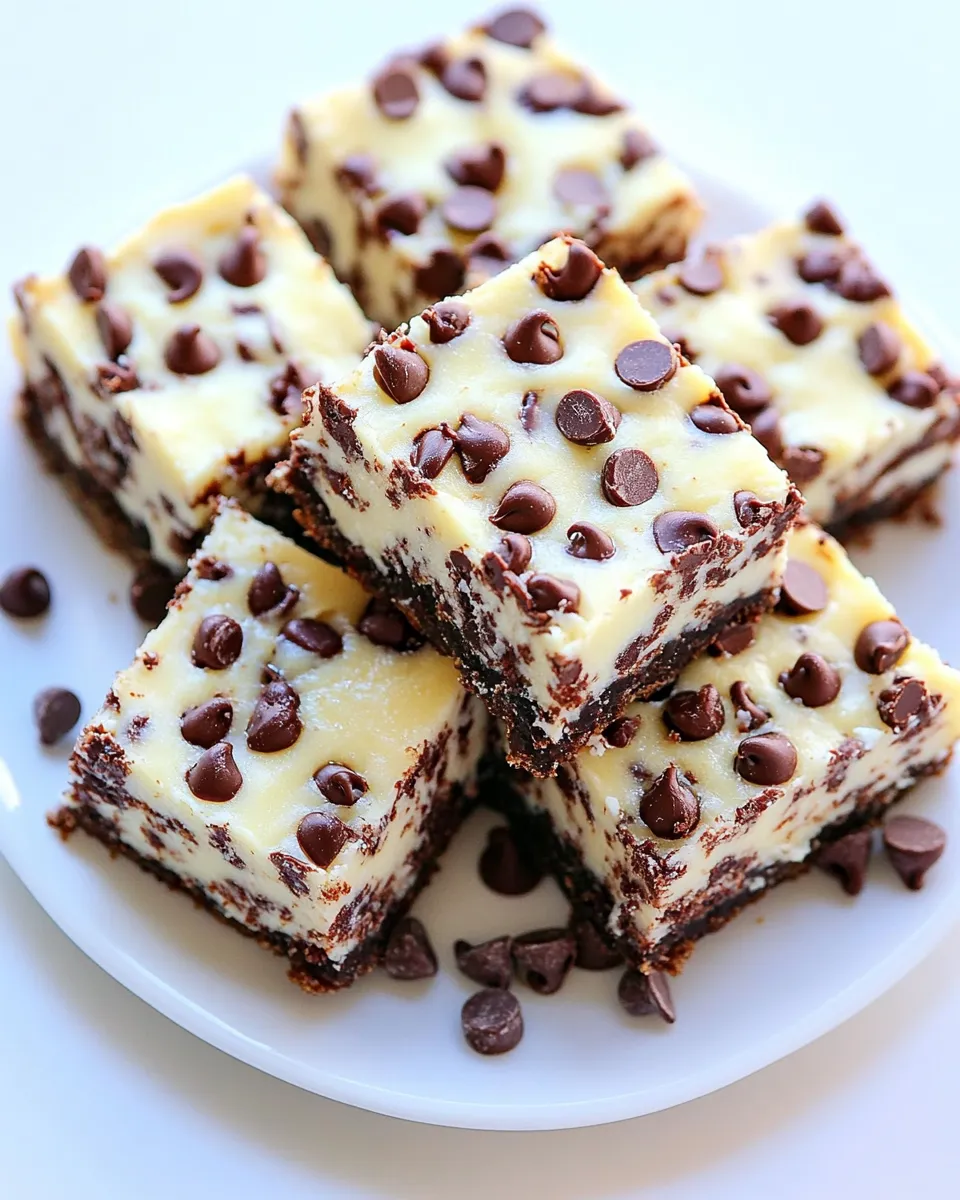
Chocolate Chip Cheesecake Bars
These Chocolate Chip Cheesecake Bars are the kind of recipe I reach for when I want something that feels special but is actually straightforward. The base is an Oreo crust you can make in minutes, and the filling is classic, creamy cheesecake with mini chocolate chips folded through. The bars refrigerate and slice cleanly, which makes them perfect for parties, potlucks, or a reasonable weeknight treat.
I keep the method practical: simple tools, room-temperature ingredients, and a water bath to protect the texture. There’s nothing fussy here—just reliable steps that deliver a dense, silky center with a tender cookie crust and little chocolate pops in every bite. Follow the order, don’t overmix the eggs, and be patient with the chilling.
If you want to bring this to a gathering, you can make the bars a day ahead and slice them straight from the fridge. The flavor actually settles and improves overnight. Below you’ll find the shopping list, the exact how-to, and troubleshooting tips so your first batch comes out just the way you want.
Shopping List
Grab these items before you start. I’ve kept the ingredient wording faithful to the recipe source so nothing gets lost in translation.
Ingredients
- 30 Oreo Cookies — makes the chocolate-cookie crust; include the filling for flavor and binding.
- 6 tablespoons unsalted butter, melted — binds the cookie crumbs and helps the crust set when baked.
- 38-ounce packages (678 g) cream cheese, room temperature — the base of the cheesecake filling; room temperature ensures a lump-free batter.
- 1 ½ cups (300 g) granulated sugar — sweetens the filling; balances the tang of the cream cheese and sour cream.
- ¼ cup (61 g) sour cream, room temperature — adds moisture and a subtle tang for a smoother texture.
- 2 teaspoons vanilla extract — rounds the flavor and complements the chocolate.
- ¼ cup (31 g) all-purpose flour — stabilizes the filling so the bars hold their shape when sliced.
- 3 large eggs, room temperature — provide structure; add them one at a time and don’t overmix.
- 1 1/4 cups mini chocolate chips, divided — 1 cup goes into the batter and 1/4 cup is reserved for sprinkling on top.
Chocolate Chip Cheesecake Bars: How It’s Done
- Preheat oven to 325°F. Line a 9×13-inch baking pan with foil, leaving an overhang to lift the bars out later, and spray the foil with nonstick cooking spray.
- Make the crust: Place 30 Oreo cookies (including the filling) in a food processor and pulse to fine crumbs. (If you don’t have a food processor, place cookies in a heavy-duty zip-top bag and crush with a rolling pin.)
- Transfer the cookie crumbs to a bowl and add 6 tablespoons melted unsalted butter. Stir until the crumbs are evenly moistened.
- Press the crumb mixture firmly and evenly into the bottom of the prepared 9×13 pan (use the bottom of a measuring cup to compact). Bake the crust for 10 minutes. Remove the pan from the oven and let the crust cool on a wire rack for 20 minutes. Keep the oven set to 325°F.
- While the crust cools, place a large rimmed baking sheet on the very bottom oven rack and carefully pour hot water into the rimmed sheet until it is about halfway full. Leave this in the oven while you bake the cheesecake to create a water bath.
- Make the cheesecake filling: In a stand mixer fitted with the paddle attachment or with a hand mixer, beat the cream cheese (38-ounce packages, room temperature) on medium speed until smooth and free of lumps.
- Add 1 1/2 cups granulated sugar, 1/4 cup (61 g) sour cream (room temperature), and 2 teaspoons vanilla extract. Beat until the mixture is smooth, scraping down the bowl as needed.
- Add 1/4 cup (31 g) all-purpose flour and mix just until incorporated.
- Add 3 large eggs (room temperature), one at a time, beating on low speed and scraping the bowl after each egg. Mix only until each egg is fully incorporated—do not overmix.
- Stir in 1 cup of the mini chocolate chips (reserve the remaining 1/4 cup for the top).
- Pour the cheesecake batter over the cooled crust and smooth the top. Sprinkle the reserved 1/4 cup mini chocolate chips evenly over the batter.
- Place the 9×13 pan on an oven rack one position above the rimmed baking sheet of water and bake for 40–45 minutes, or until the edges are lightly browned and the center is mostly set but still has a slight jiggle.
- Remove the pan from the oven and set it on a wire rack to cool at room temperature for 1 hour. After it reaches room temperature, cover and chill in the refrigerator for at least 4 hours (or overnight) before using the foil overhang to lift and slice the bars.
Why This Recipe Is Reliable
This recipe uses straightforward chemistry to get consistent results. The Oreo crust is already sweet and sturdy; using the cookie filling both intensifies the chocolate flavor and helps the crumbs bind without extra sugar. Melting and distributing the butter evenly is the only trick—compact the crust firmly and it won’t crumble when sliced.
The cheesecake filling follows classic principles: room-temperature cream cheese for a smooth, lump-free base; eggs added one at a time to avoid overbeating; a small amount of flour to stabilize without making the texture cakey; and a water bath to give a gentle, even oven environment so the center sets without cracking. The reserved mini chips on top add texture and visual appeal without sinking into the batter.
Ingredient Swaps & Substitutions
- Oreo Cookies — swap for any chocolate sandwich cookie if you prefer a different brand or a gluten-free sandwich cookie for dietary needs.
- Unsalted butter — you can use salted butter; omit any additional salt elsewhere. Keep it melted so it blends quickly with the crumbs.
- Cream cheese — full-fat yields the creamiest result. If you must, use a 1:1 substitute of a full-fat cream cheese alternative, but expect a slight texture change.
- Granulated sugar — for a slight flavor difference, swap half the sugar for light brown sugar; texture will be similar but with a hint of caramel.
- Sour cream — plain Greek yogurt can substitute in equal measure for a tangier, thicker filling.
- All-purpose flour — for a gluten-free version, use a 1:1 gluten-free baking blend.
- Mini chocolate chips — regular chips work fine; chopped chocolate is an option but may create larger pockets of melted chocolate.
Gear Up: What to Grab
- 9×13-inch baking pan — the recipe is written for this size; swap carefully if using a different pan.
- Foil and nonstick spray — for the foil overhang that lifts the bars cleanly from the pan.
- Food processor or heavy-duty zip-top bag and rolling pin — a food processor saves time, but the bag method works just as well.
- Stand mixer with paddle or hand mixer — required to beat the cream cheese smooth and incorporate eggs without overworking.
- Rimmed baking sheet — for the water bath; it catches steam safely and reduces hot spots in the oven.
- Wire rack — cool the pan evenly after baking.
- Measuring cups and spoons — accuracy helps, especially with flour and butter.
Things That Go Wrong
Here are the most common problems and how to avoid them:
- Crumbly crust — usually from not enough butter or not compacting. Add the full 6 tablespoons of melted butter and press the crumbs firmly with a cup bottom before baking.
- Lumpy filling — that’s from cold cream cheese. Always let the cream cheese come to room temperature and beat until smooth before adding other ingredients.
- Cracked or dry top — overbaking or high oven temperatures cause this. Remove the bars when the center still has a slight jiggle; the residual heat finishes the set while cooling removes the shock that causes cracks.
- Soggy edges — not using a rimmed pan under the cheesecake can lead to uneven heat. Keep the water bath as directed to regulate the oven environment.
- Chocolate chips sinking — use mini chips as specified; they stay dispersed better than full-size chips.
Spring to Winter: Ideas
These bars adapt to the season with small tweaks. In spring or summer, top with a light dusting of powdered sugar and fresh berries just before serving. In fall, stir in a teaspoon of cinnamon into the crust and a touch of pumpkin pie spice into the batter for an autumnal note. During winter, serve warm slices with a drizzle of salted caramel or a spoonful of hot fudge on the side for a cozy finish.
Insider Tips

Texture and Mixing
Beat the cream cheese until completely smooth before adding sugar and sour cream. Scrape the bowl frequently. When you add eggs, keep the mixer on low and stop as soon as each egg is incorporated. Overmixing introduces air that can cause cracks and a lighter, less creamy texture.
Water Bath Technique
Use hot tap water for the rimmed sheet and pour it in carefully so it doesn’t splash into the pan. The water should come up the sides of the sheet; it creates steam that moderates the oven temperature and reduces cracking. Place the cheesecake pan one rack above this sheet as directed.
Slicing Tips
Chill fully—at least 4 hours, preferably overnight. Use a sharp knife warmed under hot water and wiped dry between cuts for clean edges.
Prep Ahead & Store
Make the bars up to 24 hours in advance for best texture and flavor. After baking and cooling, cover and refrigerate. For longer storage, wrap tightly and freeze for up to 2 months—thaw in the refrigerator overnight before slicing. Sliced bars will hold well in an airtight container for 4–5 days in the fridge.
Questions People Ask
- Can I use a different cookie for the crust? — Yes. Chocolate sandwich cookies are preferred for flavor, but any sturdy cookie will work; adjust sweetness as needed.
- Do I have to use a water bath? — A water bath makes the texture more even and reduces cracking. If you skip it, bake at the same temperature but watch closely and be prepared for slightly different texture.
- Why do the chips sink? — Larger chips tend to sink. Use mini chips or fold them in gently just before pouring the batter.
- How do I prevent lumps in the filling? — Use room-temperature cream cheese and beat until very smooth before adding other ingredients.
Bring It to the Table
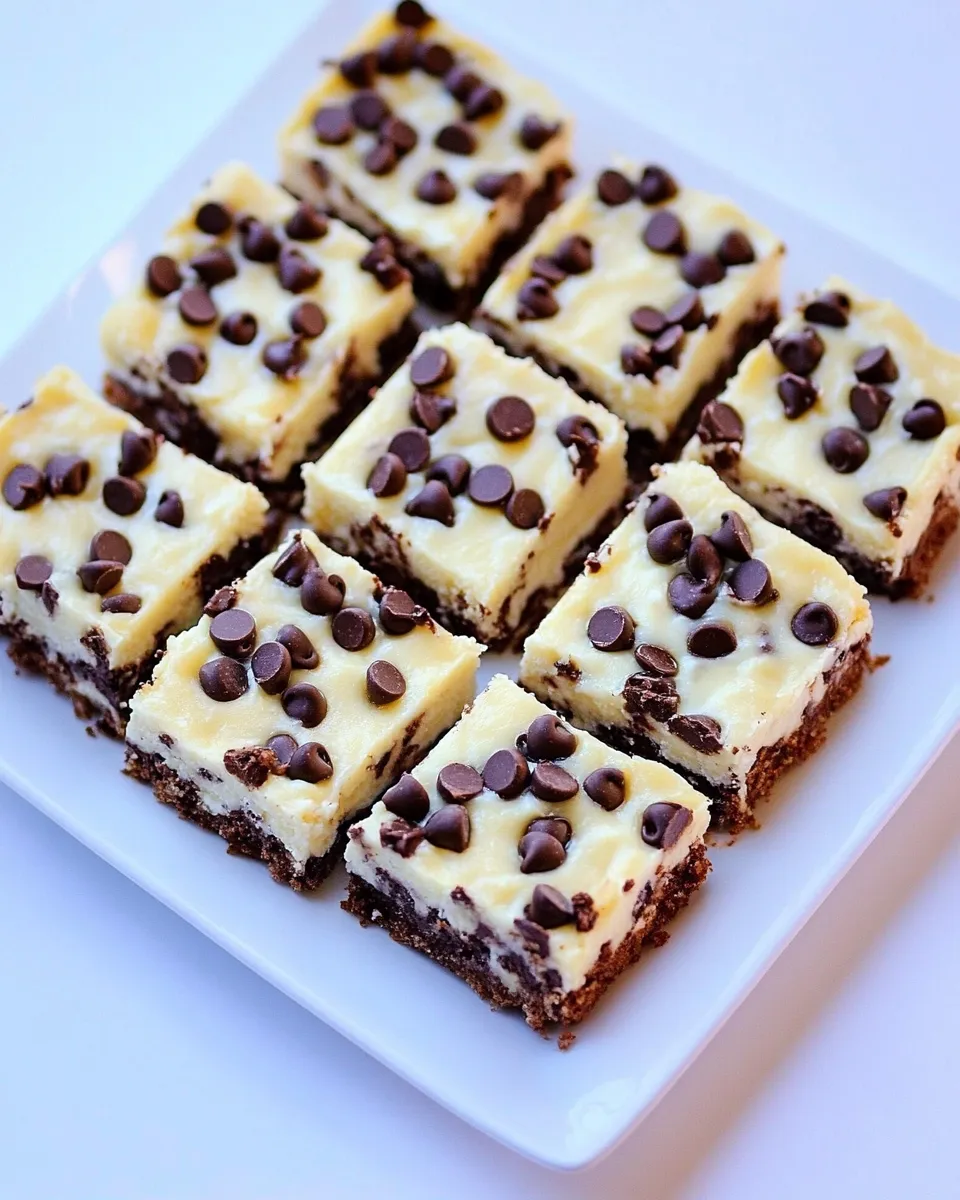
Lift the chilled slab out of the pan using the foil overhang. Place it on a cutting board and slice into squares. Serve plain for a clean, classic look or add a dollop of whipped cream, a sprinkle of extra mini chips, or a handful of fresh berries for color. These bars travel well—pack them in a single layer and keep chilled until serving.
Make a batch and test one straight from the refrigerator: dense, creamy, and studded with chocolate. It’s a dependable dessert that looks like it took longer than it did. Enjoy.

Chocolate Chip Cheesecake Bars
Ingredients
Equipment
Method
- Preheat oven to 325°F. Line a 9×13-inch baking pan with foil, leaving an overhang to lift the bars out later, and spray the foil with nonstick cooking spray.
- Make the crust: Place 30 Oreo cookies (including the filling) in a food processor and pulse to fine crumbs. (If you don’t have a food processor, place cookies in a heavy-duty zip-top bag and crush with a rolling pin.)
- Transfer the cookie crumbs to a bowl and add 6 tablespoons melted unsalted butter. Stir until the crumbs are evenly moistened.
- Press the crumb mixture firmly and evenly into the bottom of the prepared 9×13 pan (use the bottom of a measuring cup to compact). Bake the crust for 10 minutes. Remove the pan from the oven and let the crust cool on a wire rack for 20 minutes. Keep the oven set to 325°F.
- While the crust cools, place a large rimmed baking sheet on the very bottom oven rack and carefully pour hot water into the rimmed sheet until it is about halfway full. Leave this in the oven while you bake the cheesecake to create a water bath.
- Make the cheesecake filling: In a stand mixer fitted with the paddle attachment or with a hand mixer, beat the cream cheese (38-ounce packages, room temperature) on medium speed until smooth and free of lumps.
- Add 1 1/2 cups granulated sugar, 1/4 cup (61 g) sour cream (room temperature), and 2 teaspoons vanilla extract. Beat until the mixture is smooth, scraping down the bowl as needed.
- Add 1/4 cup (31 g) all-purpose flour and mix just until incorporated.
- Add 3 large eggs (room temperature), one at a time, beating on low speed and scraping the bowl after each egg. Mix only until each egg is fully incorporated—do not overmix.
- Stir in 1 cup of the mini chocolate chips (reserve the remaining 1/4 cup for the top).
- Pour the cheesecake batter over the cooled crust and smooth the top. Sprinkle the reserved 1/4 cup mini chocolate chips evenly over the batter.
- Place the 9×13 pan on an oven rack one position above the rimmed baking sheet of water and bake for 40–45 minutes, or until the edges are lightly browned and the center is mostly set but still has a slight jiggle.
- Remove the pan from the oven and set it on a wire rack to cool at room temperature for 1 hour. After it reaches room temperature, cover and chill in the refrigerator for at least 4 hours (or overnight) before using the foil overhang to lift and slice the bars.