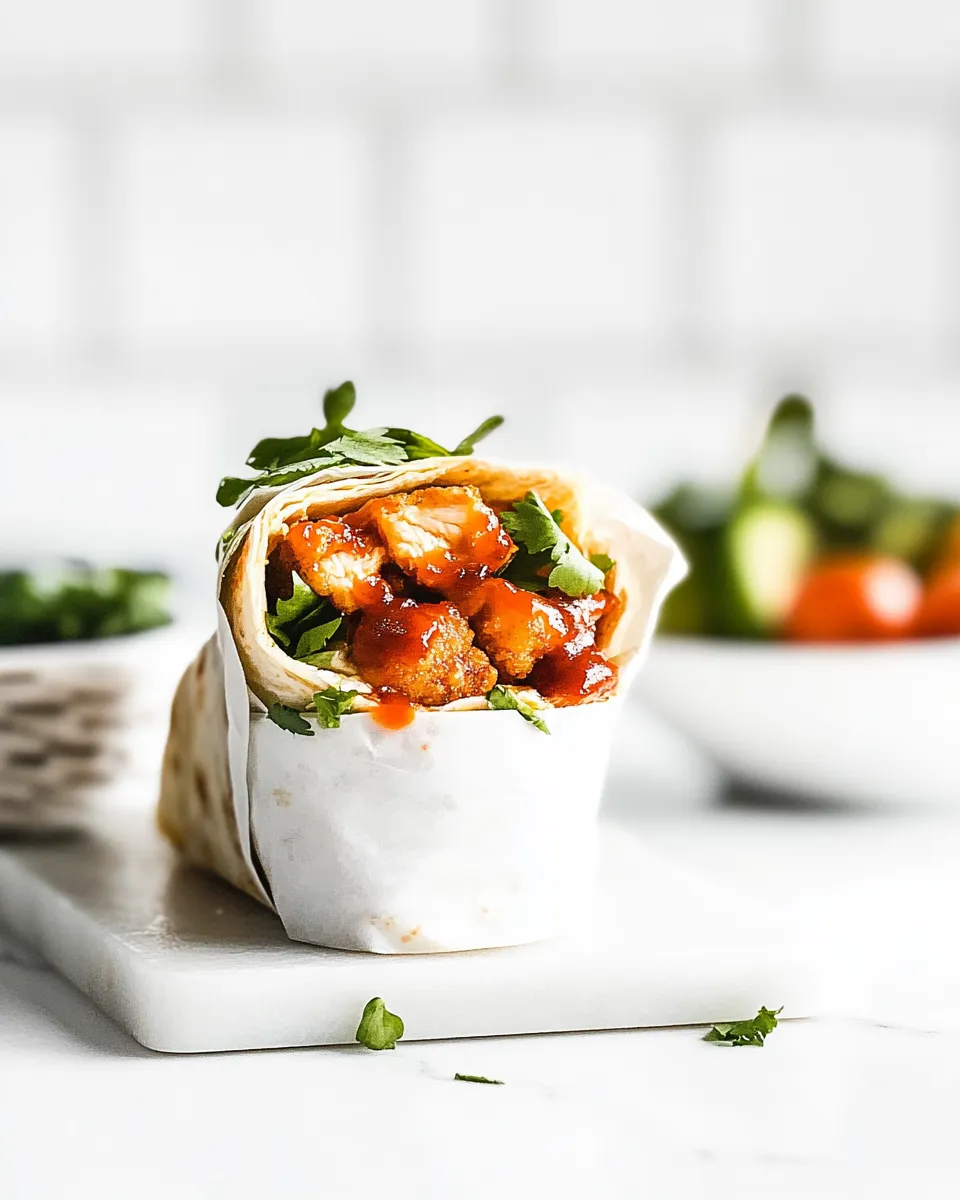
Crispy Chicken Wraps
These Crispy Chicken Wraps are the sort of hands-on, dependable meal I reach for when I want something that feels homemade but comes together quickly. They’re cheesy, a little saucy, and finish with that golden, crunchy exterior that makes them more than just a sandwich. I test this version when I want a mix of pantry-friendly ingredients turned into a crowd-pleaser.
The method is straightforward: mix, assemble, warm, and crisp. Small steps that build predictable results. I’ll walk you through exactly what to buy, how to assemble without fuss, and the best ways to keep them crispy if you’re serving later.
If you’re feeding a family, taking something to a casual get-together, or simply prepping a satisfying weeknight dinner, this recipe is forgiving and fast. Keep the steps in order and follow the simple tips in the post and you’ll have wraps that hold together, brown evenly, and stay juicy inside.
Shopping List
- 2 cups cooked chicken — shredded or diced, ready to mix.
- 1 (1-ounce) packet taco seasoning — for quick, even seasoning.
- 3/4 cup mild enchilada sauce — adds moisture and a mild chili flavor.
- 2 cups freshly shredded sharp Cheddar cheese — melts and binds the filling.
- 6 large flour tortillas (burrito-sized) — the wrappers; choose a flexible one.
- 1 (16-ounce) can refried beans — the spread to stabilize the filling.
- Cooking spray — for crisping and even browning.
- Optional toppings — listed on the ingredient note; bring what you like for serving.
Ingredients
- 2 cups cooked chicken — shredded or diced; provides the main protein and texture.
- 1 (1-ounce) packet taco seasoning — about 2 tablespoons; seasons the chicken quickly and evenly.
- 3/4 cup mild enchilada sauce — adds moisture and a gentle chili flavor to the mix.
- 2 cups freshly shredded sharp Cheddar cheese — melts into the chicken and helps bind the filling.
- 6 large flour tortillas — burrito-sized; choose pliable ones so they fold without tearing.
- 1 (16-ounce) can refried beans — spread into the tortilla to create a stable base and extra creaminess.
- Cooking spray — used for getting the exterior evenly golden and crispy in the skillet.
- Optional toppings — see note 5 for ideas; add after cooking to finish each wrap.
Make Crispy Chicken Wraps: A Simple Method
- In a large bowl, combine 2 cups cooked chicken, the 1‑ounce packet taco seasoning, 3/4 cup mild enchilada sauce, and 2 cups shredded sharp Cheddar. Stir gently until the ingredients are evenly mixed.
- Lay the 6 flour tortillas flat on a clean, flat surface. Spoon the 16‑ounce can of refried beans evenly into the center of each tortilla (about 1/3 cup per tortilla), leaving a 1‑ to 2‑inch border around the edges.
- Divide the chicken‑cheese mixture evenly among the tortillas (about 3/4 cup per tortilla), placing it on top of the beans in the center of each tortilla.
- Fold each tortilla into a packet: fold the bottom edge up over the filling, fold the left and right sides in toward the center, then continue rolling away from you until the seam is tucked underneath. Repeat for all 6 tortillas.
- Microwave each assembled wrap one at a time for 20–30 seconds to warm the filling and help the wrap hold its shape.
- After microwaving all wraps, spray each one generously on all sides with cooking spray. Heat a nonstick skillet over medium‑high heat.
- Working in batches (about 2–3 wraps at a time to avoid crowding), place the wraps seam side down in the skillet. Cook 1–2 minutes, then use tongs to rotate so each side becomes golden brown and crispy; continue rotating every 1–2 minutes until the wraps are browned on all sides and heated through. Repeat with remaining wraps.
- Serve the wraps hot with optional toppings as desired.
Reasons to Love Crispy Chicken Wraps
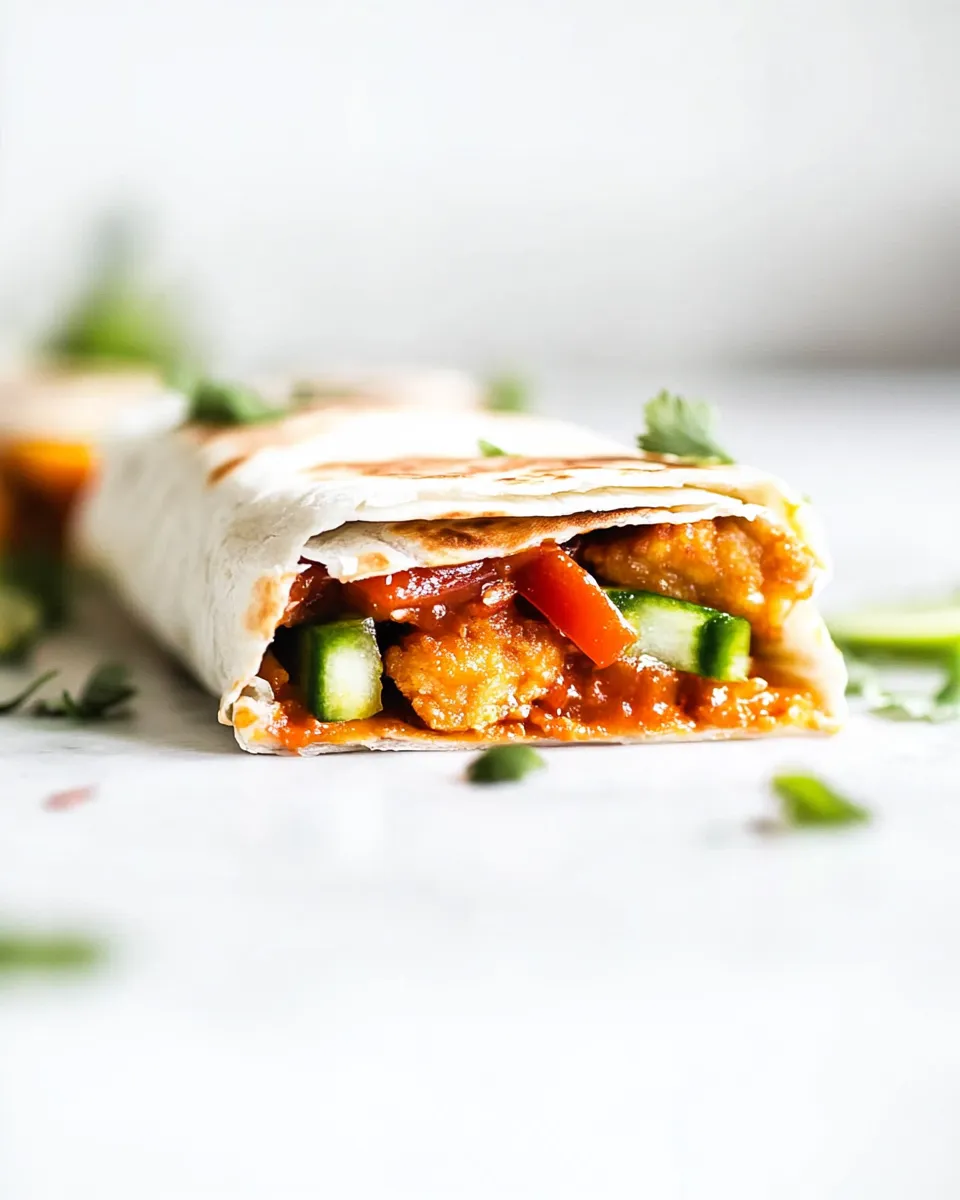
They’re reliably satisfying. The combination of refried beans and enchilada sauce keeps the filling moist without making the tortilla soggy, and the sharp Cheddar melts into the seasoned chicken so every bite has depth.
These wraps are flexible. Use leftover rotisserie chicken or quickly poached breast; the recipe accepts pre-cooked protein without needing extra time. They’re also built for speed: assembly is simple and the skillet finish gives you that restaurant-style crunch in minutes.
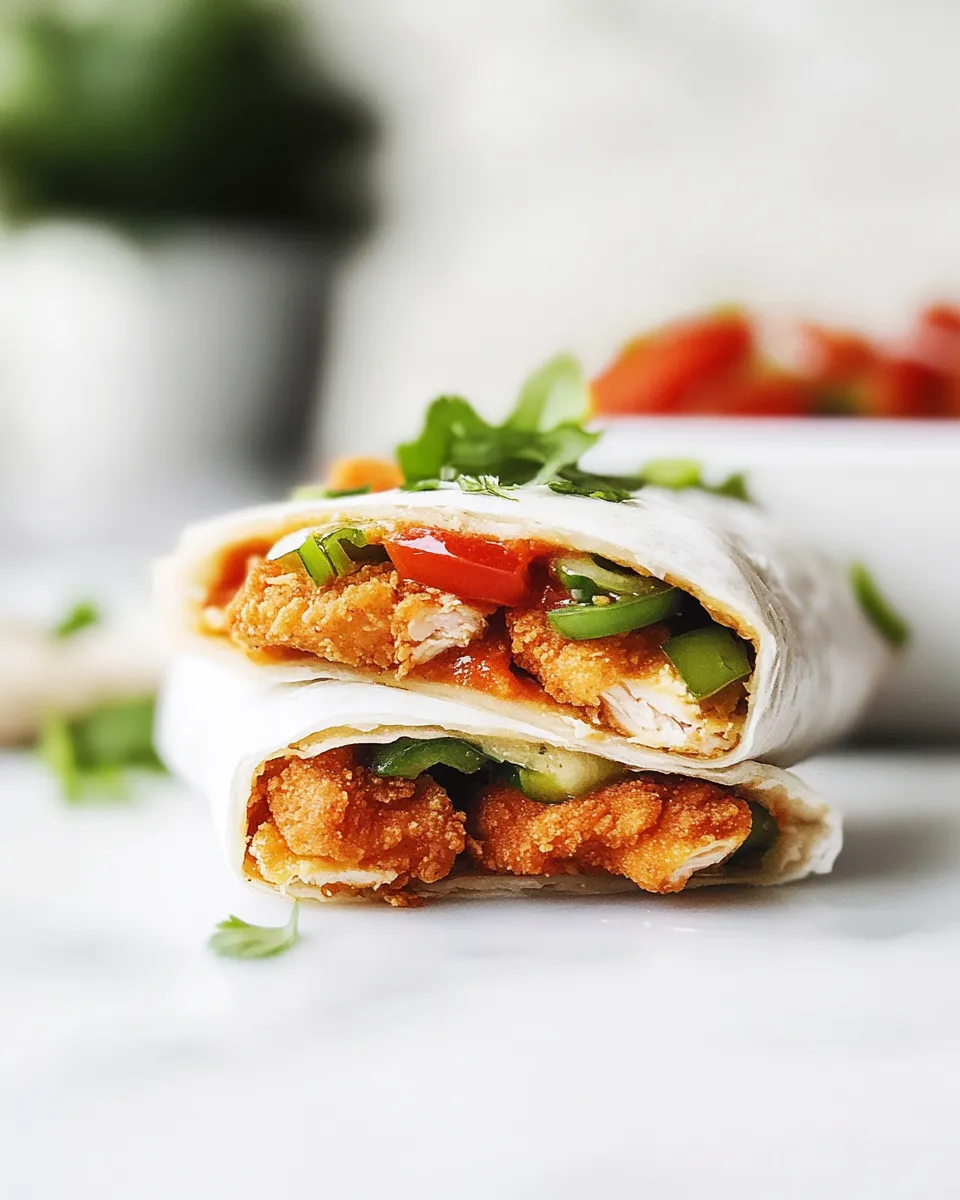
Finally, they travel well. Cook them just until golden if you plan to pack them, then rewarm briefly to restore crispness. They’re great for school lunches, weeknight dinners, and casual potlucks.
Smart Substitutions
- Cheese: any good-melting shredded cheese works in place of sharp Cheddar; choose something you enjoy melting.
- Chicken: use any cooked, diced or shredded chicken you have on hand—leftovers, rotisserie, or previously roasted pieces.
- Sauce/Beans: stick with similar-density sauces and spreads. If your enchilada sauce is thicker or thinner, adjust the amount slightly to keep the filling cohesive.
- Tortillas: pick tortillas that are fresh and flexible. If your tortillas are large or small, adjust the filling per wrap to avoid overstuffing.
Cook’s Kit
- Large mixing bowl — for combining chicken, seasoning, sauce, and cheese.
- Measuring cups and spoons — to portion fillings consistently.
- Microwave-safe plate — to warm assembled wraps briefly.
- Nonstick skillet or griddle — for the final crisping step; medium‑high heat works best.
- Tongs — to rotate and press each wrap as it browns.
- Cooking spray — for even browning without excess oil.
Don’t Do This
Don’t overfill the tortillas. It’s tempting to add more filling, but that causes tearing and makes rolling difficult. Aim for roughly the amounts given so the wraps fold and seal.
Don’t skip the brief microwave step if you want tidy packets. Warming the filling just a bit helps the cheese start to melt and the tortilla conform, which makes the skillet step much easier and prevents cracking.
Don’t crowd the skillet. Putting too many wraps in at once drops the pan temperature and prevents even browning. Work in small batches and keep the heat steady.
Fresh Seasonal Changes
In warmer months, serve the wraps with fresh, crisp sides after cooking—think quick greens, chopped vegetables, or a simple salad for contrast. In cooler months, pair with a warm bowl of soup or roasted vegetables to make the meal more comforting.
Adjust the flavor emphasis to the season: lighter sides and brighter garnishes in spring and summer, heartier accompaniments and roasted-root flavors in fall and winter. Keep the core recipe intact; small seasonal touches make the meal feel purposeful without complicating prep.
If You’re Curious
Want to make these ahead? Assemble the wraps through step 4, then refrigerate them unheated. When ready, microwave each for 20–30 seconds and proceed with the skillet crisping. This keeps the wraps tight and makes final cooking faster.
Looking for batch cooking tips? Assemble all the wraps and cook them in batches just before serving so each one comes out at peak crispness. If you need to hold them briefly, a warm oven (200°F / 95°C) on a wire rack keeps them from getting soggy while the rest finish.
Cooling, Storing & Rewarming
Cooling
Let wraps cool on a wire rack for a few minutes after cooking to keep the bottoms from steaming and softening. A short rest also lets the filling set slightly so they slice or wrap more cleanly.
Storing
Refrigerate cooled wraps in an airtight container for up to 3 days. Place a paper towel under and over the wraps to absorb extra moisture if you plan to stack them.
Rewarming
For best texture, rewarm in a skillet over medium heat, turning every minute until heated through and crisped. If you must use the microwave, heat briefly to warm the center, then finish in the skillet or under a broiler for 1–2 minutes to restore the crisp exterior.
Helpful Q&A
- Can I make these vegetarian? Yes—replace the chicken with a hearty cooked vegetable or legume mix, and use the same seasoning and cheese approach.
- Will the tortillas get soggy? If you follow the layering (beans first, then the chicken-cheese mix) and finish in a hot skillet, the tortillas stay crisp. Microwaving briefly helps the tortillas conform without excess moisture.
- How do I keep them from unrolling? Fold tightly and microwave briefly before crisping. Cooking seam-side down first helps seal them.
- Can I freeze them? Assemble and flash-freeze on a tray, then transfer to a freezer bag. Reheat from frozen by baking or air-frying until warmed through and crispy.
See You at the Table
This is exactly the kind of recipe I come back to when I want reliable results with minimal stress. It uses ingredients you likely have or can grab on a quick shop, and it yields wraps that are flavorful, sturdy, and satisfying. Try the method once as written, then tweak to match your household’s favorites. I hope you enjoy them as much as I do—crispy, cheesy, and practical weeknight perfection.

Crispy Chicken Wraps
Ingredients
Equipment
Method
- In a large bowl, combine 2 cups cooked chicken, the 1‑ounce packet taco seasoning, 3/4 cup mild enchilada sauce, and 2 cups shredded sharp Cheddar. Stir gently until the ingredients are evenly mixed.
- Lay the 6 flour tortillas flat on a clean, flat surface. Spoon the 16‑ounce can of refried beans evenly into the center of each tortilla (about 1/3 cup per tortilla), leaving a 1‑ to 2‑inch border around the edges.
- Divide the chicken‑cheese mixture evenly among the tortillas (about 3/4 cup per tortilla), placing it on top of the beans in the center of each tortilla.
- Fold each tortilla into a packet: fold the bottom edge up over the filling, fold the left and right sides in toward the center, then continue rolling away from you until the seam is tucked underneath. Repeat for all 6 tortillas.
- Microwave each assembled wrap one at a time for 20–30 seconds to warm the filling and help the wrap hold its shape.
- After microwaving all wraps, spray each one generously on all sides with cooking spray. Heat a nonstick skillet over medium‑high heat.
- Working in batches (about 2–3 wraps at a time to avoid crowding), place the wraps seam side down in the skillet. Cook 1–2 minutes, then use tongs to rotate so each side becomes golden brown and crispy; continue rotating every 1–2 minutes until the wraps are browned on all sides and heated through. Repeat with remaining wraps.
- Serve the wraps hot with optional toppings as desired.
Notes
Lay tortilla flat on your work surface and spoon the filling onto the center, leaving a generous border around all edges.
Fold both sides of the tortilla into the center, partially covering the filling.
Next, fold the edge of the tortilla that’s closest to you over the filling and the folded-in sides.
Finally, grasp the last edge of the tortilla furthest away from you and, while keeping it tight, pull it over the other side until you have a neatly wrapped packet. The filling should now be completely enclosed.