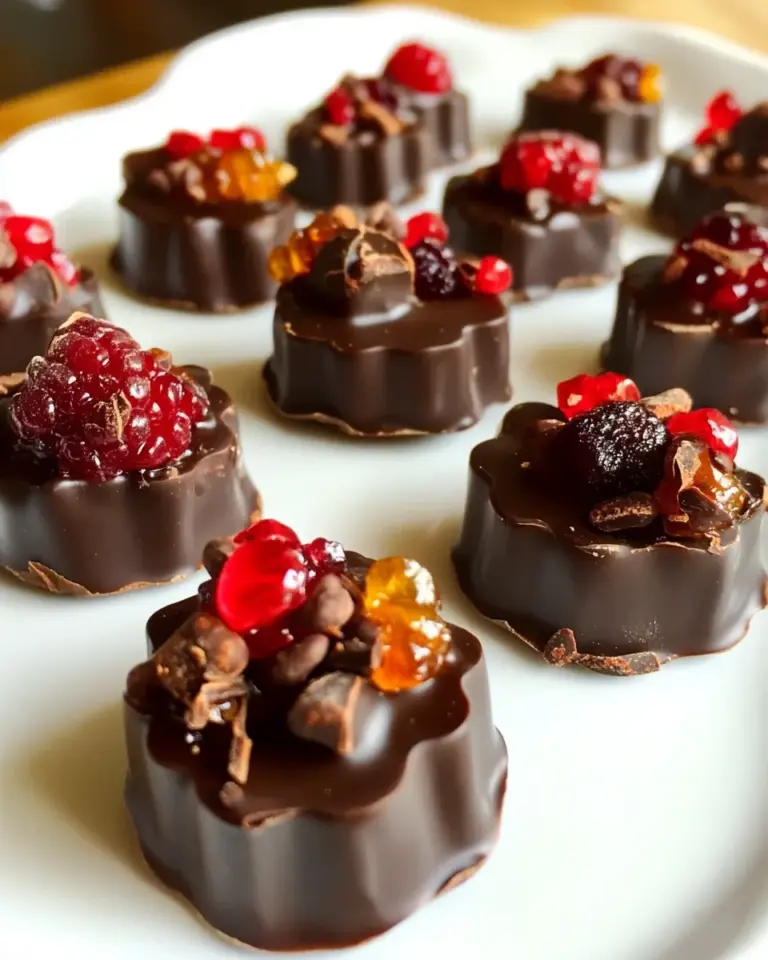
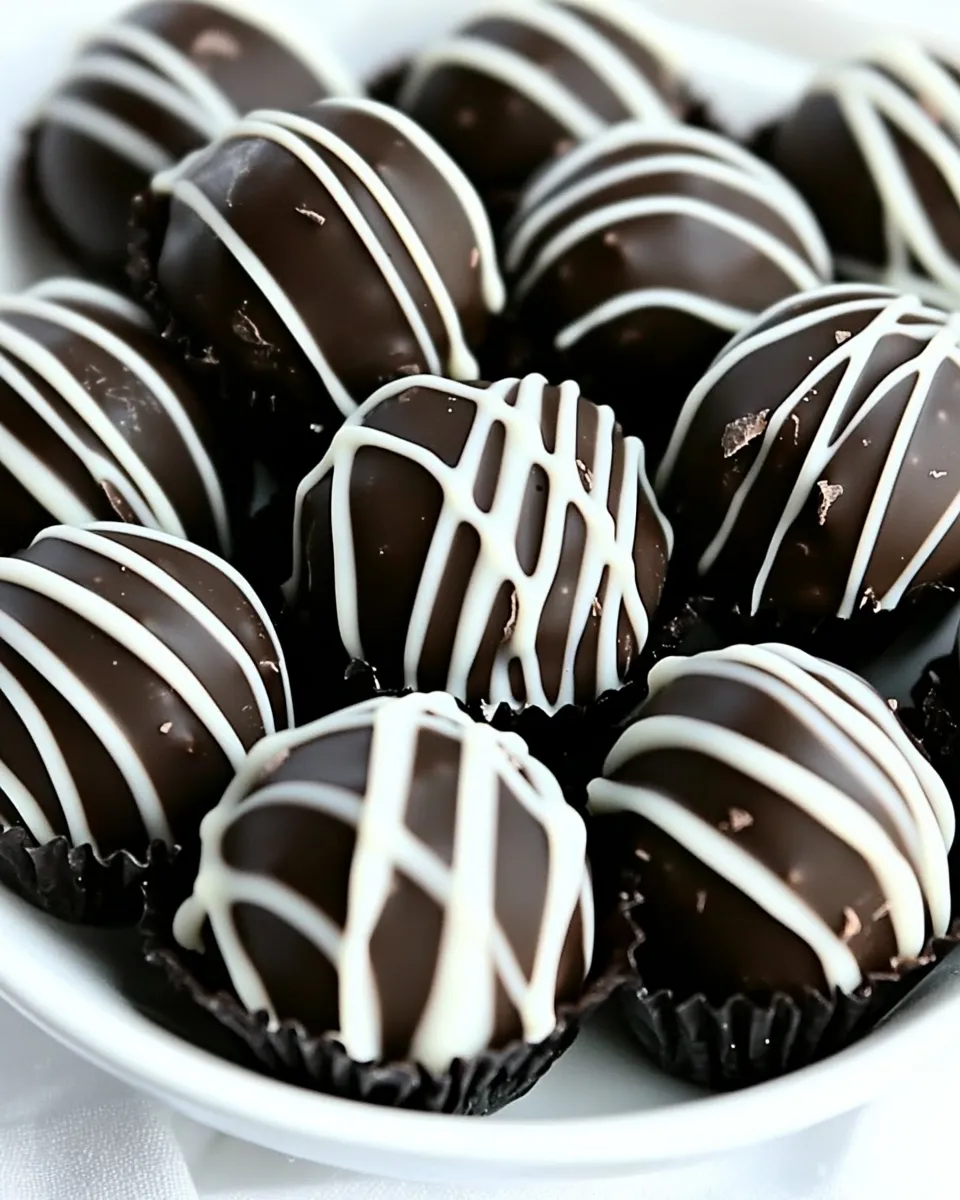
Dark Chocolate Truffles
These dark chocolate truffles are the sort of recipe I make when I want something small, serious, and utterly chocolatey. They require just a few ingredients, a bit of patience, and a few simple techniques. The result is a silky ganache that melts on the tongue and—if you like—can be finished any way you prefer.
I keep the instructions tight and the steps reliable because truffles are all about texture and timing. Follow the order, chill when asked, and you’ll have consistent results from the first batch. You don’t need fancy equipment or dozens of pantry items: a saucepan, a bowl, and something to scoop with are enough.
Below I’ll walk you through the ingredients, the exact step-by-step process, common pitfalls, simple equipment suggestions, and ways to adapt the process depending on time and season. Practical tips only—no fluff—so you can make truffles that look professional and taste like indulgence.
The Ingredient Lineup

This section explains the role of each ingredient so you understand why they’re in the recipe. The list that follows is the exact set of ingredients the recipe uses; there are no hidden extras. If you want to adjust texture or flavor later, the notes here will tell you which ingredient to tweak.
Ingredients
- ¼ cup (59.5 ml) heavy cream — provides the liquid and fat to melt the chocolate into a smooth ganache; affects texture and mouthfeel.
- 5 ounces (141.75 g) bittersweet chocolate, finely chopped — the primary flavor and structure of the truffle; finely chopping helps the chocolate melt evenly when combined with hot cream.
- 1 tablespoon butter, softened — adds shine and a silkier texture to the ganache; it also helps the truffles set with a pleasant bite.
Step-by-Step: Dark Chocolate Truffles
- Put the 5 ounces chopped bittersweet chocolate in a heatproof bowl and set aside.
- In a small saucepan, heat 1/4 cup (59.5 ml) heavy cream over medium heat until it just comes to a boil, watching carefully so it does not boil over.
- Immediately pour the hot cream over the chopped chocolate and let sit undisturbed for about 1 minute to soften the chocolate.
- Stir the chocolate and cream with a rubber spatula until the chocolate is completely melted and the mixture is smooth.
- Stir in 1 tablespoon softened butter until the ganache is glossy and fully combined.
- Transfer the ganache to a bowl and press plastic wrap directly onto the surface to prevent a skin from forming.
- Refrigerate the ganache at least 1 hour (or overnight) until it is firm enough to scoop.
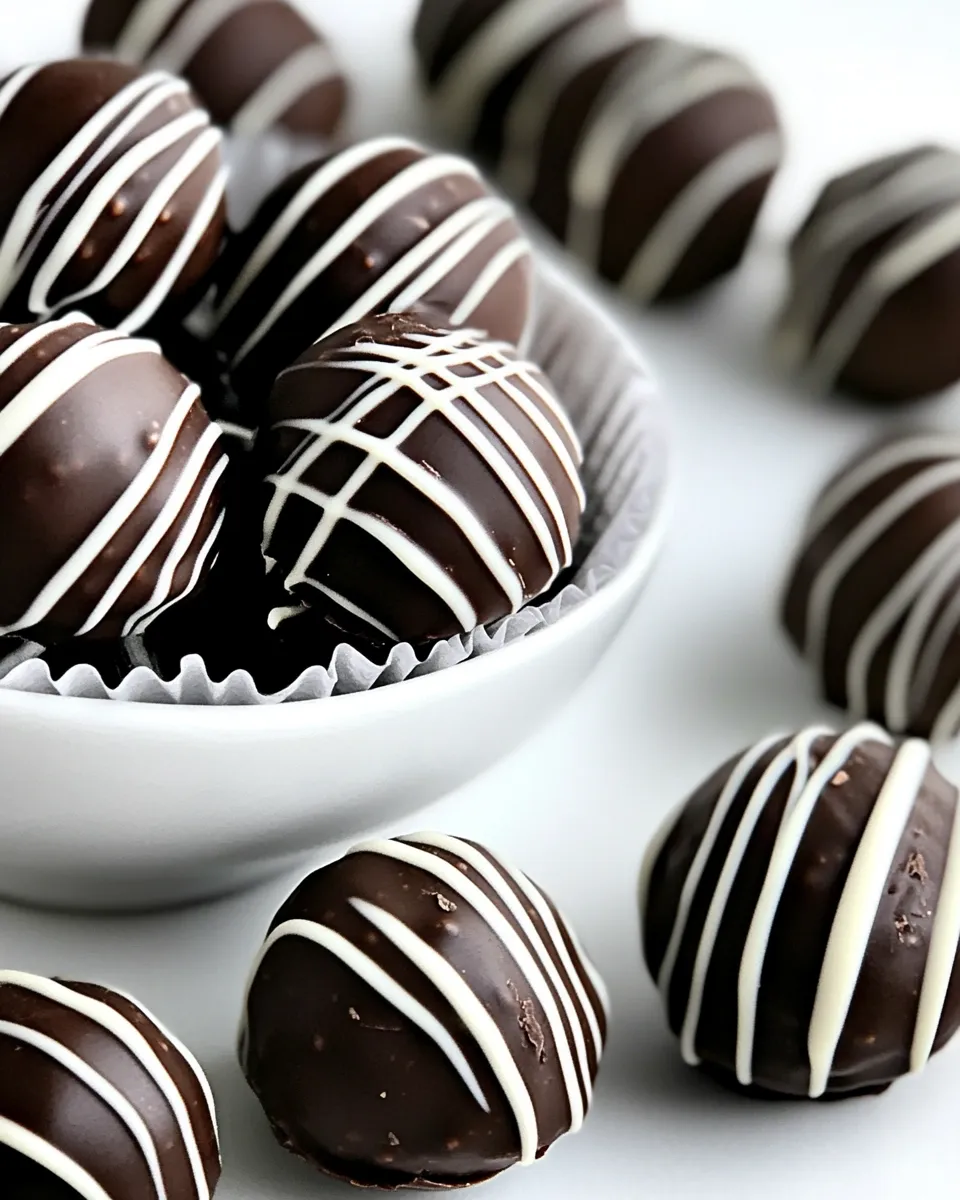
- Line a baking sheet with wax paper. Use a melon baller or small spoon to scoop and form the chilled ganache into balls, placing each truffle on the prepared sheet.
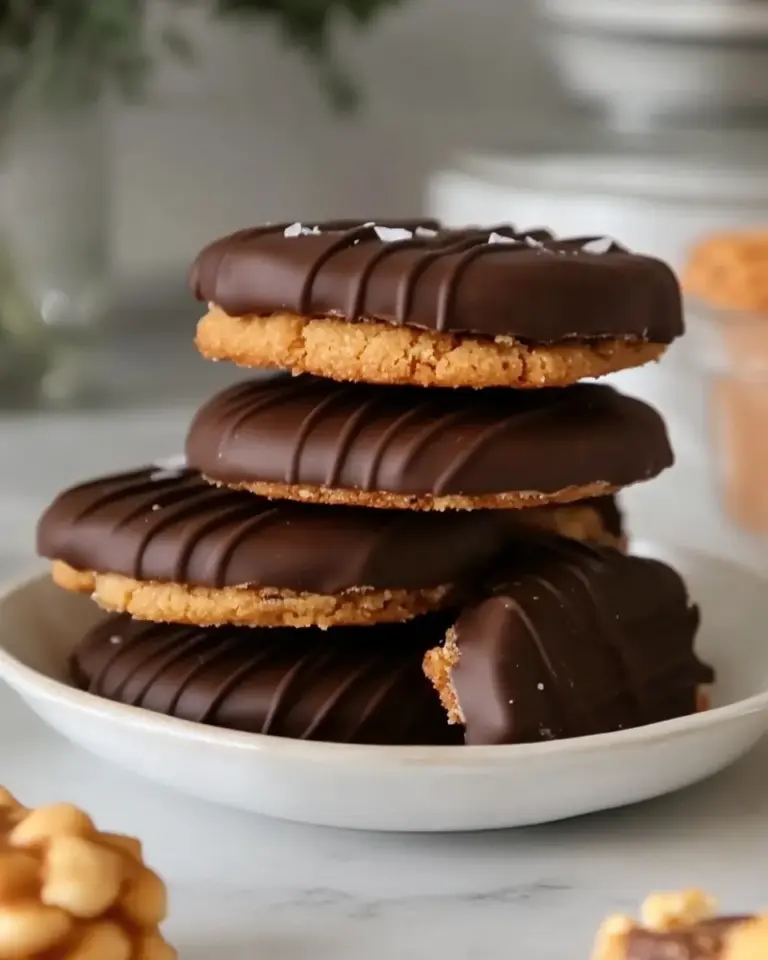
- Finish the truffles with your coating of choice. If dipping in chocolate, chill the truffle balls in the refrigerator or freezer for at least 1 hour (or until thoroughly chilled) before dipping.
Notes on execution: keep the cream heating stage brief and watch it closely—cream can surge and spill quickly. Letting the hot cream sit on the chocolate without stirring is important; it gives the heat time to melt the chocolate gently. Pressing plastic wrap directly on the ganache prevents a dry skin that will make scooping and shaping harder. Finally, firm ganache is essential for neat shaping; don’t rush the chill.
What You’ll Love About This Recipe

These truffles are effortless to make, yet they look and taste like something from a chocolatier. They use three simple ingredients and focus on technique, not gimmicks. The ganache texture is smooth and luxurious because the fat from the cream and butter ballroom the chocolate into a silky emulsion. They slice cleanly in the mouth and leave a pure cocoa finish.
Another upside: the recipe is extremely forgiving when it comes to scaling texture. Slightly richer ganache if you use slightly higher-fat cream, or a firmer bite if you chill longer. That means you can tailor the mouthfeel without changing the base formula.
Budget & Availability Swaps
You don’t need to buy specialty items to make great truffles. Use the best-quality bittersweet chocolate you can reasonably find within your budget—look for chocolate with a clear cocoa percentage on the package and minimal additives. The single most important ingredient is the chocolate itself because its flavor dominates the final truffle.
If you can’t find bittersweet, look for dark chocolate in the 60–70% cocoa range. Heavy cream is widely available; if you’re in a pinch and must substitute, use a product labeled “double cream” or a similarly rich dairy cream where available—just be mindful of different fat contents that change texture. The butter should be unsalted and softened; salted butter changes the balance of saltiness, which may or may not be desirable.
Must-Have Equipment
You only need a few basic tools:
- Small saucepan — to heat the cream gently and control the temperature so it doesn’t boil over.
- Heatproof bowl — to hold the chopped chocolate while the hot cream melts it.
- Rubber spatula — for smooth, thorough stirring without scratching the bowl.
- Plastic wrap — to press directly on the ganache and prevent a skin from forming.
- Baking sheet lined with wax paper — provides a clean surface for chilling and storing shaped truffles.
- Melon baller or small spoon — to scoop consistent portions of ganache for even truffles.
No specialized chocolate tools are necessary. A small offset spatula or teaspoon can replace a melon baller. A microwave-safe bowl can work in a pinch for melting if you adapt the method, but the stovetop/heatproof-bowl approach is the most controlled.
What Not to Do
Do not let the cream boil hard; a rolling boil can scorch and change the texture and flavor. Watch it closely and remove it from heat the instant it reaches a gentle boil. Do not stir the ganache too aggressively while it’s cooling—vigorous stirring can introduce air and change the finish.
Don’t skip chilling. Skipping or shortening the refrigeration step makes shaping difficult and messy. The ganache needs to be firm enough to hold shape when scooped. Also, don’t press plastic wrap over the ganache when it’s still hot—let it cool briefly so condensation doesn’t collect between the ganache and the wrap.
Variations by Season
Spring: Keep things light and fresh by serving truffles slightly chilled; they’ll feel brighter in texture. If you want a hint of seasonal flair, serve alongside fresh berries or berry compote (no quantities here—just a serving suggestion).
Summer: Work in a cool room or chill the ganache a little longer before shaping. Handle the truffles quickly; warm hands will soften them. Store finished truffles in the fridge until serving to keep them firm in warm weather.
Autumn and Winter: These truffles feel cozy year-round, but in cooler months you can serve them at a slightly warmer temperature for a softer melt. If you plan to gift them, bring them to room temperature in the recipient’s hands for the best flavor release.
Cook’s Notes
Temperature and Texture
Chocolate is sensitive to temperature. Heat the cream to just boiling and pour immediately. Let the chocolate sit in the hot cream for that minute; that pause helps it melt evenly without aggressive stirring. The butter should be softened—not melted—so it blends in smoothly and adds shine.
Chilling
Chill the ganache at least 1 hour, preferably more if your kitchen is warm. Overnight chilling produces a firmer ganache that’s easier to scoop and shape. If you plan to dip the truffles in tempered chocolate, chilling longer (or briefly freezing) will speed up the dipping process and reduce melting while handling.
Troubleshooting
If the ganache appears grainy, it may be that the chocolate didn’t fully melt or that it was disturbed before fully emulsifying. Gentle, steady stirring will usually smooth it out. If it looks split (oily or separated), try warming it very gently and whisking to bring the emulsion back together.
Meal Prep & Storage Notes
Make the ganache one day ahead and shape the truffles the next day if you like: refrigerate the wrapped ganache overnight. Once shaped and coated, truffles store well in an airtight container in the refrigerator for up to 2 weeks. For longer storage, freeze them for up to 3 months, well wrapped to prevent freezer odors.
To serve, take refrigerated truffles out 10–15 minutes before eating so they soften slightly and release fuller flavor. If frozen, thaw in the refrigerator overnight before bringing to serving temperature.
Common Questions
Q: My ganache is too soft—what can I do?
A: Return it to the refrigerator in a covered bowl and chill until it firms enough to scoop. If you need to speed things up, spread it on a shallow tray to increase surface area and chill briefly. Avoid prolonged warming to prevent it becoming oily.
Q: The ganache is grainy after stirring. Is it ruined?
A: Not necessarily. If some bits of chocolate remain unmelted, continue stirring gently; residual heat from the cream often finishes melting the pieces. If it’s grainy from separation, warm gently over a bain-marie and stir to recombine. Be patient and gentle—too much heat will alter the texture.
Q: Can I use milk chocolate or white chocolate instead?
A: The method is the same, but note that different chocolates have different fat and sugar levels, which changes texture and firmness. You’ll likely need to adjust chilling time. Also, flavors will be noticeably different since bittersweet delivers a more concentrated cocoa profile.
Q: How do I get smooth, even truffles when shaping?
A: Work with firm ganache, scoop even portions, and keep your hands cool. If the ganache sticks, briefly chill the scooped balls before rolling them fully. Use a melon baller for consistent sizing.
Save & Share
If this recipe delivers the silky truffles you were hoping for, save it to your recipe collection and share it with friends who appreciate straightforward, well-made chocolate. These truffles make excellent gifts when packed in small boxes and stored cool until handing off. For quick reference, bookmark the instructions section so the steps are easy to scan while you work.
Thanks for reading—make a batch, test the timing, and adjust based on how firm you like your centers. Chocolate responds to small changes, and once you dial in what you prefer, this formula becomes a reliable go-to.
Dark Chocolate Truffles
Ingredients
Equipment
Method
- Put the 5 ounces chopped bittersweet chocolate in a heatproof bowl and set aside.
- In a small saucepan, heat 1/4 cup (59.5 ml) heavy cream over medium heat until it just comes to a boil, watching carefully so it does not boil over.
- Immediately pour the hot cream over the chopped chocolate and let sit undisturbed for about 1 minute to soften the chocolate.
- Stir the chocolate and cream with a rubber spatula until the chocolate is completely melted and the mixture is smooth.
- Stir in 1 tablespoon softened butter until the ganache is glossy and fully combined.
- Transfer the ganache to a bowl and press plastic wrap directly onto the surface to prevent a skin from forming.
- Refrigerate the ganache at least 1 hour (or overnight) until it is firm enough to scoop.
- Line a baking sheet with wax paper. Use a melon baller or small spoon to scoop and form the chilled ganache into balls, placing each truffle on the prepared sheet.
- Finish the truffles with your coating of choice. If dipping in chocolate, chill the truffle balls in the refrigerator or freezer for at least 1 hour (or until thoroughly chilled) before dipping.