Easy Granola Recipe
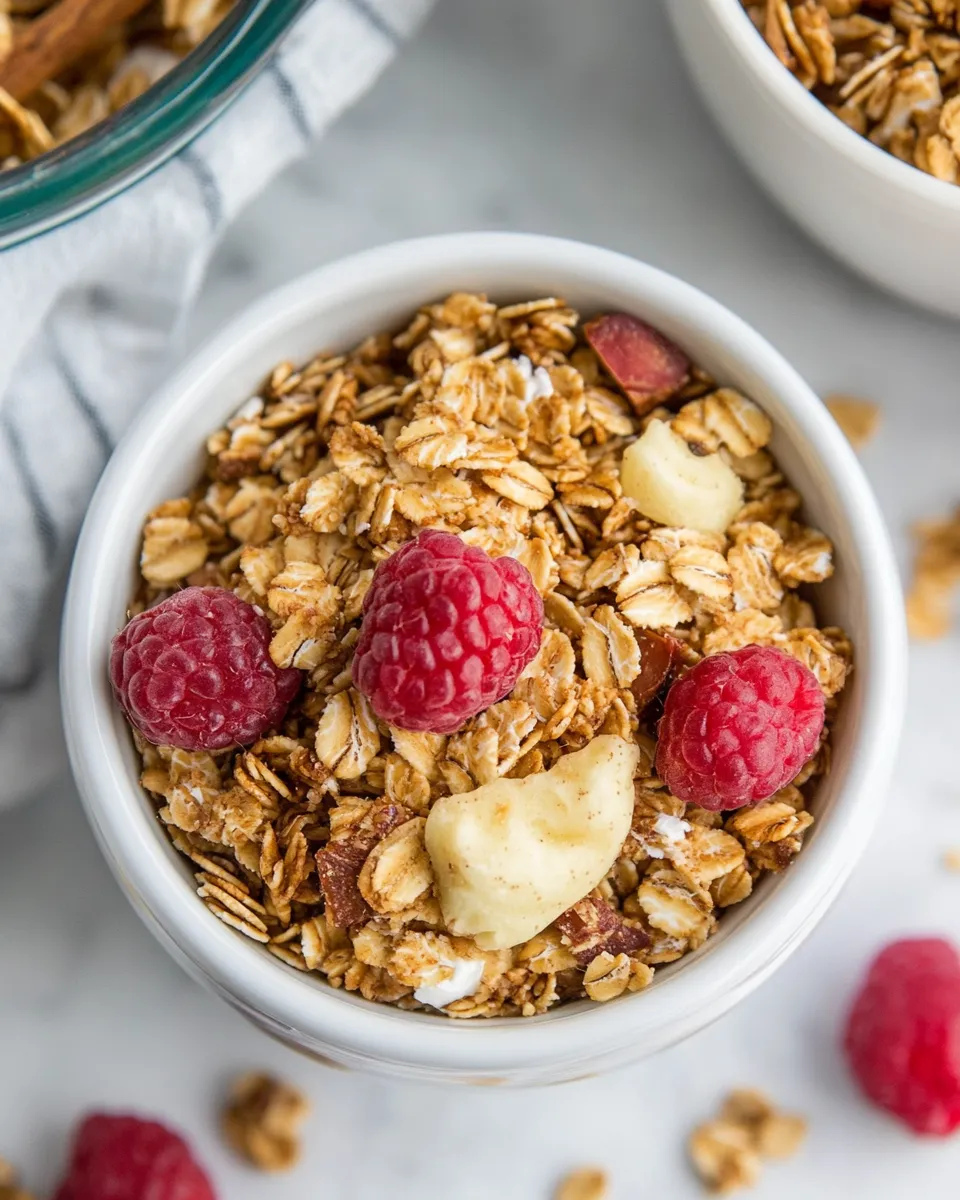
Granola is one of those make-ahead pantry champions: reliable, adaptable, and quick to put together. This version keeps things straightforward — oats, almonds, coconut, a touch of brown sugar, and a simple wet mix that binds without fuss. The oven does most of the work while you get on with breakfast prep or a cup of coffee.
I like granola that has visible clusters and a toasty, caramelized edge without tasting like a baking disaster. The balance here comes from low oven heat, a little stirring in the middle, and patience while it cools. You’ll find the method predictable and easy to repeat.
Below you’ll find the ingredient list, step-by-step instructions exactly as written, and practical notes for swapping, troubleshooting, and storing. Read once, then bake — you’ll be reaching for this recipe often.
What You’ll Gather
- 3 cups rolled oats, regular or gluten free — the bulk and chew of the granola; use gluten-free oats if needed.
- 1 cup sliced almonds — provides crunch and a toasty nut flavor; can be lightly chopped if you prefer smaller pieces.
- 1 ½ cups flaked coconut — adds texture and toasty sweetness; keeps the mix light and crisp.
- ⅓ cup maple syrup — primary sweetener and helps with browning; choose pure maple for best flavor.
- 2 Tb brown sugar — deepens caramel notes and encourages clustering.
- ⅓ cup plus 1 T canola oil — coats oats for even toasting; can substitute another neutral oil if preferred.
- 1 T vanilla extract — lifts the overall flavor; add with the wet ingredients so it distributes evenly.
- 1 T cinnamon — warm spice that complements the coconut and almonds; optional but recommended.
- ½ tsp Sea Salt — balances sweetness and enhances all flavors; don’t skip it.
Granola Recipe: Step-by-Step Guide
- Preheat oven to 300°F (150°C). Line a large rimmed baking sheet with parchment paper.
- In a large bowl, combine the 3 cups rolled oats, 1 cup sliced almonds, 1 ½ cups flaked coconut, 2 Tb brown sugar, 1 T cinnamon, and ½ tsp sea salt. Stir to mix the dry ingredients evenly.
- In a smaller bowl or measuring cup, whisk together the ⅓ cup plus 1 T canola oil, ⅓ cup maple syrup, and 1 T vanilla extract until smooth.
- Pour the wet mixture over the dry ingredients and stir thoroughly until all the oats, almonds, and coconut are evenly coated.
- Spread the mixture in an even, single layer on the prepared baking sheet.
- Bake 25–30 minutes, stirring once halfway through (about 12–15 minutes) and rotating the pan if needed, until the granola is golden and fragrant.
- Remove the baking sheet from the oven and let the granola cool completely on the sheet; it will crisp as it cools.
- Once cool, break into clusters as desired and store in an airtight container.
Why This Recipe Is Reliable
This granola works because it follows simple, consistent rules: low oven temperature, a single intermediate stir, and full cooling on the baking sheet. The 300°F (150°C) heat is low enough to toast evenly without burning the coconut or nuts, but high enough to caramelize the maple and brown sugar for good color and flavor.
The ingredient proportions favor oats for structure, a moderate amount of oil for coating and crispness, and just enough sweetener to bind and brown. That balance gives you crunchy clusters without a greasy or overly sweet result. The method is scalable — doubling or halving the recipe uses the same timing and technique, with attention to spread on the baking sheet.
Vegan & Vegetarian Swaps
This recipe is vegetarian as written and largely vegan-friendly. The base ingredients — oats, almonds, coconut, maple syrup, and oil — are all plant-based. If you need to ensure the brown sugar is vegan, check for bone-char-free sugar or substitute with coconut sugar for a similar depth of flavor.
Other vegan-friendly options:
- Use date syrup or additional maple syrup in place of brown sugar if you prefer a single wet sweetener.
- Swap canola oil for light olive oil, avocado oil, or melted coconut oil (note: coconut oil will add coconut flavor and may firm up when cool).
Tools of the Trade
You don’t need any special equipment. The few essential items make the process smooth and consistent:
- Large rimmed baking sheet — a wide, shallow sheet ensures a single even layer for uniform toasting.
- Parchment paper — prevents sticking and makes cleanup simple.
- Large mixing bowl — for combining and tossing dry ingredients without spilling.
- Smaller bowl or measuring cup — to whisk wet ingredients together before adding them.
- Spatula or wooden spoon — for thorough mixing and scraping the bowl.
- Oven mitts and cooling area — a flat countertop or rack where the tray can cool completely is important for crisp clusters.
Missteps & Fixes
Granola is forgiving, but a few common mistakes show up. Here’s how to rescue or avoid them.
Problem: Granola burns at the edges but is raw in the middle. Fix: Make sure your oats are spread in a single, even layer. Rotate the pan halfway through baking and stir at the halfway point as the recipe directs. If your oven has hot spots, turn the sheet 180 degrees when you stir.
Problem: Granola is soggy or soft after cooling. Fix: It likely needed more time in the oven or a longer cooling period. Return to the oven for 3–5 minutes, watching closely, or spread the granola thinner and allow a full hour to cool; it crisps as it loses residual heat moisture.
Problem: No clusters. Fix: Clusters form when the wet ingredients bind the oats and then cool undisturbed. Press the mixture into the pan before baking for bigger clusters and avoid breaking it up while still warm; wait until fully cooled to fragment.
Allergy-Friendly Swaps
Almonds are the only tree nut listed, so swap them out if you have a nut allergy. Options that maintain texture:
- Pumpkin seeds (pepitas) — great toasted, similar crunch without nuts.
- Sunflower seeds — neutral flavor and good bite.
- Extra oats and toasted coconut — increase oat and coconut quantities to replace the almond volume.
If you need the recipe to be entirely nut-free and seed-free, use additional oats and increase flaked coconut; add a bit more brown sugar or maple to help with clustering. The recipe already allows for regular or gluten-free oats; choose certified gluten-free oats if avoiding gluten.
Pro Tips & Notes
Small changes make a big difference in texture and flavor. Read these practical notes before you start:
- Measure the oats by gently spooning into a cup — don’t pack tightly. Accurate measurement keeps texture consistent.
- Even coating matters — mix the wet ingredients well and stir them into the dry until everything looks glossy. Pockets of dry oats won’t brown or cluster.
- Don’t over-stir while baking — one stir halfway through is enough. Excess stirring breaks up clusters and slows even browning.
- Cool completely — the granola crisps as it cools. Resist the urge to taste-test warm from the oven unless you want soft clusters.
- Make it your own — once the base is working, add-ins like dried fruit, chocolate chips, or seeds can be folded in after cooling to avoid burning or melting.
Make-Ahead & Storage

Granola stores well and benefits from being made ahead of time. Once fully cool, transfer to an airtight container or resealable bag. Kept in a cool, dry place it will stay crisp for around 2 weeks.
For longer storage, freeze in a sealed container or bag for up to 3 months. Thaw at room temperature for an hour and gently re-crisp in a low oven (250°F / 120°C) for 5–8 minutes if needed.
Handy Q&A
Q: Can I reduce the oil or sugar?
A: Yes. Reduce oil a tablespoon at a time and watch for texture changes; less oil can make the mix drier and less clustered. Lower sugar will reduce browning and may need a slightly longer bake for color.
Q: Can I add dried fruit before baking?
A: No. Dried fruit will burn and become hard. Fold dried fruit in after cooling.
Q: How do I get big clusters?
A: Press the granola into the pan before baking and avoid breaking it up until completely cool. Slightly increasing the brown sugar by a teaspoon can help binding.
Q: My coconut browned too fast. What now?
A: Stir the baked granola and remove any overly dark pieces. For future batches, scatter coconut toward the end of the baking time or reduce oven temperature by 10–15 degrees.
Q: Is canola oil necessary?
A: It’s not mandatory, but a neutral oil keeps flavors balanced. Use any neutral vegetable oil or light olive oil. Coconut oil will firm up when cool and add coconut flavor.
Let’s Eat
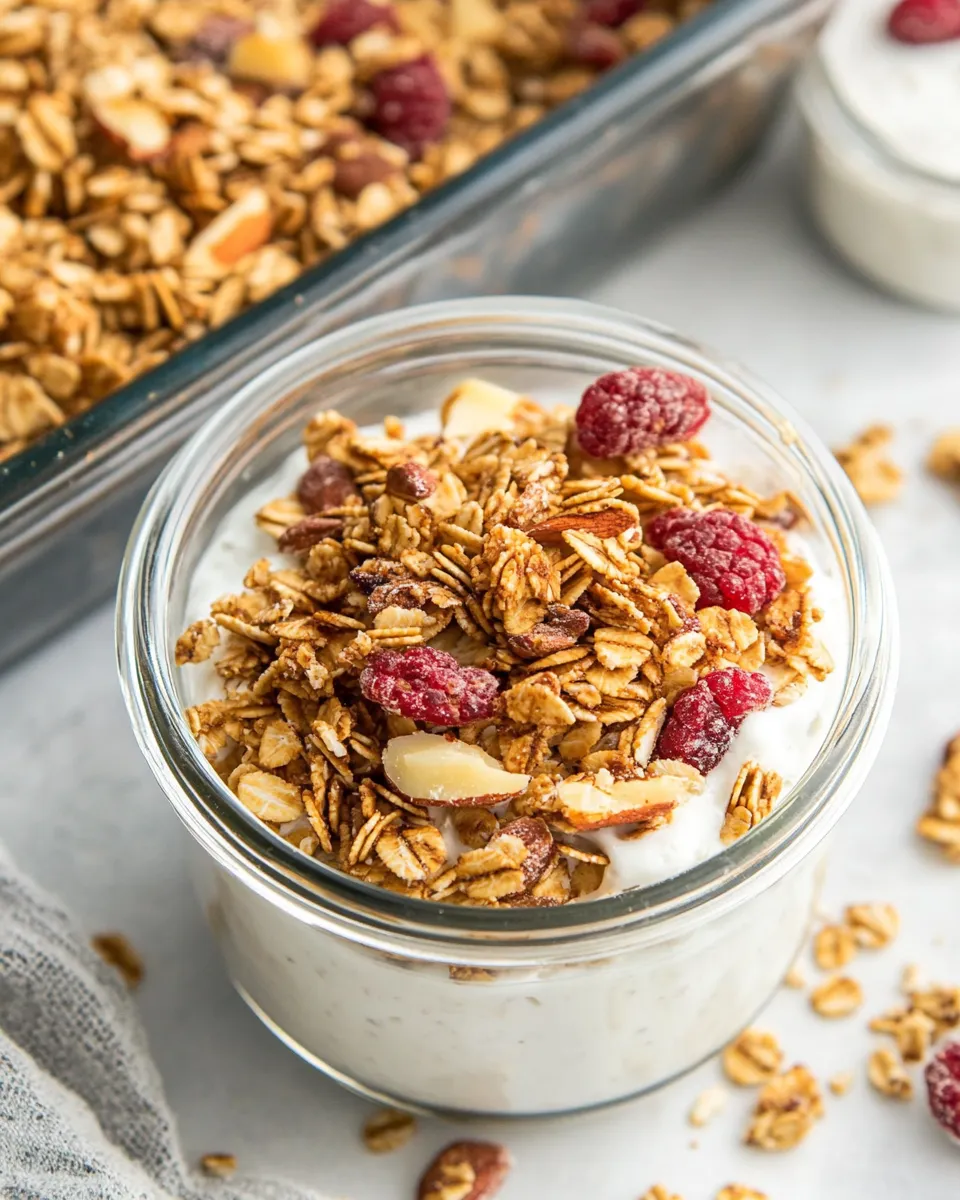
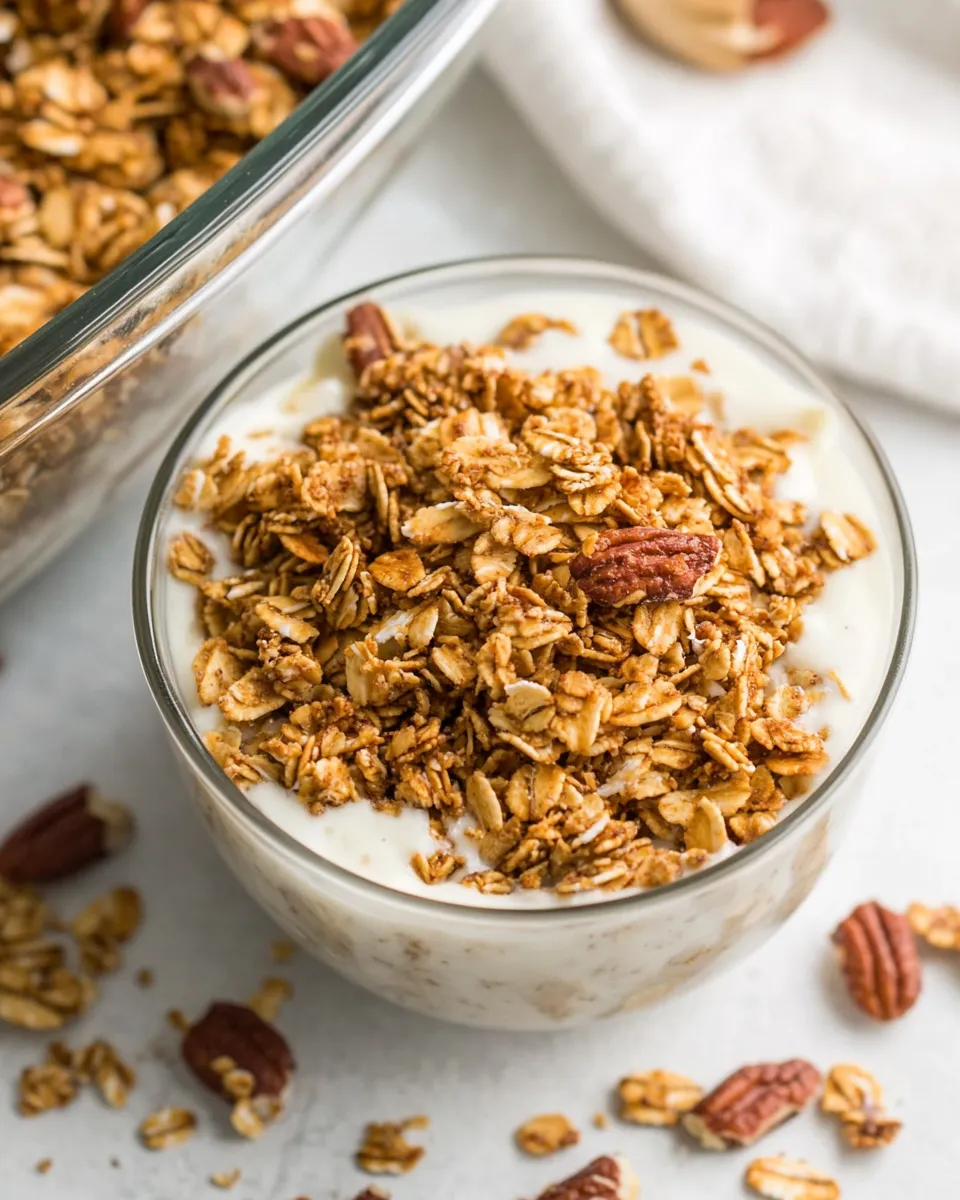
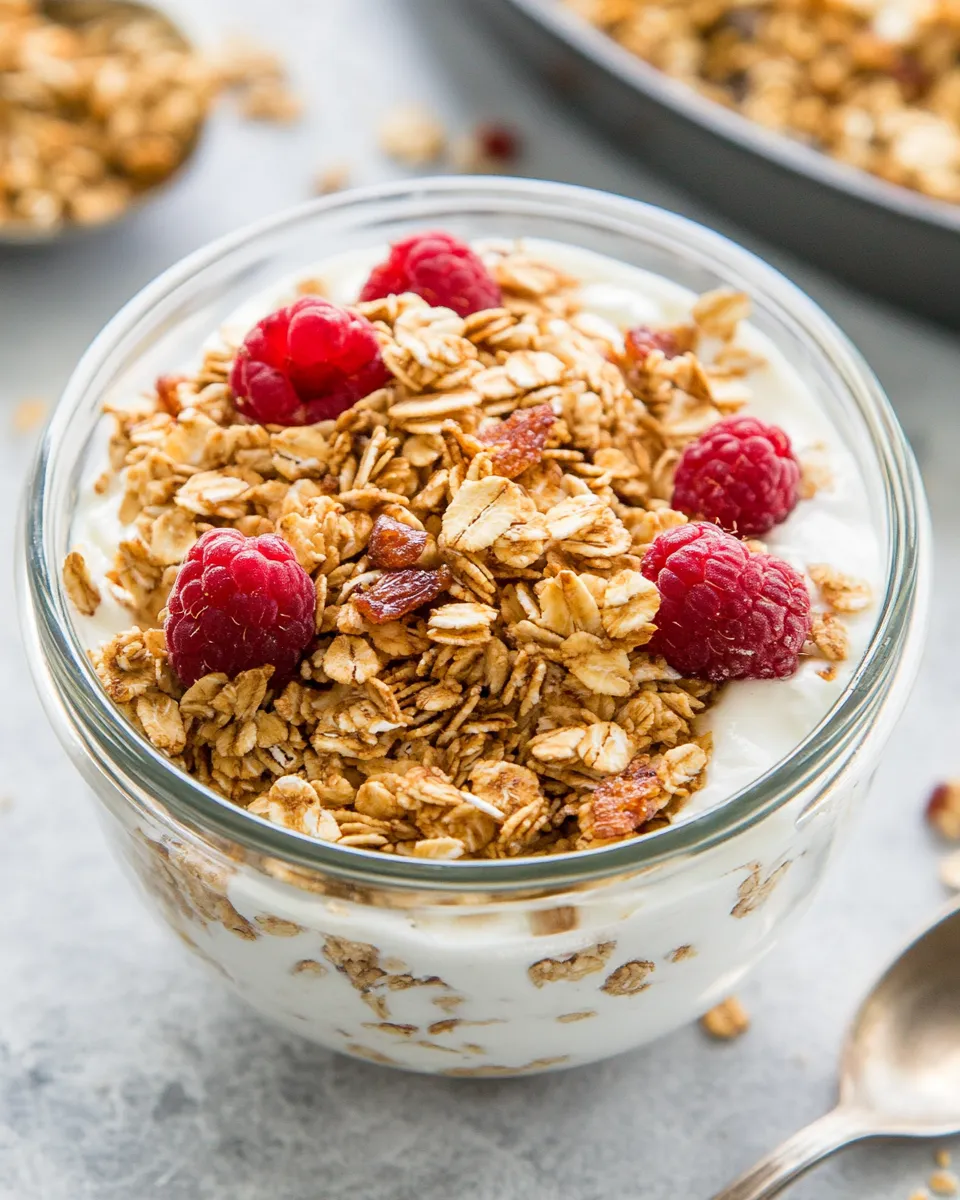
Serve this granola plain with cold milk, warm it into a bowl of yogurt with fresh fruit, or sprinkle over baked apples. It also makes a wonderful topping on smoothie bowls, an add-in for baked goods, or a grab-and-go snack from the jar.
Pack a small container for travel, sprinkle on cottage cheese for a quick breakfast, or gift a jar to a neighbor — it’s a simple, thoughtful homemade treat. The basic formula here is reliable and forgiving. Once you make it a few times you’ll know exactly how you like your clusters and toasting level. Happy baking.
Easy Granola Recipe
Ingredients
Equipment
Method
- Preheat oven to 300°F (150°C). Line a large rimmed baking sheet with parchment paper.
- In a large bowl, combine the 3 cups rolled oats, 1 cup sliced almonds, 1 ½ cups flaked coconut, 2 Tb brown sugar, 1 T cinnamon, and ½ tsp sea salt. Stir to mix the dry ingredients evenly.
- In a smaller bowl or measuring cup, whisk together the ⅓ cup plus 1 T canola oil, ⅓ cup maple syrup, and 1 T vanilla extract until smooth.
- Pour the wet mixture over the dry ingredients and stir thoroughly until all the oats, almonds, and coconut are evenly coated.
- Spread the mixture in an even, single layer on the prepared baking sheet.
- Bake 25–30 minutes, stirring once halfway through (about 12–15 minutes) and rotating the pan if needed, until the granola is golden and fragrant.
- Remove the baking sheet from the oven and let the granola cool completely on the sheet; it will crisp as it cools.
- Once cool, break into clusters as desired and store in an airtight container.
Notes
If you prefer your granola in big chunks and clusters, use 1 1/2 c rolled oats and 1 1/2 c quick oats. This will hold together in chunks a bit better versus using 3 cups of rolled oats.
Do not touch the granola until it is fully cooled. (Easier said than done, right? Just don’t dump the whole thing. You can nibble a corner.) This will also allow for more clusters and chunks.
Granola is done when the liquid has dried and it is golden brown. If you are not sure if yours is ready, these are the best things to look for.