Easy Tahini Bliss Balls
I make these tahini bliss balls on repeat when I want something quick, wholesome, and reliably satisfying. They come together in one short session and live happily in the fridge, ready for mornings, lunchboxes, or an afternoon pick-me-up. No baking required. No fuss. Just a food processor and a few good ingredients.
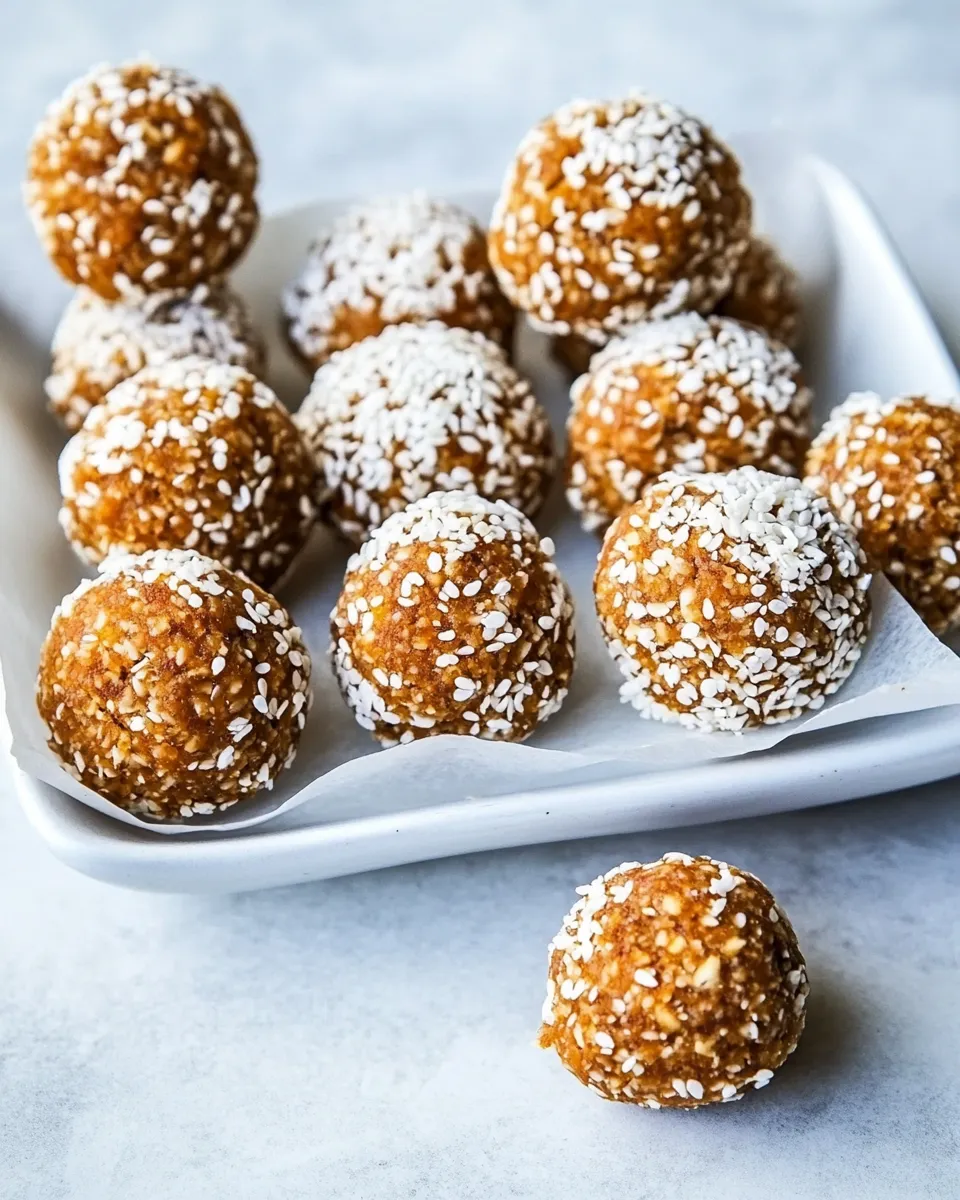
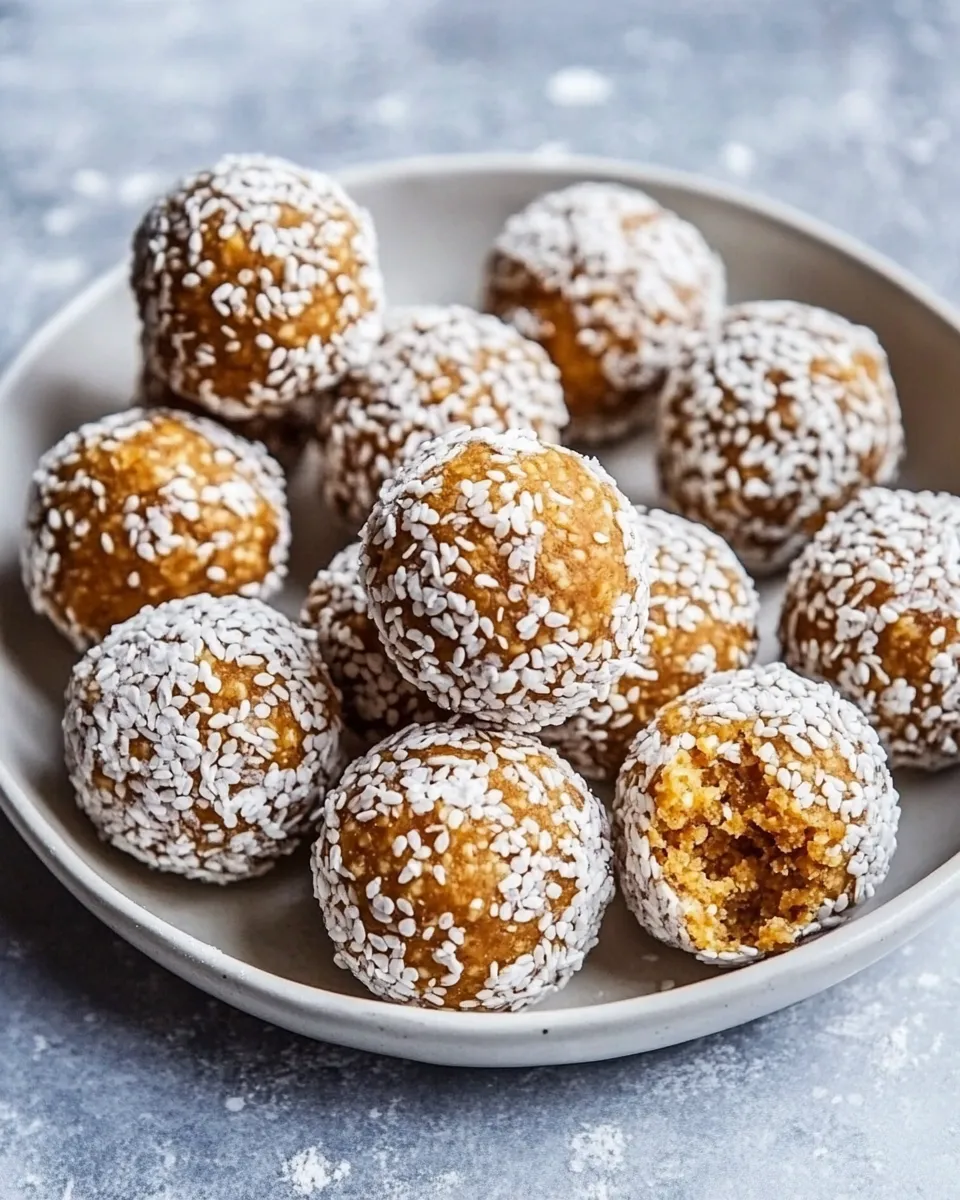
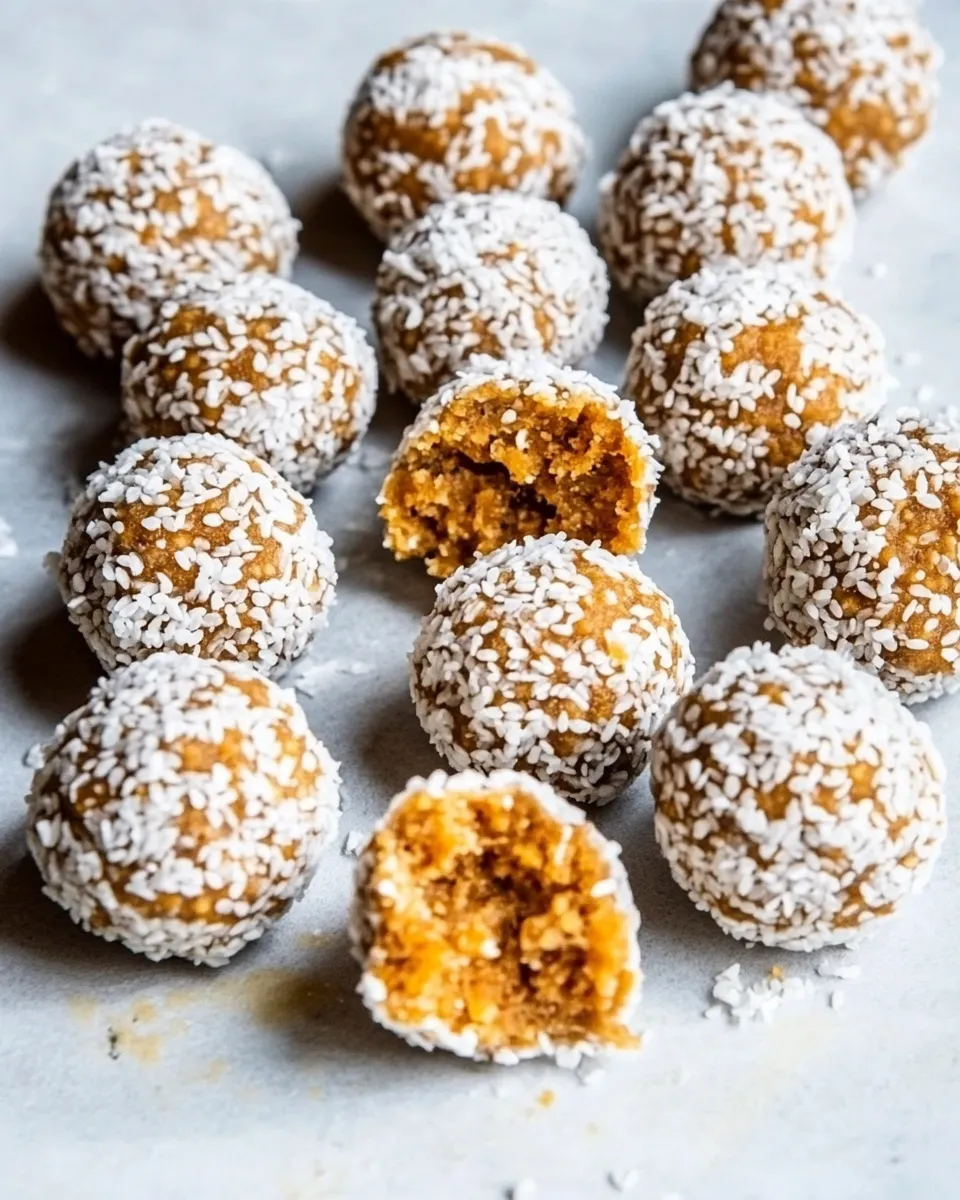
The texture is pleasantly chewy with a light crunch from pepitas and a coconut-swept exterior that keeps the balls from being sticky on the fingers. Tahini gives them a savory depth that balances the dates’ sweetness, while a touch of cinnamon and sea salt brings everything into focus. They’re simple, honest, and exactly what I reach for when I want a snack that feels both indulgent and nourishing.
What Goes Into Tahini Bliss Balls
Ingredients
- 1 cup pitted dates — the primary sweetener and binder; soft, medjool-style dates work best.
- 1/2 cup pepitas — adds a toasty, slightly nutty bite and structure.
- 1/2 cup rolled oats — bulk and chew; use old-fashioned oats for the best texture.
- 2 tablespoons tahini — provides creaminess and a savory counterpoint to the dates.
- 1 tablespoon pure maple syrup — a little extra sweetness and moisture; optional if your dates are very sweet.
- 1/4 teaspoon sea salt — balances and brightens the flavors; don’t skip it.
- 1 teaspoon cinnamon — warm spice that lifts the whole mix.
- 1/4 cup shredded coconut — for rolling; keeps the balls from sticking and adds a light finish.
The Method for Tahini Bliss Balls
- Put the pitted dates (1 cup), pepitas (1/2 cup), rolled oats (1/2 cup), tahini (2 tablespoons), maple syrup (1 tablespoon), sea salt (1/4 teaspoon), and cinnamon (1 teaspoon) into a food processor. Process until the mixture is finely chopped and comes together into a sticky, uniform dough (about 30–60 seconds, using pulses as needed).
- Check the texture by pinching a small amount— it should hold together when pressed. If it is still crumbly, continue processing in 10–15 second bursts until the mixture sticks together.
- Scoop out about 1 tablespoon of mixture per portion and roll between your palms to form 1-inch balls.
- Spread the shredded coconut (1/4 cup) on a plate and roll each ball in the coconut to coat the outside.
- Arrange the bliss balls in a single layer in an airtight container and refrigerate until firm, about 30 minutes. Store refrigerated.
Why It’s My Go-To

These bliss balls hit a sweet spot between convenience and flavor. They take ten minutes from start to finish if your dates are soft and your food processor is handy. The balance of tahini and dates is what makes them feel more grown-up than a typical energy ball — they’re not only sweet but pleasantly savory too. That savory note means I’m satisfied after one, not reaching for another.
I appreciate recipes that travel well, and these do. Toss them in a lunchbox, tuck them into a tote, or keep a jar in the fridge for late-night nibbling. They’re flexible enough to slot into breakfast routines or to act as a pre- or post-workout bite. Consistency is key: once you taste them, they become comfortingly predictable, which I love.
What to Use Instead
Substitutions can help when you don’t have something on hand. If you don’t have tahini, look first to seed or nut butters — sunflower seed butter or almond butter are closest in texture and work well. Pepitas can be swapped for raw pumpkin seeds, sunflower seeds, or a mix of chopped nuts if you prefer more crunch. Rolled oats can be replaced with quick oats in a pinch; the texture will be a bit softer.
If you need a different coating, try finely chopped nuts, cocoa powder, or even a dusting of extra cinnamon. For a less sweet version, cut the maple syrup or omit it entirely if your dates are very soft and sweet already. Keep the salt — it’s a small amount that brings out flavor.
Before You Start: Equipment
Minimal equipment needs make this a low-barrier recipe. Here’s what to have ready:
- Food processor — does the heavy lifting. A strong motor helps if your pepitas are particularly firm.
- Measuring spoons and cups — to ensure the right balance of dates, tahini, and oats.
- Plate or shallow bowl — for the shredded coconut coating.
- Airtight container — for chilling and storing the finished balls.
- Spoon or small cookie scoop (optional) — to portion evenly if you prefer exact sizes.
Problems & Prevention
Here are the few small things that can go wrong — and how to fix them.
Mixture too dry or crumbly
Cause: dates may be dry, or your processor didn’t blend enough. Prevention/fix: add 1–2 teaspoons of warm water or a tiny extra dab of tahini and pulse again. Work in very small increments so you don’t make the mix too wet.
Mixture too sticky
Cause: overly soft dates or too much liquid. Prevention/fix: add a tablespoon more oats or a few extra pepitas and pulse to absorb moisture. Chill the mixture briefly — cold dough is easier to handle.
Balls fall apart after chilling
Cause: not processed thoroughly enough for the dates to bind the mix. Prevention/fix: return the mixture to the food processor and pulse in 10–15 second bursts until it holds together when pinched.
Sticking to hands
Prevention/fix: lightly dampen your palms or use a small amount of neutral oil on your hands. Rolling the balls at room temperature for only a short time and then refrigerating will firm them up quickly.
In-Season Swaps
Seasonality mainly affects coatings and optional add-ins. In summer, try rolling these in finely chopped dried fruits or a dusting of freeze-dried berries for a bright contrast. In fall and winter, mix a pinch of nutmeg or pumpkin spice into the dough before rolling to echo seasonal flavors.
When citrus is at its peak, a small sprinkle of finely grated orange or lemon zest in the coconut coating brightens the flavor beautifully. Use sparingly — zest can be potent.
Testing Timeline
Here’s a quick timeline you can use while testing or making multiple batches:
- 0–2 minutes: Measure ingredients and prep the food processor.
- 2–4 minutes: Add everything to the processor and pulse/process for 30–60 seconds. Check texture.
- 4–6 minutes: Adjust texture with short bursts if needed; ensure it holds together when pinched.
- 6–12 minutes: Portion and roll balls, then coat in shredded coconut.
- 12–42 minutes: Chill in the refrigerator for about 30 minutes until firm. This is a good window to clean up and package.
For a speedier option, you can chill for 15–20 minutes if you’re in a hurry, but a full 30 minutes is ideal for firm, travel-ready balls.
Storage Pro Tips
Store these bliss balls in an airtight container in the fridge. They keep well for up to two weeks when refrigerated — longer if your fridge runs very cold. For longer storage, freeze them in a single layer on a tray until solid, then transfer to a freezer-safe bag or container. They’ll keep in the freezer for up to three months.
To thaw: move them to the fridge overnight or leave them at room temperature for 10–20 minutes before eating. If packing for a day trip, a small insulated container with a cold pack will keep them nicely chilled without making the coconut coating soggy.
Your Top Questions
Q: Can I make these nut-free? A: Yes. The recipe as written is already nut-free if your tahini is from sesame (not a nut butter). Swap any suggested nut replacements for seed-based options like sunflower seed butter if needed.
Q: Are these suitable for a vegan diet? A: Absolutely. All ingredients listed are plant-based.
Q: How many balls does this recipe make? A: It depends on size, but using about 1 tablespoon per ball typically yields around 12–14 one-inch bliss balls.
Q: Can I roll them in chocolate? A: You can, but tempering or coating with melted dark chocolate changes storage needs — keep them refrigerated to maintain the chocolate shell.
Q: Can I use other sweeteners instead of maple syrup? A: If you want to swap it, a light agave or a neutral-tasting syrup will work. Honey is an option if you’re not strict about vegan ingredients.
Ready to Cook?
Gather your ingredients and your food processor, and plan for about 30–40 minutes including chilling time. Follow the method in the exact order — the processing step is the most important, and the little texture checks will save you from a crumbly batch. Portion carefully for consistent bites, and don’t skip the chill; it finishes the job.
These Tahini Bliss Balls are one of those recipes you’ll make over and over because they’re fast, dependable, and easy to tweak. Keep the base the same, and experiment with coatings and small swaps as you go. Let me know how you customize them — I love hearing about the small changes that make a recipe feel like yours.
Easy Tahini Bliss Balls
Ingredients
Equipment
Method
- Put the pitted dates (1 cup), pepitas (1/2 cup), rolled oats (1/2 cup), tahini (2 tablespoons), maple syrup (1 tablespoon), sea salt (1/4 teaspoon), and cinnamon (1 teaspoon) into a food processor. Process until the mixture is finely chopped and comes together into a sticky, uniform dough (about 30–60 seconds, using pulses as needed).
- Check the texture by pinching a small amount— it should hold together when pressed. If it is still crumbly, continue processing in 10–15 second bursts until the mixture sticks together.
- Scoop out about 1 tablespoon of mixture per portion and roll between your palms to form 1-inch balls.
- Spread the shredded coconut (1/4 cup) on a plate and roll each ball in the coconut to coat the outside.
- Arrange the bliss balls in a single layer in an airtight container and refrigerate until firm, about 30 minutes. Store refrigerated.