Gluten Free Brioche
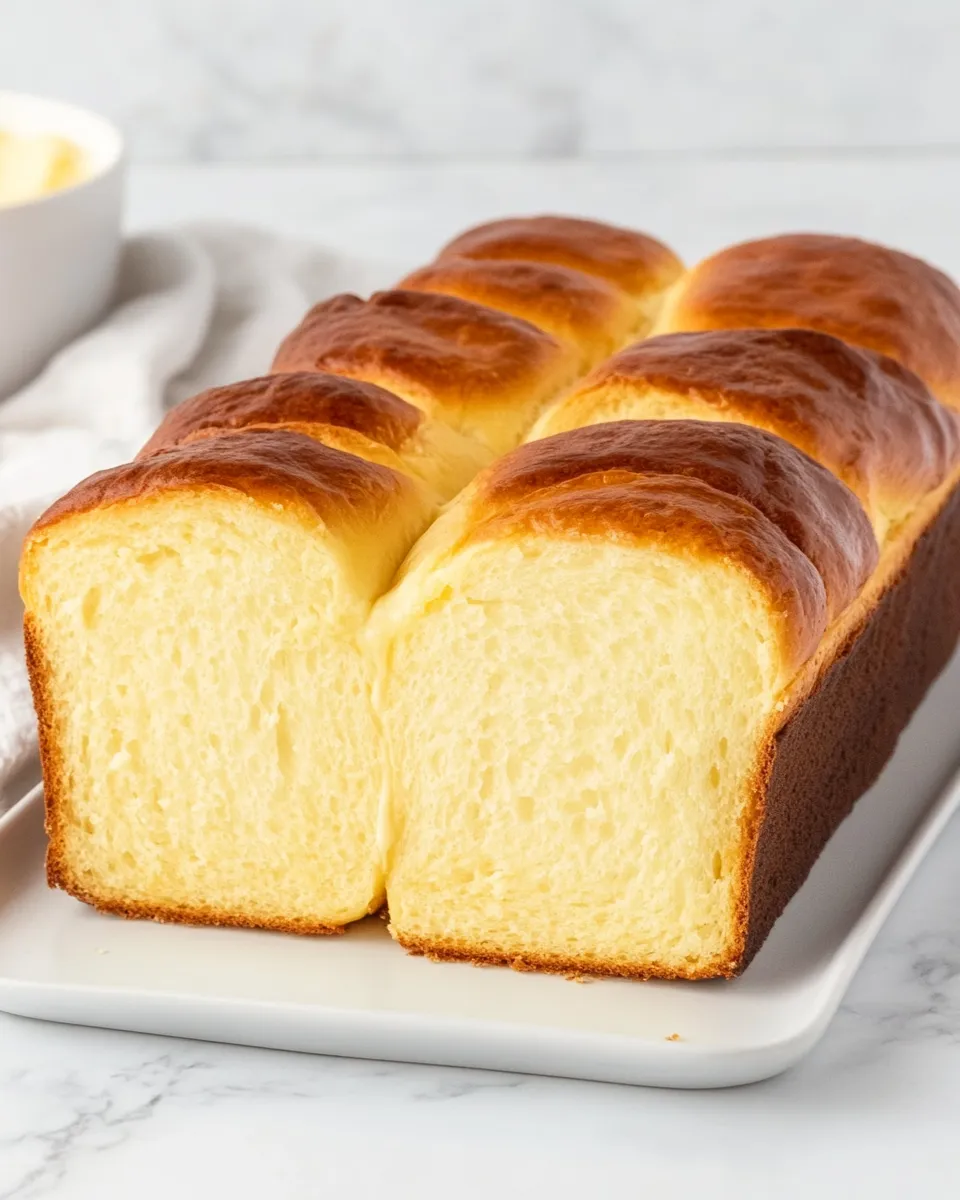
This gluten-free brioche is my go-to when I want something that tastes indulgent but doesn’t require juggling a dozen specialty flours. It’s tender, buttery, and has that tall, domed profile we expect from a classic brioche — but made with a reliable King Arthur mix so the process is forgiving. You get rich flavor and that soft, slightly open crumb without the fuss of traditional laminated doughs.
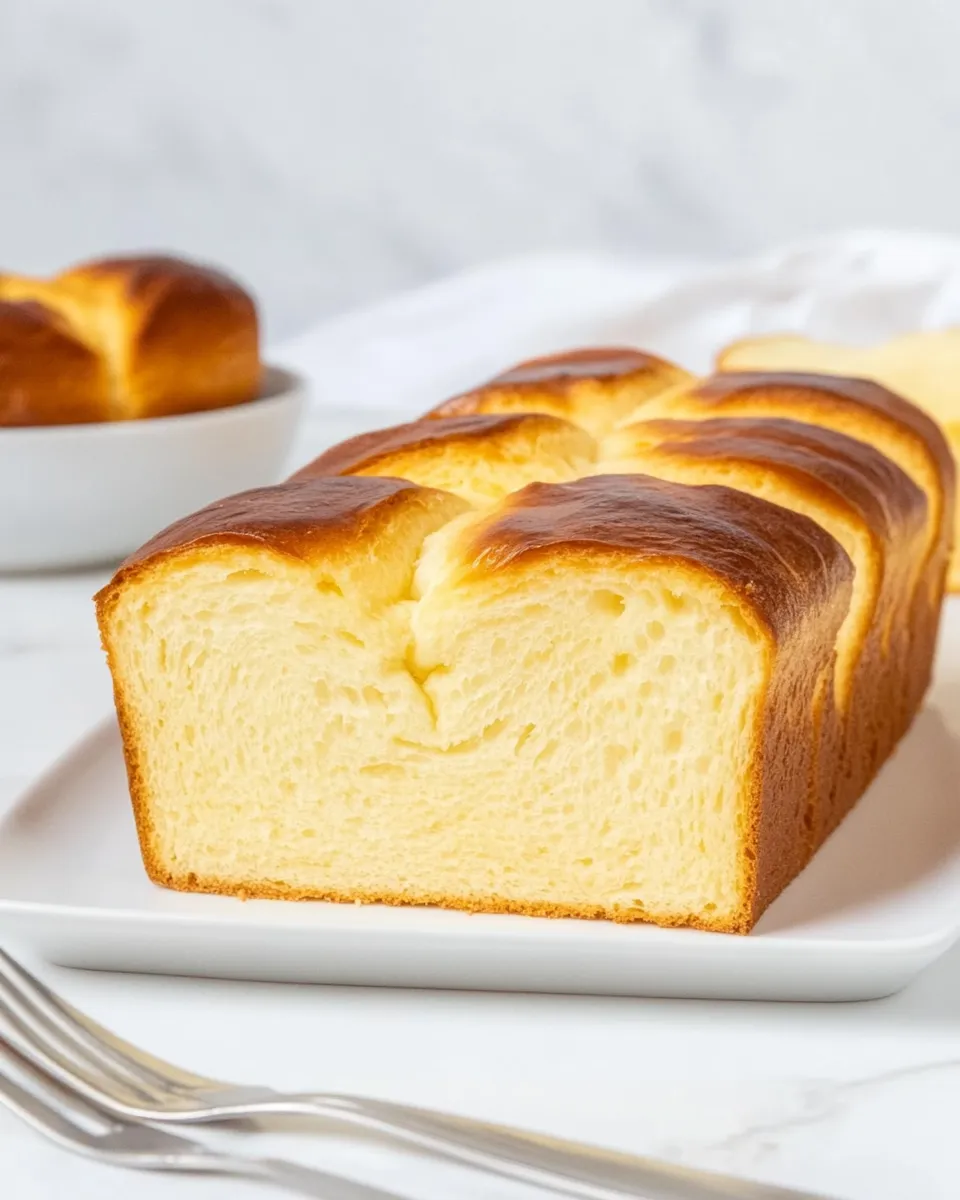
I test this recipe whenever guests are coming for brunch and when I need something that holds up to slicing and toasting. It’s straightforward: a few minutes of prep, a short chill, a rise, then a single bake. The result is a loaf that slices beautifully for French toast, sandwiches, or just butter and jam.
I’ll walk you through every step I use in my kitchen, including small tricks that make the texture right and the crust evenly browned. Read through the ingredients and the build steps once, then gather your tools — this brioche practically makes itself once the mixer starts.
What You’ll Need
Ingredients
- 1 package King Arthur GF Bread & Pizza Mix — the gluten-free base that gives structure and predictable rise.
- 1 cup milk / 240 ml — warmed to 110°F to activate the yeast without killing it.
- 1 tablespoon honey / 21 grams — feeds the yeast and adds a gentle, classic brioche sweetness.
- 4 large eggs — beaten to provide lift, richness, and the brioche crumb.
- ½ cup sugar / 100 grams — tenderizes and sweetens the loaf.
- 2 tablespoons oil / 30 ml — keeps the crumb moist and helps with batter stability.
- ¾ cup butter / 170 grams, melted — folded into the batter for that unmistakable buttery brioche flavor.
Build Gluten Free Brioche Step by Step
- Open the box and remove the sealed bag of King Arthur GF Bread & Pizza Mix and the small yeast packet; discard the box (do not discard the yeast). Set the mix and yeast packet aside.
- Warm 1 cup (240 ml) milk to 110°F. Pour the warm milk into a small bowl or measuring cup, stir in 1 tablespoon (21 g) honey, then add the yeast packet and stir. Let sit 5 minutes to activate the yeast.
- Fit a stand mixer with the paddle attachment. Crack 4 large eggs into the mixer bowl and beat on medium-low speed for about 60 seconds.
- Add 1/2 cup (100 g) sugar and 2 tablespoons (30 ml) oil to the beaten eggs. Mix on medium-low for 30 seconds to combine.
- Pour the entire bag of bread mix into the mixer bowl. Mix on low speed until no dry streaks remain, scraping down the bowl as needed.
- With the mixer on low speed, slowly pour the activated yeast-and-milk mixture into the bowl until fully incorporated; the mixture will be a loose batter at this point.
- Still on low speed, slowly pour in 3/4 cup (170 g) melted butter. Once the butter is incorporated and the batter looks smooth, increase the mixer to medium speed and beat for 5 minutes. The mixture will be a thick batter (not a traditional wheat bread dough).
- Remove the bowl from the mixer, cover tightly with plastic wrap, and refrigerate for 30 minutes.
- While the batter chills, prepare a 9×5-inch loaf pan: coat it with butter and line the pan with a strip of parchment paper so the loaf can be lifted out after baking.
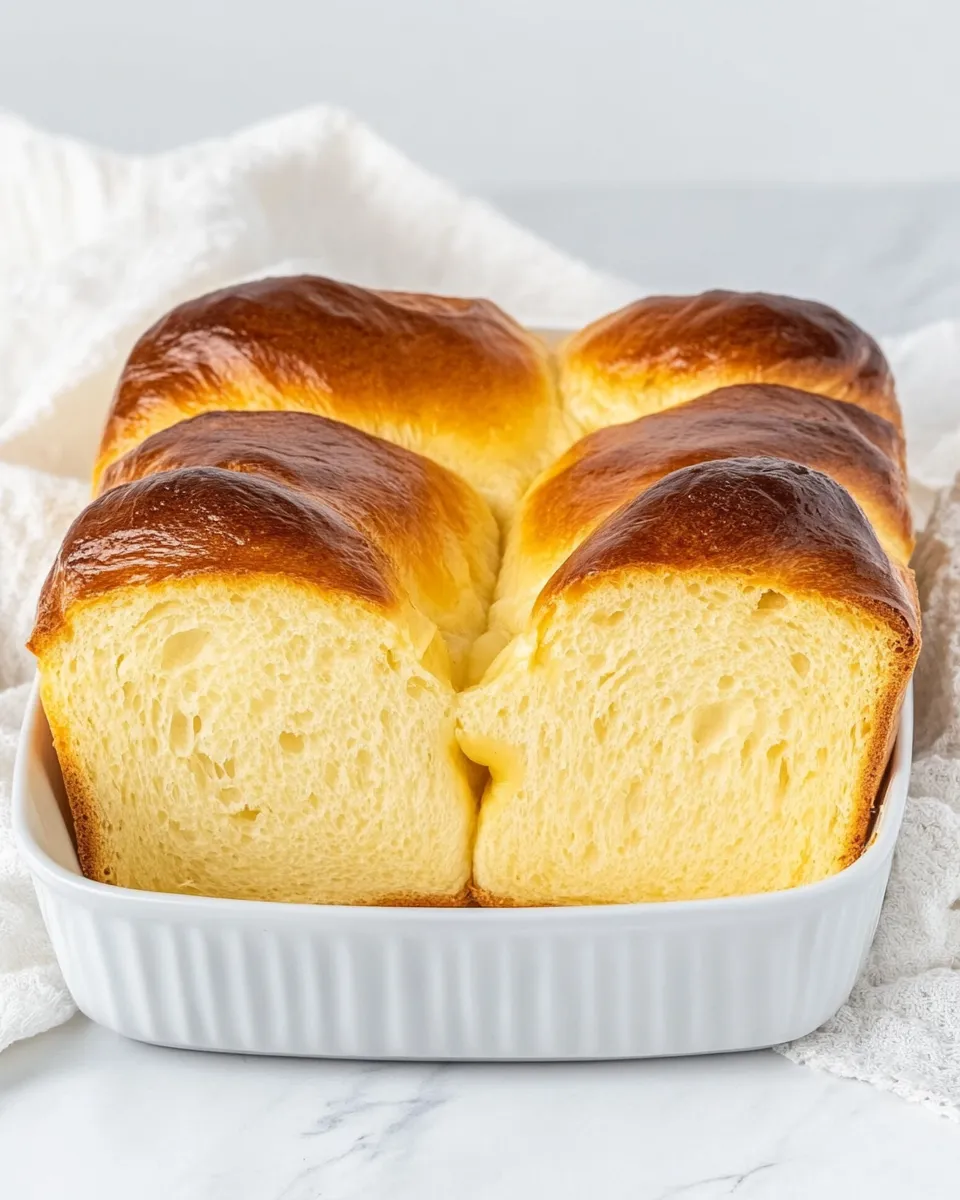
- Remove the chilled batter from the refrigerator and spread it into the prepared loaf pan. Use a large ice-cream scoop or a spoon to create a textured, domed top typical of brioche.
- Place the filled pan in a warm, draft-free spot and let the dough rise for about 1 hour, or until the batter is approximately 1 inch above the top edge of the pan.
- Preheat the oven to 350°F while the loaf is finishing its rise.
- Bake the risen loaf in the preheated oven for 40–45 minutes, rotating the pan halfway through baking. If the top browns too quickly, loosely tent the loaf with aluminum foil. The loaf is done when the internal temperature reaches 190°F.
- Remove the loaf from the oven and let it cool completely in the pan, about 2 hours, before removing from the pan and slicing.
Why It’s Crowd-Pleasing
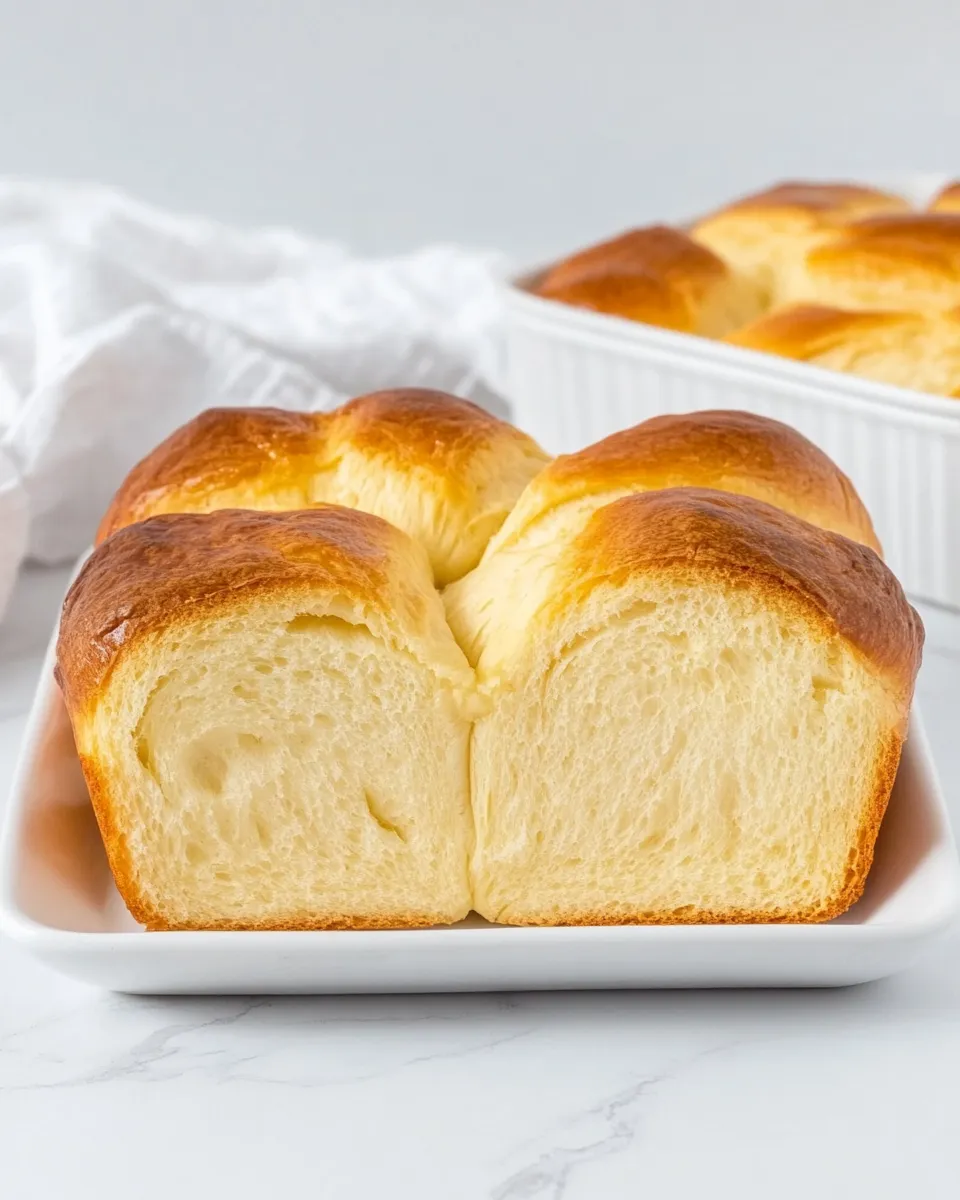
This brioche hits familiar comfort notes: buttery, slightly sweet, and soft enough for delicate slices but sturdy enough for sandwiches. The King Arthur mix keeps the texture consistent, which means even home bakers who don’t blend flours can get a great crumb every time. It bakes into an impressive domed loaf that looks like you spent more time on it than you did.
People tend to notice the mouthfeel first — rich and tender from the eggs and butter — then the versatility. Serve it warm with honey; toast it for breakfast; make a fancy French toast for company. The loaf also freezes and slices well, which makes it practical for hosts and busy households.
Ingredient Flex Options
If you need to make small swaps, stick to ingredients that won’t change liquid balance dramatically. For instance, any neutral oil (canola, avocado) can replace the 2 tablespoons of oil. You can use a compatible plant-based milk in place of dairy milk as long as you warm it to the same temperature for yeast activation.
For sweetness, you can swap honey for a liquid sweetener like maple syrup in equal volume, but note that different sugars can subtly change browning and flavor. If you prefer a slightly less sweet loaf, reduce the sugar by up to 10–15% without upsetting the batter consistency.
Must-Have Equipment
Use reliable tools. A stand mixer with a paddle attachment is essential for this recipe — it handles the batter texture and the long 5-minute beat after the butter goes in. A 9×5-inch loaf pan gives the classic shape and rise. You’ll also want a kitchen thermometer to confirm the internal temperature (190°F) and parchment for easy removal.
Other useful items: a bowl or measuring cup for activating yeast, plastic wrap for chilling, an ice-cream scoop or large spoon for shaping the top, and aluminum foil for tenting if the crust browns too fast.
Learn from These Mistakes
Don’t skip the chill. Chilling the batter for 30 minutes firms it up enough to handle and helps the rise go smoothly. Skipping that step often gives you a slumpier loaf with less oven spring. Also, watch your milk temperature when activating yeast — too hot and you’ll kill the yeast, too cool and it won’t wake up.
A very common misstep is under-mixing the butter in. Add the melted butter slowly and beat for the full 5 minutes at medium speed; that’s what develops the smooth, thick batter characteristic of this brioche. Finally, resist cutting into the loaf before it fully cools. Cool it in the pan for the full 2 hours to set the crumb cleanly.
Nutrition-Minded Tweaks
To reduce sugar, trim the 1/2 cup (100 g) sugar by 10–20% without impacting texture significantly, but avoid removing it entirely since sugar contributes to tenderness and browning. Replacing some butter with an equal weight of a neutral-flavored oil will reduce saturated fat slightly, though you’ll lose some buttery flavor.
Use lower-fat milk or a fortified plant milk if you’re reducing calories; just maintain the warm activation temp for yeast. If cholesterol is a concern, try using one fewer egg and increasing the milk by 1–2 tablespoons to balance moisture — note this changes richness.
Insider Tips
Proof your yeast visibly. After mixing yeast with warm milk and honey, you should see a little foam at the surface after 5 minutes. That’s the green light. If there’s no foam, start over with fresh yeast — it will save you a ruined loaf.
Create the domed top by using an ice-cream scoop or two large spoons and gently layering the batter into the pan instead of smoothing it flat. That texture makes the loaf look unmistakably brioche and improves the crust-to-crumb ratio on each slice.
Rotate the pan halfway through the bake for even color. If you notice the top is getting too dark in the last 15 minutes, tent it with foil to prevent burning while the interior finishes cooking.
Storing Tips & Timelines
Cool the loaf completely before wrapping. Once cooled, store whole at room temperature wrapped tightly in plastic for up to 2 days. For longer storage, slice and freeze in an airtight bag for up to 3 months. Toast slices straight from frozen — they warm through quickly and taste fresh.
If you refrigerate the loaf, keep it tightly wrapped to prevent it drying out; refrigerated bread will last about 4–5 days but can stale faster than frozen. To refresh slightly stale slices, warm for 5–7 minutes at 325°F wrapped in foil, or toast lightly.
Questions People Ask
Q: Can I make this without a stand mixer? A: The recipe relies on extended beating to emulsify butter into the batter. You can do it by hand with a sturdy whisk, but it will take more time and elbow grease. A hand mixer is a reasonable compromise.
Q: My loaf collapsed after baking. What happened? A: Collapsing usually follows over-proofing or too hot an oven. Make sure the batter rises to roughly 1 inch above the pan edge and then bake immediately. Also confirm the oven temperature; an oven thermometer helps.
Q: Can I use instant yeast instead of the packet provided? A: If you have instant yeast, you can use it, but follow the packet instructions for hydration and amounts. The recipe calls for activating the yeast in warm milk and honey, so using the yeast provided keeps the method consistent.
Before You Go
This Gluten Free Brioche is one of those recipes that rewards patience and a little attention to temperature. Follow the steps in order, cool it completely, and you’ll end up with a loaf that’s rich, versatile, and impressive enough for guests. Make a loaf on the weekend and you’ll have bread for breakfast, sandwiches, and snacks all week.
If you bake this, take a photo of the slice with sunlight on the crumb and send it my way in the comments. I love seeing how people adapt the basic recipe and what they serve with it. Happy baking — and enjoy the buttery, tender slices.
Gluten Free Brioche
Ingredients
Equipment
Method
- Open the box and remove the sealed bag of King Arthur GF Bread & Pizza Mix and the small yeast packet; discard the box (do not discard the yeast). Set the mix and yeast packet aside.
- Warm 1 cup (240 ml) milk to 110°F. Pour the warm milk into a small bowl or measuring cup, stir in 1 tablespoon (21 g) honey, then add the yeast packet and stir. Let sit 5 minutes to activate the yeast.
- Fit a stand mixer with the paddle attachment. Crack 4 large eggs into the mixer bowl and beat on medium-low speed for about 60 seconds.
- Add 1/2 cup (100 g) sugar and 2 tablespoons (30 ml) oil to the beaten eggs. Mix on medium-low for 30 seconds to combine.
- Pour the entire bag of bread mix into the mixer bowl. Mix on low speed until no dry streaks remain, scraping down the bowl as needed.
- With the mixer on low speed, slowly pour the activated yeast-and-milk mixture into the bowl until fully incorporated; the mixture will be a loose batter at this point.
- Still on low speed, slowly pour in 3/4 cup (170 g) melted butter. Once the butter is incorporated and the batter looks smooth, increase the mixer to medium speed and beat for 5 minutes. The mixture will be a thick batter (not a traditional wheat bread dough).
- Remove the bowl from the mixer, cover tightly with plastic wrap, and refrigerate for 30 minutes.
- While the batter chills, prepare a 9×5-inch loaf pan: coat it with butter and line the pan with a strip of parchment paper so the loaf can be lifted out after baking.
- Remove the chilled batter from the refrigerator and spread it into the prepared loaf pan. Use a large ice-cream scoop or a spoon to create a textured, domed top typical of brioche.
- Place the filled pan in a warm, draft-free spot and let the dough rise for about 1 hour, or until the batter is approximately 1 inch above the top edge of the pan.
- Preheat the oven to 350°F while the loaf is finishing its rise.
- Bake the risen loaf in the preheated oven for 40–45 minutes, rotating the pan halfway through baking. If the top browns too quickly, loosely tent the loaf with aluminum foil. The loaf is done when the internal temperature reaches 190°F.
- Remove the loaf from the oven and let it cool completely in the pan, about 2 hours, before removing from the pan and slicing.