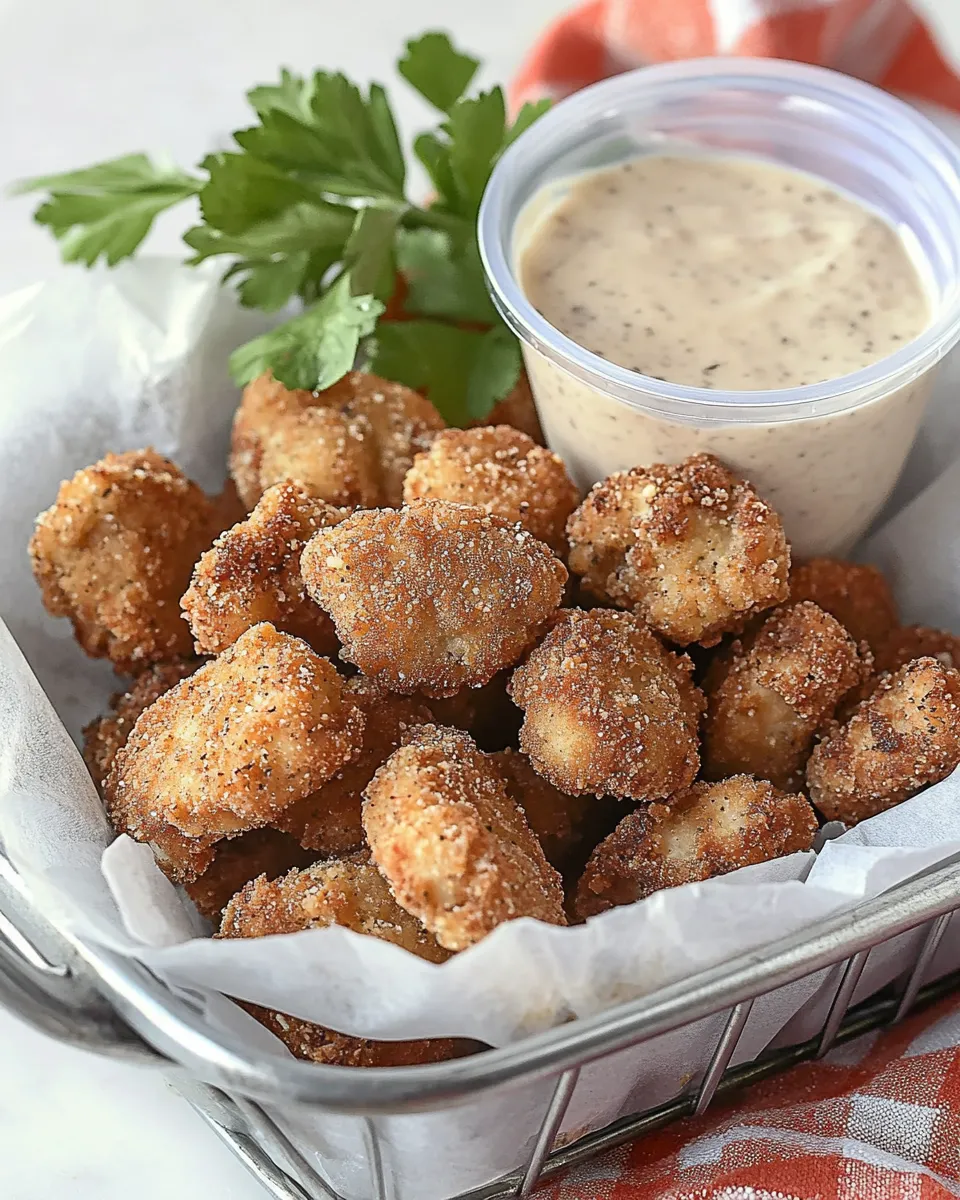
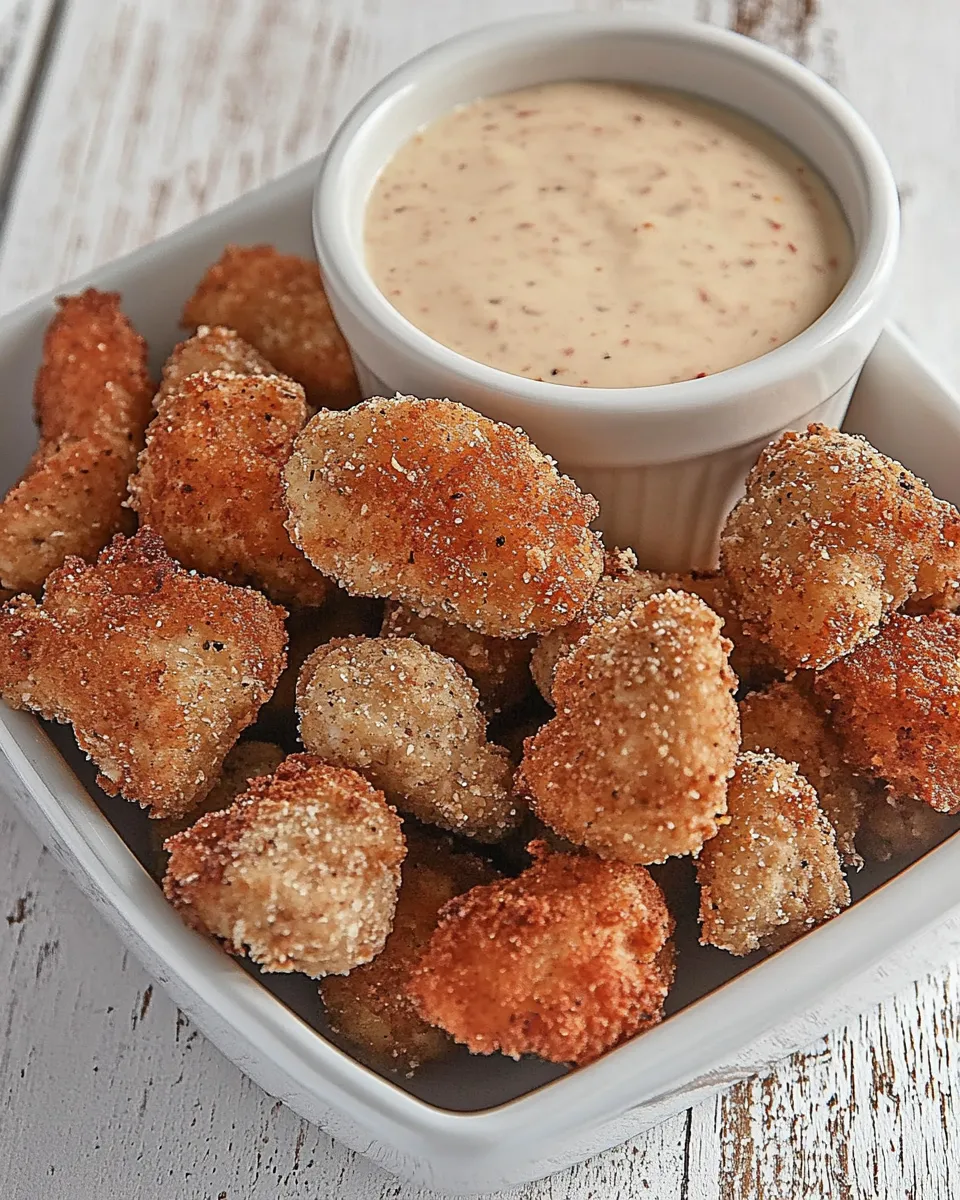
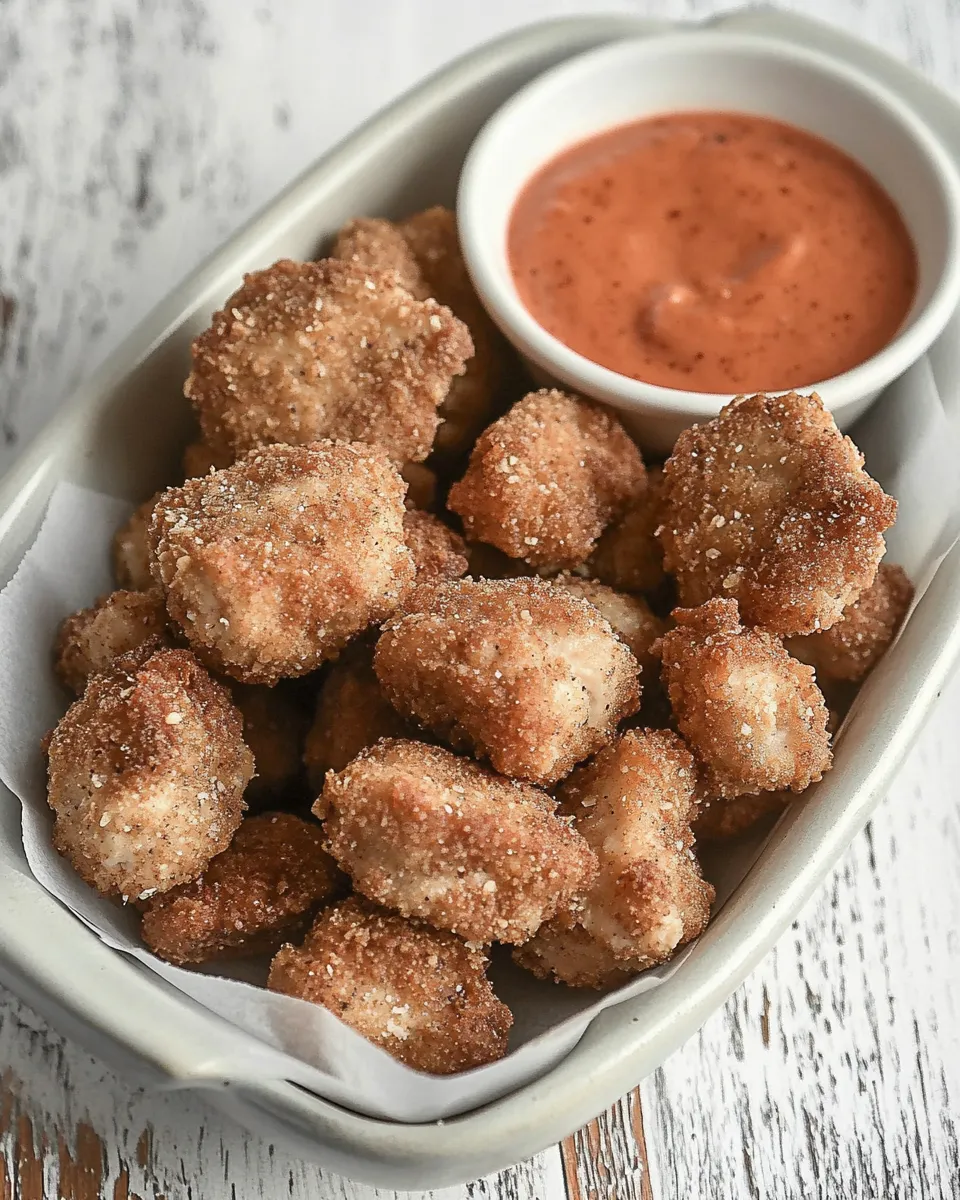
Homemade Chicken Nuggets
These chicken nuggets are the kind I make on a busy weeknight when everyone needs dinner, fast and reliable. They’re crunchy on the outside, tender inside, and predictable in the best way — which means fewer burned fingers and fewer disappointed faces at the table. No complicated prep and no mystery ingredients, just straightforward cooking that rewards a little attention at the stove.
I like to keep this recipe flexible: use Panko if you want extra crunch, or skip it and double-dredge in the seasoned flour for a simpler, still-delicious coating. The technique is what matters more than showy spices. If you can cut, dredge, and keep the oil at a steady temperature, you’ll get consistently good results.
Below I lay out everything you need: ingredient notes, the exact step-by-step frying process, what tools make life easier, and the traps I see most often. Read once, then keep the page bookmarked — you’ll come back to this method again and again.
Ingredient Notes
- 1 pound chicken breast — Cut into bite-sized pieces so they cook quickly and evenly; uniform sizes matter.
- 1 1/2 cup flour — The seasoned flour forms the first protective layer and helps the coating stick.
- 1 teaspoon salt — Key for seasoning; mix into the flour so it’s evenly distributed.
- 1/2 teaspoon black pepper — Adds a gentle background heat; adjust to taste in the seasoned flour.
- 1 1/2 cup milk — Mixed with the egg to create the wet binder; room temperature helps it coat better.
- 1 egg — Binds the flour to the crumbs or to the second flour dredge if you skip Panko.
- 2 cups Panko bread crumbs (optional) — For extra crunch; if you choose not to use Panko, you will re-dredge in the seasoned flour after the egg wash.
Cook Chicken Nuggets Like This
- Cut the chicken breast into bite-sized pieces and set aside.
- In a shallow dish, mix the flour, salt, and black pepper until evenly combined.
- In a second shallow dish, whisk the milk and egg together until uniform.
- In a third shallow dish, place the Panko bread crumbs (optional). If you are not using Panko, leave this dish empty — you will dredge the nuggets in the seasoned flour again after the egg wash.
- Working with a few pieces at a time, dredge each chicken piece in the seasoned flour, shaking off excess. Dip the floured piece into the milk-and-egg mixture, then press it into the Panko to coat (or, if not using Panko, dredge again in the seasoned flour). Place coated pieces on a wire rack and let rest for a couple of minutes.
- Heat oil in a deep skillet, pot, or fryer to 350°F (175°C). Do not overcrowd the oil when frying; leave space between pieces so they cook evenly. Fry the nuggets in batches, turning as needed, until golden brown and cooked through (until an internal temperature of 165°F / 74°C is reached or the center is no longer pink).
- Use a slotted spoon or tongs to transfer cooked nuggets to a wire rack to drain. Repeat frying remaining batches, maintaining the oil temperature around 350°F.
- Let the nuggets rest briefly on the rack before serving.
Why Chicken Nuggets is Worth Your Time
These nuggets deliver a lot of return on a small investment of time. Freshly fried, they taste miles ahead of anything store-bought because you control the texture and don’t rely on additives to bulk up the bite. The simple flour–egg–crumb sequence creates a barrier that locks juice in the chicken while creating a golden, satisfying crust.
Making nuggets at home also gives you control over size, salt level, and the cooking method. Want slightly healthier? Reduce frying time or finish in the oven after a quick sear. Want ultra-crispy? Panko is your friend. The core method stays the same, so once you learn it you can scale up or tweak it for different dinners without losing reliability.
Finally, there’s something about the ritual: cutting the chicken, setting up the stations, and working in batches. It’s efficient, and it keeps the kitchen organized. For families or weeknight crowds, that structure makes a real difference.
International Equivalents
- Many cuisines have their own fried-bite traditions that mimic the texture contrast of these nuggets — think small battered or breaded chicken pieces served with dipping sauces. The technique of dredge–wet–crumb is a common thread.
- In places where Panko is a pantry staple, the crumbs deliver a lighter, airier crunch compared with standard fine breadcrumbs. If you have access to Panko, expect a noticeably crispier exterior.
- Where frying is less common, a double-dredge approach (flour then egg then flour again) produces a sturdier crust that holds up better to pan-searing or oven-baking.
Cook’s Kit
- Sharp knife and a stable cutting board — uniform pieces start here.
- Three shallow dishes or bowls — one for seasoned flour, one for the milk-and-egg wash, and one for Panko (or left empty if not using Panko).
- Wire rack and baking sheet — rest the coated pieces before frying and drain cooked nuggets here so they stay crisp.
- Deep skillet, pot, or dedicated fryer — enough oil and depth to submerge nuggets partially for even frying; a thermometer helps maintain 350°F (175°C).
- Slotted spoon or tongs — for turning and removing the nuggets safely.
Avoid These Traps
Common mistakes and how to fix them
- Overcrowding the oil — it drops the temperature and yields greasy, unevenly cooked nuggets. Fry in batches and keep oil temperature steady around 350°F (175°C).
- Uneven piece sizes — large and small pieces cook at different rates; cut the chicken into uniform bites for even doneness.
- Skipping the rest after coating — letting coated pieces sit briefly on a wire rack helps the coating adhere and reduces the chance it falls off in the oil.
- Not checking internal temp — always confirm the center reads 165°F / 74°C or that the center is no longer pink to ensure safety.
- Using an uncalibrated thermometer — a reliable oil thermometer prevents overheating and undercooking; keep an eye on it and adjust the burner between batches.
In-Season Swaps
Because the recipe’s ingredient list is tight, the most practical seasonal swaps are about texture and method rather than adding new ingredients. Use Panko when you want extra crunch — it’s the only optional item already on the list. If Panko isn’t available, the instructions allow for a second dredge in the seasoned flour, which is a perfectly acceptable in-season fallback.
Another seasonal consideration is how you serve the nuggets. Pair them with fresh, in-season vegetables or a simple salad to balance the meal. The nuggets themselves stay the same; the sides change with the market.
Testing Timeline
- Prep: 10–15 minutes — cutting chicken, mixing flour, whisking milk and egg, and setting out Panko.
- Coating and resting: 10 minutes — work in small batches to maintain an orderly line at the station; let coated pieces sit briefly on a wire rack.
- Frying: 3–5 minutes per batch, depending on piece size — aim for golden brown and check a piece for 165°F / 74°C.
- Total active time: roughly 25–35 minutes from start to finish for a single pound; scale linearly for larger batches but factor in extra frying time for multiple batches.
Best Ways to Store
Keep leftovers in an airtight container in the refrigerator for up to 3 days. To reheat and preserve crispness, place nuggets on a wire rack over a baking sheet and reheat in a 350°F (175°C) oven for 8–10 minutes, or until heated through. That keeps air circulating and prevents the bottoms from steaming soggy.
For longer storage, freeze fully cooked, cooled nuggets on a baking sheet in a single layer until solid, then transfer to a freezer-safe bag. Reheat from frozen in a 375°F (190°C) oven for 12–18 minutes, flipping once, until hot and crisp.
Top Questions & Answers
- Can I bake these instead of frying? You can, but the recipe as written is for frying. If you choose to bake, expect a different texture; a higher oven temperature and a light spray of oil will help, but results won’t match deep frying exactly.
- Do I have to use Panko? No. The recipe allows you to skip Panko and dredge again in the seasoned flour after the egg wash. That produces a denser, still-tasty crust.
- How do I know when oil is ready? A thermometer reading of 350°F (175°C) is ideal. If you don’t have one, test with a small piece of bread or a single nugget — it should sizzle steadily and start to brown within a minute or so without smoking.
- Can I prep ahead? You can cut the chicken and mix the dry ingredients ahead of time. For best texture, coat and fry just before serving; you can coat and refrigerate for a short while, but long holds can soften the crumb.
- What if the coating falls off? Common causes are too-thick or too-thin coatings, or not letting the coated pieces rest. Make sure to shake off excess flour before dipping, coat evenly in the milk-and-egg, press Panko gently to adhere, and let the pieces sit briefly on a wire rack before frying.
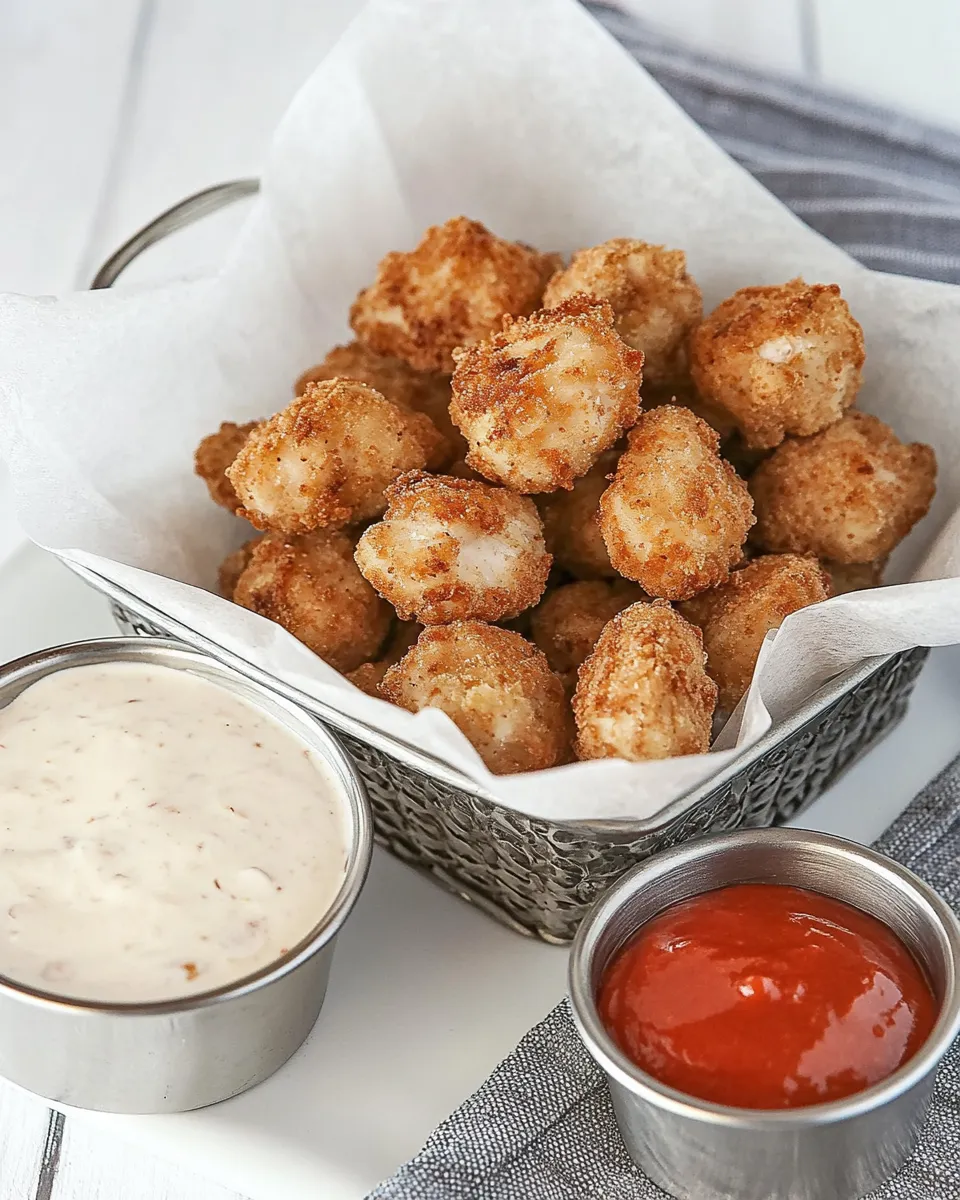
Let’s Eat
Serve the nuggets straight from the rack while they’re still warm and crisp. Keep dipping sauces on the side — mustard, barbecue, or a simple ketchup will do. If you’ve used Panko, you’ll notice the satisfying crackle when you bite in; if you’ve skipped it, enjoy the sturdy, comforting crunch of a double-floured nugget.
This is an easy, repeatable method. Stick to the steps, keep an eye on oil temperature, and size the pieces evenly. After a few batches, this process becomes second nature, and you’ll have a foolproof way to put hot, crispy chicken on the table any night of the week.
Homemade Chicken Nuggets
Ingredients
Equipment
Method
- Cut the chicken breast into bite-sized pieces and set aside.
- In a shallow dish, mix the flour, salt, and black pepper until evenly combined.
- In a second shallow dish, whisk the milk and egg together until uniform.
- In a third shallow dish, place the Panko bread crumbs (optional). If you are not using Panko, leave this dish empty — you will dredge the nuggets in the seasoned flour again after the egg wash.
- Working with a few pieces at a time, dredge each chicken piece in the seasoned flour, shaking off excess. Dip the floured piece into the milk-and-egg mixture, then press it into the Panko to coat (or, if not using Panko, dredge again in the seasoned flour). Place coated pieces on a wire rack and let rest for a couple of minutes.
- Heat oil in a deep skillet, pot, or fryer to 350°F (175°C). Do not overcrowd the oil when frying; leave space between pieces so they cook evenly. Fry the nuggets in batches, turning as needed, until golden brown and cooked through (until an internal temperature of 165°F / 74°C is reached or the center is no longer pink).
- Use a slotted spoon or tongs to transfer cooked nuggets to a wire rack to drain. Repeat frying remaining batches, maintaining the oil temperature around 350°F.
- Let the nuggets rest briefly on the rack before serving.