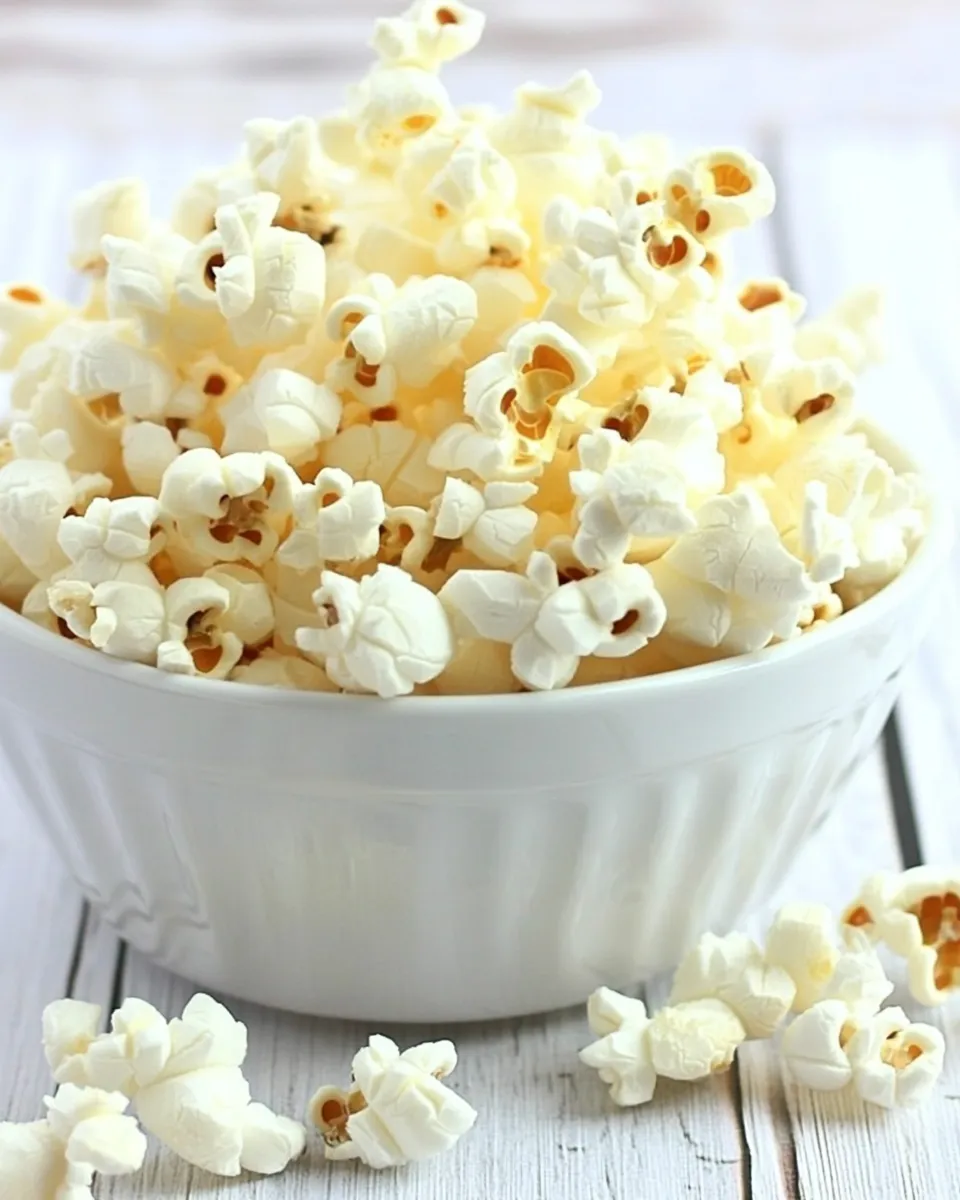
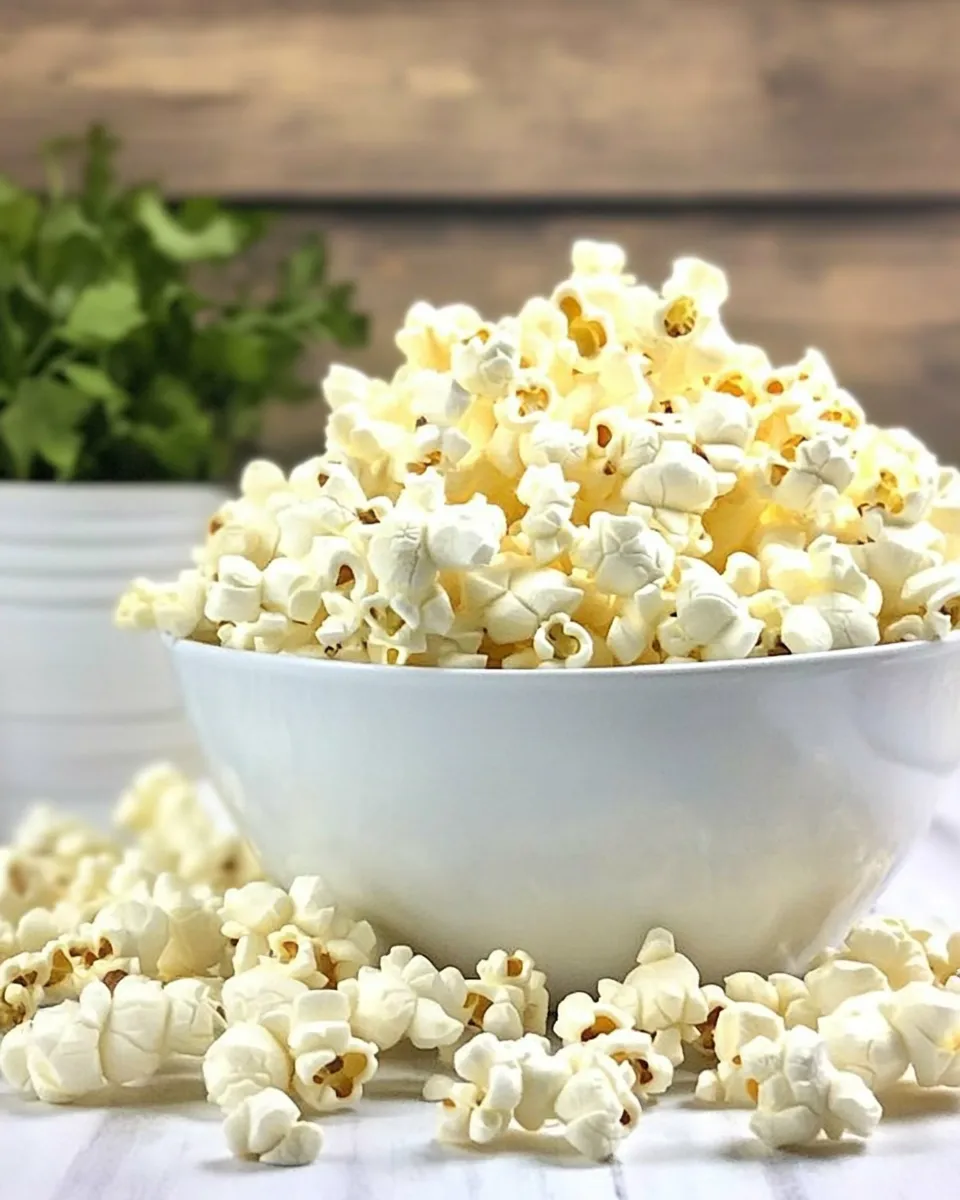
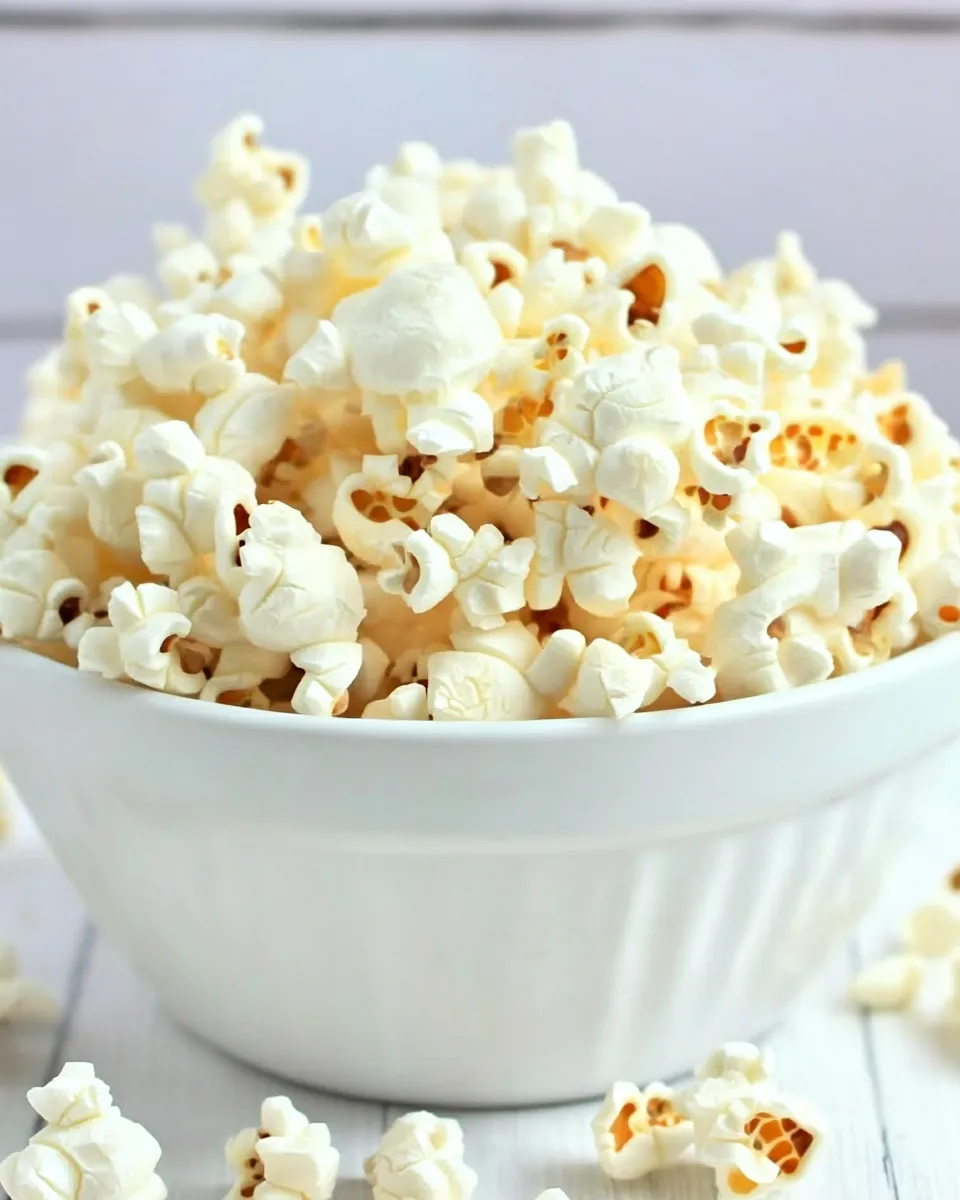
Homemade Popcorn in Microwave
I started making microwave popcorn this way because I wanted the control: how much salt, when the butter goes in, and zero mystery ingredients. It’s fast, cheap, and gives you actual popcorn — not the oily, chemical-heavy stuff from packets. If you’ve got a microwave and a plain brown lunch bag, you can get a bowl of fresh popcorn in under three minutes.
This method keeps things straightforward. A small handful of kernels, a dab of butter, and a few mindful steps are all you need. I’ll walk through the exact steps I use, the little traps to avoid, and some simple flavor and storage ideas so every batch comes out the way you want it.
Ingredients
- ⅓ cup uncooked popcorn kernels — the star of the show; use a fresh bag for best popping and fewer unpopped kernels.
- ½ tbsp butter — adds a touch of richness and helps salt cling to the popcorn; you can melt it beforehand if you prefer even coating.
- salt — essential finishing touch; sprinkle to taste after popping so it distributes evenly.
The Essentials
You don’t need specialized gear to make great microwave popcorn — just clean kernels, a plain brown bag, and a working microwave. The technique centers on giving the steam just enough room to escape while keeping heat focused on the kernels so they pop evenly. That folding of the bag and positioning in the microwave matters more than most people think.
Timing varies by microwave power. That’s why I always listen for the rhythm of the pops instead of using a fixed time. When popping slows to a gap of about two seconds between pops, it’s time to stop. Overcook and you risk burning; undercook and you’ll be left with too many unpopped kernels.
Cook Homemade Popcorn in Microwave Like This
- Put 1/3 cup uncooked popcorn kernels into a plain brown paper lunch bag. Add 1/2 tbsp butter broken into small pieces on top of the kernels.
- Fold the top of the bag down twice to close it, leaving a little room for steam to expand (do not seal airtight).
- Place the bag in the microwave with the folded side up.
- Use the “popcorn” setting; if your microwave has no popcorn setting, microwave on high and stop when popping slows to about 2 seconds between pops (typically 1½–3 minutes depending on your microwave).
- When popping slows, stop the microwave and let the bag stand for 1 minute to allow any remaining kernels to pop.
- Carefully open the bag away from your face to avoid hot steam.
- Season with salt and serve.
Why It Deserves a Spot
This method deserves a spot in your routine because it’s predictable and clean. No prepackaged oils or added preservatives. You control the butter and salt, so the flavor quality is higher and the snack fits your preferences. It’s also efficient: one small bag makes a single generous bowl, perfect for late-night movie runs or an easy afternoon snack.
Beyond taste, there’s satisfaction in doing something simple well. The technique scales easily: double the kernels for a larger batch and use two bags. That control over portioning is handy when you want a light snack or a bowl to share.
Allergy-Friendly Substitutes

- Butter — swap with a plant-based spread or a small drizzle of neutral oil (avocado or light olive oil) if you need dairy-free. Melt the substitute slightly before adding for better coverage.
- Salt — for low-sodium needs, try a squeeze of lemon or a dusting of nutritional yeast for savory umami without the sodium spike.
- Kernels — corn is the base here; if someone in your household has a corn allergy, opt for an alternative snack. Do not substitute the kernel in this recipe if you need actual popped corn.
Setup & Equipment
Minimal equipment keeps the process quick and cleanup easy. Here’s what I use every time:
- Plain brown paper lunch bag — thin, uncoated. It lets steam move while holding popped corn and keeps cleanup to a minimum.
- Measuring tools — a 1/3 cup measure and a small spoon for the butter keep portions consistent.
- Microwave — any standard household microwave; know its wattage and how quickly it heats so you can judge pop rhythm.
- Small bowl and spatula — for serving and shaking on salt evenly once popped.
Learn from These Mistakes
I’ve burned more than a few bags when rushing or ignoring sound. Here are the common mistakes and how to avoid them:
- Overfilling the bag — too many kernels reduces airflow and increases the chance of burning; stick close to 1/3 cup for a single-batch bag.
- Sealing the bag airtight — you need a little steam escape. Fold twice and leave a bit of space for expansion.
- Leaving the microwave after starting — don’t. Listen for the slowing pops; that’s your cue to stop. Microwaves differ, so watching makes all the difference.
- Opening the bag immediately — steam is hot. Let it sit for a minute after stopping so residual kernels can pop and steam dissipates.
Spring–Summer–Fall–Winter Ideas
Popcorn is endlessly adaptable to the season. Here are simple, seasonal dressing ideas that don’t require elaborate ingredients:
- Spring — a light dusting of lemon zest and flaky salt for a fresh, bright finish. Add a tiny sprinkle of finely grated Parmesan if you like savory notes.
- Summer — mix in chopped fresh herbs (mint or basil) with a squeeze of lime for a lively, picnic-ready snack; add a pinch of chili flakes if you like heat.
- Fall — cinnamon and a touch of brown sugar lightly mixed through warm popcorn makes for a cozy treat; you can also add crushed roasted nuts for texture.
- Winter — toss with warm melted butter and a dusting of smoked paprika for depth, or go sweet with a drizzle of honey and a sprinkle of sea salt for an adult take on kettle corn.
Pro Perspective
Professional cooks think about kernels like they’re living ingredients: they age, they dry out, and they perform differently. Store kernels in a cool, dry place to preserve popping performance. If batches suddenly show many unpopped kernels, try fresh kernels from a new bag.
Another pro tip: if you want more even butter distribution, melt the butter completely and toss the popcorn in a bowl while drizzling the butter slowly, then salt. That gives more consistent coverage than chunks of butter melting in the bag.
Cooling, Storing & Rewarming
Popcorn is best fresh. It cools quickly and can lose its crispness in minutes. If you must store leftovers, use an airtight container once fully cooled; this preserves some crunch for a day or two. Avoid refrigeration; moisture will ruin the texture.
To re-crisp slightly, spread popcorn on a baking sheet and warm in a 250°F (120°C) oven for 3–5 minutes. Watch it carefully so it doesn’t dry out or scorch. You can refresh seasoning after warming.
Helpful Q&A
- Q: What if many kernels don’t pop?
A: A few unpopped kernels are normal. If you see a lot, try fresher kernels or adjust microwave time slightly. Letting the bag rest for the 1 minute in step 5 helps a few stragglers pop. - Q: Can I use oil instead of butter?
A: Yes. A light neutral oil works fine; add it in small drops so it doesn’t saturate the bag. Alternatively, melt it with butter replacement and add after popping if you want more even coverage. - Q: Is the paper bag safe?
A: Use a plain, uncoated brown paper lunch bag only. Avoid bags with printing, wax, or plastic coatings; they can scorch or emit unwanted chemicals when heated. - Q: My microwave has a popcorn setting. Should I use it?
A: You can, but not all microwave popcorn settings are equal. Listen for the two-second gap rule and stop early if popping slows to avoid burning. - Q: Any tip for even salt distribution?
A: Sprinkle salt while tossing the popcorn in a large bowl. If you prefer, mix salt with a tiny bit of melted butter and toss — it will cling better than salt alone.
The Takeaway
This microwave brown-bag method is practical and forgiving. It gives you fresh popcorn without chemicals or single-use packaging and lets you season each batch to your taste. Keep to the simple steps: measure, fold the bag, watch the pops, and let it rest. From there, flavor is yours to shape.
Make a test batch the first time to learn how your microwave behaves. After that, you’ll have crisp, homemade popcorn whenever you want it — ready in minutes, and infinitely customizable.
Homemade Popcorn in Microwave
Ingredients
Equipment
Method
- Put 1/3 cup uncooked popcorn kernels into a plain brown paper lunch bag. Add 1/2 tbsp butter broken into small pieces on top of the kernels.
- Fold the top of the bag down twice to close it, leaving a little room for steam to expand (do not seal airtight).
- Place the bag in the microwave with the folded side up.
- Use the "popcorn" setting; if your microwave has no popcorn setting, microwave on high and stop when popping slows to about 2 seconds between pops (typically 1½–3 minutes depending on your microwave).
- When popping slows, stop the microwave and let the bag stand for 1 minute to allow any remaining kernels to pop.
- Carefully open the bag away from your face to avoid hot steam.
- Season with salt and serve.
Notes
Brown Sugar
Cinnamon Sugar Mixture
Mini Marshmallows
Chocolate drizzle
Caramel drizzle