How To Make a Milkshake
Milkshakes are comfort in a glass: cold, simple, and instantly satisfying. You do not need a long ingredient list or special equipment. With just ice cream and milk you can make a drink that tastes like an afternoon treat or a dessert at the end of a busy day.
I’ll walk you through a straightforward method that gives consistent texture and lets you control how thick or thin you want the finished milkshake. There are a few small details that make a big difference — how soft the ice cream is, how you add the milk, and when to stop blending. Follow those steps and you’ll avoid watery or clumpy results.
This post covers the ingredient list, exact step-by-step instructions, sensible swaps, tools that actually matter, and common mistakes to avoid. No fluff. Just practical advice so you can make a great milkshake every time — whether you’re making one for yourself or for a crowd of friends.
The Ingredient Lineup
Ingredients
- 1 1/2 cups ice cream (about 3 scoops), slightly softened — the base and flavor; slight softening makes it blend smoothly without becoming watery.
- 1/2 to 3/4 cup milk, any percentage — controls thickness; start with 1/2 cup and add more if needed to reach pourable consistency.
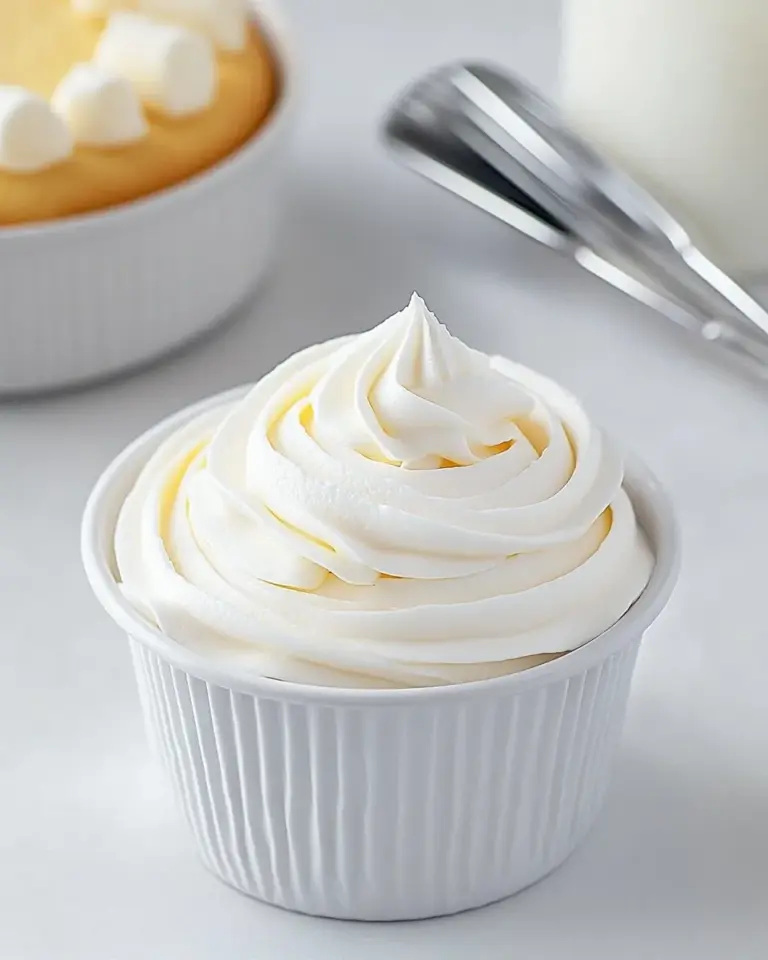
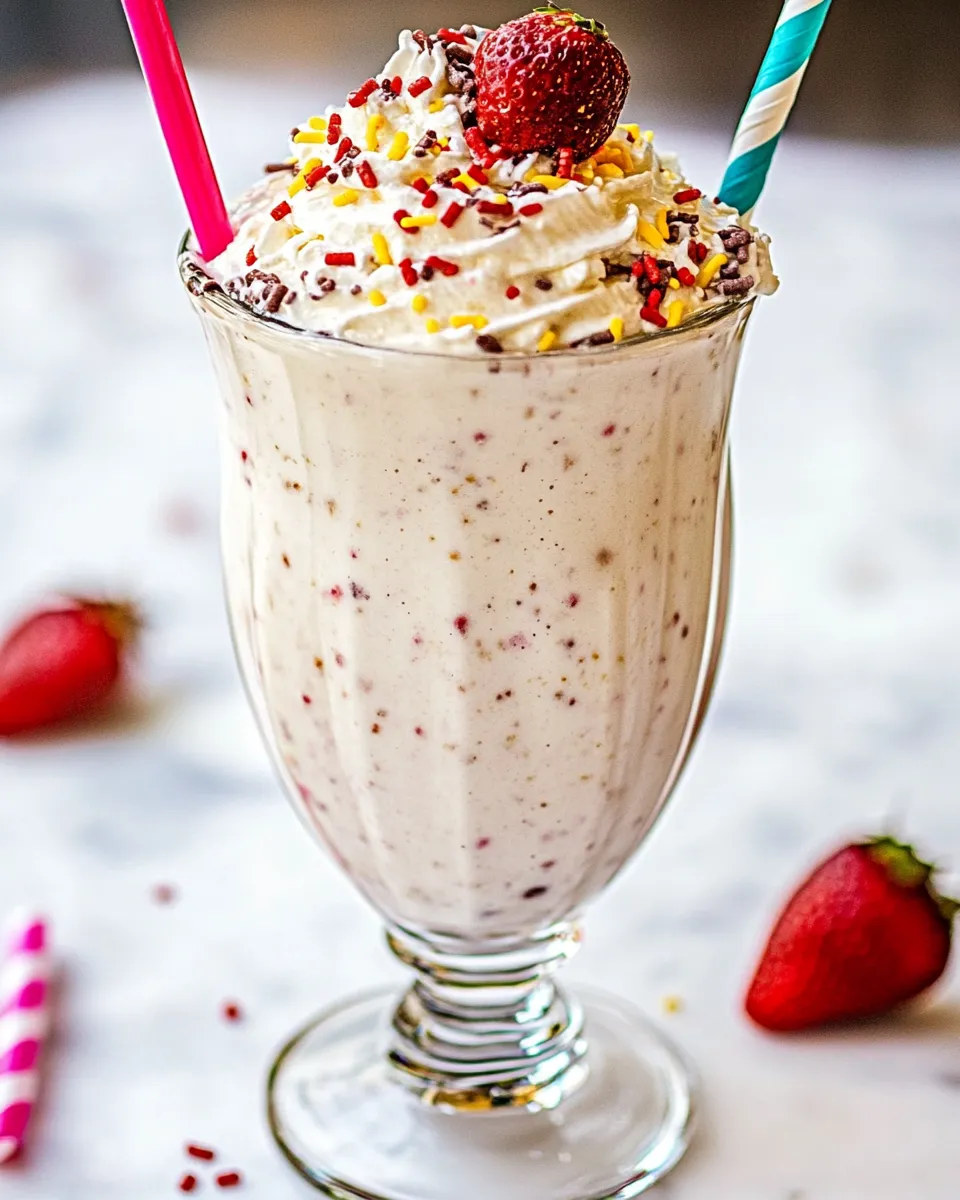
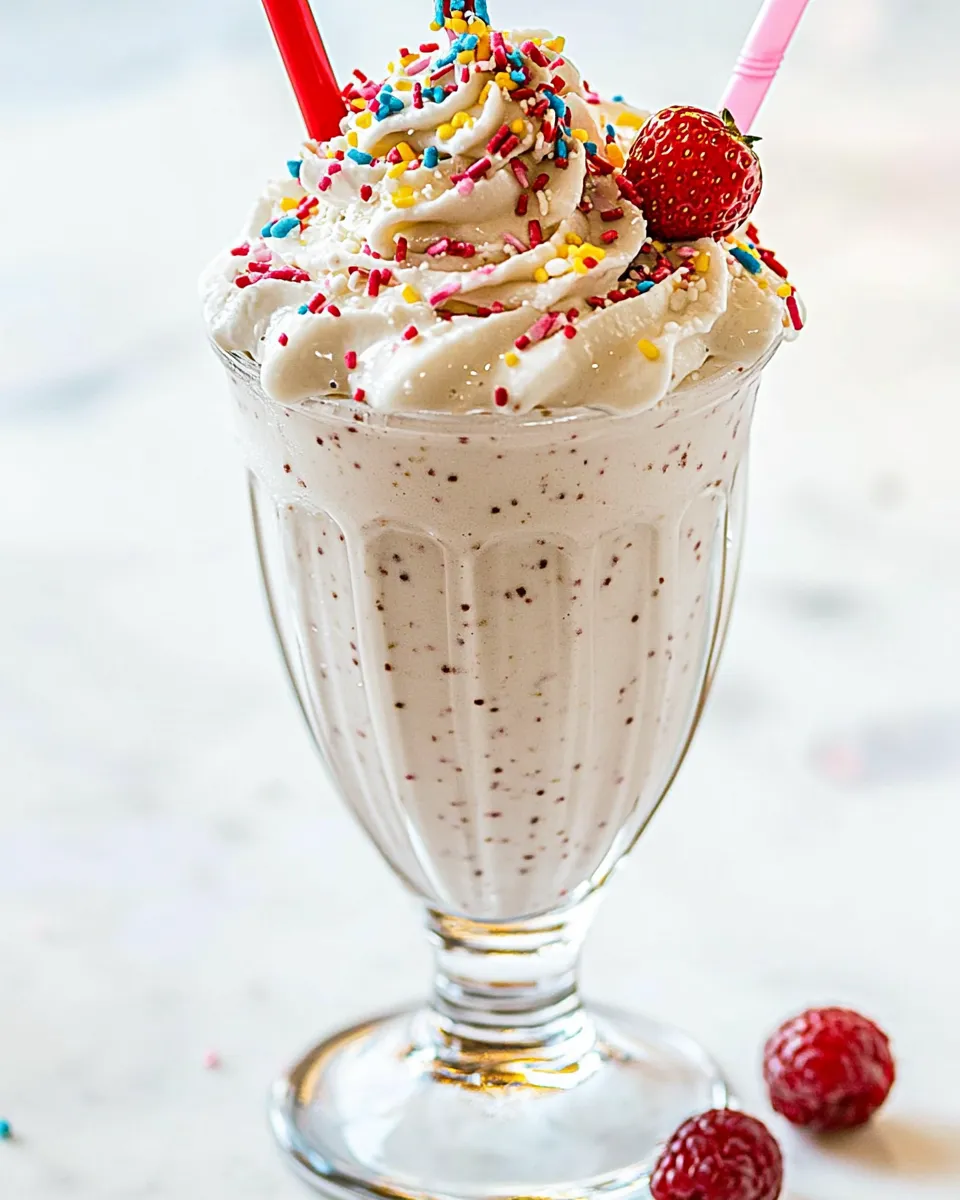
- Whipped cream — optional for topping; adds richness and a classic finish.
- Sprinkles — optional for topping; adds color and a nostalgic crunch if you like.
How to Prepare Milkshake
- Gather: 1 1/2 cups ice cream (about 3 scoops), 1/2 to 3/4 cup milk, a blender, and a glass.
- If the ice cream is very hard, let it sit at room temperature for 5–10 minutes so it becomes slightly softened and easier to blend.
- Place the 1 1/2 cups ice cream in the blender.
- Add 1/2 cup milk to start. Secure the blender lid.
- Blend on medium speed until mostly smooth, then check the thickness. If it’s too thick to pour, add up to an additional 1/4 cup milk (to a total of 3/4 cup), blending again until the milkshake is smooth and pourable.
- Pour the milkshake into a glass.
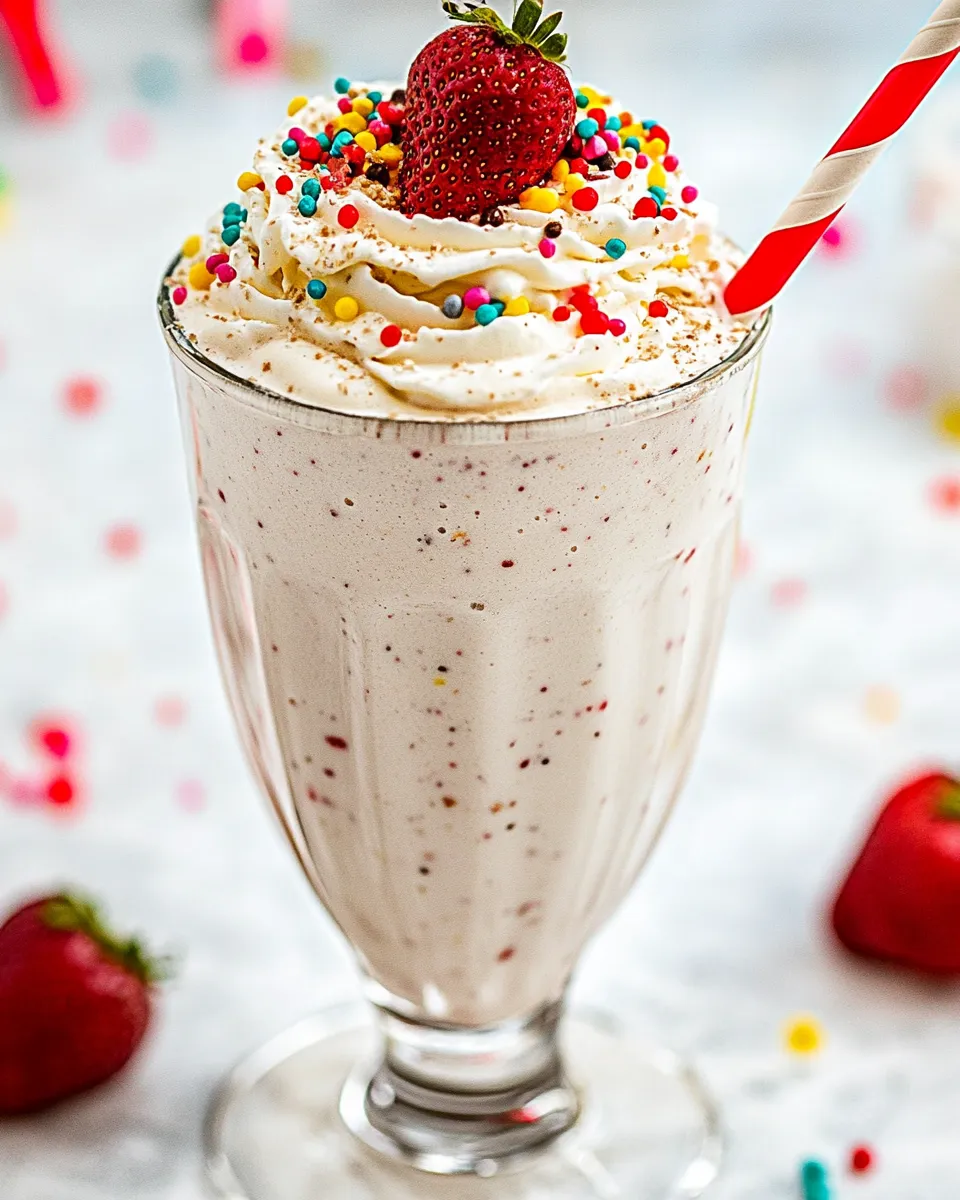
- Top with whipped cream and/or sprinkles if desired, then serve immediately.
What Makes This Recipe Special
There’s elegance in the recipe’s simplicity. Two main ingredients — ice cream and milk — mean the flavor is determined mostly by the ice cream you choose. That makes the method highly versatile: a single reliable process yields anything from a classic vanilla shake to a bold chocolate or fruit-forward version depending on your starting ice cream.
The measured ratio (1 1/2 cups ice cream to 1/2–3/4 cup milk) is the other key. It balances richness and pourability. Start at the lower milk amount to preserve creaminess, and only thin it out if needed. That small discipline is what keeps a milkshake from becoming a milked-down beverage or an unmixed scoop of ice cream.
Ingredient Swaps & Substitutions
You can swap freely as long as you keep the same approach to texture. Use a different style of ice cream (sorbet, gelato, or non-dairy frozen dessert) and adjust the milk amount to reach the right consistency. If you’re using a denser gelato, you may need a touch more milk; with a lighter, airier frozen dessert, start with 1/2 cup and add cautiously.
Milk can be substituted with any plant-based milk (almond, oat, soy, coconut) or a lactose-free option. The fat content affects mouthfeel: whole milk gives a richer shake, skim will be thinner. If using nut milks, expect a slightly different flavor profile and possibly less creaminess — a little extra ice cream or a splash more milk may help.
Prep & Cook Tools
Keep tool needs minimal. A decent blender is the main piece of equipment — it doesn’t have to be commercial-grade, but it should be powerful enough to smooth frozen dessert into a uniform texture without leaving big chunks. A measuring cup helps you stick to the 1/2 to 3/4 cup milk guideline. An ice cream scoop or two makes portioning the ice cream tidy, and a chilled glass keeps the shake colder longer.
- Blender — breaks down ice cream and mixes milk into a smooth shake.
- Measuring cup — for accurate milk amounts so the texture is consistent.
- Ice cream scoop — helps portion 1 1/2 cups (about 3 scoops) quickly.
- Glass — a chilled glass is nice to keep the milkshake cold while you drink.
Steer Clear of These
There are a few easy mistakes that can turn a quick milkshake into a disappointment. First, blending with frozen-hard ice cream straight from the freezer will strain the blender and leave large clumps. Let the ice cream soften for the suggested 5–10 minutes if it’s rock solid.
A second mistake is adding too much milk too soon. If you pour all 3/4 cup at the start, the shake can end up too thin. Start with 1/2 cup, blend, then add only as much of the remaining 1/4 cup as necessary. Finally, over-blending can introduce warmth from the blender motor and melt the shake more than you want. Blend just until smooth and check consistency.
Better Choices & Swaps
For a slightly healthier approach, choose an ice cream with less added sugar or one made with milk rather than heavy cream. Pair that with a lower-fat milk if you want to cut calories while keeping a reasonable texture. If you need a dairy-free option, pick a rich non-dairy frozen dessert and a complementary plant milk (oat milk tends to give a creamier mouthfeel than many others).
Another upgrade is to use high-quality ice cream for a cleaner, more distinct flavor. When the ice cream is the star, subtle differences show: a vanilla bean ice cream will taste much brighter than a generic vanilla. And if you’re experimenting with add-ins (cookies, candy), consider folding them in at the end so they maintain some texture.
Behind the Recipe
At its heart, this milkshake is about ratios and texture. Taking 1 1/2 cups of ice cream gives a dense, creamy base; the 1/2 to 3/4 cup milk range gives you control. The method avoids overworking the ice cream and limits how much additional liquid dilutes the flavor.
Softening the ice cream slightly ensures the blades can cut through without heating the mixture. Blending on medium speed is deliberate: too fast can aerate the shake and warm it, too slow may not fully incorporate the ice cream. The goal is a uniform, pourable consistency that still carries the richness of ice cream.
Prep Ahead & Store
Milkshakes are best the moment they’re made. Serve immediately for the ideal texture. If you must store leftovers, pour them into an airtight container and refrigerate for up to 24 hours; expect some separation and a loss of creaminess. Re-blend briefly to recombine, but note the texture will not be as fresh as when first made.
If you want to prepare components ahead, you can portion ice cream into single-use tubs and chill glasses in the freezer. That speeds up assembly but keep the milk chilled separately and only add it when you’re ready to blend.
Quick Questions
Can I make this with frozen yogurt or gelato? Yes. Use the same approach but watch texture: gelato may need slightly more milk, and frozen yogurt can be tangier and a bit looser.
What if my blender struggles? Let the ice cream soften a touch longer and add the milk slowly. Pulse at first to break the ice cream into chunks, then blend on medium. If it still struggles, upgrade to a stronger blender when possible.
How can I make it thicker? Use less milk (stick to the 1/2 cup) and choose a denser ice cream. Chill the glass, and serve immediately to preserve thickness.
Hungry for More?
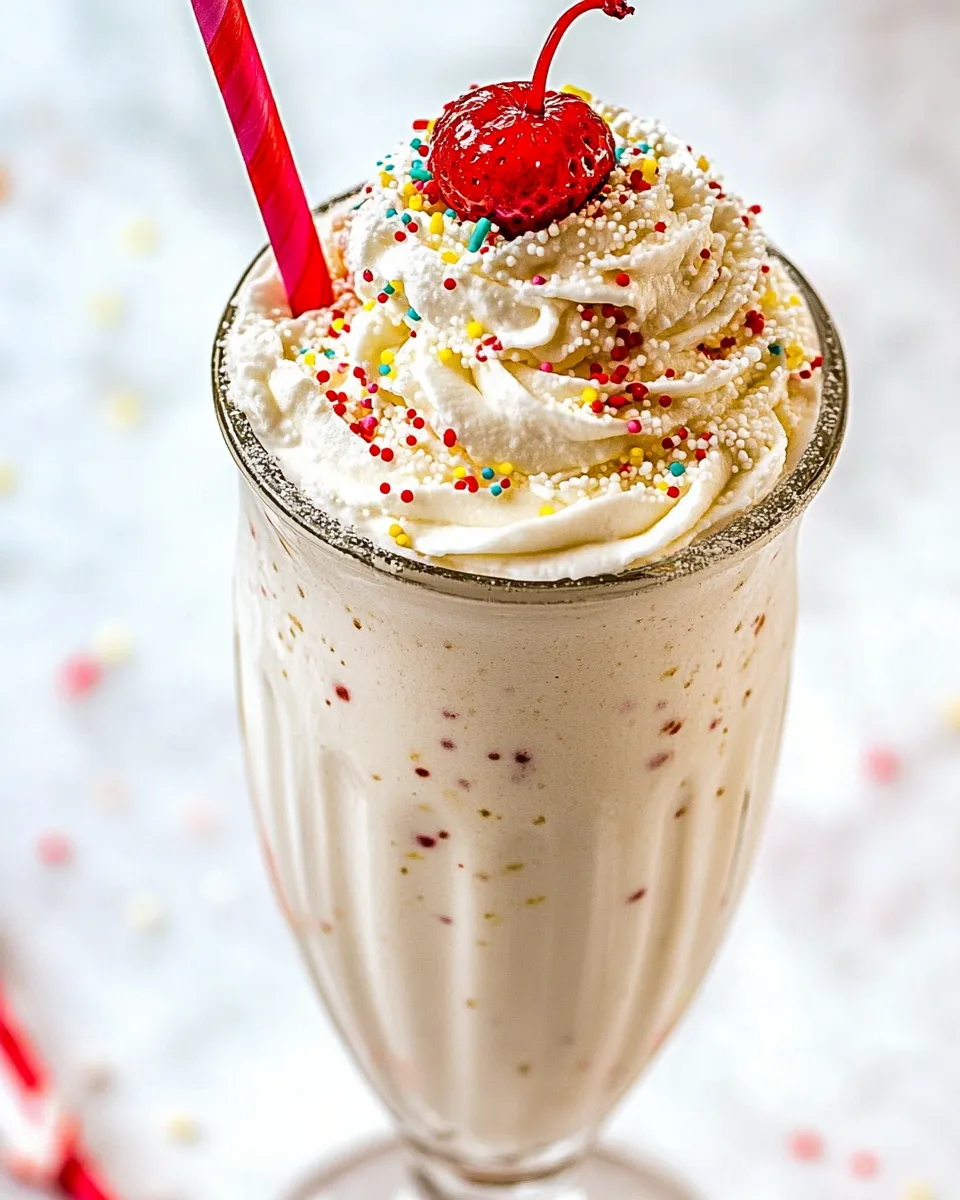
Once you’ve mastered the basic ratio, variations are endless. Try swapping flavors of ice cream, adding a spoonful of peanut butter for depth, or folding in crushed cookies after blending for texture. Keep a few garnishes on hand — whipped cream, sprinkles, nuts, or a drizzle of chocolate — so a simple milkshake can quickly become something a bit more special.
Make a classic with vanilla, go bold with cookie dough, or keep it light with a fruit-based frozen dessert. The technique stays the same: soft ice cream, measured milk, medium-speed blending, and immediate serving. That’s the practical, dependable path to consistently excellent milkshakes.
How to Make a Milkshake
Ingredients
Equipment
Method
- Gather: 1 1/2 cups ice cream (about 3 scoops), 1/2 to 3/4 cup milk, a blender, and a glass.
- If the ice cream is very hard, let it sit at room temperature for 5–10 minutes so it becomes slightly softened and easier to blend.
- Place the 1 1/2 cups ice cream in the blender.
- Add 1/2 cup milk to start. Secure the blender lid.
- Blend on medium speed until mostly smooth, then check the thickness. If it’s too thick to pour, add up to an additional 1/4 cup milk (to a total of 3/4 cup), blending again until the milkshake is smooth and pourable.
- Pour the milkshake into a glass.
- Top with whipped cream and/or sprinkles if desired, then serve immediately.
Notes
Adjust milk amount between 1/2 and 3/4 cup to reach desired thickness.