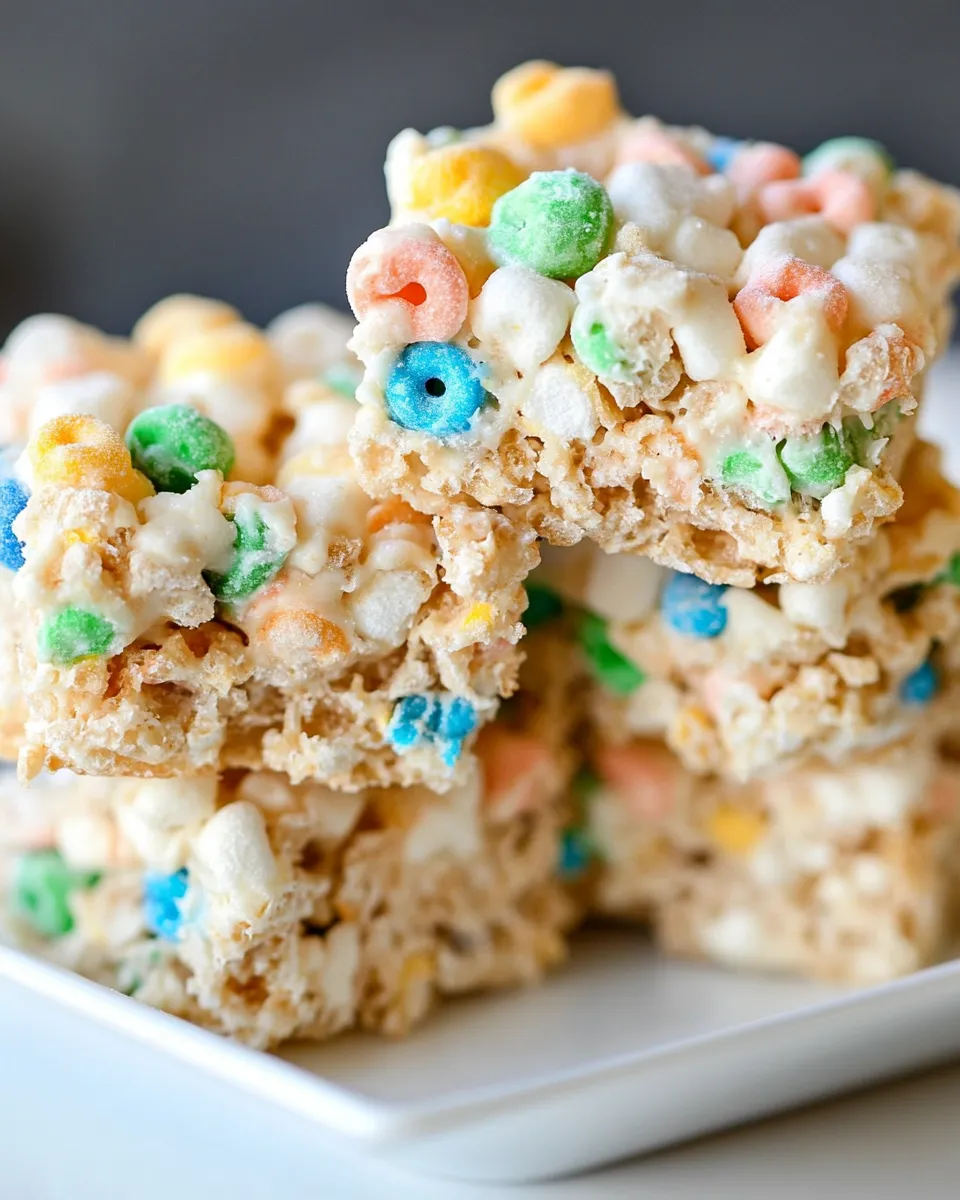
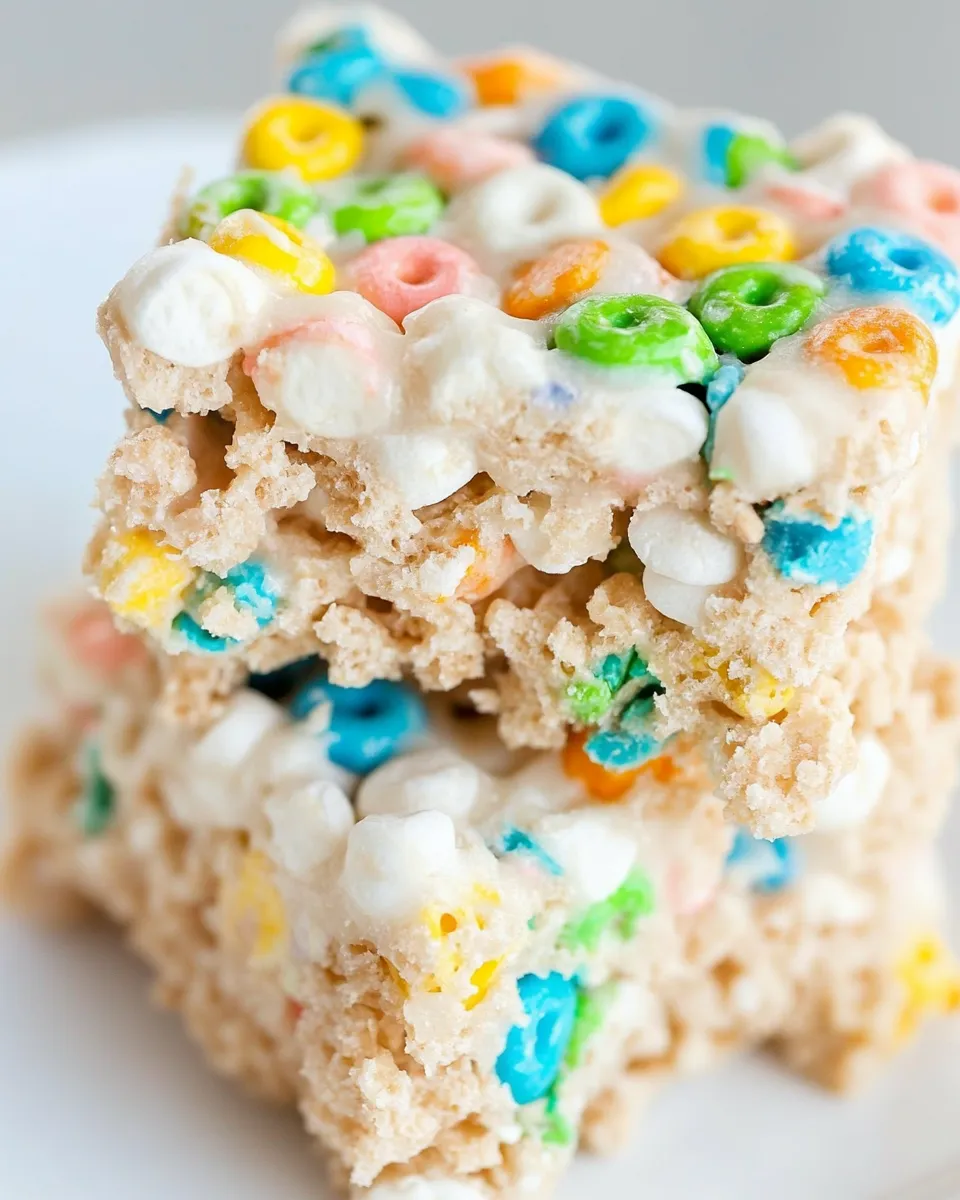
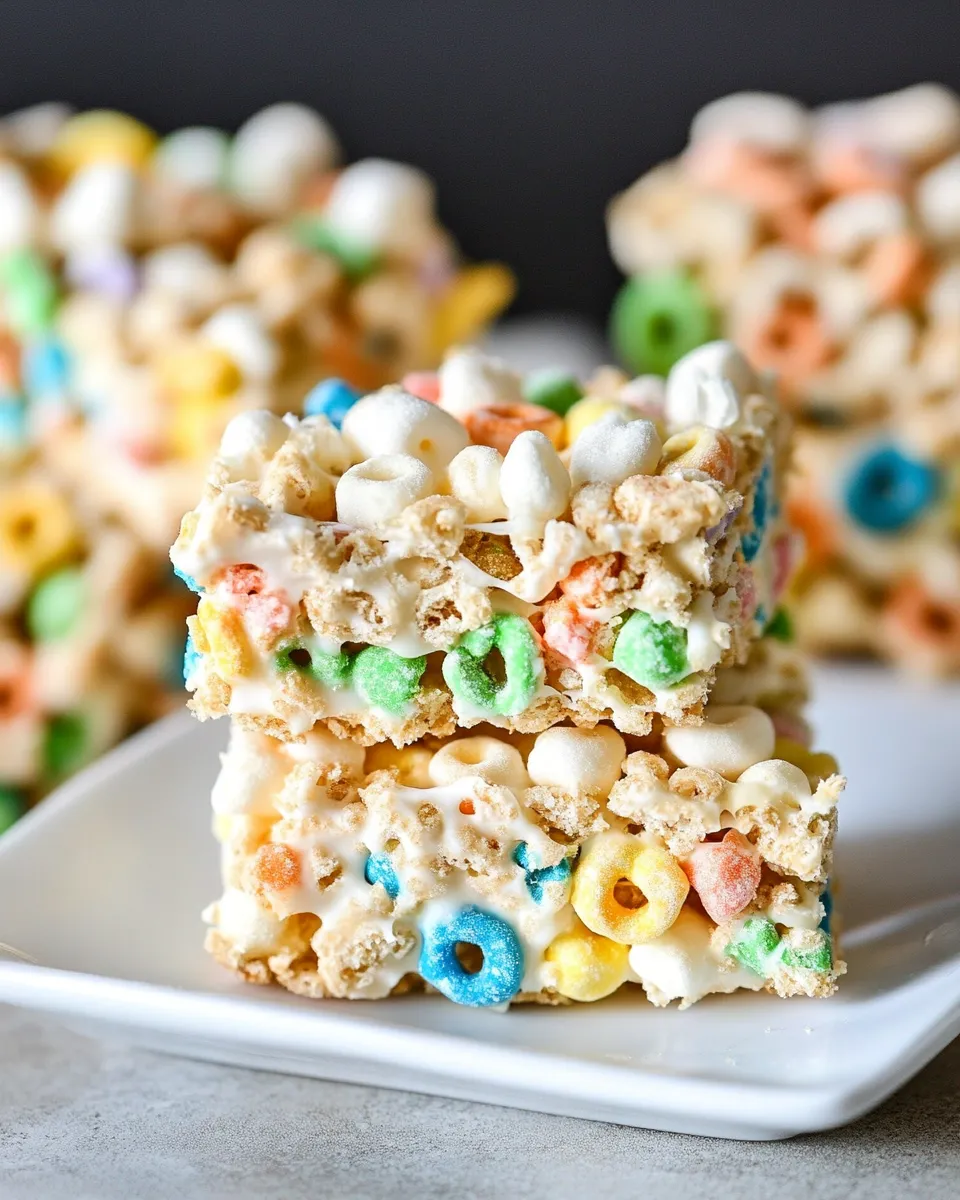
Lucky Charms Marshmallow Treats
I make these Lucky Charms Marshmallow Treats whenever I want something quick, nostalgic, and impossible to resist. They come together in under 30 minutes and deliver that perfect chew-and-crunch combo your friends (and kids, and coworkers) will ask for again and again. No fancy technique. No complicated timing. Just warm butter, gooey marshmallows, and a box of colorful cereal.
This recipe lives in my regular rotation because it’s forgiving. You can adapt the pan size, press level, or even how aggressively you cut the squares without ruining the final treat. The key moments are straightforward: melt, mix, press, then wait. Do those well and you’ll have soft, tender bars with brightly hued marshmallows throughout.
Below I lay everything out practically: the exact ingredients, a step-by-step method you can follow without stress, sensible substitutions, and little details that actually make a difference. You’ll also find storage advice and common pitfalls so you don’t learn them the hard way.
Shopping List
All you need is three items. Pick a fresh box of Lucky Charms so the marshmallows inside the cereal are crisp and the oat bits haven’t gone stale. Use salted butter for the flavor boost described in the recipe; unsalted will work but you may want a pinch of salt if you use it. And get miniature marshmallows — they melt faster and more evenly than large ones.
Ingredients
- ½ cup (113.5 g) salted butter — provides the fat that keeps the treats tender and adds a savory balance to the sweetness.
- 8 cups (600 g) miniature marshmallows — the glue and the goo; miniature melt evenly and create a smooth coating for the cereal.
- 10 cups (360 g) Lucky Charms cereal, (11.5-ounce box) — the base and the personality of the bars; the marshmallow shapes add color and crunch.
Stepwise Method: Lucky Charms Marshmallow Treats
- Grease a 9×13-inch pan and set it aside.
- In a large pot, melt ½ cup (113.5 g) salted butter over medium-low heat.
- Add 8 cups (600 g) miniature marshmallows to the melted butter and stir frequently until the marshmallows are completely melted and smooth.
- Remove the pot from the heat. Immediately add 10 cups (360 g) Lucky Charms cereal and stir gently but thoroughly until the cereal is evenly coated with the marshmallow mixture.
- Turn the mixture into the prepared pan. Using a lightly greased spatula or lightly greased hands, press the mixture into an even layer (avoid pressing so hard that the treats become overly compacted).
- Allow the treats to set at room temperature until firm, about 30 minutes to 1 hour. Cut into squares and serve.
- Store any leftovers at room temperature in an airtight container for up to 4 days.
Why It’s Crowd-Pleasing
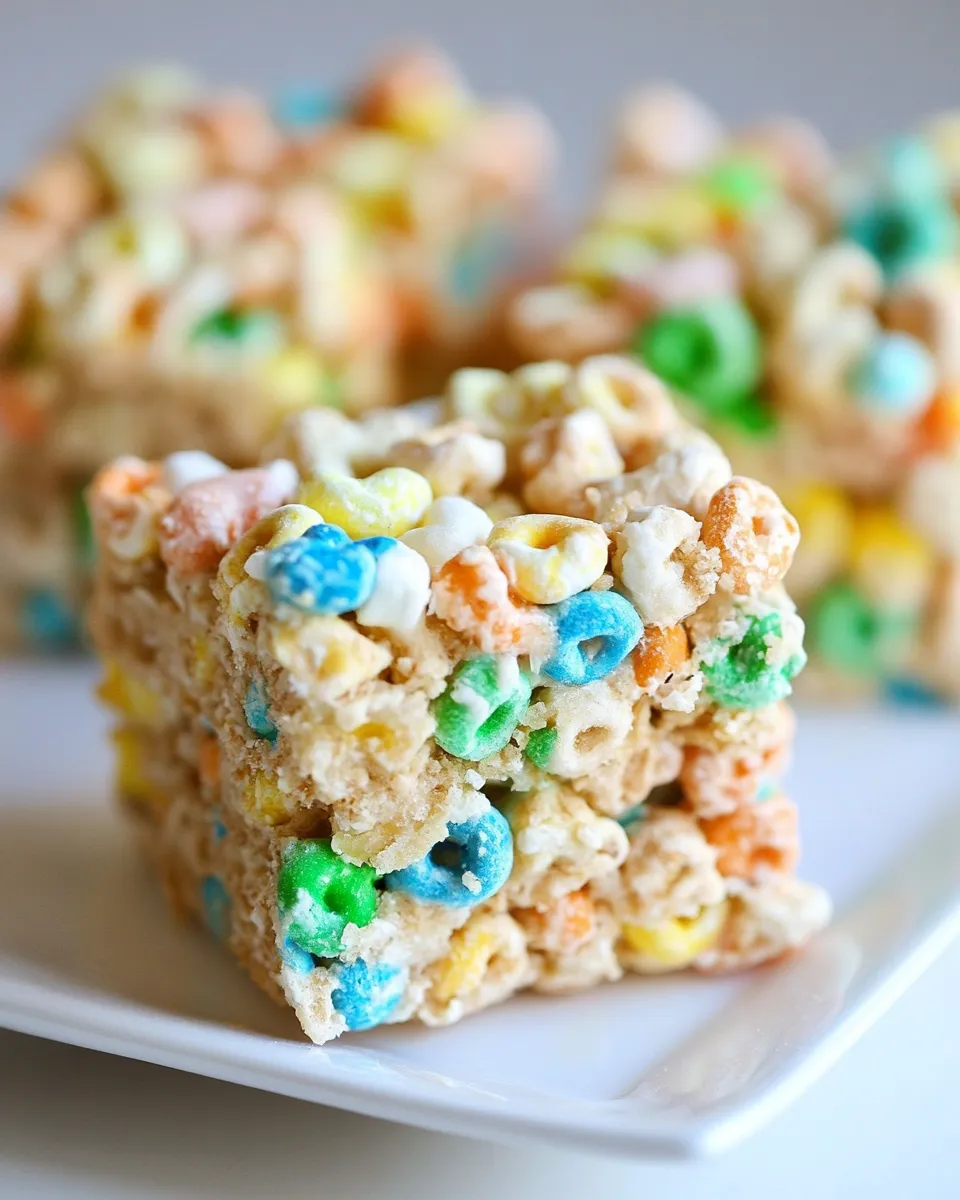
There’s a simple science behind why these bars fly off the plate. Crispy cereal gives structure. The tiny marshmallows melt into a shiny, sticky binder that holds everything together while still giving chew. The Lucky Charms marshmallows add pockets of sugary color and playful texture that feel celebratory—perfect for parties, school events, or just a weekend treat.
Flavor-wise, salted butter rounds out the sweetness and prevents the bars from tasting flat. The contrast of crunchy oat bits and marshmallow chew keeps each bite interesting. And because the recipe is familiar—think rice crispy treats with a colorful twist—people instantly recognize and reach for them.
Smart Substitutions
Substitutions are useful when you’re in a pinch, but keep a few rules in mind so the texture stays right.
- Butter: You can swap salted butter for unsalted butter if you prefer. If you use unsalted, add a tiny pinch of salt to the melted butter to mimic the recipe’s balance.
- Marshmallows: Miniature marshmallows melt the quickest and give the smoothest coating. If you only have large marshmallows, use them — just increase melting time and cut them into smaller pieces as they start to melt for even distribution.
- Cereal: If you want a similar texture but different flavor, you can use other sweetened oat cereals. Expect a mild change in flavor profile and color. Do not change the total cereal volume; the recipe relies on the 10 cups (360 g) for structure.
Must-Have Equipment
- 9×13-inch pan — the right size keeps the treats thick enough to be chewy without being too dense.
- Large pot — gives you room to melt butter and marshmallows without spills.
- Spatula (heatproof) — for stirring and for pressing the mixture into the pan.
- Measuring cups/scale — the recipe lists both cups and grams; a kitchen scale helps accuracy, especially with marshmallows and cereal.
- Lightly greased hands or a lightly greased piece of parchment — for pressing the mixture uniformly without sticking.
What Not to Do
These bars are forgiving, but a few mistakes will change the texture.
- Don’t overheat the marshmallows. Melt them over medium-low heat and stir frequently. If the mixture gets too hot it can become grainy and sticky instead of smooth.
- Don’t press too hard into the pan. Overcompressed bars become dense and lose the chewy lift that makes them nice to eat. Aim for evenness, not compactness.
- Don’t try to cut them while they’re warm. Wait until they set at room temperature, about 30 minutes to 1 hour. Cutting too early will create misshapen, crumbling squares.
- Don’t skip greasing. Even a small amount of butter or nonstick spray on the pan and spatula keeps the mixture from clinging and makes removal clean.
Variations by Season
These treats are a blank canvas for seasonal touches. Keep the base recipe the same and use small changes to match the mood.
- Spring: Add pastel sprinkles on top right after pressing the mixture into the pan for a light, festive finish.
- Summer: Serve chilled for a firmer bite, or press the mixture into mini muffin tins for portable, picnic-friendly portions.
- Autumn: Swap in a hint of cinnamon to the melted butter (a scant 1/4 teaspoon) if you want a warm note without changing the core ingredients.
- Winter/Holidays: Top with a scattering of small, holiday-themed candies immediately after pressing, or use a limited-edition seasonal Lucky Charms box if available.
Little Things that Matter
A few small habits make a big difference in texture and presentation.
- Measure the cereal by gently scooping into the cup rather than packing it down. That preserves the intended lightness.
- Melt butter first, then add the marshmallows. This sequence prevents scorching and helps the marshmallows dissolve smoothly.
- Stir off the heat after adding the cereal. This avoids overcooking while ensuring every piece gets a glossy coating.
- When pressing the mixture, use a piece of lightly greased parchment on top and pat gently for an even surface without over-compressing.
How to Store & Reheat
These bars keep well at room temperature. Follow the simple storage step already in the recipe.
- Store in an airtight container at room temperature for up to 4 days. Layer with parchment if stacking to prevent sticking.
- If you prefer a firmer texture, refrigerate briefly before serving. Cold bars are denser and chewier; warm bars are softer and more pillowy.
- Avoid microwaving large batches to “reheat.” If a single square needs softening, a 5–8 second zap in the microwave on low will do, but watch closely to prevent melting the marshmallow shapes.
Helpful Q&A
Can I make these ahead?
Yes. Make them the day before you need them and store in an airtight container at room temperature. They’ll be slightly fresher if you give them a little time to come to room temperature before serving if refrigerated.
Why are my treats crumbly?
Usually because not enough marshmallow binder was used or the cereal-to-marshmallow ratio was altered. Follow the 10 cups (360 g) cereal with 8 cups (600 g) marshmallows ratio for best results. Also, avoid pressing too hard — that can cause dry, dense bars that crumble.
Can I freeze them?
Freezing is possible, but texture changes slightly. Wrap individual squares tightly in plastic and place them in an airtight freezer bag for up to 1 month. Thaw in the fridge or at room temperature before serving.
What pan alternatives work?
A 9×13-inch pan is ideal for the listed ingredient amounts. If you use a smaller pan the bars will be thicker and chewier; a larger pan makes them thinner and crispier. Adjust pressing pressure and set time accordingly.
Hungry for More?
If you like this playful twist on a classic, try making Rice Krispies Treats the same way, swapping in different cereals for texture and flavor. You could also fold in a handful of small chocolate chips or drizzle melted chocolate on top after the bars have set for an extra-indulgent finish. Keep experimenting with little tweaks—this recipe is a dependable base that responds well to creativity.
Enjoy making these Lucky Charms Marshmallow Treats. They’re fast, cheerful, and exactly the kind of recipe you’ll be glad you have on hand when you want something sweet and simple.
Lucky Charms Marshmallow Treats
Ingredients
Equipment
Method
- Grease a 9×13-inch pan and set it aside.
- In a large pot, melt ½ cup (113.5 g) salted butter over medium-low heat.
- Add 8 cups (600 g) miniature marshmallows to the melted butter and stir frequently until the marshmallows are completely melted and smooth.
- Remove the pot from the heat. Immediately add 10 cups (360 g) Lucky Charms cereal and stir gently but thoroughly until the cereal is evenly coated with the marshmallow mixture.
- Turn the mixture into the prepared pan. Using a lightly greased spatula or lightly greased hands, press the mixture into an even layer (avoid pressing so hard that the treats become overly compacted).
- Allow the treats to set at room temperature until firm, about 30 minutes to 1 hour. Cut into squares and serve.
- Store any leftovers at room temperature in an airtight container for up to 4 days.
Notes
Nutritional values are based on one serving